Table of Contents
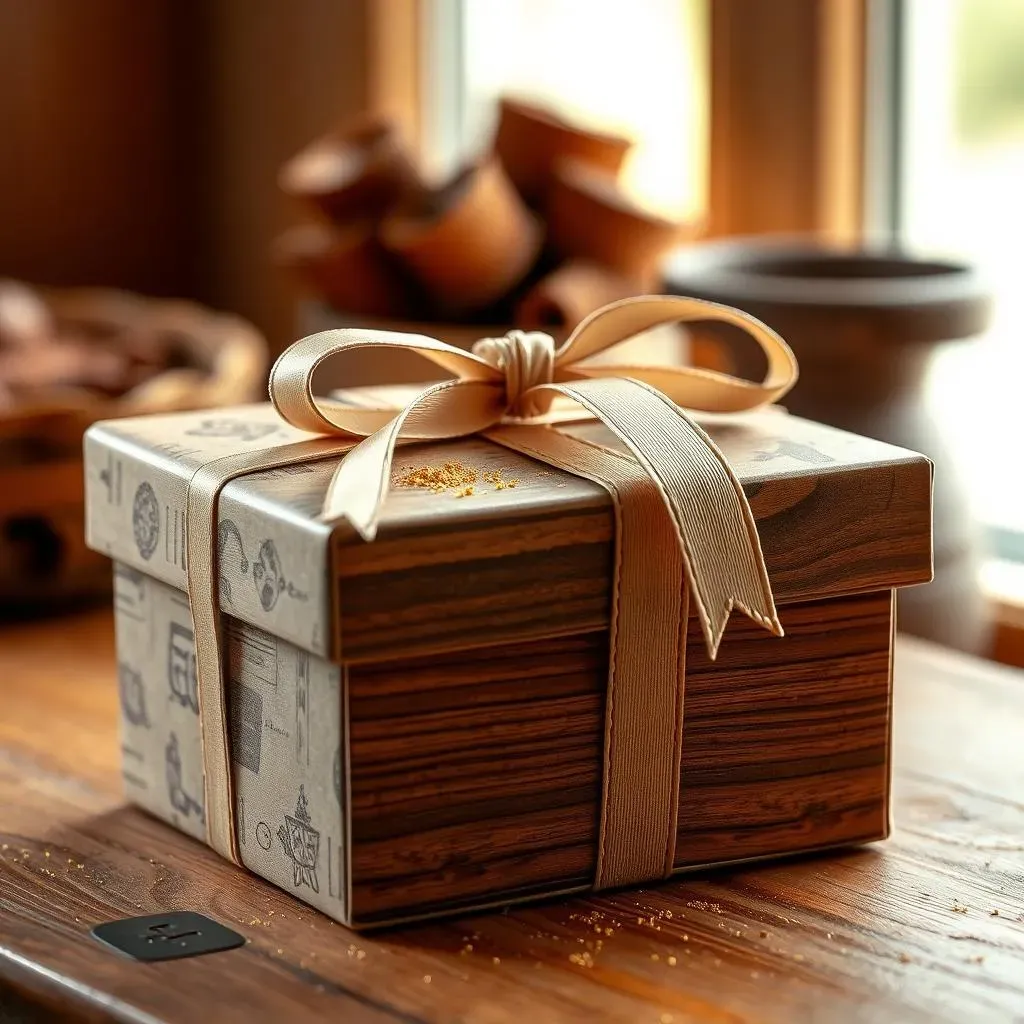
Got a sweet tooth and a knack for crafting? Ever thought about making your own adorable chocolate diy gift box? It's easier than you think, and way more personal than grabbing something from the store. Imagine the look on someone's face when you hand them a box filled with delicious chocolates, and you made the box yourself! This isn't just about the treats inside; it's about adding that special touch that says, "I made this just for you." Ready to get started? We'll walk you through the fun part of crafting your very own chocolate diy gift box, sharing some super easy steps to make it happen. Plus, we'll explore cool ways to personalize your creation, making it a truly unique and memorable gift. So, gather your supplies, unleash your inner artist, and let's create something sweet!
Crafting Your Chocolate DIY Gift Box
Crafting Your Chocolate DIY Gift Box
Gathering Your Creative Arsenal
So, you're ready to dive into making your own chocolate diy gift box? Awesome! First things first, let's round up the goodies you'll need. Think of it like prepping your art station. You'll definitely want some sturdy cardstock – the thicker, the better for holding those yummy chocolates. Fun patterned paper can add a splash of personality, too. Don't forget scissors or a craft knife for clean cuts, and some strong adhesive – glue or double-sided tape works like a charm. A ruler and pencil are handy for measuring and marking. And hey, if you've got any ribbons, stickers, or little decorative bits, those can really jazz things up!
The Basic Box Blueprint
Alright, with your supplies all set, it's time to think about the shape and size of your chocolate diy gift box. A simple square or rectangle is a great starting point – classic and easy to assemble. Consider the chocolates you're planning to put inside. Are they small truffles or larger bars? This will help you decide on the dimensions. I usually sketch out a quick template on a piece of scrap paper first. It doesn't have to be perfect, just a rough guide. Think of it like your box's skeleton – the basic structure we'll build upon.
- Cardstock (your box base)
- Patterned paper (for extra flair)
- Scissors or craft knife
- Adhesive (glue or tape)
- Ruler and pencil
- Optional: Ribbons, stickers, decorations
Cutting and Constructing with Care
Now for the satisfying part – bringing your box to life! Carefully cut out your box template from the cardstock. Accuracy here is key for a neat finish. If you're using patterned paper, cut pieces slightly smaller than the cardstock panels and adhere them for a pop of color or design. Next comes the folding. Score along your fold lines – this makes folding crisp and easy. Then, apply your adhesive to the tabs and carefully assemble the box. It's like putting together a little puzzle! Take your time, press firmly, and watch your flat pieces transform into a charming chocolate diy gift box. Isn't that cool?
Easy Steps for a Sweet Chocolate Gift Box
Easy Steps for a Sweet Chocolate Gift Box
Adding Flair with Folds and Creases
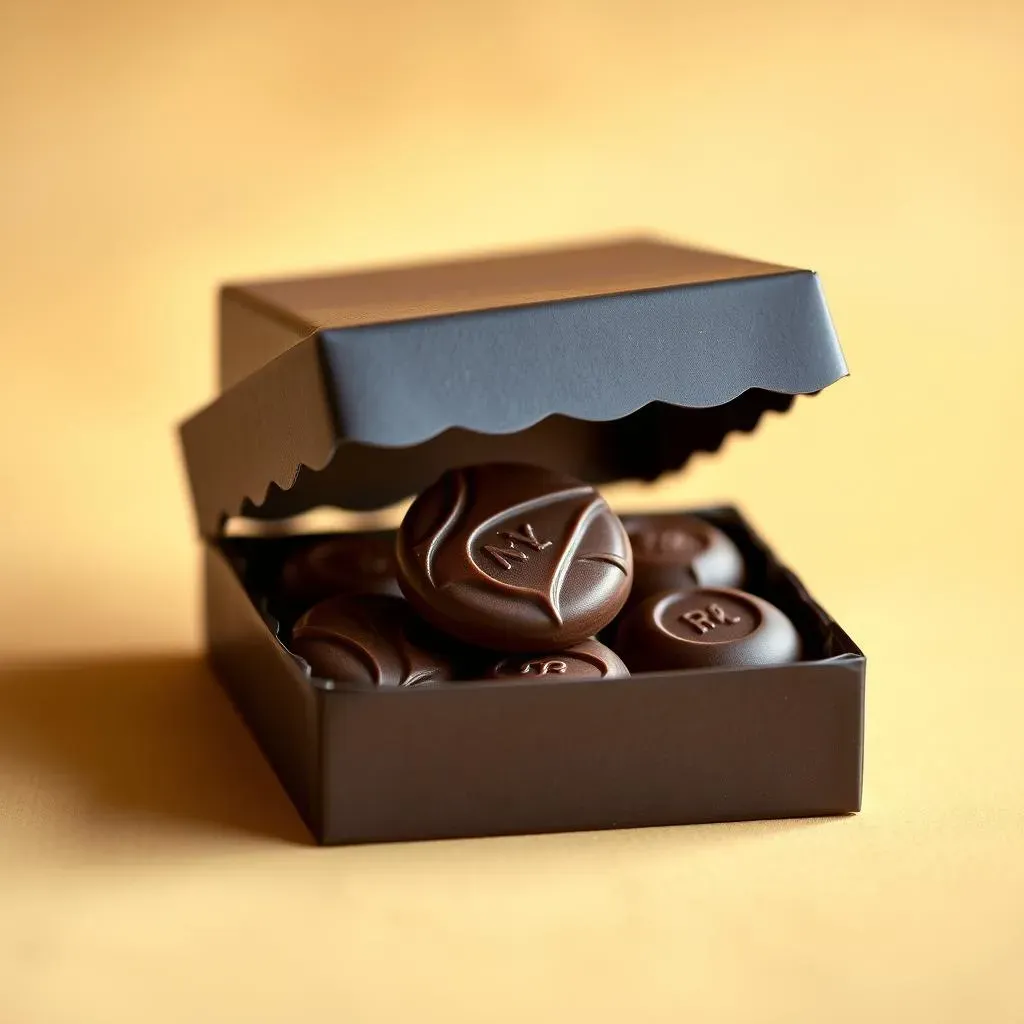
Want to take your chocolate diy gift box up a notch? Consider adding some snazzy folds or creases. Think beyond the basic box! Maybe a lid that tucks in neatly, or decorative edges that give it a bit of flair. Scoring your fold lines isn't just for basic assembly; it's your secret weapon for creating these cool details. A bone folder or even the back of a butter knife can work wonders for getting those super crisp folds. Trust me, those sharp creases make a huge difference in how professional your little chocolate haven looks.
Here are a few ideas to get your creative gears turning:
- Scalloped Edges: Use decorative scissors for a pretty, soft touch.
- Angled Flaps: Cut the lid flaps at an angle for a modern look.
- Accordion Folds: Create a unique closure with a series of folds.
Personalizing Your DIY Chocolate Gift Box
Personalizing Your DIY Chocolate Gift Box
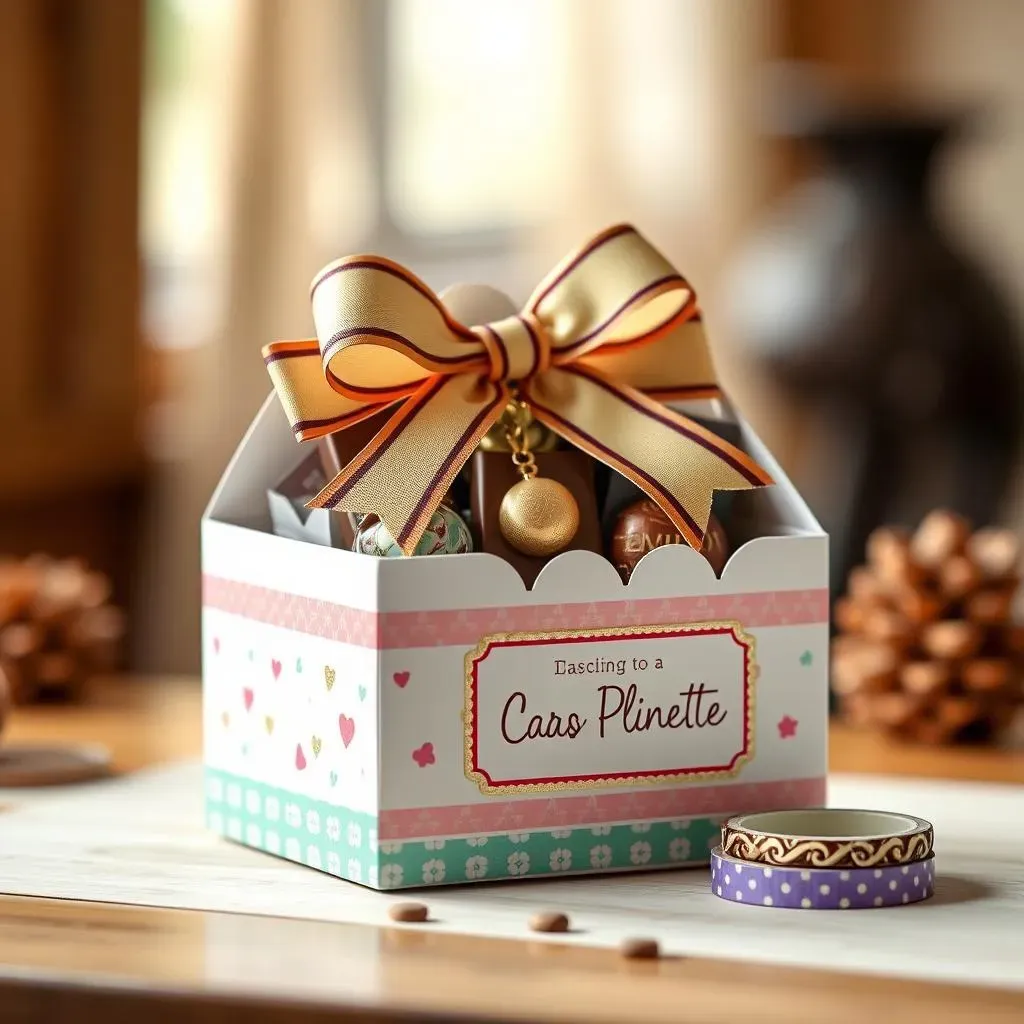
Now, let's get to the really fun part: making your chocolate diy gift box scream "you"! Think of your box as a blank canvas. Got some pretty ribbon lying around? Tie a bow! Stickers? Slap 'em on! You could even get super fancy and try some rubber stamping to add patterns or a special message. And don't underestimate the power of a handwritten tag. A simple "Enjoy!" or "Made with love" adds such a sweet touch. It's all about those little details that make your gift box one-of-a-kind.
Here are some ideas to spark your creativity:
- Use washi tape for colorful borders or accents.
- Add a small charm or embellishment that matches the occasion.
- Write the recipient's name on the box in pretty lettering.
Sweet Success: Your Chocolate DIY Gift Box
So there you have it! Crafting your own chocolate DIY gift box isn't just a fun project; it's a way to add a personal touch to your gifts. From the simple construction to the unique decorations, every step allows you to show you care. Now, go ahead and spread some sweetness with your handmade creations. You might just surprise yourself with what you can make!