Table of Contents
Introduction
Let's face it, wrapping gifts can feel like a chore. And those generic store-bought boxes? They often cost too much and lack any real personality. Ever wish you could make your presents look as thoughtful on the outside as they are on the inside? That's where cute diy gift boxes come in. Crafting your own packaging isn't just about saving a few bucks; it's about adding a layer of genuine care to your present. It transforms a simple object into something truly unique before anyone even peeks inside. This isn't about complicated origami that requires a geometry degree. We're talking about simple, effective ways to create boxes that look good and get the job done. We'll walk you through the basics, from the minimal tools you actually need to different techniques that suit various skill levels and time constraints. You'll find out how to fold paper into sturdy shapes, leverage handy printable templates for instant results, and gather the right supplies without breaking the bank. Stick around to discover how easy it is to ditch the bland and start making boxes that people might just keep long after the gift is opened. Get ready to upgrade your gifting game with some cute diy gift boxes.
Why Bother with Cute DIY Gift Boxes?
Why Bother with Cute DIY Gift Boxes?
So, you're probably staring at a pile of potential gifts, maybe a birthday coming up, or dare I say, thinking ahead to the holiday chaos. You could just shove that present into a generic bag with some tissue paper, call it a day, and honestly, most people wouldn't bat an eye. But if you've ever felt like the packaging feels... disposable, or maybe you just hate fighting with sticky tape and wrapping paper that tears the moment you look at it funny, you might start asking yourself: Why bother with cute DIY gift boxes? It’s not just about looking Pinterest-perfect, though that’s a perk. It’s about control, frankly. Control over the size, the shape, the aesthetic. It's about avoiding that last-minute scramble for a box that *almost* fits but requires awkward folding and extra tape. And let's be real, a handmade box, even a simple one, feels more substantial than a flimsy paper bag. It suggests you put in a little extra effort, which, in a world of effortless transactions, actually stands out.
Gathering Your Gear for Cute DIY Gift Boxes
Gathering Your Gear for Cute DIY Gift Boxes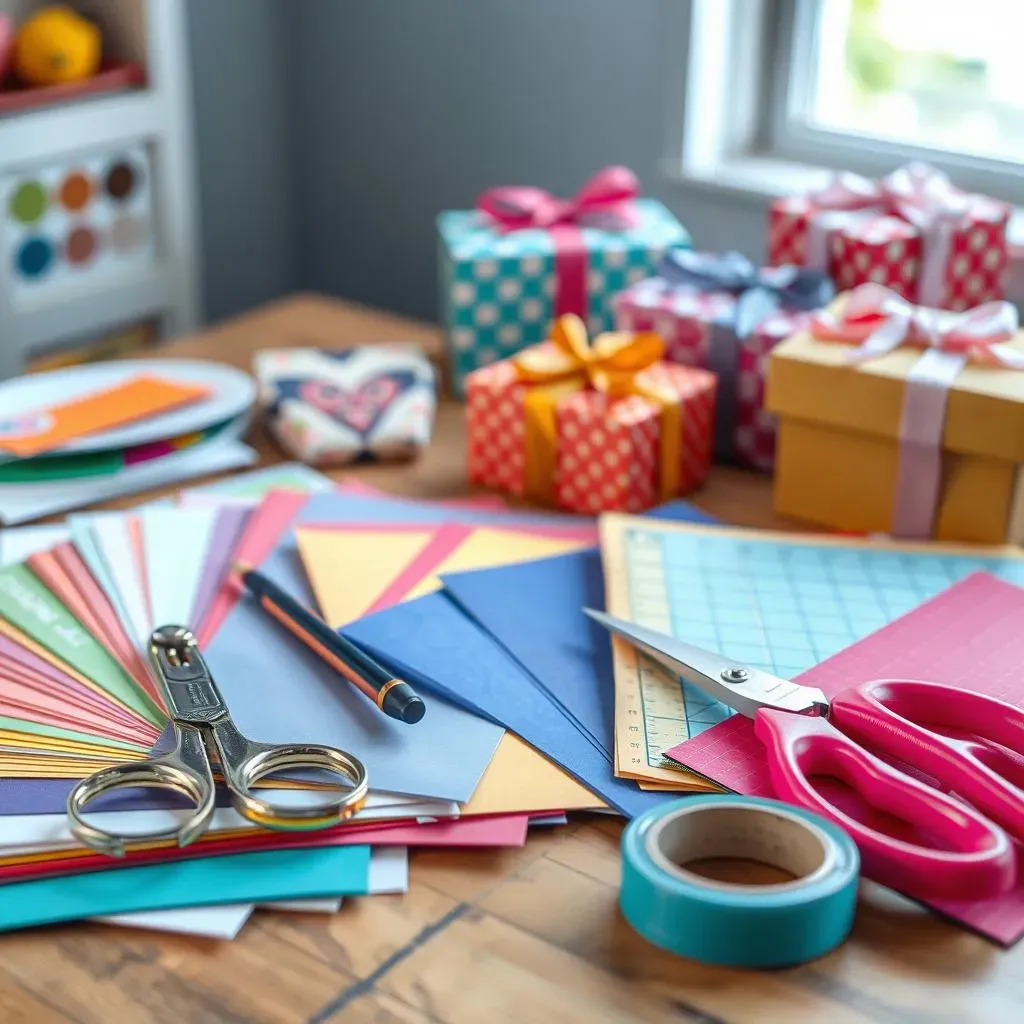
The Foundation: Paper and Cutting Tools
Alright, let's get down to brass tacks. You can't make cute diy gift boxes out of thin air, despite what some online tutorials might imply. You need paper, obviously. But not just any paper. Printer paper is too flimsy; it'll collapse faster than a poorly constructed alibi. You're looking for something sturdier. Cardstock is your best friend here, ideally 65lb or heavier. Scrapbook paper works too, and it comes in a million patterns, which is a bonus. You'll also need something to cut it with. Scissors work, sure, but for straight lines and cleaner edges, a paper trimmer is a game-changer. If you plan on making boxes with specific folds and creases, a scoring board and bone folder are pretty essential. They create crisp lines that make folding a breeze instead of a battle.
Sticking It Together and Making It Pretty
Once your paper is cut and scored, you need to hold the darn thing together. White school glue takes too long to dry and can warp the paper. A good double-sided tape is reliable and instant. Craft glue or a glue stick can work for some applications, especially if you're just layering decorative paper, but for structural seams, tape or a strong craft glue is better. Now for the fun part – making them *cute*. This is where you can go wild or keep it minimal. Ribbons, twine, stickers, stamps, markers, bits of leftover fabric – anything goes. Think about the gift inside or the person you're giving it to. A simple twine tie can look rustic and chic, while bright ribbons scream celebration. Don't feel pressured to buy a ton of new stuff; look through your craft stash or even junk drawer first.
- Cardstock (65lb or heavier)
- Scrapbook paper
- Paper trimmer or sharp scissors
- Scoring board and bone folder (highly recommended)
- Double-sided tape
- Craft glue or glue stick
- Ribbon, twine, stickers, stamps, etc. (for decoration)
Folding & Scoring Your First Cute DIY Gift Box
Folding & Scoring Your First Cute DIY Gift Box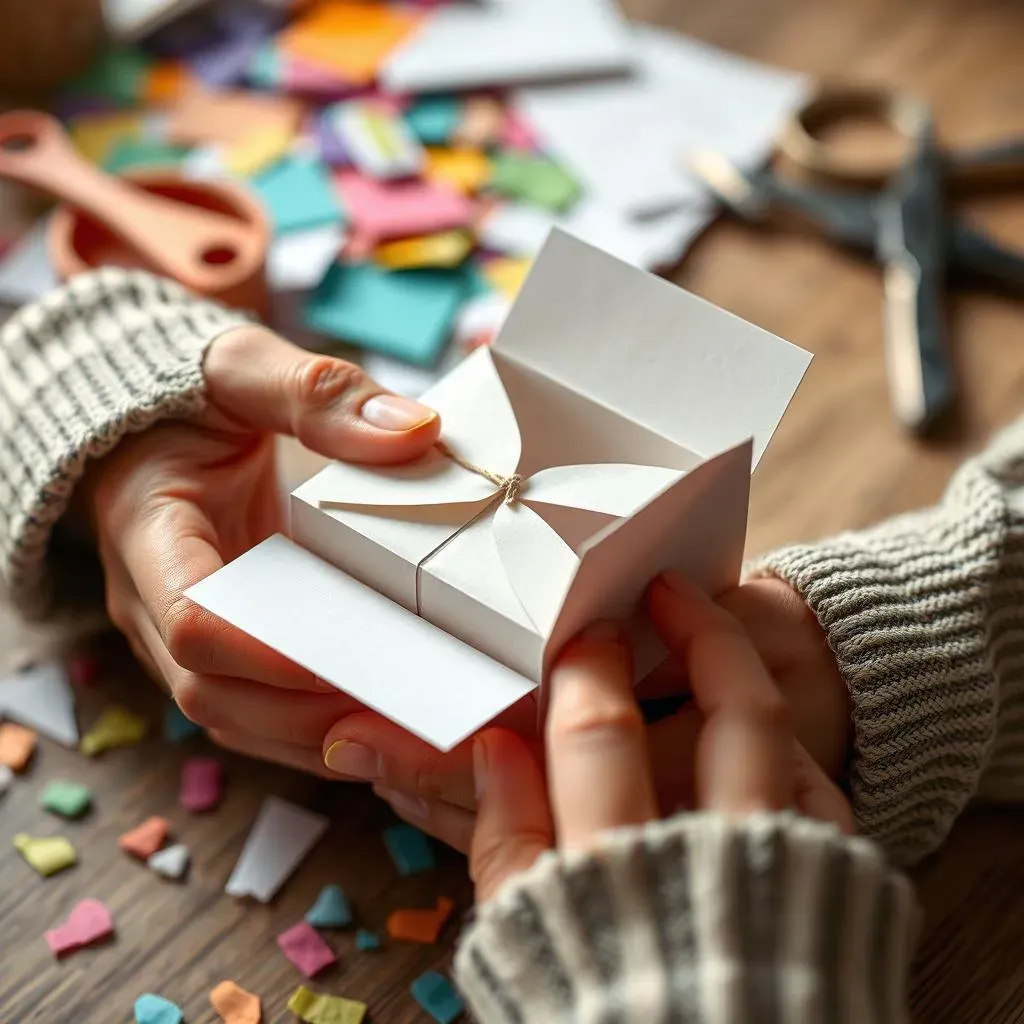
Why Scoring Isn't Optional (Unless You Like Lopsided Boxes)
you've got your sturdy paper, your double-sided tape, maybe a few sparkly bits for later. Now comes the part that separates the crisp, professional-looking cute diy gift boxes from the sad, saggy ones: scoring. Think of scoring as giving the paper a polite suggestion where to fold, rather than forcing it. You use a scoring tool – often part of a scoring board, or just the bone folder itself if you're careful – to make a shallow indentation along your fold line. This breaks down some of the paper fibers just enough that when you fold, you get a sharp, clean edge. Trying to fold heavy cardstock without scoring first is like trying to bend a thick piece of cardboard perfectly by hand. It's messy, frustrating, and the result looks like it lost a fight with a toddler. Don't skip this step. It makes all the difference.
Getting That Perfect Crease Every Time
Once your lines are scored, the actual folding begins. Line up the scored line and bring the paper edges together. Then, and this is key, use your bone folder to really burnish that crease. Run the bone folder firmly along the fold. This compresses the paper and makes the fold permanent and sharp. You'll feel the difference. A good crease gives your cute diy gift box structure and makes it look intentional, not accidental. This is especially important on the bottom flaps and side seams – the structural integrity depends on those sharp angles. It might seem like overkill, but compare a box where the folds were just finger-pressed to one where they were burnished. The burnished one stands tall and proud.
- Always score before folding, especially on heavier paper.
- Use a bone folder to burnish folds for crisp edges.
- Practice on scrap paper first to get the feel.
- Measure twice, score once – mistakes are harder to fix here.
Turning Flat Paper into a 3D Cute DIY Gift Box
With your sides scored and folded, you'll start to see the box take shape. The most common method involves folding up the sides and then folding in flaps on the bottom (and sometimes the top). This is where that trusty double-sided tape comes in. Apply tape to the outer edge of the bottom flaps or the side tabs, peel off the backing, and carefully press them into place. Take your time here. Once the tape is stuck, it's stuck. Line up the edges neatly. This is the moment your flat piece of paper transforms into a functional, cute diy gift box. It's surprisingly satisfying to see it come together from just a few cuts and folds.
Instant Cute DIY Gift Boxes: Using Printables
Instant Cute DIY Gift Boxes: Using Printables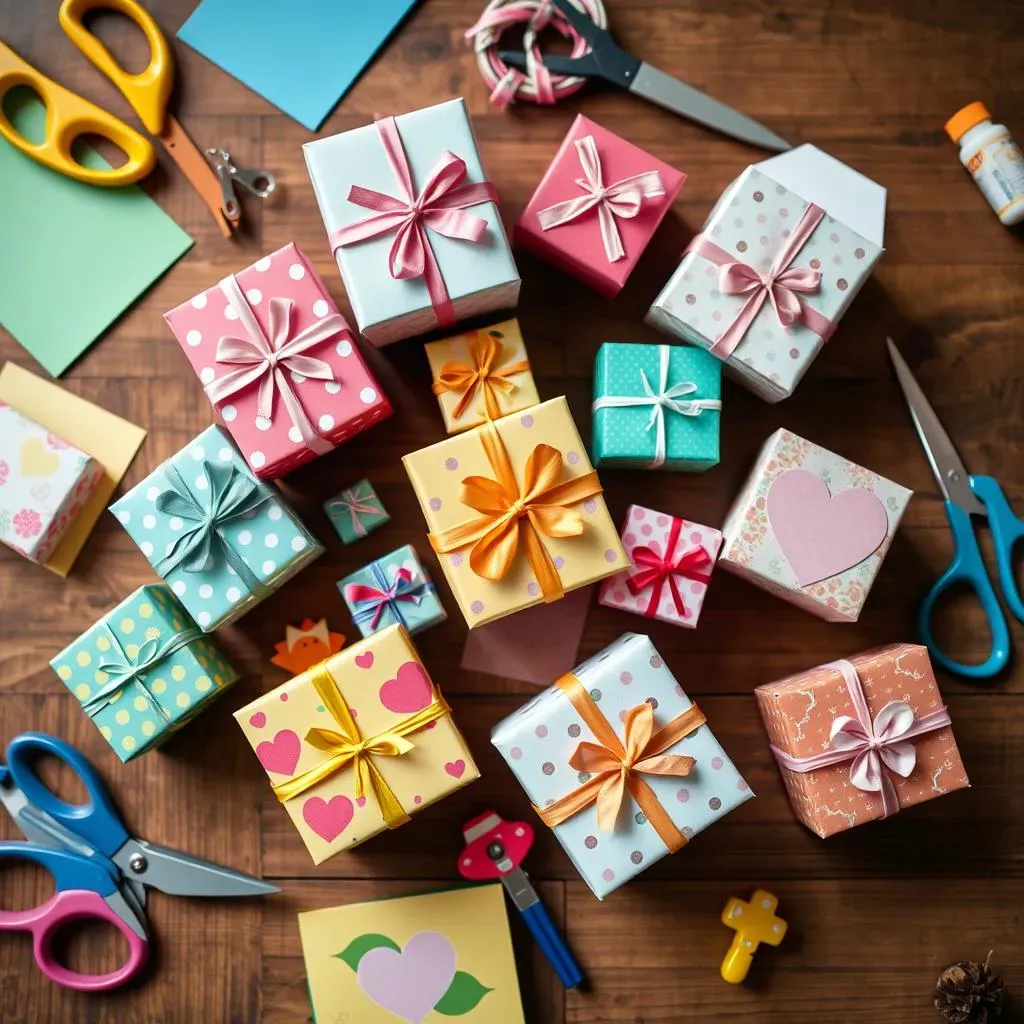
The Cheat Code for Cute DIY Gift Boxes
so maybe you're short on time, or maybe measuring and scoring just isn't your jam right now. No judgment here. This is where printable templates become your absolute best friend in the world of cute diy gift boxes. Think of them as the cheat code. Someone else has already done all the fiddly design work, figured out the dimensions, and drawn the lines exactly where you need to cut and fold. You just download a file, print it out onto your chosen cardstock (make sure your printer can handle the weight!), and suddenly you have a roadmap to a box. It takes a lot of the guesswork and potential for error out of the equation, which is pretty great when you're trying to whip up a few boxes quickly or you're just starting out.
Plenty of talented designers and craft bloggers offer these templates, often for free. You can find everything from simple square boxes to more complex shapes like tiny houses or pillow boxes. The beauty is the variety; you can find designs tailored for specific occasions, holidays, or just plain adorable patterns. It's like having a whole stationery store's worth of box designs at your fingertips, without having to buy a single specialized die or punch. Just hit print, and you're halfway to a charming package.
- Download a template from a reputable source.
- Print on cardstock (check your printer's specs!).
- Cut along the solid lines.
- Score along the dotted or dashed lines.
- Fold and assemble using tape or glue.
From Flat Sheet to Fabulous Box
Once your printable is out of the printer and the ink is dry, the next steps are pretty straightforward. You'll notice different types of lines on the template. Solid lines are for cutting – grab those sharp scissors or your paper trimmer and follow them precisely. Dotted or dashed lines? Those are typically your score lines. Even with a printable, scoring is still crucial for those crisp folds we talked about earlier. Use your scoring tool and bone folder along these lines. It's the difference between a box that looks professionally made and one that looks like it was folded by a caffeinated squirrel.
After cutting and scoring, the template will look like a weird, flattened-out shape. Now comes the satisfying part: folding it up. Follow the score lines and start bringing the sides and flaps together. The template usually shows you where to apply adhesive. Use your double-sided tape or strong craft glue on the designated tabs. Press firmly to secure the seams. Before you know it, that flat piece of paper has transformed into a sturdy, cute diy gift box, ready to hold whatever treasure you have in mind. It feels a bit like magic, but it's really just clever design and a bit of careful assembly.
Taking Your Cute DIY Gift Boxes to the Next Level
Taking Your Cute DIY Gift Boxes to the Next Level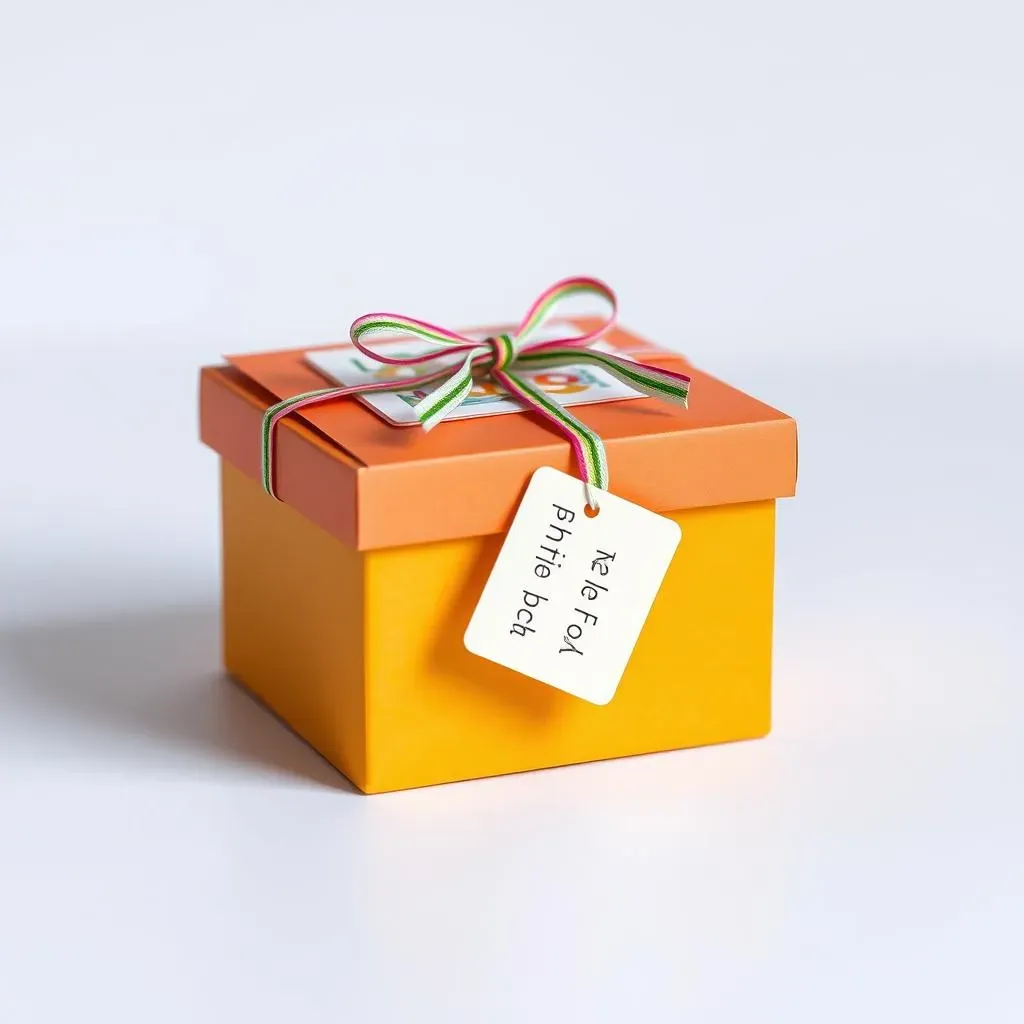
Adding Flair Beyond the Basic Box
so you've mastered the basic fold and stick, maybe even tackled a printable template. Your cute diy gift boxes are functional, which is great. But functional doesn't always scream "wow." This is where you start thinking beyond just the structure. Simple things make a huge difference. Consider layering papers – a plain cardstock box base with a decorative paper panel glued onto the lid, for example. Or try stamping a pattern directly onto the paper before you even cut or fold it. A simple ribbon tied around the finished box is classic, but experiment with different types of ribbon, twine, or even strips of fabric. Adding a small tag, hand-written or stamped, instantly elevates the presentation. Think of these as the accessories for your box; they complete the look and make it feel more polished and personal.
Playing with Closures and Shapes
Most basic cute diy gift boxes have a simple tuck-in flap or require tape to stay shut. To step it up, explore different closure methods. A small hole punched on the lid and base allows you to tie it shut with ribbon or twine, which looks much nicer than a piece of tape. You can also incorporate magnetic closures (tiny magnets are surprisingly easy to hide between layers of paper) or even small snaps for a more secure feel. Beyond the standard square or rectangle, try out templates for pillow boxes, pyramid boxes, or even tiny gable boxes. These different shapes add visual interest and can be better suited for certain types of gifts, like jewelry or small candies. Don't be afraid to try a new template; it's just more cutting and folding, but the result feels much more advanced.
- Punch holes for ribbon or twine closures.
- Experiment with hidden magnetic closures.
- Try templates for unique shapes like pillow or pyramid boxes.
- Integrate snaps or velcro dots for a secure seal.
Personal Touches and Embellishments
Making your cute diy gift boxes truly memorable comes down to the personal touches. Instead of just slapping on a generic sticker, try customizing it. Print photos directly onto sticker paper to create personalized seals. Use alphabet stamps to add the recipient's initial or a short message. If you're feeling ambitious, you can even try simple embossing techniques to raise a design on the paper. Think about the person you're giving the gift to – what are their favorite colors? Do they have a hobby you can reference? A box for a gardener might have a little paper flower glued on, while one for a baker could feature tiny stamped rolling pins. These details show you weren't just making a box; you were crafting part of the gift experience. It's these small, thoughtful additions that transform a simple paper container into a cherished part of the present.
Wrapping Up Your Cute DIY Gift Boxes
So, you've seen the playbook. Ditching those flimsy, overpriced store boxes for cute diy gift boxes isn't rocket science, just a bit of paper and patience. You've got the tools, the methods from simple folds to quick printables, and hopefully, a little spark of inspiration. Making your own gift packaging adds a layer of thought that a machine-stamped box just can't replicate. It shows you put in a little extra effort, and sometimes, that detail is half the gift itself. Now go forth and wrap something decent for a change.