Table of Contents
You've found the perfect gift. It's thoughtful, it's just right. Now comes the part that often feels like a chore: the wrapping. Generic store-bought boxes are fine, but they lack that personal touch, don't they? Sometimes they don't even fit the oddly shaped thing you bought. Plus, shelling out extra cash for a piece of cardboard you're just going to cover up feels a bit silly.
Why Bother to DIY a Gift Box Anyway?
Why Bother to DIY a Gift Box Anyway?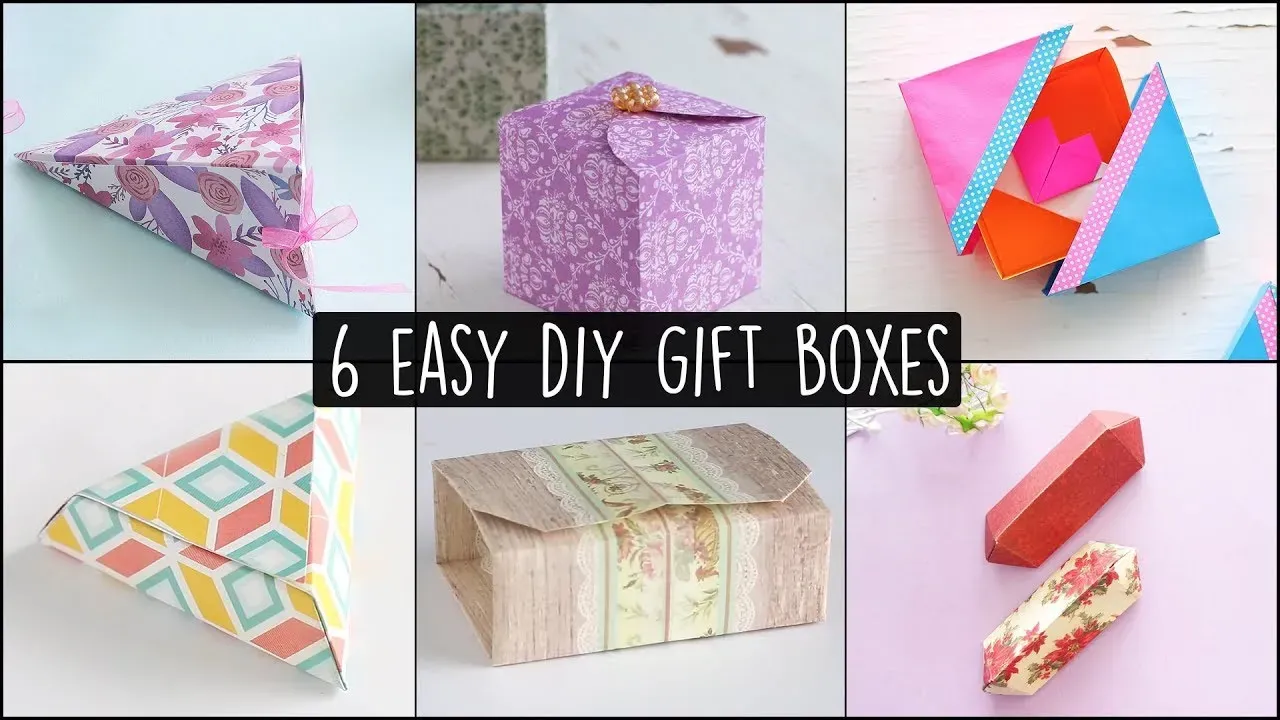
Alright, let's be honest. Walking into a store and grabbing a pre-made gift box is easy. Maybe too easy. It's also often boring, overpriced for what it is (hello, decorated cardboard!), and rarely the perfect size for that weirdly shaped ceramic cat your aunt collects. You spend all this time finding a thoughtful present, only to shove it in a box that screams "last-minute generic purchase." Learning how to diy a gift box, on the other hand, transforms the whole experience. It shows you put in extra effort, makes the packaging itself part of the gift, and lets you tailor the box perfectly to the item inside. Think of it as adding an extra layer of 'wow' before they even get to the main event, plus you save a few bucks you can then spend on, well, more gift-making supplies.
Simple Steps to DIY a Gift Box from Scratch
Simple Steps to DIY a Gift Box from Scratch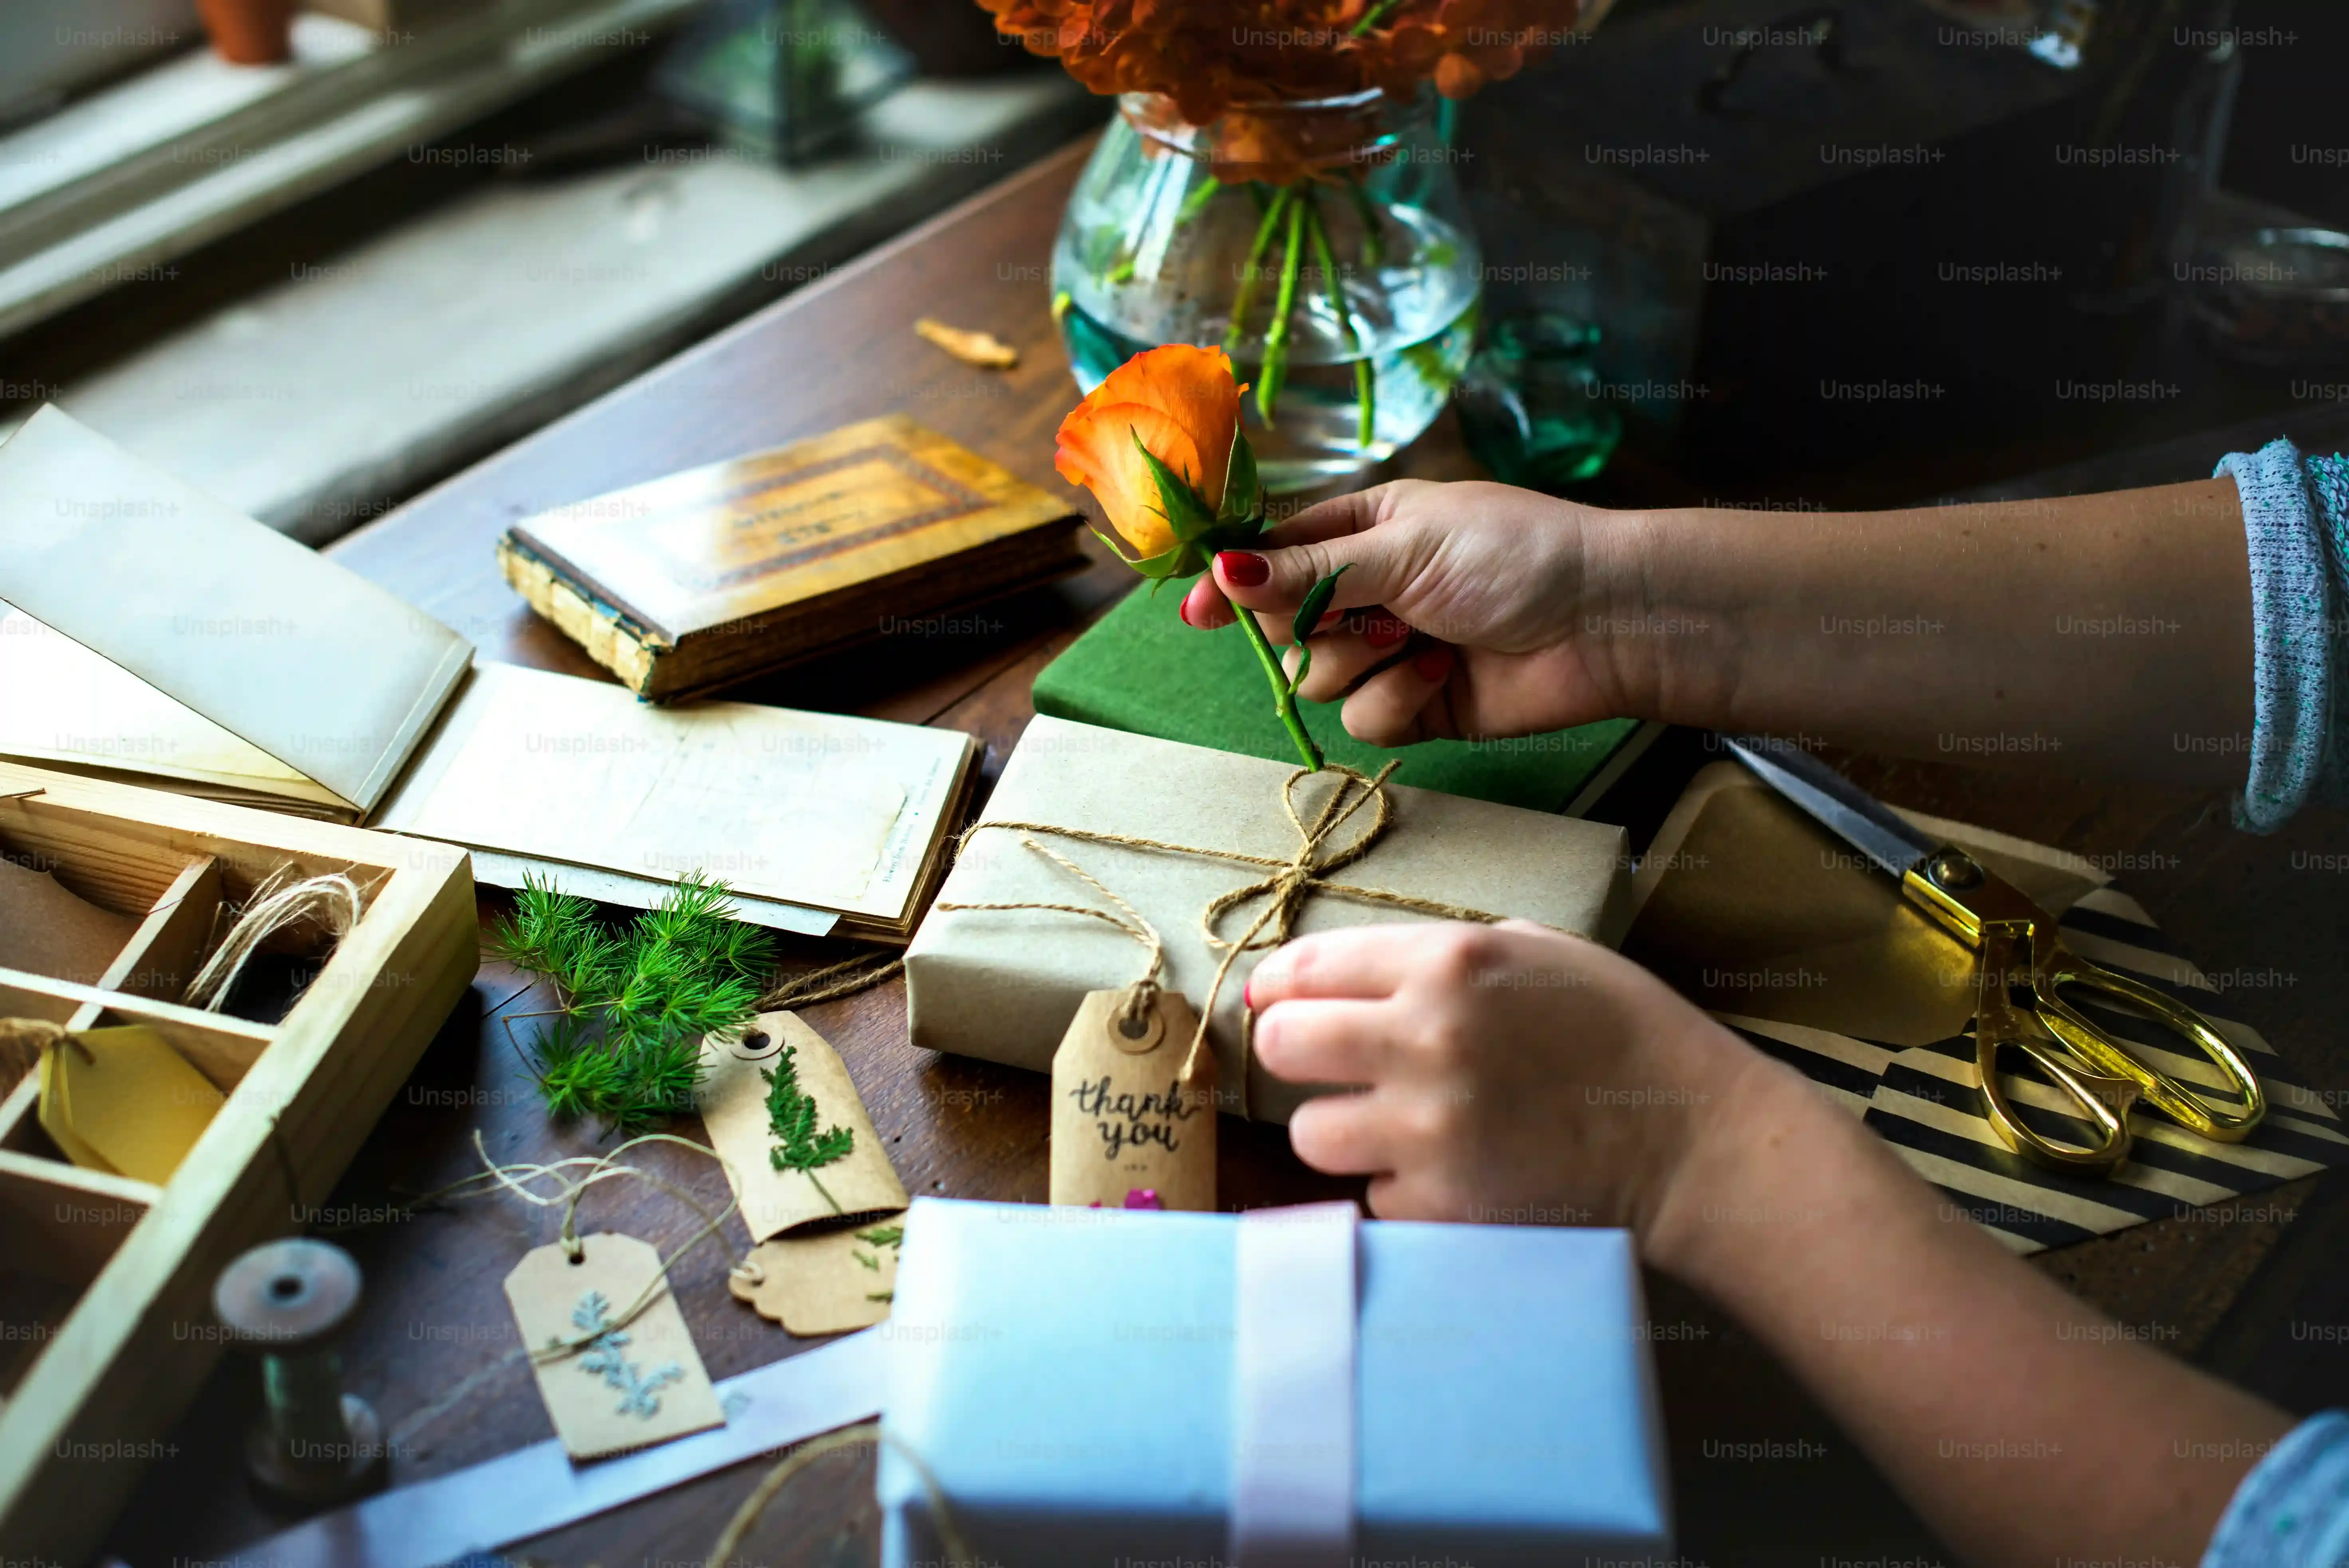
Gathering Your Arsenal: Materials Matter
so you're ready to actually get your hands dirty and diy a gift box. First things first: you need supplies. Forget fancy craft stores initially; you probably have half of what you need lying around. Cardboard is your best friend here. Cereal boxes, shipping boxes (the thin kind, not the super thick ones), even old file folders work great. The key is something sturdy enough to hold its shape but not so thick you can't easily cut and fold it.
You'll also need a ruler, a pencil, scissors (sharp ones!), and some glue or strong double-sided tape. A bone folder or the back of a spoon is handy for getting crisp folds, but not strictly necessary. Don't overthink this part. Start simple. You can always upgrade your materials later when you're feeling more confident in your ability to diy a gift box that looks store-bought (but better).
The Blueprint: Measuring and Cutting
This is where the magic starts, or where you mess it up and have to start over. No pressure. Decide on the size of your box based on the gift. Measure your item – length, width, and height. Add a little extra wiggle room on each dimension so the gift isn't crammed in there. Now, draw your pattern onto your chosen cardboard. There are tons of free templates online if drawing feels intimidating, but a basic box is just a rectangle with flaps.
Think of it like this: a large rectangle for the base, with four rectangles attached to its sides for the walls. Then, add smaller flaps to the top of the wall rectangles which will fold in to create the lid or be glued to secure the box. Use your ruler and pencil to draw straight lines. Measure twice, cut once. Seriously. Cutting is next. Use your sharp scissors or a craft knife (carefully!) to cut along your lines. Don't forget to cut along one edge of the smaller flaps so they can fold properly.
- Measure the gift accurately.
- Add a bit extra for clearance.
- Find a template or draw your own basic shape.
- Use a ruler for straight lines.
- Cut carefully along the lines.
- Remember the flaps for assembly.
Bringing it Together: Folding and Securing
Now for the satisfying part: folding. Score along all your fold lines. This means pressing firmly with a bone folder, the back of your scissors, or even a pen (without ink!) along the lines you drew. This makes the cardboard fold neatly and crisply, giving your diy a gift box a professional edge. Fold all the walls up. See how it's starting to look like a box?
Apply glue or double-sided tape to the flaps you added. Fold the flaps inward and press them against the adjacent wall or the base, depending on your pattern, to secure the structure. Hold them in place for a few moments until the glue grabs or the tape sticks. Repeat until your box is assembled. You might need to hold corners together while the glue dries; clothespins or binder clips can be useful here. And just like that, you've gone from a flat piece of cardboard to a three-dimensional container ready for its close-up.
Creative Materials for Your DIY Gift Box Project
Creative Materials for Your DIY Gift Box Project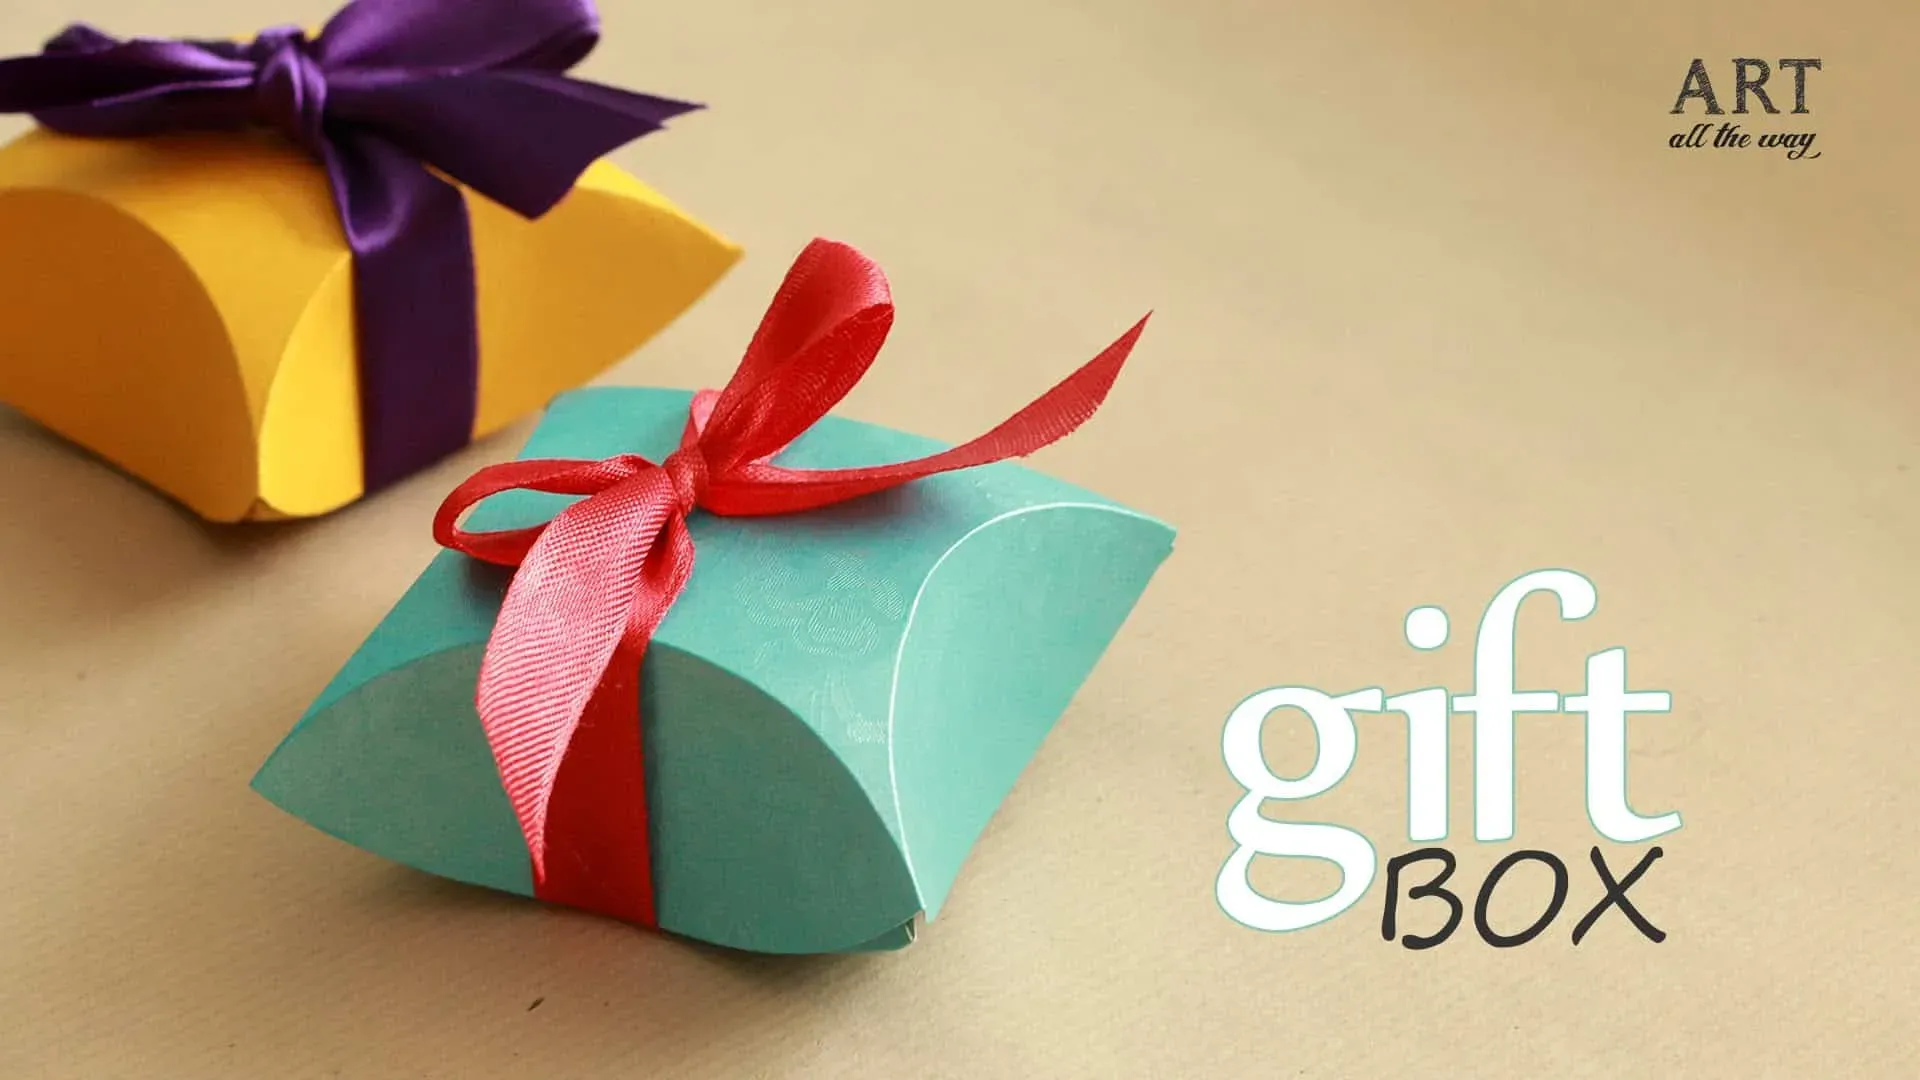
so you've mastered the basic cardboard structure when you diy a gift box. That's a solid start. But who says you're limited to the inside of a cereal box or a repurposed Amazon delivery? This is where you get to play. Think about texture, color, and pattern. Instead of just plain paper, consider using old maps, sheet music, fabric scraps, or even thin pieces of reclaimed wood veneer if you're feeling ambitious. Wallpaper samples are fantastic – they're usually free, come in wild patterns, and are sturdy. The material you choose sets the tone before anyone even sees what's inside, turning a simple container into part of the gift itself.
Level Up Your DIY Gift Box with Unique Touches
Level Up Your DIY Gift Box with Unique Touches
Dress it Up: External Embellishments
Making the basic box is just the foundation. Now comes the fun part: making it look like you didn't just fold up some old cardboard (even if you did). This is where you turn your functional container into a piece of art. Think beyond wrapping paper. Use paint, stamps, stencils, or even fabric scraps to cover the exterior. Maybe you have some old lace, buttons, or ribbon lying around? Those can add texture and visual interest.
Consider the person you're giving the gift to. Are they minimalist? A simple tied ribbon and a sprig of evergreen might be perfect. Are they maximalist? Go wild with glitter, sequins, feathers, or even small toys glued onto the lid. I once made a box for a friend who loves vintage maps and covered it entirely with pages from an old atlas. It looked fantastic and cost next to nothing. The goal here is to make the outside hint at the thoughtfulness inside, not just hide it.
Inside Secrets: Linings and Fillers
The outside gets the first look, but the inside reveals the true care you put in. Don't just plop the gift onto bare cardboard. Line the box with something soft and appealing. Tissue paper is the classic, but you can use felt, silk scraps, or even crinkled paper shred in a coordinating color. For something delicate, a layer of cotton batting or soft fleece works wonders.
What about the filler? Forget that cheap, annoying plastic stuff that static clings to everything. Use shredded paper (run old documents through a shredder for free filler!), wood shavings, natural moss, or even popcorn (unbuttered and unsalted, obviously). These small details make the act of opening the diy a gift box feel more luxurious and considered. It's the difference between receiving a package and uncovering a treasure.
- Shredded paper
- Crinkled paper shred
- Tissue paper
- Felt or fabric scraps
- Wood shavings
- Natural moss
- Cotton batting
Personal Flourishes: Adding Identity
This is where your diy a gift box becomes truly unique. Standard gift tags are fine, but attaching a small, personalized element makes a big impact. Maybe it's a handwritten note tucked under the ribbon, a small photo glued to the inside lid, or even a charm or button related to an inside joke you share with the recipient. If the gift is for a specific occasion, incorporate elements related to it – dried flowers for a spring birthday, miniature ornaments for Christmas, or confetti for a celebration.
Think about using stamps with their initial, drawing a small illustration that references something they love, or even adding a scent by tucking in a small sachet of dried lavender. These aren't huge, expensive additions, but they show you were thinking specifically of them when you created the box. It’s these tiny, deliberate touches that elevate a handmade box from "nice effort" to "wow, you really get me."
Beyond the Basics: More Ideas to DIY a Gift Box
Beyond the Basics: More Ideas to DIY a Gift Box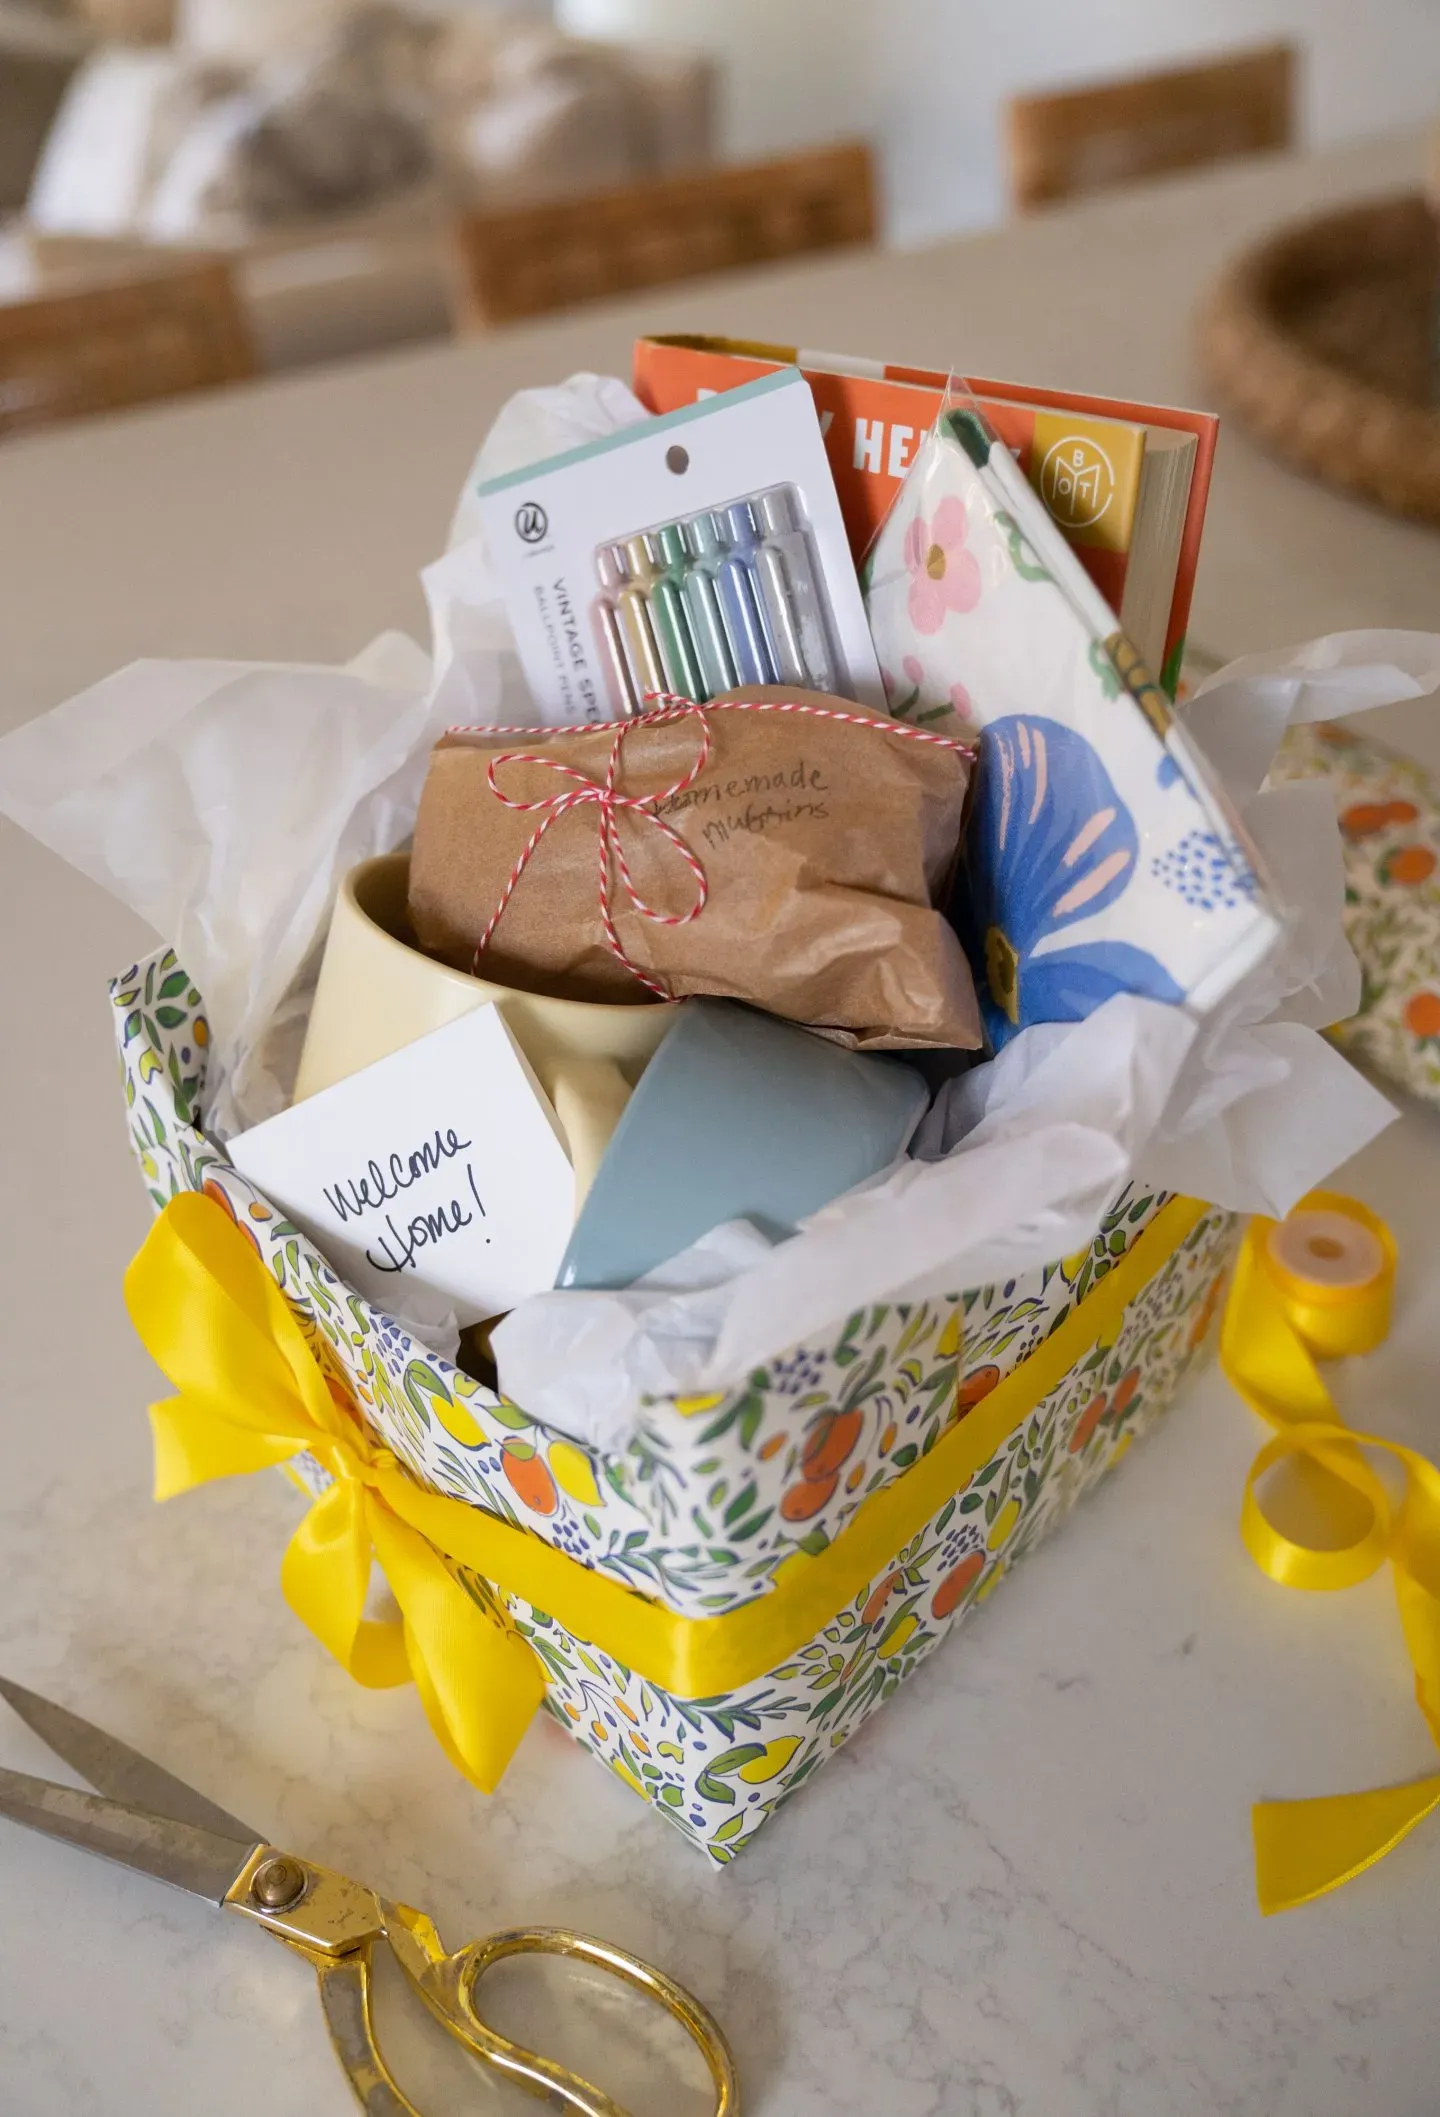
so you've mastered the basic box structure and decorating a simple shape. Ready to get a little more adventurous with your efforts to diy a gift box? This is where things get really interesting. You're no longer limited to squares and rectangles. Think about making a pillow box from a paper towel tube, or an origami box that requires no glue at all – just precise folding. You can craft boxes in the shape of hearts, stars, or even miniature houses. For something more durable, consider using thin wood sheets or even repurposing old tin cans by covering them creatively. It takes a bit more patience and maybe a different set of tools, but the result is a truly unique container that stands out from the crowd and definitely won't get tossed aside immediately after the gift is opened. It's about pushing the boundaries of what you thought a simple box could be.
Wrapping It Up: Your DIY Gift Box Accomplished
So there you have it. You've navigated the surprisingly straightforward process to diy a gift box that didn't come from aisle 7 of the drugstore. You've seen how simple materials can be transformed, how a bit of effort yields a result far more personal than mass-produced packaging. It wasn't rocket science, just cutting, folding, maybe a little glue, and a willingness to make something yourself. The recipient gets a gift wrapped with actual thought, and you saved yourself a trip and a few bucks. Not a bad trade-off for a bit of paper and patience.