Table of Contents
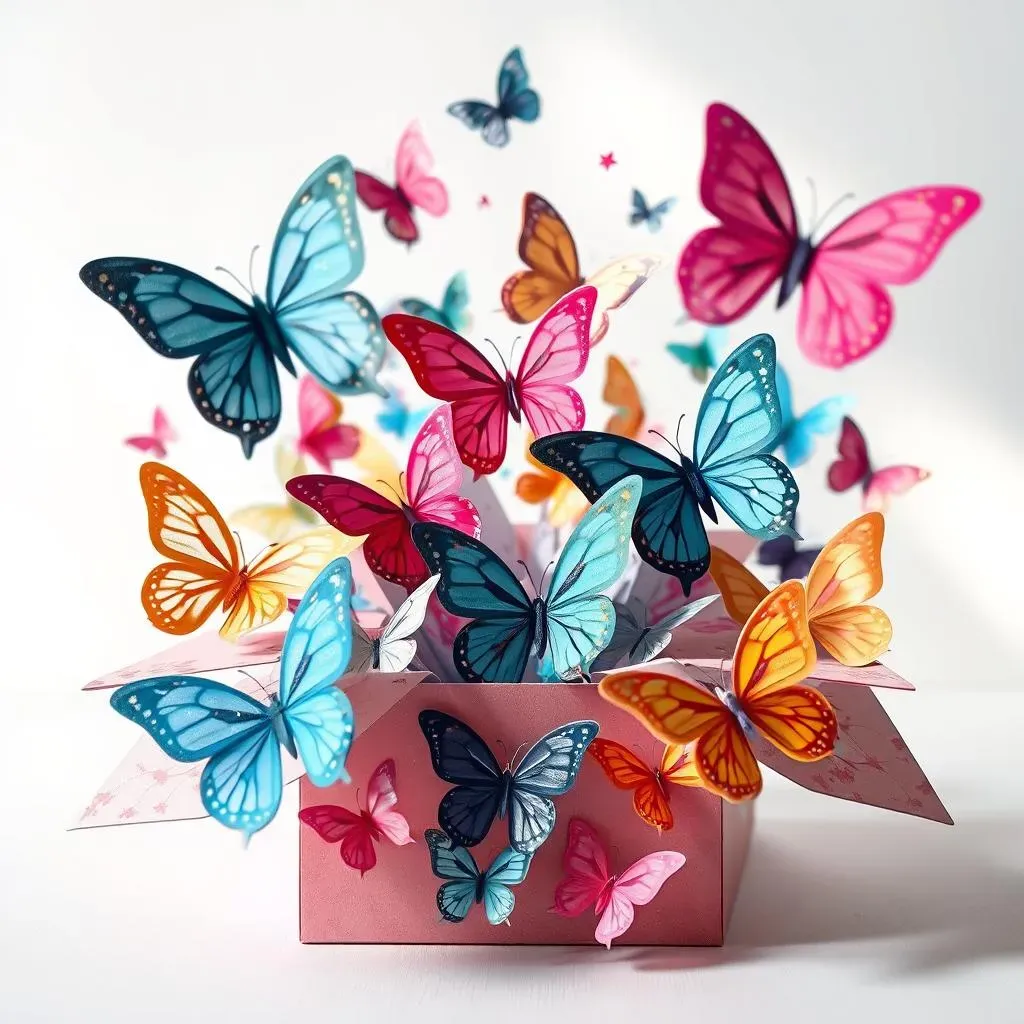
Want to wow someone with a gift that's a bit extra? Forget boring old boxes! Let's make a **diy explosion gift box with butterflies** that’ll have them saying, "Whoa!" This isn't your average present; it's a burst of fun and surprise all wrapped up in one. Think of it: they lift the lid, and a flutter of paper butterflies springs out, revealing a hidden treat or message. Sound cool? It is! We'll walk you through each step. First, we'll gather the stuff you need. Then, we'll get crafty making those adorable butterflies. Next up, we'll build the box itself. Finally, we'll put it all together to create that awesome explosion effect. Get ready to make a gift that's as fun to give as it is to receive!
Gathering Supplies for Your DIY Explosion Gift Box with Butterflies
Gathering Supplies for Your DIY Explosion Gift Box with Butterflies
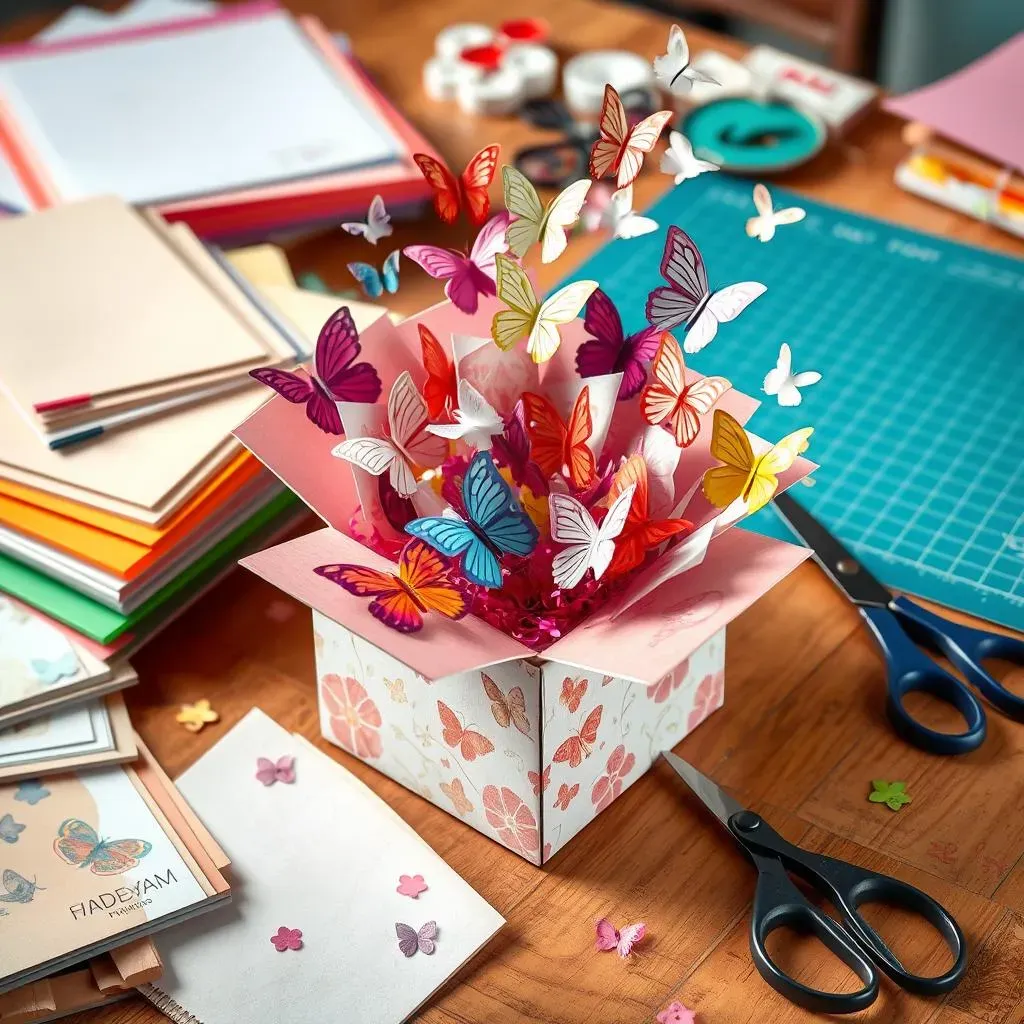
Alright, so you're itching to make one of these cool butterfly explosion boxes? Awesome! First things first, let's raid your craft stash (or, you know, make a quick trip to the store). You won't need a ton of fancy stuff, which is always a win. Think of it like gathering ingredients for a recipe, but instead of cookies, you're baking up a surprise. The main players here are paper, something to cut it with, and a few bits and bobs for the butterfly magic. Don't worry, it's more fun than a chore!
For the box itself, some sturdy cardstock is your best friend. Think about the colors you want to use – maybe something bright and cheerful, or perhaps something more elegant? Scrapbook paper works great too; it often comes in awesome patterns. Then, for the butterflies, you'll want some lighter paper so they can actually flutter. Pretty colors or even patterned paper will make them pop. Grab a ruler, a pencil for marking, and some good scissors or a craft knife. A cutting mat is a lifesaver if you're using a craft knife, trust me on this. Oh, and don't forget the glue! A glue stick or some double-sided tape will be your go-to for sticking things together. Almost there!
Supply | Why You Need It |
|---|---|
Cardstock or Scrapbook Paper | For the box structure – needs to be sturdy. |
Lightweight Paper | For the butterflies – needs to flutter easily. |
Ruler & Pencil | For measuring and marking your cuts. |
Scissors or Craft Knife | For cutting the paper accurately. |
Cutting Mat (if using craft knife) | Protects your work surface. |
Glue Stick or Double-Sided Tape | For assembling the box and attaching elements. |
Crafting the Butterflies for Your DIY Explosion Box
Crafting the Butterflies for Your DIY Explosion Box
Cutting Out Your Fluttering Friends
Now for the stars of the show: the butterflies! Grab that lightweight paper you picked out. Think about how many butterflies you want to burst out of your box. A good handful makes for a nice surprise. You can totally freehand these, or if you're like me and like things a bit more uniform, find a butterfly template online. There are tons of free ones you can print out. Cut out a template, then trace it onto your colorful papers. Stack a few sheets together if your scissors are sharp – it's a little shortcut to making a bunch at once. Just be careful those layers don't slip while you're cutting. Imagine a mini butterfly assembly line happening right on your desk!
Don't stress too much about making each butterfly identical. Just like in nature, a little variation makes them even more interesting. Once you've got a pile of cut-out butterflies, you can get fancy. Maybe add some glitter? Or draw on some wing details with a fine-tip marker? Get creative! This is where your personality can really shine through. Think about the person you're making this for – what colors do they love? Do they have a favorite type of butterfly? Little touches like that make the gift extra special.
Tip | Why It Helps |
|---|---|
Use thin paper | Thinner paper makes for easier fluttering. |
Vary the sizes | Different sizes add visual interest to the "explosion". |
Add small details | Draw patterns or add glitter for extra flair. |
Assembling the Explosion Gift Box
Assembling the Explosion Gift Box
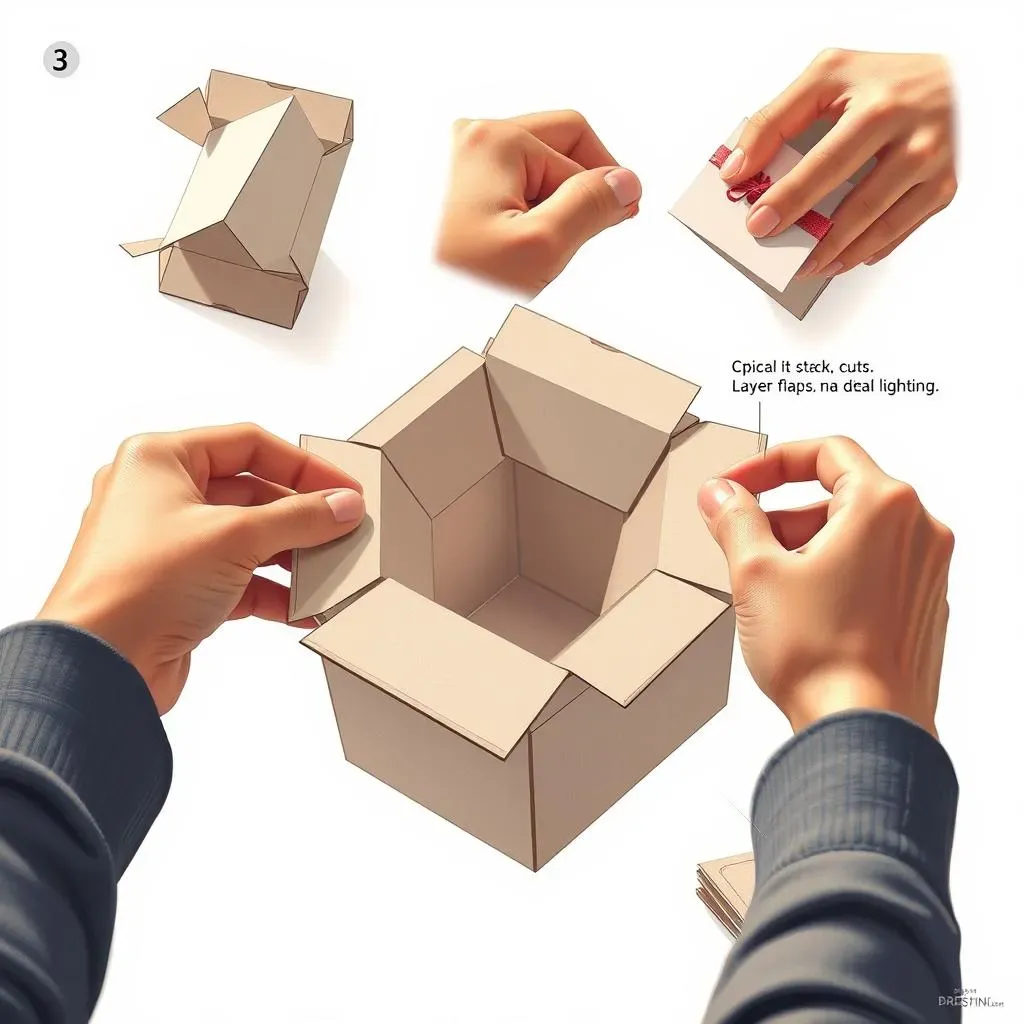
Alright, now for the really fun part – putting this whole shebang together! Think of it like building a little paper puzzle. You've got your sturdy cardstock, right? You're going to cut out a base and sides for your box. Imagine a regular box, but with extra flaps that fold inwards. These inner flaps are key – they're what the butterfly layers will attach to. Cut different sized squares, each one slightly smaller than the last. This creates that cool layered effect when the box "explodes." Score the fold lines before you cut; it makes for super crisp edges. Nobody likes a floppy box!
Adding the Flutter: Making Your Butterfly Explosion Gift Box Special
Adding the Flutter: Making Your Butterfly Explosion Gift Box Special
Creating the "Explosion" Mechanism
So, how do we get these butterflies to actually fly out? It's simpler than you might think! Grab some thin, clear tape – the kind that disappears on paper is perfect. Take one of your beautiful paper butterflies and gently fold it in half, creasing the body. Now, open it back up. Take a small piece of tape and attach one side of the butterfly's body to the inside of one of those inner flaps we talked about. Make sure the butterfly can still open its wings a bit. Do this with all your butterflies, spacing them out on the different layers of the box. Think of it like planting little surprises that are ready to pop up!
The key here is not to tape the wings down. You want them to be free to move. When the box is closed, the sides will gently fold the butterflies, creating a bit of tension. Then, when the lid comes off…surprise! They spring open. It’s kind of like a jack-in-the-box, but way more elegant and with significantly less creepy clown potential.
Making Those Butterflies Pop
Want to make the flutter even more dramatic? Try this little trick. Before taping the butterflies down completely, give their wings a slight curl. You can do this by gently wrapping them around a pencil or your finger. This pre-curling adds a little extra springiness, so when the box opens, those butterflies will really take flight. It’s like giving them a tiny head start on their grand exit. Also, consider the weight of your butterflies. Super thick paper might not flutter as well. Lightweight paper is your friend here. Think about how a real butterfly's wings are delicate and thin – that's the effect we're going for.
Tip for Extra Flutter | How to Do It |
|---|---|
Pre-curl the wings | Gently wrap the wings around a pencil. |
Use lightweight paper | Thinner paper flutters more easily. |
Don't over-tape | Ensure wings can still move freely. |
Adding the Final Touches and Surprises
Now for the really fun part – adding the actual gift or message! The center of the explosion box is the perfect spot. You can place a small gift, like jewelry or a gift card, right in the middle. Or, write a sweet message on a little card and tuck it in there. Think about what would make the recipient smile the most. Maybe even add some confetti for an extra burst of celebration! Close the box carefully, making sure all those butterflies are tucked inside and ready to make their grand appearance. Imagine the look on their face when they open it – pure joy, hopefully!
Wrapping Up Your Butterfly Surprise
So, there you have it! You've gone from simple supplies to a truly unique and memorable gift. Making a diy explosion gift box with butterflies isn't just about crafting; it's about creating a little moment of joy and surprise for someone special. Go ahead, give it a try, and get ready for some happy reactions!