Table of Contents
Ever found yourself scrambling for a gift bag just before heading out to a party? Or maybe you're tired of the generic, store-bought options that don't quite capture the thoughtfulness of your gift? Well, say goodbye to those last-minute panics! This guide is your ticket to mastering the art of the **diy gift bag**. We'll show you how to transform ordinary wrapping paper into personalized, stylish containers perfect for any occasion. Get ready to learn easy-peasy techniques using wrapping paper you probably already have. We’ll walk through a simple step-by-step process to create your own gift bags. Plus, we'll explore fun and creative ways to add your personal touch, making each **diy gift bag** truly special. Finally, we'll touch on why making your own gift bags is not just crafty, but also a smart choice. Ready to ditch the store-bought and embrace your inner maker?
Easy DIY Gift Bag Techniques with Wrapping Paper
Easy DIY Gift Bag Techniques with Wrapping Paper
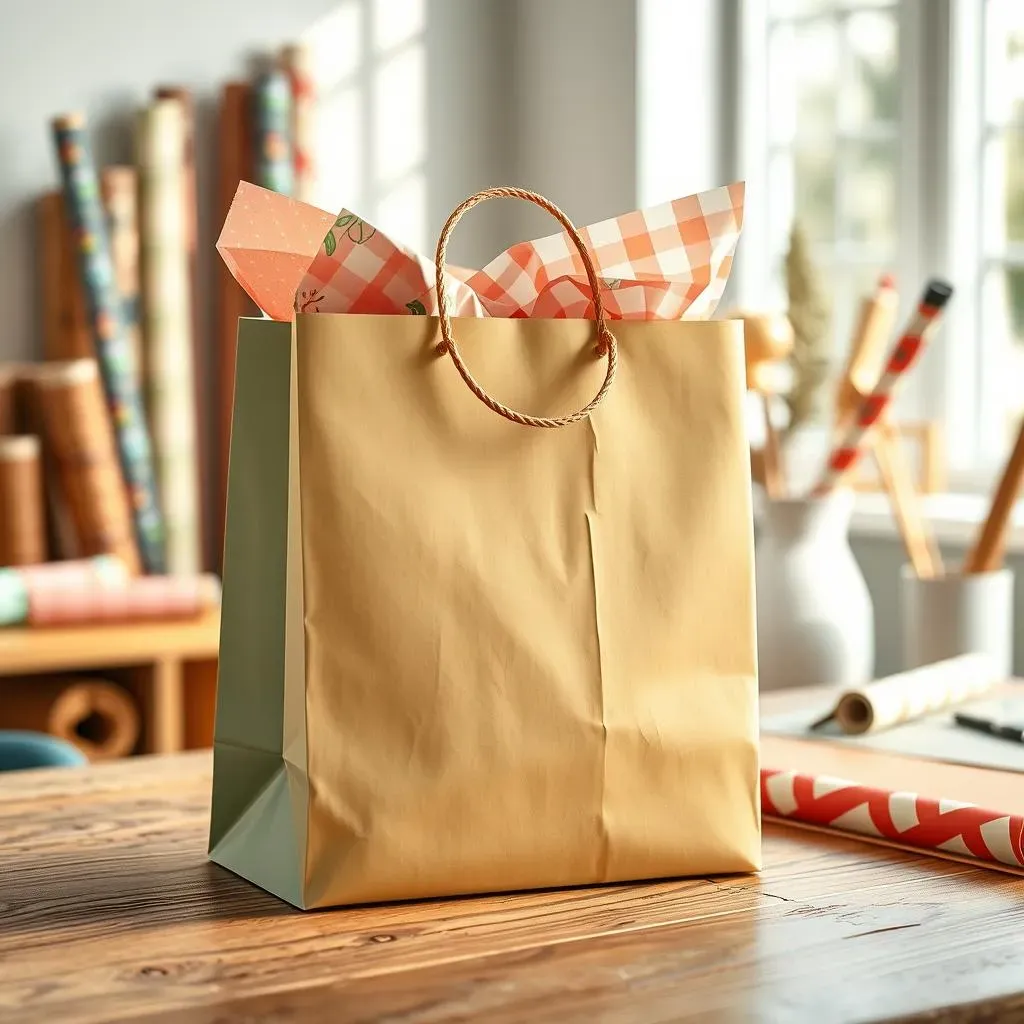
Alright, let's get real about making gift bags. You don't need fancy tools or years of crafting experience to whip up something cute. The most basic trick? Think of it like folding a paper grocery bag, but with way more style. Grab your favorite roll of wrapping paper – yeah, that one hiding in the closet – and let's get started. It's all about a few clever folds and some strategic tape placement. Seriously, it's so simple a ten-year-old could nail it (and probably will, once they see you!). Here's a quick rundown of what you'll generally need:
Materials | Why You Need It |
|---|---|
Wrapping Paper | Duh, it's the bag! Choose a fun design. |
Scissors | For clean cuts. Nobody likes a jagged edge. |
Tape or Glue | To hold it all together. Tape is quicker, glue is stronger. Your call. |
Ribbon or Twine (Optional) | For handles or extra flair. Makes it look fancy. |
StepbyStep Guide to Your DIY Gift Bag
StepbyStep Guide to Your DIY Gift Bag
The Fold and Secure
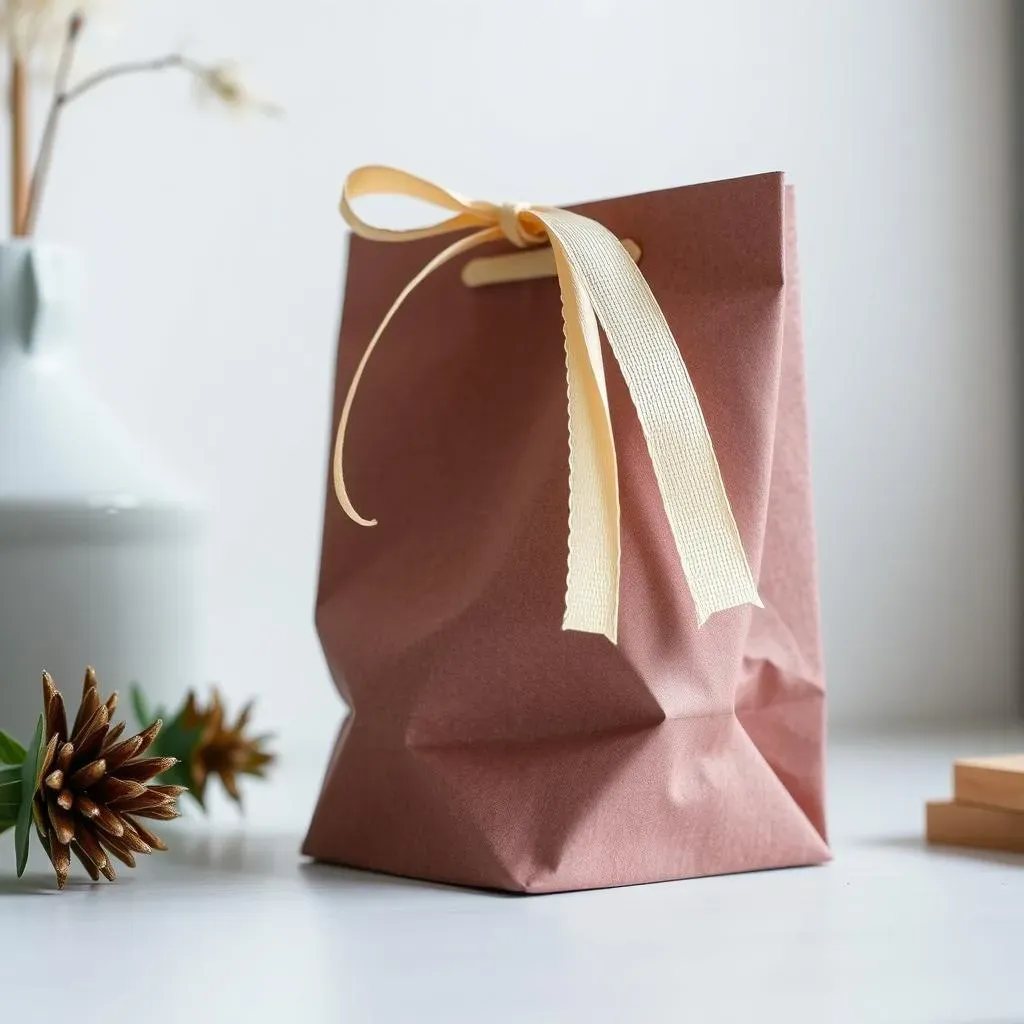
Okay, so you've got your paper. Lay it face-down on a flat surface. Imagine you're wrapping a book, but instead of folding the short ends in, you're bringing the long sides together. Overlap them by about an inch – enough to stick some tape in there and make it stay put. Don't be shy with the tape; a flimsy bag is a sad bag. Think of it like giving your bag a big hug to hold it together.
Bottom's Up (Literally)
Now for the bottom. This is where the magic happens. Fold up the bottom edge by a couple of inches – this will be the depth of your bag. Crease it nicely. Then, open up those folded flaps you just made and flatten them into diamond shapes on either side. It might look a bit like origami gone wrong at first, but trust the process. Fold the top and bottom points of the diamond shapes towards the center, overlapping them slightly. Another strip of tape here will secure the bottom. Boom! You've got a base.
Handle with Care (Optional, But Cute)
Want to get fancy? Let's add handles. Take your ribbon or twine. Punch two small holes at the top of your bag on opposite sides. You can use scissors carefully if you don't have a hole punch, but ask a grown-up for help! Thread the ribbon through the holes and tie a knot on the inside. Repeat on the other side. Ta-da! You've got a handle. If you're feeling extra creative, you can braid the ribbon or use different colors. Or, if you're feeling lazy (no judgment here), just skip the handles. It's still a perfectly good bag.
Creative DIY Gift Bag Ideas and Embellishments
Creative DIY Gift Bag Ideas and Embellishments
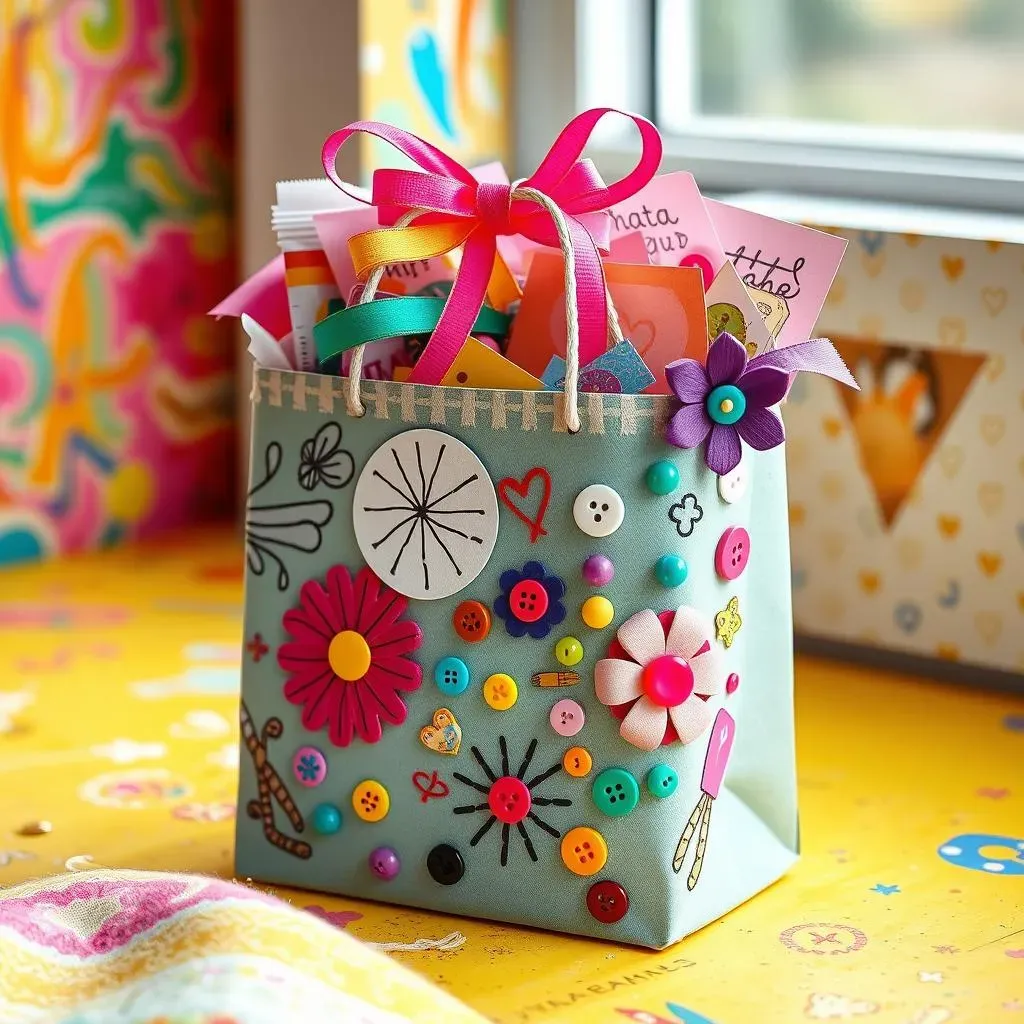
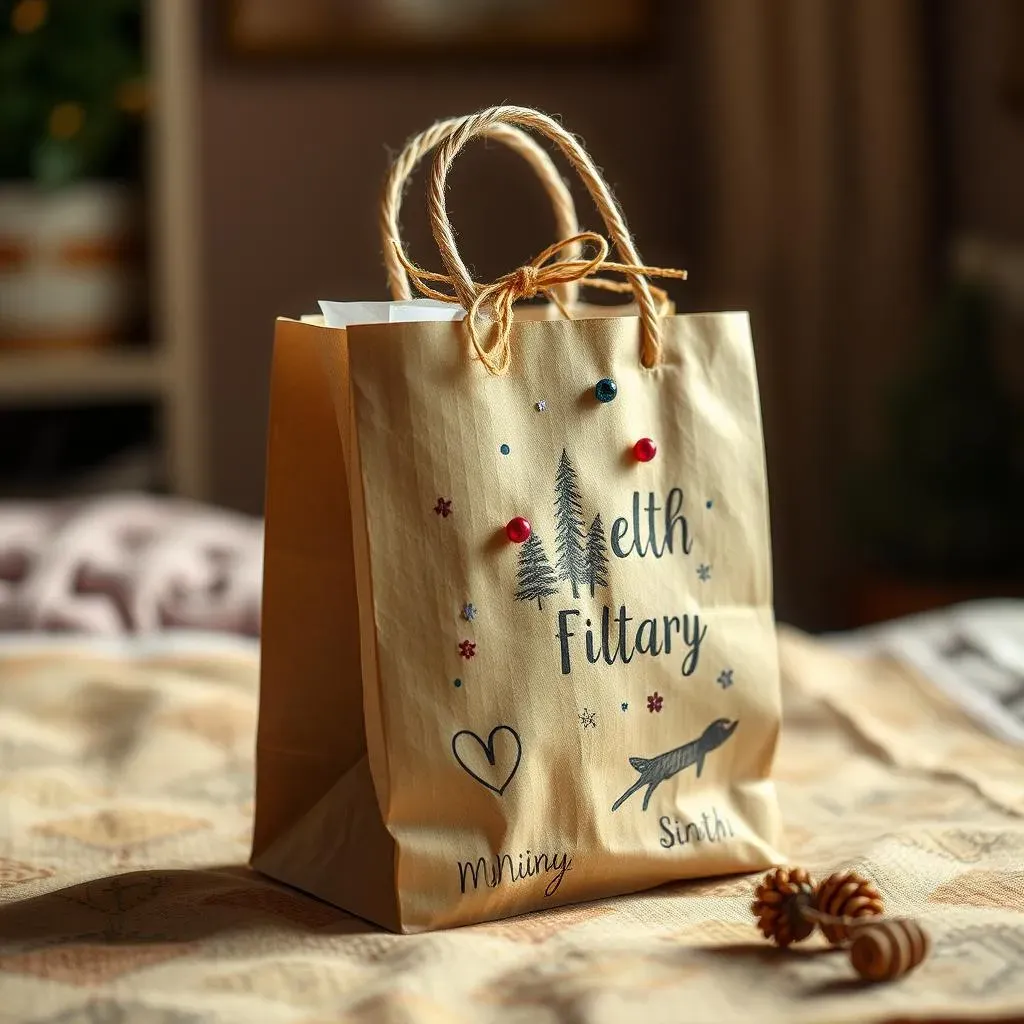
Now that you've got the basic bag down, let's crank up the fun! Seriously, this is where you can let your inner artist loose. Think beyond just plain wrapping paper. Got some old maps lying around? Boom, instant vintage vibe. Kids' artwork? Grandparents will absolutely eat that up. Even newspaper can look cool with the right ribbon. And when it comes to jazzing them up, the sky's the limit. Grab some markers and doodle on a design. Got extra buttons? Glue 'em on! A few strategically placed stickers can work wonders too. Don't underestimate the power of a simple, elegant ribbon tied in a fancy bow. It's like the cherry on top of your gift bag sundae.
Embellishment Idea | Why It's Awesome |
|---|---|
Hand-drawn designs | Adds a personal, heartfelt touch. |
Decorative stickers | Quick, easy, and tons of options. |
Ribbons and bows | Classic and always looks polished. |
Buttons or beads | Adds texture and a bit of whimsy. |
Stamps or stencils | Great for creating repeating patterns. |
Why Choose a DIY Gift Bag?
Why Choose a DIY Gift Bag?
Seriously, why bother making your own gift bag when the store has a whole aisle of them? Well, for starters, think about the planet. All those store-bought bags? They often end up crumpled in the trash after one use. Making your own is way more eco-friendly, especially if you're using paper you already have. Plus, let's be honest, it's way more personal. A handmade bag shows you put in a little extra effort, which is always a nice touch. And hey, it can actually save you money! That roll of wrapping paper you got on sale? It can make a whole bunch of bags. Think of all the extra candy you can buy with the savings!
Reason to DIY | Why It's a Good Idea |
|---|---|
Eco-Friendly | Reduces waste and reuses materials. Good for the planet, good for you. |
Personal Touch | Shows you care enough to put in the effort. Way better than generic. |
Cost-Effective | Saves money compared to buying new bags every time. More money for the gift! |
Creative Outlet | A chance to get crafty and express yourself. Unleash your inner artist! |
Wrapping Up Your DIY Gift Bag Project
So there you have it! Crafting your own diy gift bag is easier than you might think, isn't it? From the simple folds to the creative embellishments, you now have the power to turn ordinary wrapping paper into something special. Not only will your gifts look fantastic, but you'll also add that extra touch of thoughtfulness that only a handmade item can provide. Go ahead, impress your friends and family with your newfound gift-wrapping skills!