Table of Contents
Ever found yourself with a perfectly quirky gift but no bag that quite fits? Or maybe you're just tired of those generic, store-bought gift bags? There's a super simple and fun solution: making your own! A DIY gift bag from wrapping paper is not only a lifesaver for those odd-shaped presents, but it also adds a personal touch that shows you care. This guide will walk you through the surprisingly easy steps to create your own custom gift bags. We'll cover everything from the basic materials you'll need – which are probably already lying around your house – to the simple folds and tapes that transform a sheet of wrapping paper into a stylish carrier. Get ready to ditch the store-bought options and unleash your inner crafting genius with this straightforward method for creating a fantastic DIY gift bag from wrapping paper that's as unique as the gift inside.
MustHave Materials for Your DIY Gift Bag from Wrapping Paper
MustHave Materials for Your DIY Gift Bag from Wrapping Paper
The Essentials: What You Absolutely Need
Alright, so you're ready to make your own gift bags? Awesome! First things first, let's round up the must-have stuff. Think of it like gathering your superhero tools for a crafty mission. You can't build an awesome gift bag without the right gear, right? The good news is, you probably already have most of this stuff lying around. It's all pretty basic, nothing too fancy needed here.
Beyond the Basics: Nice-to-Haves for Extra Flair
Okay, now for the things that aren't strictly essential but can really take your gift bag game up a notch. These are the bits and bobs that let you add your own personality and make the bag extra special. Think of it as adding sprinkles to your already delicious cupcake. It’s good without them, but even better with!
- Scissors or a Paper Cutter: For clean, straight cuts – nobody likes a jagged edge!
- Scotch Tape (or Double-Sided Tape): The unsung hero holding it all together. Double-sided is especially neat for hiding those tape lines.
- Wrapping Paper: Duh! But seriously, pick something you love. Thicker paper works best for sturdiness.
- Ruler or Straight Edge: For precise folding – makes a big difference in the final look.
StepbyStep Guide: Crafting Your DIY Gift Bag
StepbyStep Guide: Crafting Your DIY Gift Bag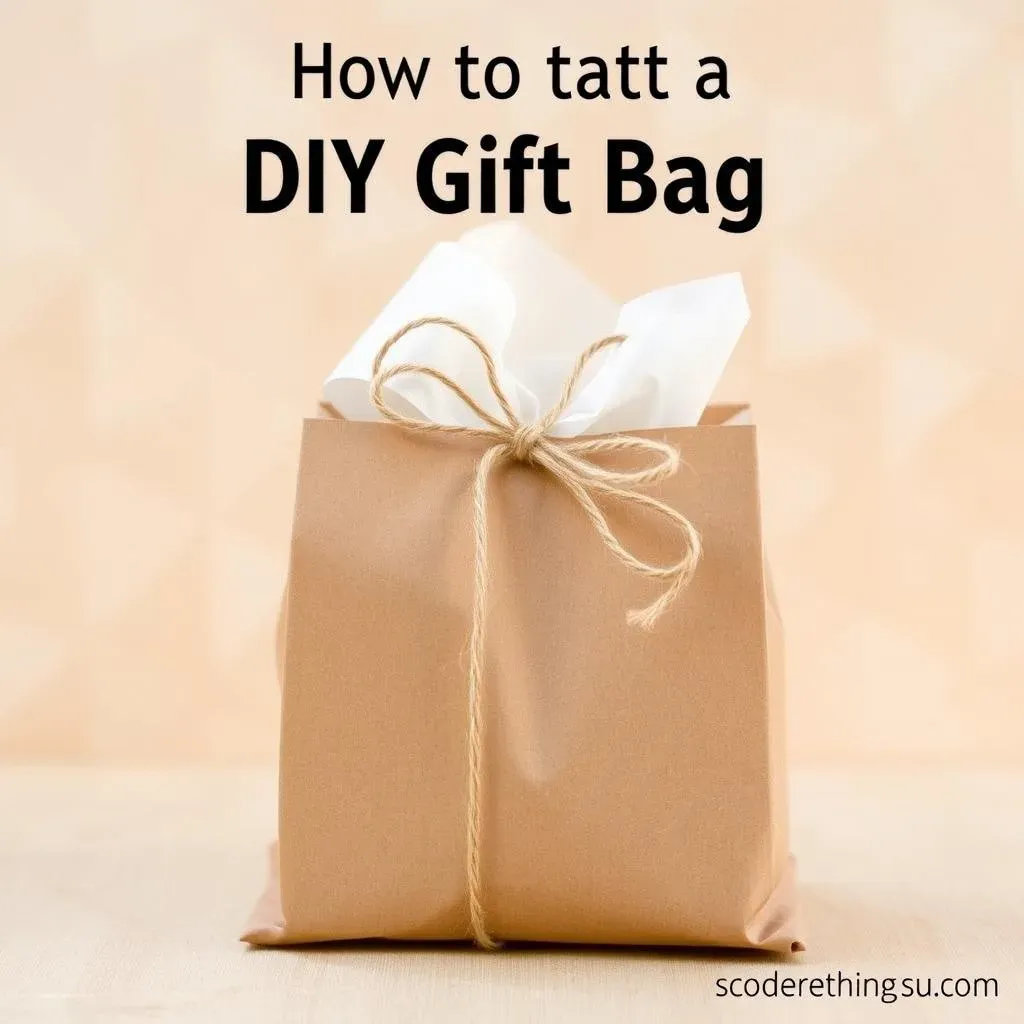
Alright, let's get to the fun part – actually making the bag! Don't worry, it's not origami-level complicated. Think of it like folding paper airplanes, but instead of soaring through the air, this creation will hold awesome gifts. First, you'll want to figure out how big you want your bag. A good rule of thumb is to lay your gift on the wrapping paper and imagine wrapping it, leaving a bit of extra space on the sides and top. Once you've got your size in mind, cut the paper. Now, here’s a little cheat sheet to get you started:
- Measure and Cut: Give your gift some breathing room!
- Fold One Side: Bring one long edge almost to the center and tape it down.
- Fold the Other Side: Do the same with the other long edge, overlapping the first one slightly and taping it. You’ve basically made a tube!
Creative Twists to Elevate Your Wrapping Paper Gift Bag
Creative Twists to Elevate Your Wrapping Paper Gift Bag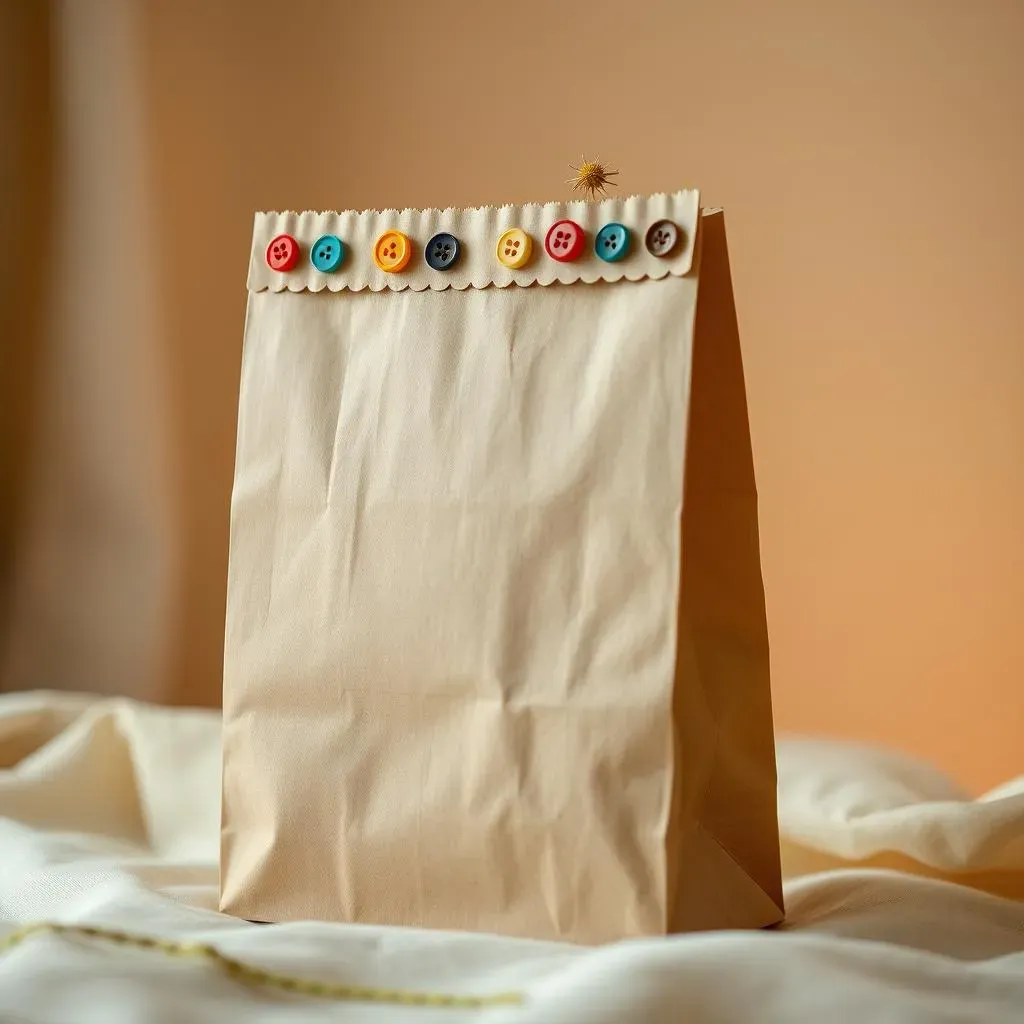
Beyond the Basic Fold: Adding Flair
So, you've mastered the basic gift bag – that's awesome! But what if you want to kick things up a notch? Think about adding some extra pizzazz. It's like going from a plain t-shirt to one with a cool graphic. One super easy trick is to create a decorative top edge. Instead of just folding it over, try using fancy scissors with wavy or zig-zag blades for a fun border. Or, punch some decorative holes along the top edge and thread a ribbon through. This not only looks great but also acts as a drawstring closure. Another simple idea? Add some embellishments! Got some spare buttons, stickers, or even dried flowers? A little dab of glue can transform your simple bag into a work of art.
Making it Extra Special: Personalized Touches
Want to make your gift bag truly unforgettable? Personalization is key! It shows the recipient that you put in extra thought and effort. Think about it – a generic bag is fine, but a bag with their name on it? That's special! Grab a marker and doodle a design or write a short message on the bag. If you're feeling extra crafty, you could even cut out letters from different colored paper and glue them on to spell out their name or initials. Another cool idea is to match the decorations to the theme of the gift or the occasion. For a birthday gift, add some colorful confetti inside the fold-over. For a holiday gift, use themed stickers or ribbons. It's all about adding those little details that make a big impact.
Creative Twist | How to Do It | Why It's Awesome |
|---|---|---|
Decorative Edge | Use fancy scissors or hole punch and ribbon. | Adds visual interest and a unique touch. |
Embellishments | Glue on buttons, stickers, or small trinkets. | Makes the bag more personal and festive. |
Personalization | Draw, write, or glue on names or messages. | Shows extra thought and makes it memorable. |
Why Make Your Own: The Charm of a DIY Gift Bag from Wrapping Paper
Why Make Your Own: The Charm of a DIY Gift Bag from Wrapping Paper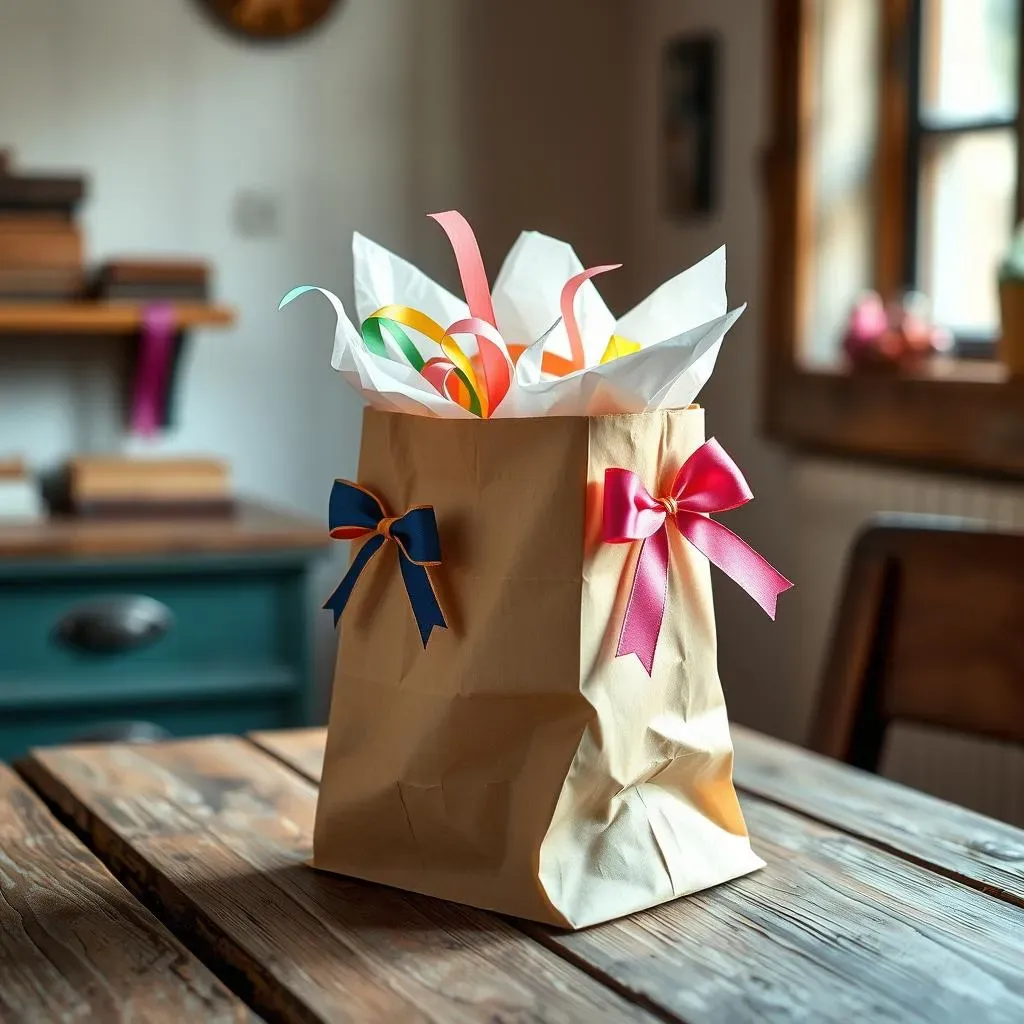
Save Some Cash, Look Extra Thoughtful
Let's be real, those cute gift bags at the store? They can be surprisingly pricey. I mean, you're just gonna rip it open anyway, right? Making your own DIY gift bag from wrapping paper is a total win-win. You save your hard-earned cash for, you know, actual gifts, or maybe a celebratory coffee. Plus, there's something undeniably charming about a homemade touch. It screams, "I put in effort!" rather than, "Oops, I almost forgot a bag and grabbed the first one I saw near the checkout." Which, let's face it, we've all been there.
Unleash Your Inner Creative Genius (It's in There Somewhere!)
Seriously, think of a DIY gift bag from wrapping paper as your blank canvas. You get to be the artist! Got some wild wrapping paper leftover from the holidays? Perfect! Want to add some funky ribbons or maybe even bedazzle the whole thing? Go for it! It’s a chance to let your personality shine through. And honestly, there's a real satisfaction in making something yourself. It's way more rewarding than just grabbing a generic bag off the shelf. Plus, you can totally customize it to match the gift inside or the personality of the person receiving it. Try doing *that* with a store-bought bag.
It's Just... Nicer, Okay?
Okay, maybe "nicer" isn't the most sophisticated word, but it's true! A DIY gift bag from wrapping paper just feels more personal. It shows you took a little extra time and care. In a world of mass-produced everything, that little handmade touch can make a real difference. It's like the difference between a handwritten note and a generic email. One feels like it came from the heart, the other... well, you get the picture. So next time you're wrapping a gift, skip the store and grab some wrapping paper. You might just surprise yourself (and the recipient!) with what you create.
Benefit | Why It's Great |
|---|---|
Saves Money | More cash for the gift (or treats for yourself!). |
Creative Outlet | Unleash your inner artist and personalize away. |
Adds a Personal Touch | Shows you care more than a generic bag. |
Wrapping it Up: Your Personalized DIY Gift Bag from Wrapping Paper
So there you have it! Creating your own DIY gift bag from wrapping paper is a simple yet satisfying way to add a personal flair to any gift. Not only is it a practical solution for those awkwardly shaped items, but it also lets you showcase your creativity and thoughtfulness. Ditch the generic store-bought bags and embrace the charm of a handmade touch. With just a few simple steps, you can transform ordinary wrapping paper into a unique and beautiful presentation that's sure to impress.