Table of Contents
Tired of those generic, store-bought gift bags that scream "last minute"? Want to add a personal touch to your presents without breaking the bank? Then you've come to the right place! In this guide, we're diving headfirst into the wonderful world of DIY gift bags. Forget flimsy paper and predictable designs. We're talking about crafting unique, eye-catching gift bags that show you truly care. Ready to ditch the store-bought and unleash your inner creative? We'll walk you through everything from gathering your essential materials to mastering a simple step-by-step process for creating beautiful bags. Plus, we'll share tons of inspiring ideas to personalize your diy gift bags and make each gift extra special. Let's get crafting!
Why Choose DIY Gift Bags? Ditch StoreBought & Go Handmade
Why Choose DIY Gift Bags? Ditch StoreBought & Go Handmade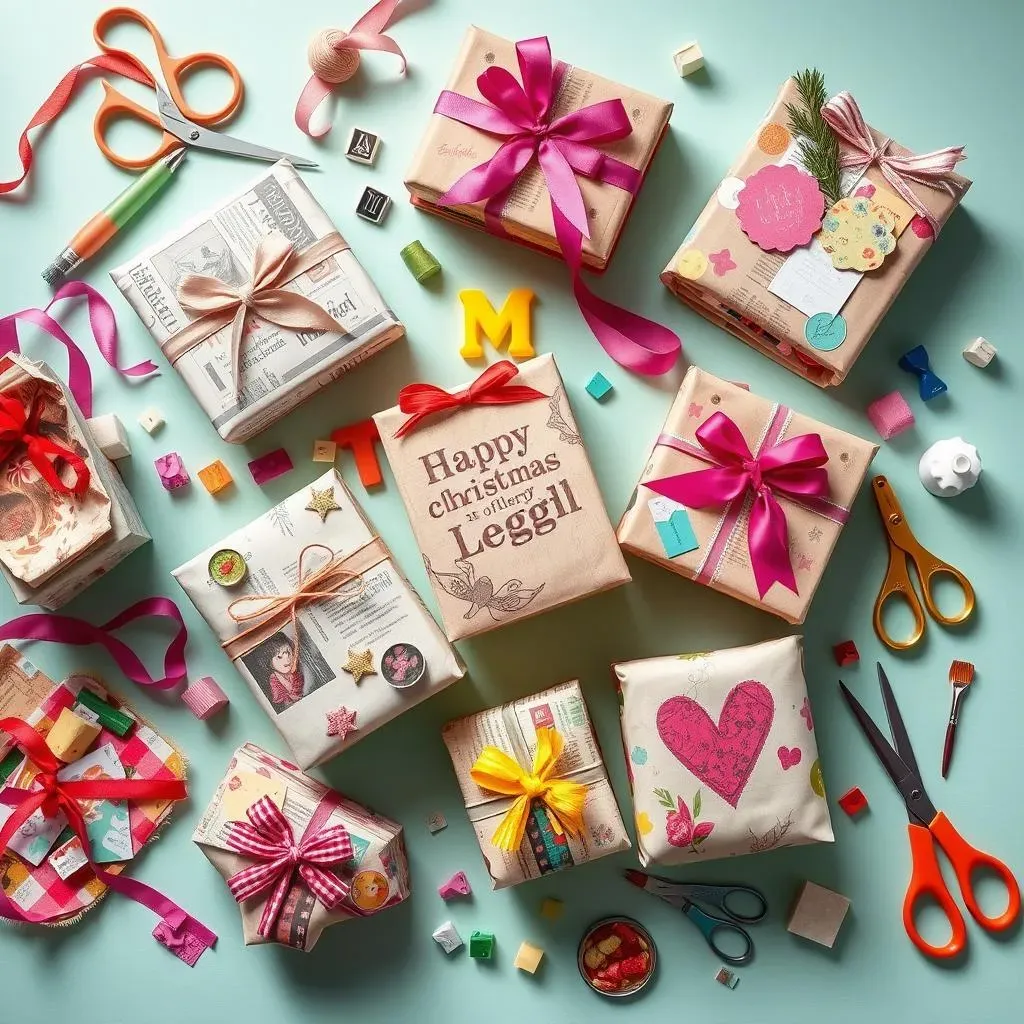
Show You Care with a Personal Touch
Let's be real, grabbing a generic gift bag from the store is easy. But doesn't it feel a little… impersonal? When you opt for diy gift bags, you're instantly adding a layer of thoughtfulness that store-bought just can't match.
It’s like saying, "Hey, I didn't just grab the first thing I saw. I actually put in time and effort to make something special for you." That personal touch speaks volumes, showing the recipient you went the extra mile. And in a world of mass-produced everything, a handmade touch truly stands out.
Save Cash & Go Green with DIY
Think about all those gift bags you've bought over the years. They can be surprisingly pricey, especially the nicer ones! Making diy gift bags is a fantastic way to save money. You can use materials you already have around the house, like wrapping paper scraps, পুরনো newspapers, or even fabric remnants. It's budget-friendly and super resourceful.
Plus, let's talk about sustainability. Store-bought bags often end up tossed in the trash after one use. DIY gift bags can be made from recycled materials, and they're often so cute and well-made that people are more likely to reuse them. It’s a small step towards being eco-conscious, and every little bit helps, right?
DIY Gift Bag Perks | Store-Bought Gift Bag Downsides |
|---|---|
Personalized & Thoughtful | Generic & Impersonal |
Cost-Effective | Can be Expensive |
Eco-Friendly & Sustainable | Often Single-Use & Wasteful |
Creative & Fun to Make | Lacks Creativity & Engagement |
Unleash Your Inner Artist & Get Creative
Honestly, one of the best things about diy gift bags is the sheer creative freedom. You're not limited to whatever patterns and sizes the store has in stock. You get to be the designer! Want a bag that perfectly matches the gift inside or the recipient's personality? Go for it!
Experiment with different papers, ribbons, stamps, drawings – the possibilities are endless. It’s a chance to tap into your creativity, have some fun, and make something truly unique. And trust me, the feeling of handing over a beautifully crafted diy gift bag that you made yourself? Totally satisfying.
MustHave Materials for Effortless DIY Gift Bags
MustHave Materials for Effortless DIY Gift Bags
Paper Power: Your Bag's Best Friend
let's talk paper. This is the heart and soul of your diy gift bags, so choosing the right kind is key. Wrapping paper is the obvious go-to, especially for birthdays or holidays. It comes in a zillion designs, it's easy to fold, and you probably have some scraps lying around already! But don't stop there. Think outside the roll! Scrapbook paper is fantastic because it's thicker and comes in amazing patterns and textures. Cardstock is your heavy-duty option – perfect for sturdier bags that can handle heavier gifts. Even brown kraft paper, the kind used for grocery bags, can be totally transformed with some stamps or drawings for a rustic vibe. Seriously, raid your craft stash and see what paper treasures you uncover!
And hey, pro-tip: consider the size and weight of your gift when picking your paper. Dainty earrings? Pretty patterned tissue paper could work! A chunky sweater? Definitely go for cardstock or a double layer of wrapping paper for extra support. Matching the paper to the present just elevates the whole diy gift bag game.
Tool Time: Essentials for Smooth Sailing
Alright, paper sorted. Now for the trusty tools that will make your diy gift bag creation process smooth as butter. First up: scissors! Sharp scissors are your best friend here. Dull scissors will mangle your paper and lead to frustration. Invest in a good pair, or make sure yours are freshly sharpened. Next, adhesive. Double-sided tape is a game-changer for clean, crisp edges – no messy glue globs! But regular glue or a glue stick works too, especially for larger areas. A ruler is essential for straight lines and precise folds. Trust me, eyeballing it rarely works out perfectly. And lastly, a pencil for marking measurements lightly – you can erase those guidelines later.
Optional but super handy tools? A bone folder – sounds fancy, but it's just a little tool for making super sharp creases in paper, makes your bags look extra professional. And decorative edge scissors for adding a fun trim to the top of your bag. But honestly, with just paper, scissors, tape, and a ruler, you're already set to make some awesome diy gift bags.
Material | Why You Need It |
|---|---|
Wrapping Paper | Versatile, lots of designs, great for general gifts |
Scrapbook Paper | Thicker, decorative, adds a premium feel |
Cardstock | Sturdy, best for heavier gifts, durable bags |
Brown Kraft Paper | Rustic look, eco-friendly, customizable with decoration |
Sharp Scissors | Clean cuts, avoids tearing paper, essential for neat edges |
Double-Sided Tape | Clean adhesive, invisible, perfect for crisp corners |
Ruler | Straight lines, accurate measurements, professional finish |
Easy Peasy StepbyStep Guide to Crafting Stunning DIY Gift Bags
Easy Peasy StepbyStep Guide to Crafting Stunning DIY Gift Bags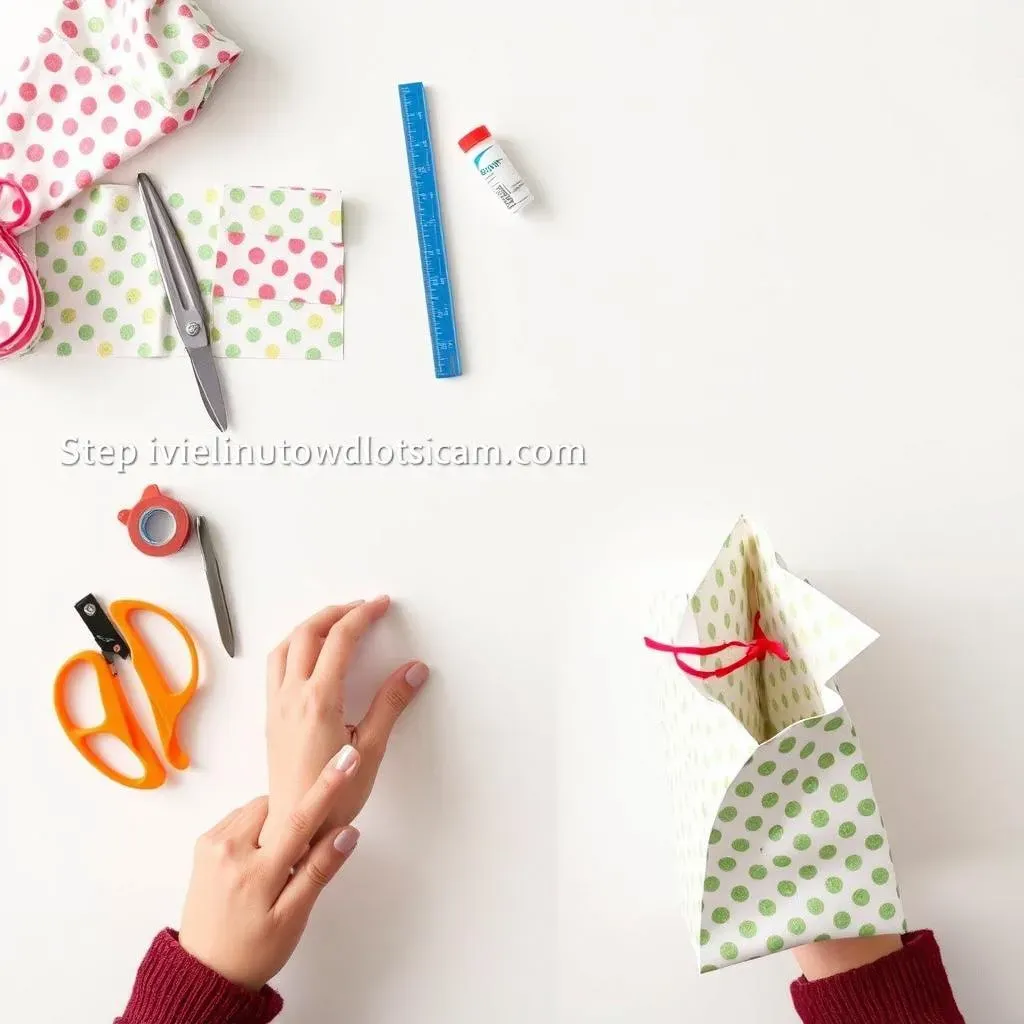
Cut & Fold: The Foundation of Your Fab Bag
Alright, ready to get your hands paper-y? First things first, you gotta decide what size you want your diy gift bag to be. A good starting point is a standard rectangular gift bag shape. Grab your chosen paper and lay it flat, pretty side down. For a medium-sized bag, roughly cut a rectangle about 12 inches wide and 18 inches tall. Don't stress about perfect measurements right now, we'll refine it as we go. Now, fold one of the short sides over by about an inch and crease it sharply – this will be the top edge of your bag. Next, fold both long sides towards the center, overlapping them by about an inch. Crease those folds nice and crisp too. See? Already taking shape!
This overlapping part in the middle is crucial, it forms the back seam of your bag. Make sure it's neat and even. If you're using wrapping paper that's printed on one side, the unprinted side should be facing outwards at this stage. Don't worry, the magic happens when we flip it later! For now, focus on getting those folds straight and secure. A ruler really helps here to keep those lines sharp. Think of it like origami, but way easier and way more rewarding because, hello, gift bag!
Seal, Shape & Stand Tall: Bag Assembly Time
you've got your basic folded rectangle. Time to turn it into a bag that can actually hold stuff! Open up those long folds you just made. See that back seam where the paper overlaps? Apply your double-sided tape or glue along one edge of that overlap. Carefully bring the other edge over and press them together to seal the seam. Run your fingers firmly along the seam to make sure it's stuck tight. Now, for the bottom. Fold up the bottom of your paper by about 3-4 inches, creasing it well. Open up this bottom fold and flatten it into a diamond shape. Those pointy corners of the diamond? Fold them inwards, creasing again. This creates a neat, flat bottom for your bag. Tape or glue those folded corners down to secure the base.
Almost there! To give your diy gift bag that classic gift bag shape, gently push in the sides of the bag from the outside. This will make the sides fold inwards and the bottom pop out, creating those gussets you see in store-bought bags. Give it a little shaping and adjusting until it looks just right. And voila! You've got a basic, but totally functional and cute, diy gift bag! Not so hard, right? Now for the fun part – making it look extra special.
DIY Gift Bag Steps at a Glance:
- Cut paper to desired size.
- Fold top edge.
- Fold long sides to overlap in the center.
- Seal the back seam with tape or glue.
- Fold and shape the bottom.
- Secure bottom folds.
- Push in sides to create gussets.
- Admire your handmade bag!
Level Up Your DIY Gift Bags: Creative Decorations & Personal Touches
Level Up Your DIY Gift Bags: Creative Decorations & Personal Touches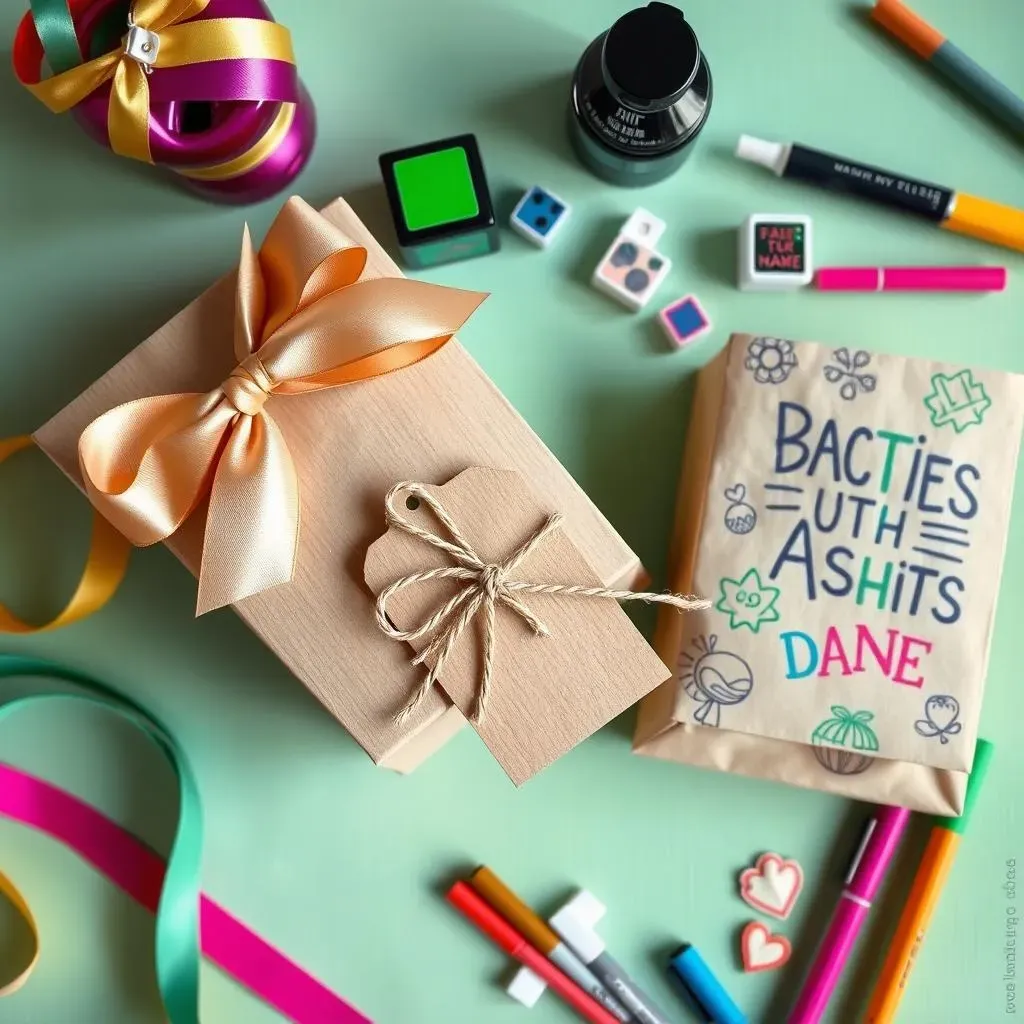
Ribbons, Twine & Tags: Simple Elegance
you've got the basic bag down. Now let's make those diy gift bags truly shine! One of the easiest ways to add a touch of class is with ribbons and twine. Seriously, just tying a pretty ribbon around the top of your bag instantly elevates it. Think satin ribbons for a luxe feel, grosgrain for something classic, or even rustic twine for a more homespun vibe. Get creative with colors and textures! You can tie a simple bow, or get fancy with double bows or even ribbon curls. And don't forget tags! A cute tag adds that final personalized flourish. You can buy pre-made tags, or even better, make your own! Handwritten tags are super sweet, or you can stamp or print them for a more polished look. Add the recipient's name, a little message, or even just a simple "To" and "From." It's all about those little details that make a big difference.
Want to take your tags up a notch? Try using different shapes – circles, hearts, stars – or punch a hole and thread some beads or charms onto the tag string. For a really special touch, use luggage tags or kraft paper tags and decorate them yourself with stamps, stickers, or even little drawings. Remember, the goal is to make your diy gift bags reflect your personal style and the personality of the person receiving the gift. It's these thoughtful touches that turn a simple gift bag into something truly memorable.
Decoration Element | Style & 느낌 | Tips & Ideas |
|---|---|---|
Ribbons | Elegant, Classic, Festive | Satin, grosgrain, velvet ribbons; various colors & widths; tie bows, curls, knots |
Twine | Rustic, Natural, Handmade | Jute twine, baker's twine; wrap around bag multiple times; pair with kraft paper |
Tags | Personalized, Thoughtful, Finishing Touch | Handwritten, stamped, printed tags; kraft paper, cardstock; custom shapes & sizes |
Stamps, Stencils & Doodles: Get Arty!
Feeling a bit more artistic? Grab some stamps, stencils, or even just your trusty pens and get doodling directly onto your diy gift bags! Stamps are amazing for adding patterns quickly and easily. Think polka dots, stripes, floral designs, or even themed stamps for holidays or birthdays. Ink pads come in every color imaginable, so you can really customize your look. Stencils are perfect for creating more intricate designs or lettering. You can stencil on names, monograms, or fun phrases. And if you're feeling truly free-spirited, just grab some colorful pens and doodle away! Abstract patterns, cute characters, or even just swirling lines – anything goes! Hand-drawn elements add a wonderfully personal and whimsical touch. Don't worry about being perfect, the charm is in the handmade feel.
For stamping, experiment with different stamp types – rubber stamps, clear stamps, even DIY stamps made from potatoes or sponges! Layer different colors and patterns for a more complex design. When using stencils, secure them firmly to your bag with tape to prevent smudging, and use paint or markers that won't bleed too much. And for doodling, consider using metallic pens, gel pens, or even brush pens for varied line weights and effects. Remember, the paper itself can be part of the design! Brown kraft paper looks amazing with white ink or black marker doodles, while colorful scrapbook paper can be enhanced with simple black pen outlines or metallic accents. Let your imagination run wild and transform those plain diy gift bags into mini works of art!
Wrap It Up with Wow: Your DIY Gift Bags are Ready to Impress!
So there you have it! You've unlocked the secrets to creating amazing DIY gift bags that are anything but ordinary. From saving cash and reducing waste to adding that heartfelt, handmade touch, crafting your own gift bags is a win-win. Now go raid your wrapping paper stash, gather your supplies, and get ready to impress everyone with your personalized and gorgeous diy gift bags. Happy crafting!