Table of Contents
Let's be real. The pressure to give impressive gifts often feels directly tied to how much cash you drop. Birthdays, holidays, thank-yous – they all seem to demand something special, which usually translates to something expensive. But what if you're not rolling in dough, or you just think a genuinely thoughtful present beats a store-bought splurge any day? That's where the magic of *diy gift baskets under $20* comes in.
Creating Stunning DIY Gift Baskets Under $20
Creating Stunning DIY Gift Baskets Under $20
So, you want to make gift baskets that actually look good, maybe even *stunning*, without dropping a ton of cash? The idea of Creating Stunning DIY Gift Baskets Under $20 might sound like a stretch, like trying to find a unicorn at a flea market. Most people assume "cheap" means "tacky" or "boring." But that's where they're wrong. It's not about filling a basket with Dollar Store rejects; it's about smart sourcing, clever themes, and presenting simple items in a way that feels intentional and special. Think curated rather than chaotic. It requires a bit of legwork and imagination, but the result is a gift that feels genuinely personal and doesn't leave your wallet feeling violated.
Where to Hunt for Bargains: Sourcing Basket Fillers Cheaply
Where to Hunt for Bargains: Sourcing Basket Fillers Cheaply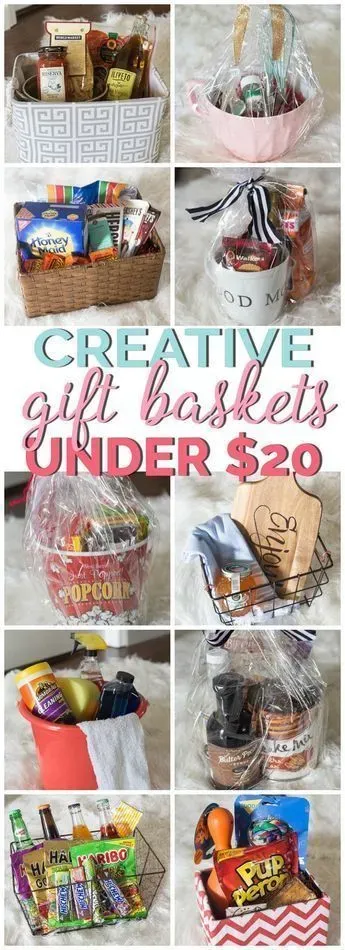
Dollar Stores and Discount Retailers are Your Friend
Alright, let's talk brass tacks. You're trying to nail this whole *diy gift baskets under $20* thing, and the first hurdle is finding stuff to put in the basket without blowing your budget on item number one. Your absolute best friends here are dollar stores and discount retailers. Yes, I know, some people turn their noses up, picturing dusty aisles and questionable merchandise. But you're not buying a car; you're looking for small, usable items that fit a theme. Think consumable goods: fancy-ish socks, small notebooks, fun pens, travel-sized toiletries, candy, tea bags, single-serve coffee packets, small craft supplies, maybe a cute little mug.
You have to be strategic. Go in with a theme in mind (more on themes later), and hunt specifically for items that fit. Avoid the obvious junk aisle. Look for the hidden gems – sometimes you find name-brand overstock or seasonal items marked down. It takes patience, but the payoff for sourcing basket fillers cheaply is significant.
Grocery Store Sales and Bulk Sections Offer Hidden Value
Don't just think beyond traditional gift shops; think beyond typical dollar store fare too. Your local grocery store, especially the sale aisles and bulk sections, holds serious potential for creating affordable DIY gift baskets. Check the weekly flyers for deals on gourmet snacks, interesting drink mixes, small bags of nuts or dried fruit, or even seasonal baking items.
The bulk section is a goldmine for small quantities of things like specialized candy, trail mix components, or unique spices if your theme is food-related. You don't need a giant bag of gummy bears; you need a cup's worth to tuck into a movie night basket. This is where you can add little touches that feel a bit more upscale without the upscale price tag.
- Hit up the seasonal aisles *after* the holiday.
- Check clearance sections religiously.
- Look for multi-packs you can break apart.
- Compare unit prices – sometimes smaller isn't cheaper.
Thrift Stores and What You Already Own
this one might sound a little wild, but hear me out on Where to Hunt for Bargains: Sourcing Basket Fillers Cheaply. Thrift stores aren't just for vintage clothes. They often have sections with unused or gently used items perfect for gift baskets. Think unique mugs, small decorative items, interesting containers (which can *be* the basket!), or even books that fit your theme. You might find a nearly-new candle or a cute picture frame for pocket change. Wash anything fabric, wipe down anything hard, and it's good to go.
Even better, look around your own house. Do you have excess craft supplies? Unused candles from a forgotten gift? Small samples of nice products? A collection of funky bottle openers? Repurposing items you already own costs you literally nothing and adds a layer of personal history or charm that you can't buy in a store. It's about being resourceful, not just cheap.
Theme Ideas for DIY Gift Baskets Under $20 That Impress
Theme Ideas for DIY Gift Baskets Under $20 That Impress
so you've scoured the discount aisles and your own junk drawers and somehow managed to gather a pile of potentially useful, cheap stuff. Great start. Now, how do you make this collection look like a thoughtful gift rather than a random assortment of clearance items? The secret sauce, the thing that elevates your efforts and makes Creating Stunning DIY Gift Baskets Under $20 actually work, is the theme. A strong theme acts like a blueprint, guiding your choices and tying everything together. Without a theme, you risk assembling a basket that feels disjointed, like you just grabbed whatever was cheapest. With a theme, even simple, inexpensive items feel deliberate and curated, showing the recipient you put real thought into what they might like or need.
Pulling it Together: Assembling Your Affordable DIY Basket
Pulling it Together: Assembling Your Affordable DIY Basket
Choosing Your Container and Building the Base
Alright, you've got your carefully selected, budget-friendly goodies. Now comes the part where it actually starts to look like a gift basket: Pulling it Together: Assembling Your Affordable DIY Basket. First, ditch the idea that you need a traditional wicker basket. While thrift stores might yield one, think outside the box. A sturdy cardboard box you decorate, a nice reusable tote bag, a decorative tin, a colorful planter, or even a mixing bowl can serve as your "basket." The container itself can be part of the gift or just a functional holder. The key is stability.
Once you have your container, you need a base. This adds height and makes sure your items aren't just rattling around at the bottom. Shredded paper (use a paper shredder on old documents!), tissue paper, crinkle paper (often found cheap at craft stores or dollar stores), or even a folded towel or small blanket can work. Fluff it up and place it in the bottom of your container. This is your foundation; build it well.
Arranging Your Treasures for Maximum Impact
With the base in place, it's time to arrange your items. Don't just drop them in. Think about varying heights and textures. Place taller items towards the back or center, and shorter items or smaller bits towards the front. Angle things so they are visible. You want the recipient's eye to travel around the basket, discovering each item. Use your filler material (shredded paper, etc.) to prop things up and fill in gaps. Sometimes, taping a smaller item to a skewer or piece of cardboard can give it height.
Layering is key. Start with your larger items, then tuck smaller things around and in front of them. Think about color balance too. Spread out items of similar color so they don't clump together. It's like building a tiny, edible or usable sculpture. Step back frequently and look at it from different angles. Does it look full? Is everything visible? Does it make sense together?
Item Type | Placement Strategy | Budget Source Example |
|---|---|---|
Tall/Large Items | Back or Center, providing structure | Thrift store mug, large bag of popcorn |
Medium Items | Around taller items, creating depth | Small book, candle, box of tea |
Small Items/Fillers | Front and tucked into gaps | Candy bars, lip balm, single-serve packets, small soaps |
Adding Final Touches and Presentation
Now for the polish. This is what really elevates your *diy gift baskets under $20* from a collection of stuff to a thoughtful present. A little ribbon, a simple tag, or a small sprig of greenery can make a huge difference. You don't need expensive wrapping. Clear cellophane wrap from a craft store or even the floral department of a grocery store is cheap and effective. Gather it at the top and tie it with a ribbon or twine. This keeps everything in place and gives it that classic gift basket look.
Write a small card explaining the theme or why you chose each item. This adds a deeply personal touch that costs nothing but a few minutes of your time. Remember that example of my friend Sarah? I made her a "Crafter's Calm Down" basket for her birthday. I found some clearance yarn, a couple of unique crochet hooks at a discount store, a fancy tea bag from the grocery sale aisle, and a small, unused candle I had. I put it all in a cute ceramic bowl I got for $3 at a thrift store, fluffed it with tissue paper, tied a ribbon around the bowl, and wrote a note saying "For when the yarn tangles and you need a breather." Total cost? Maybe $12. She loved it because it was specific to her and clearly made with her in mind, not just grabbed off a shelf.
Final Touches and More Inspiration for DIY Gift Baskets Under $20
Final Touches and More Inspiration for DIY Gift Baskets Under $20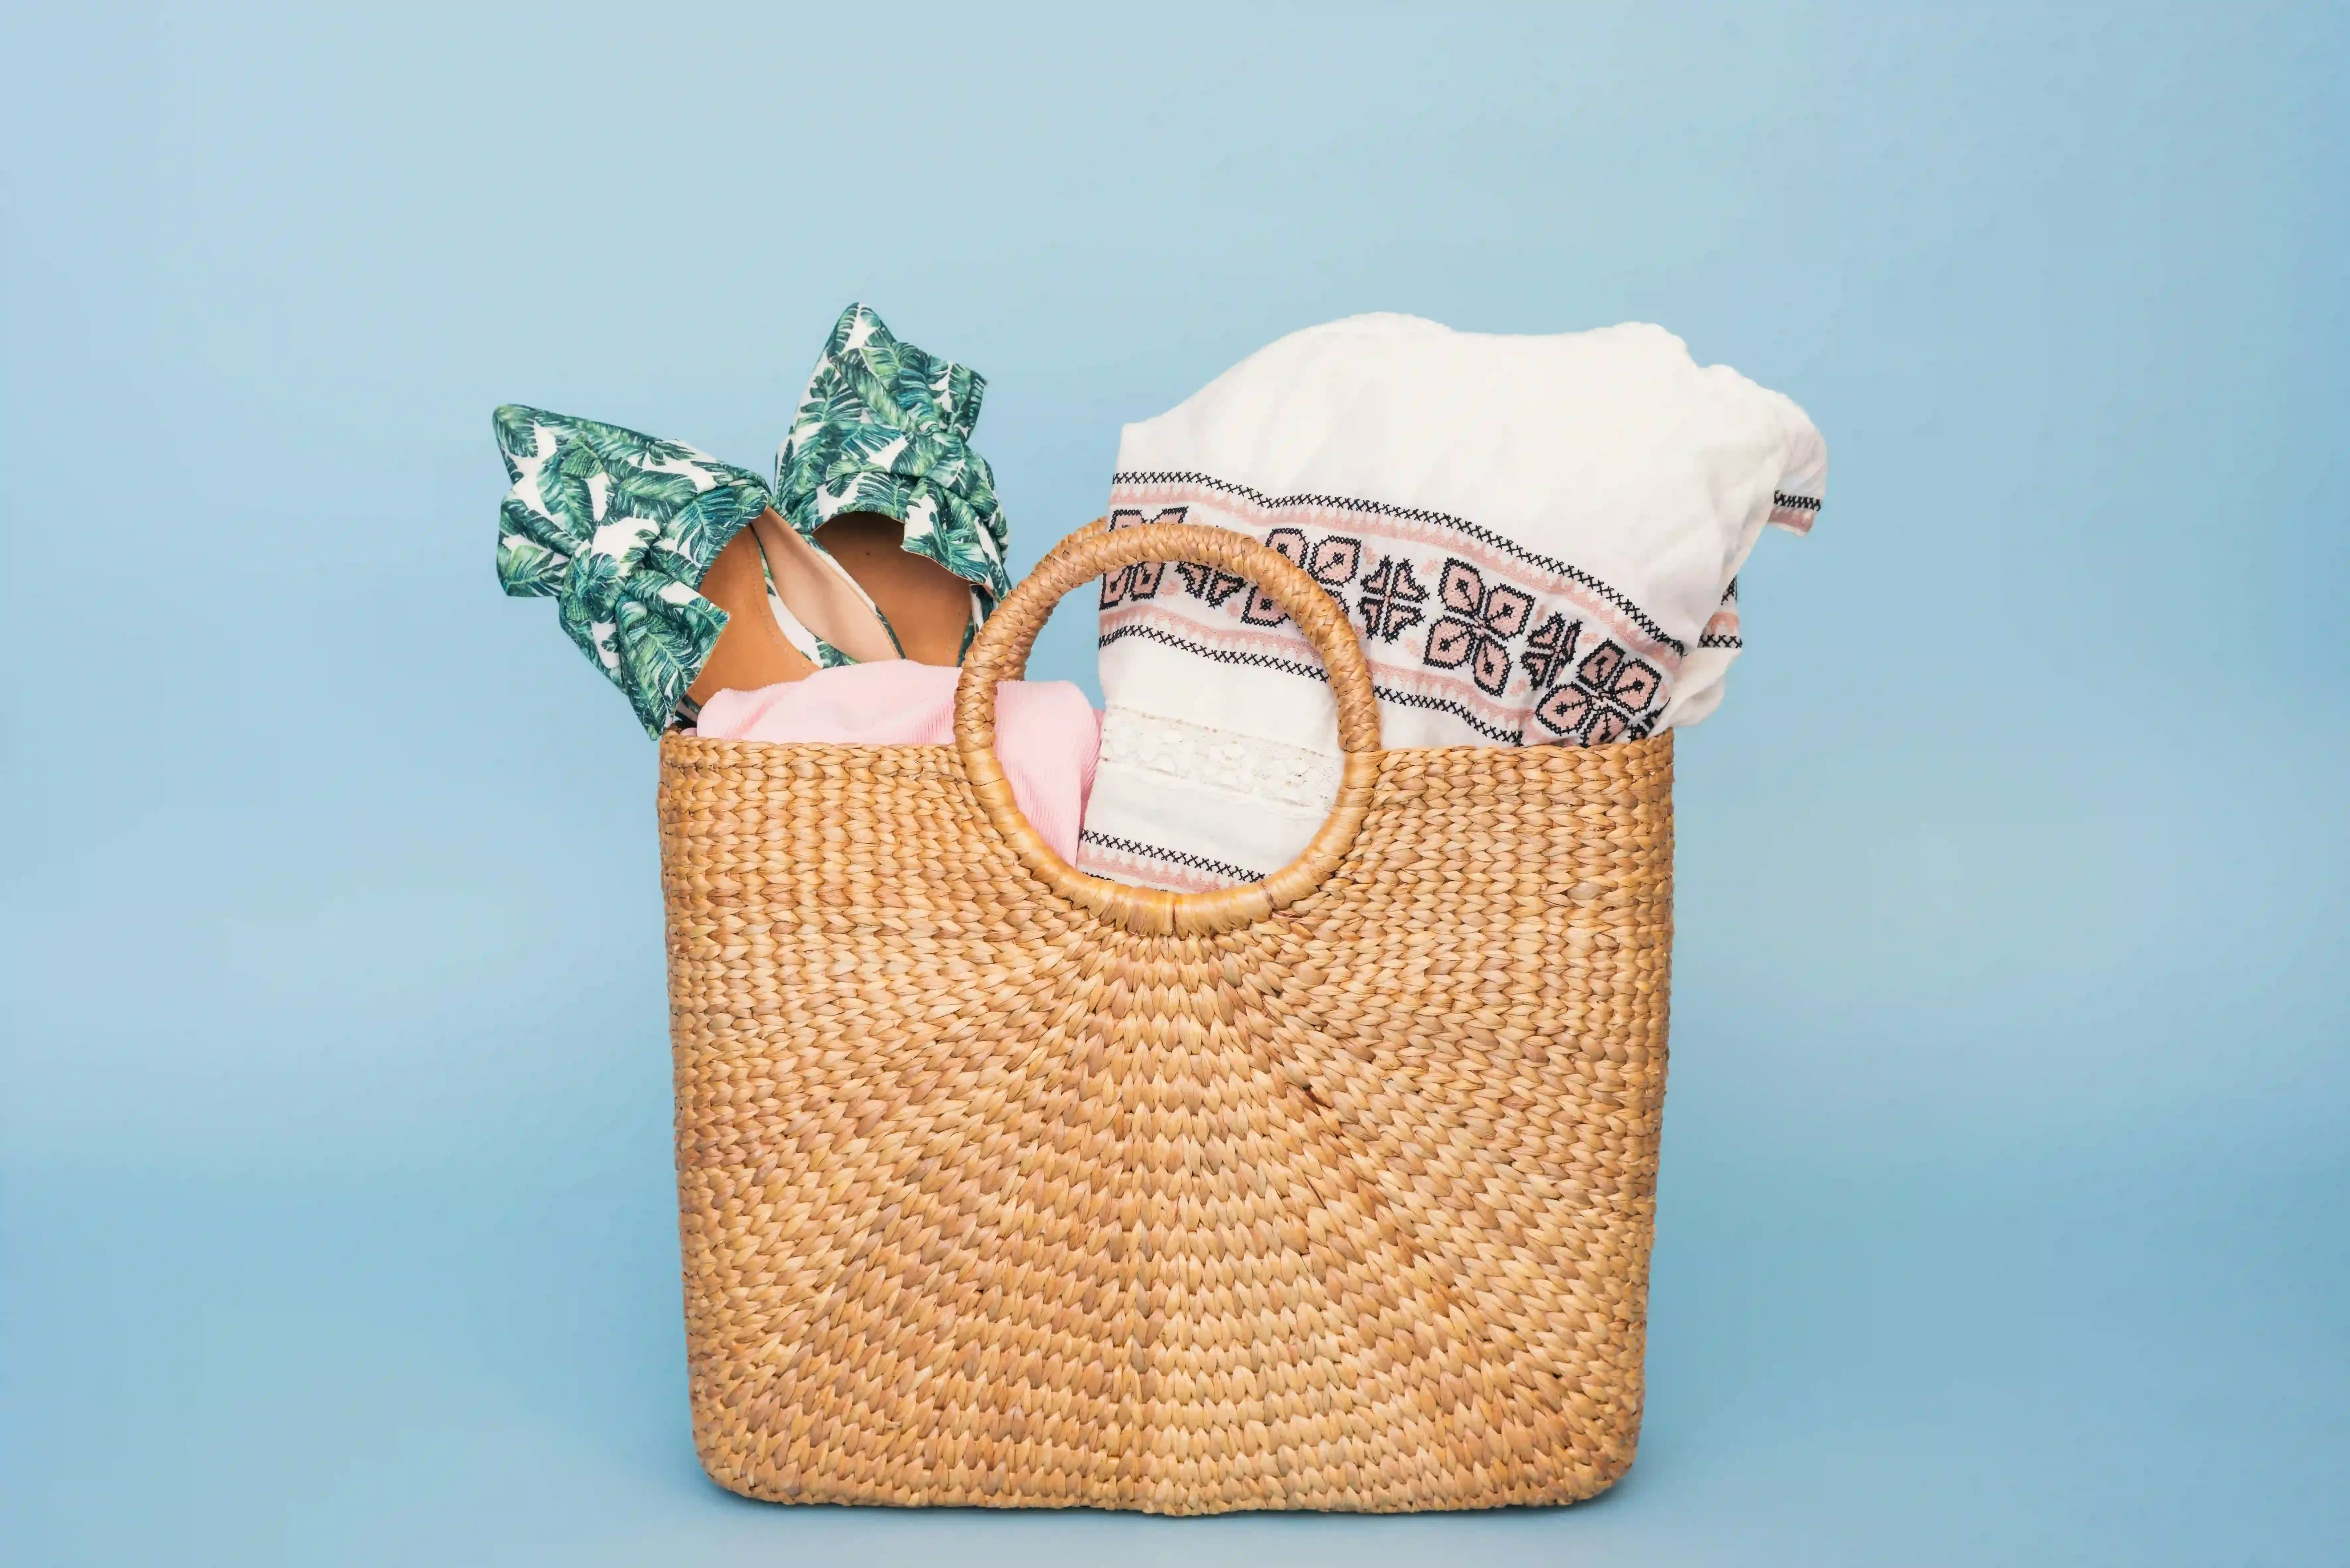
The Presentation Punch: Simple Wraps and Tags
So you've gathered your treasures and arranged them nicely in their container. You're almost there with your *diy gift baskets under $20*. This is where you take it from "a collection of stuff" to "a thoughtful gift." Presentation is not just about looking pretty; it's about showing you put effort into the final product. You don't need professional wrapping paper or fancy bows that cost half your budget. Simple, cheap materials work wonders.
Grab some basic clear cellophane wrap – you can find a big roll for a few bucks at craft stores or even places like Walmart. It protects the contents and gives it that classic basket shape when you gather it at the top. Tie it off with some twine, inexpensive ribbon, or even strips of fabric you have lying around. Add a tag. A simple cardstock tag, maybe cut into a fun shape, with a handwritten note is infinitely better than a generic sticker. You can even use a plain shipping tag and write on it with a nice pen. These small additions cost pennies but add significant perceived value and show care.
- Use clear cellophane wrap to bundle everything.
- Tie with inexpensive ribbon, twine, or fabric scraps.
- Create a simple, handwritten tag.
- Consider adding a small sprig of dried flowers or greenery if available.
Beyond the Basics: More Under $20 Theme Sparks
Once you've mastered the basic assembly, start thinking about expanding your repertoire of *diy gift baskets under $20*. The real fun comes from getting specific with themes. Instead of just "coffee lover," think "I-need-to-survive-my-morning-commute coffee lover" (include a travel mug, single-serve packets, maybe a small energy bar). For a reader, instead of just a book, maybe a "Cozy Reading Nook" basket with a used book, a fancy tea bag, some nice socks, and a bookmark you made.
Consider niche hobbies. A gardener might appreciate a few seed packets, some small gloves from the dollar store, and a cool plant marker (you can make these from painted rocks or popsicle sticks). A pet owner could get some unique treats from the grocery store bulk bin, a cheap toy, and a roll of lint remover. The key is observing what the person actually enjoys and tailoring the basket to that specific interest. It shows you pay attention, which is worth more than any expensive item.
Why the Effort Matters: The Real Value Isn't the Price Tag
Let's cut to the chase: nobody receiving a *diy gift baskets under $20* that's clearly been thoughtfully assembled is going to pull out a calculator and check if you stayed under budget. What they see is the effort. They see that you took the time to think about what they like, to hunt for items, and to put it all together by hand. That personal investment is the true gift.
I remember one year, my friend Emily was going through a rough time. I didn't have much money, but I knew she loved baths and trashy magazines. I found a couple of cheap bath bombs on sale, grabbed a current gossip magazine from the grocery store, added a small bar of fancy-smelling soap I'd gotten as a sample, and put it all in a cute reusable container I already owned. Total cost was maybe $10. She called me in tears, saying it was exactly what she needed and meant more than any expensive gift because it showed I saw her and cared. That's the power of these affordable, handmade gestures. They aren't about being cheap; they're about being genuine.
More Bang for Your Buck: The Takeaway on DIY Gift Baskets
So there you have it. Crafting thoughtful, impressive gift baskets doesn't require you to empty your wallet. By focusing on creativity, smart sourcing, and personal touches, you can easily put together *diy gift baskets under $20* that genuinely delight. It's about showing you care enough to curate something specific, not just grab the most expensive thing on the shelf. Ditch the financial stress and embrace the satisfaction of giving a gift that's both personal and budget-friendly. Your recipients will appreciate the effort, and your bank account will thank you.