Table of Contents
Tired of those flimsy, generic bows from the store that always seem to get crushed? Want to add a special touch to your gifts without breaking the bank? You're in the right place! Making your own **diy gift bow** is surprisingly easy and opens up a world of creative possibilities. This guide will walk you through five fantastic homemade bow ideas you can whip up in minutes. From classic loops to fancy rosettes and even bows made from paper, we'll show you how to create stunning toppers for any occasion. Get ready to ditch the dull and discover how simple it is to craft beautiful, personalized bows that will make your presents truly stand out.
Making Your First DIY Gift Bow
Making Your First DIY Gift Bow
Alright, let's get you started with the easiest bow in the book – the classic loop bow. Seriously, if you can tie your shoelaces, you can nail this. Grab some ribbon – anything will do for practice, even that slightly crumpled roll you’ve been hiding in the back of the drawer. Don't overthink the fancy stuff just yet. Think of it like learning to ride a bike; you wouldn't start on a unicycle, right?
First, make a loop with your ribbon, like you're starting to tie a knot. Now, make another loop on the other side, trying to make it roughly the same size. This is where most folks get tripped up, aiming for perfection right away. Don't sweat it if they’re a little wonky at first. Pinch the two loops together in the middle. See that little bit of ribbon hanging down? That's your tails. Adjust the loops and tails until they look somewhat even. Now, with your other hand, take one tail and wrap it around the center where you're pinching, then tuck it through the loop you just created. Pull it tight. Boom! You've got a basic bow.
Step | Action | Tip |
|---|---|---|
1 | Make a loop. | Don't make it too tight. |
2 | Make a second loop. | Try to match the size of the first. |
3 | Pinch the loops together. | Keep a firm grip. |
4 | Wrap and tuck a tail. | Pull snugly to secure. |
Different DIY Gift Bow Styles to Try
Different DIY Gift Bow Styles to Try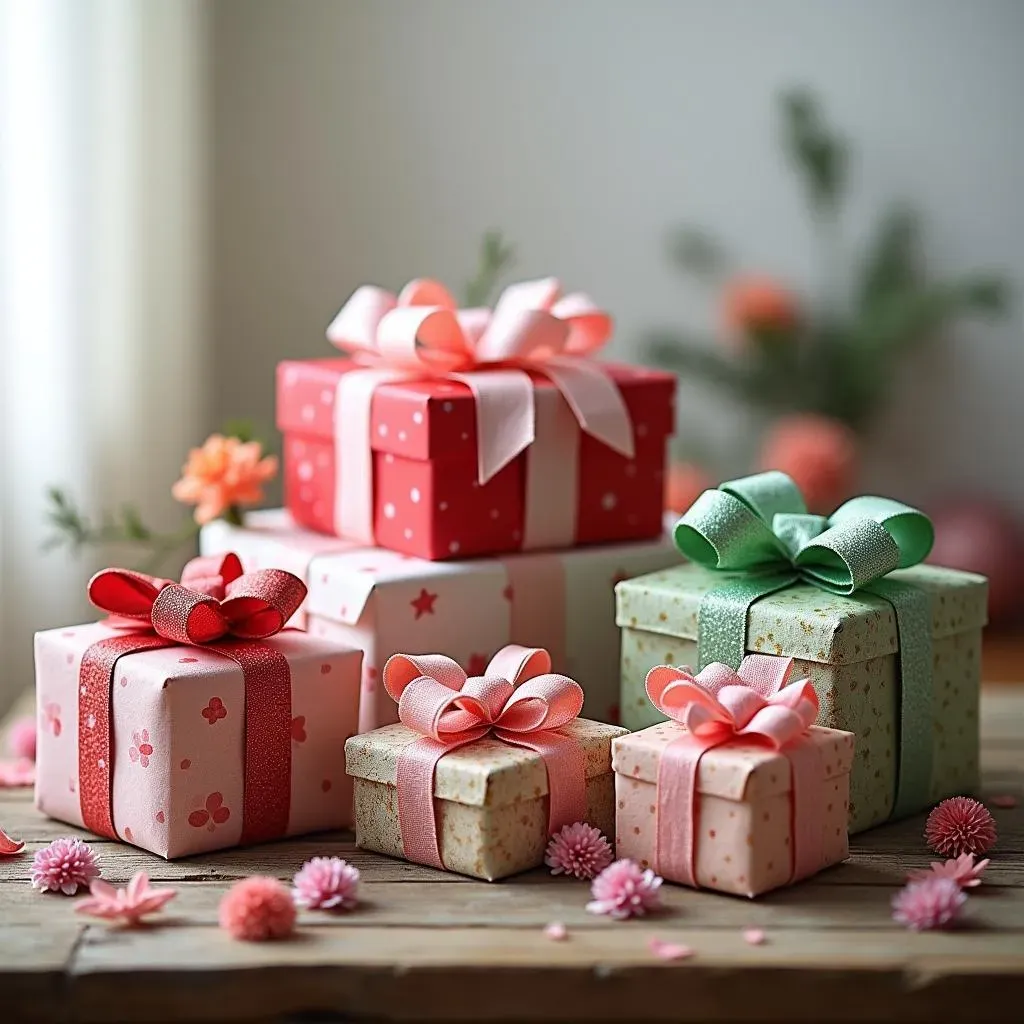
The Fluffy and Fun Rosette Bow
Okay, so you've mastered the basic loop. Feeling a bit adventurous? Let's tackle the rosette bow. This one looks fancy but it's still pretty straightforward, I promise. Imagine those little paper fans you used to make as a kid – it's kinda the same idea. You'll need a good length of ribbon for this, probably more than you think. Start by making a series of loops, one after the other, in your hand. Think of it like making a ribbon accordion. Keep the loops roughly the same size. Don't worry if they aren't perfect; a little variation adds character. Once you've got a decent stack of loops, flatten them out a bit and pinch them all together tightly in the center with some thin wire or even a strong piece of thread. Now, carefully start pulling the loops apart, one on each side, fluffing them out as you go. This is where the magic happens and your flat ribbon transforms into a gorgeous, flower-like bow. It might take a little fiddling to get it just right, but trust me, the result is worth it.
The Smart and Simple Paper Bow
Who says bows have to be made of ribbon? Let's switch gears and try a paper bow. This is a fantastic way to use up scraps of wrapping paper or even pretty patterned scrapbook paper. Grab a square piece of paper. Fold it in half diagonally, then unfold. Do the same on the other diagonal. Now, fold it in half like a triangle, then fold that triangle in half again. You should now have a smaller triangle. Cut two curved shapes out of the open edges – think of making petal shapes. Unfold the paper carefully. You'll see a sort of star shape. Now, cut one slit from an outer point towards the center, stopping about an inch from the middle. Overlap the two edges you just cut and glue or tape them together to create a loop. Repeat this for the other 'points' of your star. Once all the loops are formed, arrange them so they form a nice, full bow. You can layer different sizes of paper bows for an extra pop.
Quick Guide to Different Bow Styles
Bow Style | Difficulty | Materials | Best For |
|---|---|---|---|
Classic Loop | Easy | Ribbon | Any occasion |
Rosette | Medium | Long ribbon, wire/thread | Special occasions |
Paper Bow | Easy | Paper, scissors, glue/tape | Creative touch |
Tips for the Perfect DIY Gift Bow
Tips for the Perfect DIY Gift Bow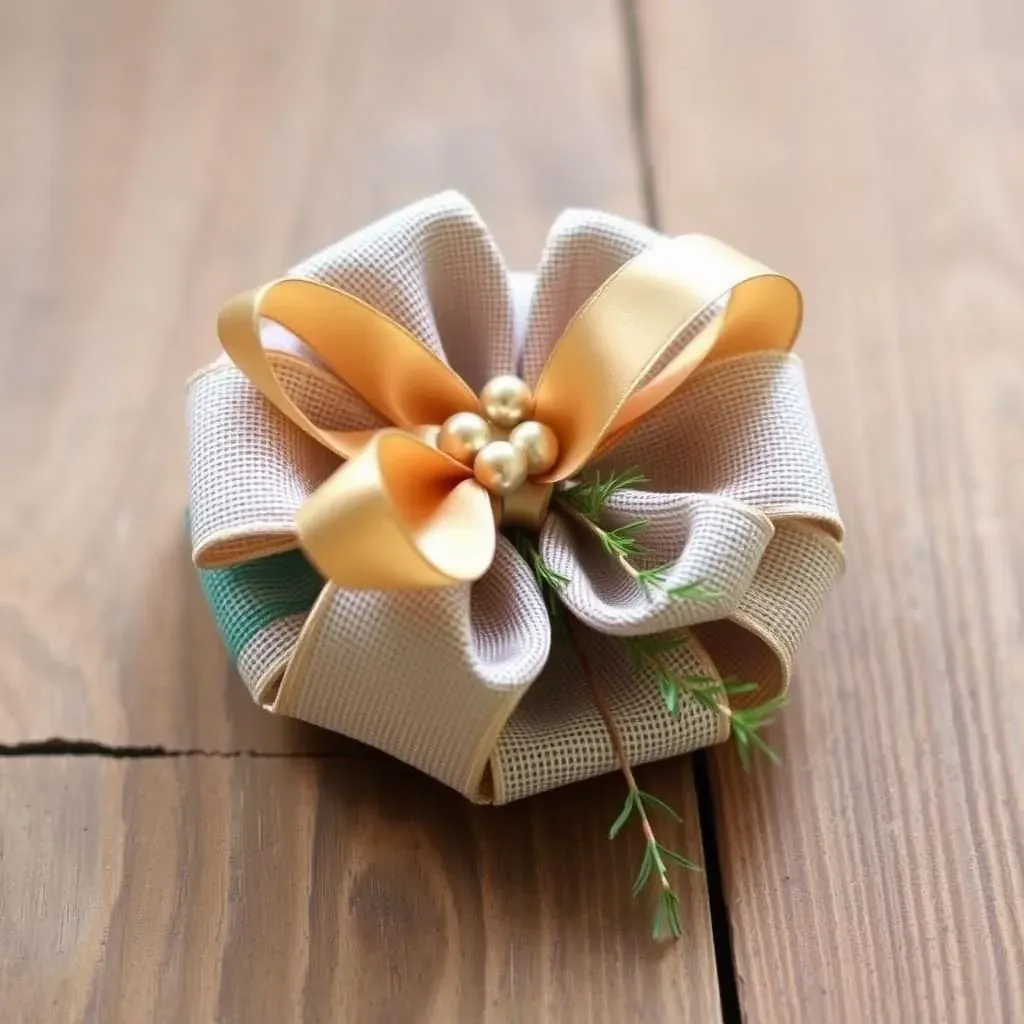
Choosing the Right Ribbon for Your DIY Gift Bow
Let's talk ribbon, because not all ribbons are created equal when you're making a **diy gift bow**. Think about what kind of look you're going for. Stiff ribbons, like wired ribbon, are fantastic for holding their shape and creating those perky, stand-out loops. They're a bit more forgiving for beginners too, as they don't flop around as much. On the other hand, softer ribbons, like satin or grosgrain, drape beautifully and create elegant, flowing bows. These might take a bit more practice to wrangle, but the result is so worth it. And hey, don't forget about materials! Paper ribbon or even fabric scraps can add a really unique touch. It's all about experimenting to see what works best for your project and the vibe you're going for.
Making Your DIY Gift Bow Stand Out
Want to take your **diy gift bow** game to the next level? It's all in the details! Consider adding embellishments. A few strategically placed beads, a sprig of greenery tucked under the loops, or even a dab of glitter can make a huge difference. Don't be afraid to mix and match ribbons too! Layering different colors, textures, or patterns can create a really eye-catching effect. And remember, practice makes perfect. Don't get discouraged if your first few attempts aren't exactly Pinterest-worthy. Keep playing around with different techniques and materials, and you'll be tying professional-looking bows in no time. Plus, there's something super satisfying about knowing you made that gorgeous bow yourself, right?
Tip | Description |
|---|---|
Ribbon Choice | Consider wired ribbon for structure or soft ribbon for drape. |
Embellishments | Add beads, greenery, or glitter for extra flair. |
Layering | Combine different ribbons for a unique look. |
Practice | Don't give up! Your skills will improve with each bow. |
Wrapping It Up: Your DIY Gift Bow Masterpiece
So, there you have it! Five fantastic ways to create your own stunning **diy gift bow**. Forget those generic store-bought options. With a little ribbon, paper, and some simple techniques, you can add a personal touch that truly elevates your gifts. Whether you're aiming for classic elegance or a burst of creative flair, these homemade bows are sure to impress. Now go ahead, grab your supplies, and make your next gift extra special!