Table of Contents
Got a gift card to give? Let's be real, sometimes a gift card can feel a little… impersonal. But what if you could jazz it up? Transform that plastic rectangle into something that shows you really put some thought into it? That's where the magic of adiy gift card boxcomes in! Forget those plain envelopes; we're about to make gifting an experience. This guide will walk you through creating your own adorable gift card box using our free printable template. We'll cover the simple supplies you'll need, like cardstock and a bit of adhesive. Then, we'll break down the easy steps to assemble your box and share fun ideas for decorating it to match any occasion. Ready to make your gift card feel extra special? Let's get crafting!
DIY Gift Card Box Supplies
DIY Gift Card Box Supplies
Gather Your Creative Arsenal
Alright, let's talk about what you'll need to make yourDIY Gift Card Box Suppliesdreams a reality. Don't worry, it's not like you need a whole craft store. Think of it as gathering your trusty sidekicks for a fun mission. First off, you'll definitely want some sturdy white cardstock. It's the foundation of our little box, so you want something that feels substantial but is still easy to work with. Think about the weight of an invitation – that's a good ballpark. Next up, you'll need something to cut with. If you've got a fancy-schmancy Silhouette Cameo or another cutting machine, awesome! It'll make those fold lines super crisp thanks to the perforation feature. But hey, if scissors are your jam, that works perfectly fine too. Just channel your inner paper-cutting ninja and take your time.
The Assembly Essentials and Decorative Touches
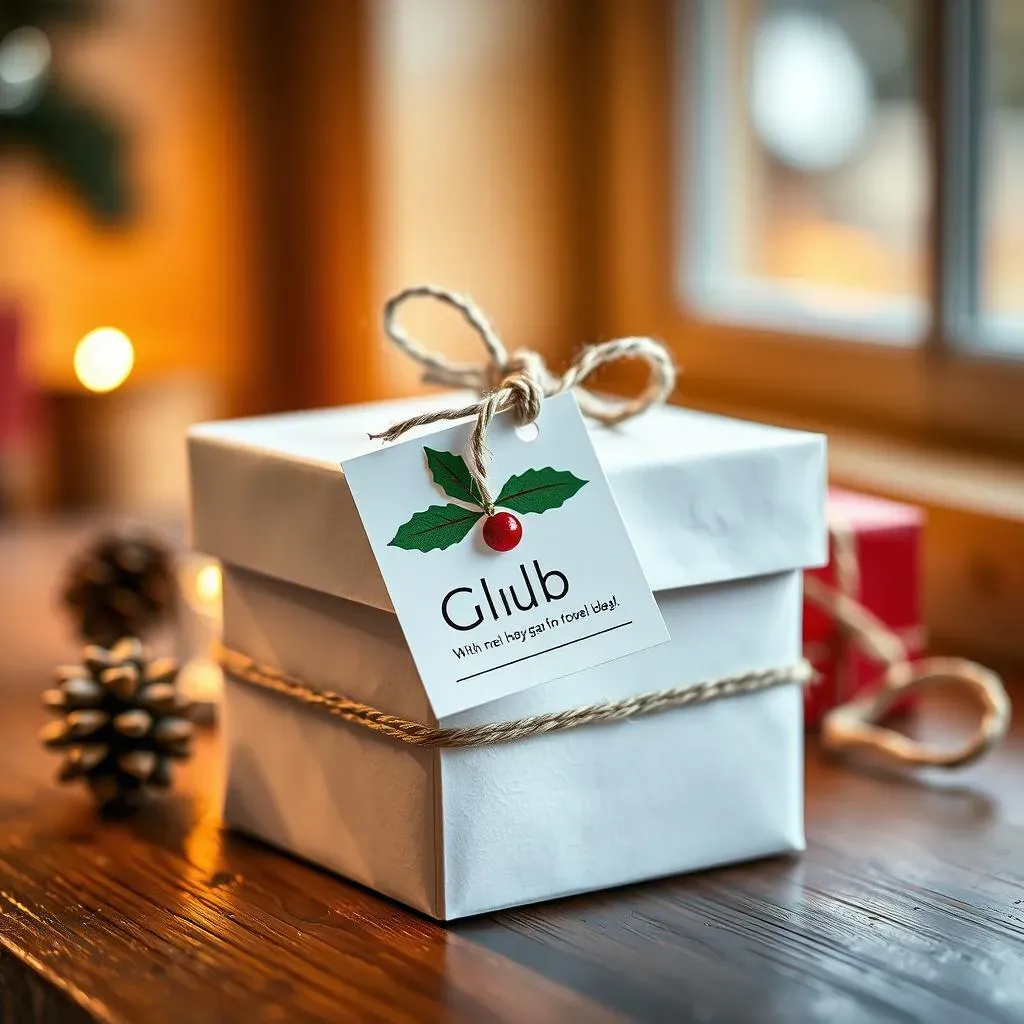
Now for the bits that hold it all together. A permanent tape runner is a lifesaver for clean, instant adhesion. Glue sticks work too, just be mindful of not using too much and making things soggy. A bone folder – sounds intense, right? It's just a little tool that helps you get really sharp creases when you're folding. Trust me, those crisp folds make a big difference in how professional yourDIY Gift Card Box Suppliesproject looks. Finally, let's talk about adding some flair! Washi tape is your friend here. It comes in a million colors and patterns and adds a lovely decorative touch. Baker's twine is another great option for adding a rustic or elegant feel. And don't forget the printable holly tag that comes with the template – a perfect little finishing touch for a Christmas gift!
Supply | Why You Need It |
|---|---|
White Cardstock | The base of your sturdy gift card box. |
Silhouette Cameo or Scissors | For precise cutting of the template. |
Bone Folder | To create sharp, clean folds. |
Permanent Tape Runner or Glue Stick | To securely assemble the box. |
Washi Tape | For adding decorative accents. |
Baker's Twine | Another option for decorative ties and flair. |
Gift Card Box Assembly and Decoration: Your DIY Guide
Gift Card Box Assembly and Decoration: Your DIY Guide
Bringing Your Box to Life: The Assembly Line
Alright, you've got your supplies, now for the fun part – putting yourGift Card Box Assembly and Decoration: Your DIY Guidemasterpiece together! If you used a cutting machine, you'll notice those neat little perforated lines. Those are your fold guides – how handy is that? Just gently fold along each of those lines. If you went the scissor route, no sweat! Just try to make your folds as straight and crisp as possible. That bone folder will be your best buddy here, helping you get those sharp edges. Think of it like origami, but way easier and with a much cuter outcome. The template is designed to be pretty intuitive, so you'll start to see the box shape forming pretty quickly.
Securing the Sides and Adding the Insert
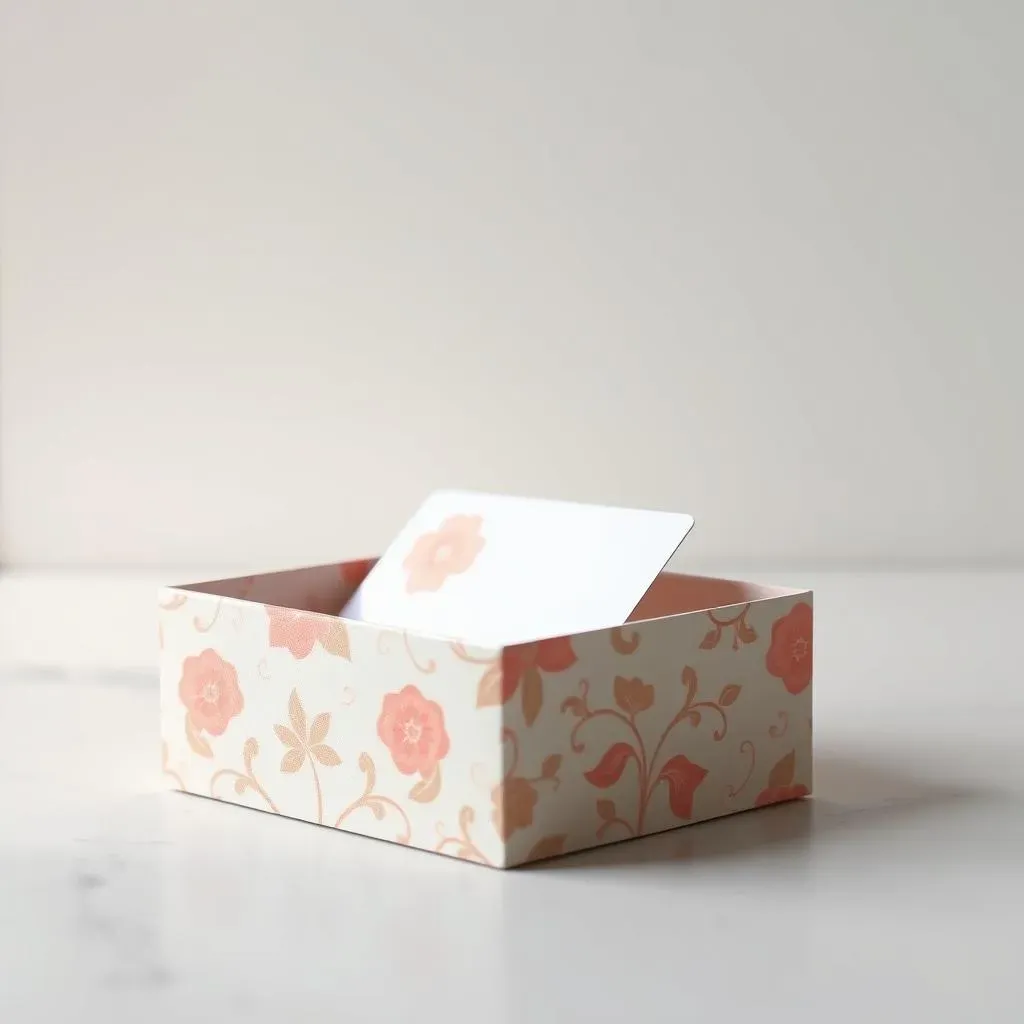
Time to make it official and stick those sides together! Grab your tape runner or glue stick. Apply adhesive to the designated flaps – the template makes it pretty obvious where things go. Carefully fold those flaps in and press firmly to secure. Pro-tip: if you're using a glue stick, don't go overboard, a little dab will do ya. Too much glue can make things slide around and get messy. Now, see that extra little piece in the template? That's the insert – a clever little addition to keep your gift card snug and secure inside the box. Fold the insert along its lines and slide it into the main box. It usually tucks into little slots or just sits snugly at the bottom. This prevents the card from just flopping around inside – we're all about presentation here!
Assembly Step | Key Action |
|---|---|
Folding | Crease along perforated lines or straight edges. Use a bone folder for crisp folds. |
Adhering | Apply tape or glue to flaps. Press firmly to secure. |
Inserting | Fold insert and slide into the box to hold the gift card. |
Unleash Your Inner Artist: Decoration Station
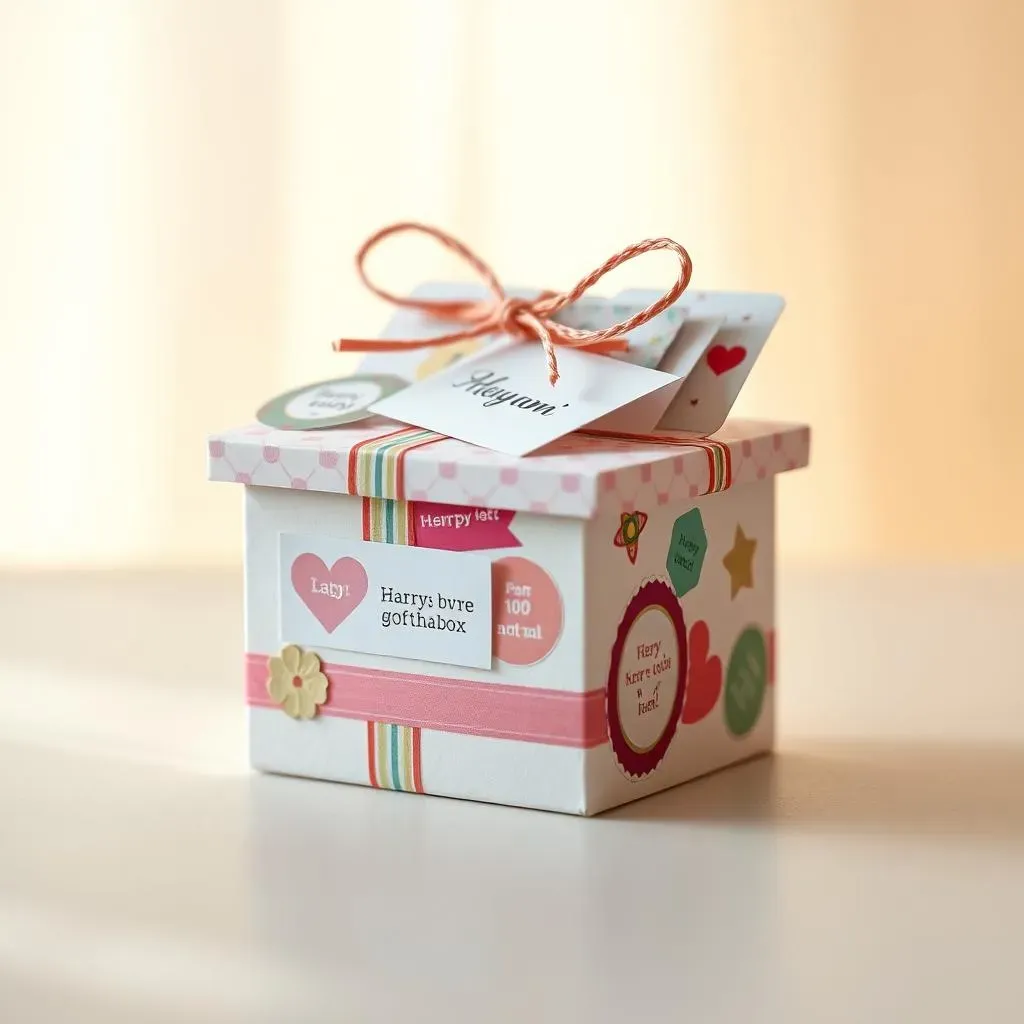
This is where you can really let your personality shine! Remember that washi tape we talked about? Now's its moment to shine. Use it to add borders, stripes, or fun patterns to yourGift Card Box Assembly and Decoration: Your DIY Guide. Get creative! Maybe a diagonal stripe, or a cute little border around the top edge. Baker's twine is also fantastic for adding a touch of charm. You can wrap it around the box a few times and tie a sweet little bow. And don't forget that adorable holly tag! Punch a small hole in it and thread some twine through, then tie it onto your box. It’s the perfect festive touch, especially for Christmas gifts. Feel free to raid your craft stash for other embellishments too – small stickers, little buttons, anything that tickles your fancy!
Making Your Gift Special with a DIY Gift Card Box
Making Your Gift Special with a DIY Gift Card Box
Beyond the Envelope: The Thought That Counts
Let's face it, handing over a plain gift card in its original packaging can feel a bit… transactional. It’s like saying, "Here's some money, go buy yourself something." Which is fine, but doesn't exactly scream heartfelt. Crafting aMaking Your Gift Special with a DIY Gift Card Boxchanges that whole vibe. It shows you took extra time and effort, even for a small gift. It's a tangible representation of your thoughtfulness, a little handmade hug wrapped around that plastic treasure. Think of it like this: would you rather receive a diamond in a velvet box or a Ziploc bag? The contents might be the same, but the presentation makes all the difference.
Personalizing the Presentation: Matching the Mood
The beauty of aMaking Your Gift Special with a DIY Gift Card Boxis the opportunity to personalize it. You can tailor the decorations to the recipient's interests or the occasion. Is it a birthday? Throw on some bright, cheerful washi tape and maybe a little paper confetti inside. Christmas? The included holly tag is perfect, or you could add some sparkly ribbon. For a teacher's gift, like I'm planning, a simple, elegant design with their initial on it feels just right. It’s about creating a little package that reflects the thought you put into choosing the gift card and knowing the person you're giving it to. It turns a practical gift into a personalized keepsake.
Occasion | Decoration Ideas |
|---|---|
Birthday | Bright washi tape, confetti, birthday-themed stickers |
Christmas | Holly tag, red and green twine, snowflake embellishments |
Thank You | Elegant ribbon, simple patterns, a handwritten tag |
A Little Extra Touch: More Than Just a Box
Ultimately,Making Your Gift Special with a DIY Gift Card Boxis about adding a personal touch. It elevates the act of giving, transforming a simple transaction into a meaningful gesture. It’s a small detail, yes, but those small details are often what people remember. Pairing the handcrafted box with a heartfelt note or even a small homemade treat, like I'm planning to do for my kids' teachers, takes it to another level. It’s about showing you care enough to go the extra mile, to make the gift feel like it came from the heart, not just the store. And honestly, who doesn't appreciate a little extra effort?
Wrap it Up: Your Thoughtful DIY Gift Card Box
So there you have it! Turning a simple piece of cardstock into a charmingdiy gift card boxisn't just easy, it adds a sprinkle of your personality to any gift. Whether you keep it sleek and simple or go wild with washi tape and twine, that extra bit of effort shows you care. Now go forth and make those gift cards even more special – and don't forget to share your crafty creations with us online!