Table of Contents
Tired of handing over gift cards in those plain, boring sleeves? A gift card can feel a little impersonal, right? It's like saying, "Here's some money, you pick." But what if you could add a sprinkle of your own creativity and thoughtfulness? That's where the magic of a diy gift card envelope comes in. This isn't just about holding a piece of plastic; it's about crafting a mini masterpiece that shows you care. Ready to transform a simple gift into something truly special? This guide will walk you through the easy steps of creating your own charming envelopes. We'll cover the essential materials you'll need and then dive into the simple process of folding and assembling your custom creation. Plus, we'll explore some fun ways to add a personal touch and make your diy gift card envelope stand out from the crowd. Let's get started and turn those ordinary gift cards into extraordinary presents!
Easy Steps for Your DIY Gift Card Envelope
Easy Steps for Your DIY Gift Card Envelope
Gather Your Supplies
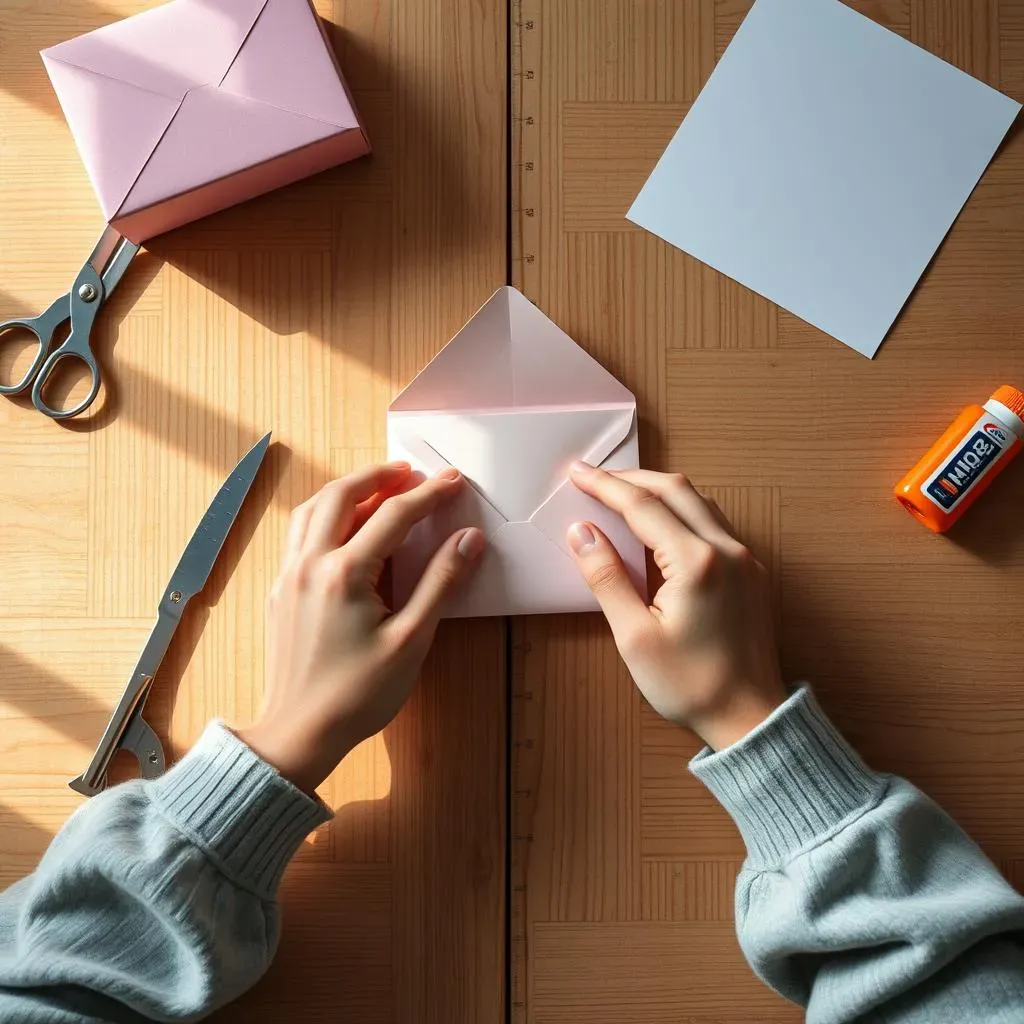
First things first, let's get organized. Think of it like prepping your kitchen before baking a cake – you wouldn't want to be searching for flour mid-mix, would you? For your diy gift card envelope adventure, you'll need some paper. Cardstock works great because it's sturdy, but even regular printer paper can do the trick if you're going for a softer feel. Grab a pair of scissors – the sharper, the better for clean cuts, but be careful! And of course, some adhesive. A glue stick is less messy, but double-sided tape gives a nice, instant hold. Finally, if you want those crisp, professional-looking folds, a ruler will be your best friend. Trust me, eyeballing it can sometimes lead to wonky results, and we're aiming for awesome here.
The Fold and Create Method
Now for the fun part – shaping your envelope! Imagine you're creating a tiny origami masterpiece. Start by laying your paper flat. If you're using a standard 8.5 x 11 inch sheet, you might want to trim it down a bit – around 6x6 inches is a good starting point for a gift card. Next, fold one corner over to meet the opposite edge, creating a triangle. Make a nice, crisp crease. Unfold it, and do the same with the other two corners. These folds are your guidelines. Now, fold in two opposite sides towards the center crease, leaving a small gap in the middle – this is where your gift card will peek through. Fold the bottom flap up and secure the sides with your adhesive. Almost there!
Finishing Touches for a Polished Look
Almost done, you crafty genius! That top flap is what will keep your gift card snug inside. You can simply fold it down and tuck it in, or if you’re feeling fancy, you can create a little closure. Consider cutting a small notch or using a decorative edge punch for a bit of flair. A small piece of washi tape or a cute sticker can also act as a seal. Remember, this is your creation, so let your personality shine! Don't be afraid to experiment with different folds or closures. The goal is to have a secure and stylish home for your gift card.
Materials You'll Need for a DIY Gift Card Envelope
Materials You'll Need for a DIY Gift Card Envelope
Alright, let's talk shop about what you'll actually need to make these snazzy little envelopes. Paper is the star of the show, obviously. Think about what kind of vibe you're going for. Want something sturdy that feels a bit fancy? Cardstock is your pal. It comes in a million colors and patterns, so you can really go wild. Or maybe you're aiming for a more minimalist, "I whipped this up in five seconds but it still looks amazing" kind of deal? Regular printer paper works just fine. It's thinner, sure, but sometimes that's all you need. Don't forget the sticky stuff! A glue stick is less messy than liquid glue (trust me on this one), but double-sided tape is like magic – instant stickiness, no waiting for it to dry. Scissors are a must unless you're some kind of paper-tearing wizard. Sharp ones make cleaner cuts, which equals a neater-looking envelope. And if you're a stickler for straight lines (like me, sometimes), a ruler is your secret weapon. It helps you make those folds crisp and professional, even if your folding skills are usually more "abstract expressionist."
Material | Why You Need It | Pro Tip |
|---|---|---|
Paper (Cardstock or Printer Paper) | The foundation of your envelope! | Experiment with different colors and patterns. |
Scissors | For cutting the paper to size. | Sharp scissors make cleaner cuts. |
Adhesive (Glue Stick or Double-Sided Tape) | To hold the envelope together. | Double-sided tape is great for instant results. |
Ruler (Optional) | For precise folds. | Helps create crisp, straight lines. |
Adding Flair to Your DIY Gift Card Envelope
Adding Flair to Your DIY Gift Card Envelope
Make it Personal with Decorations
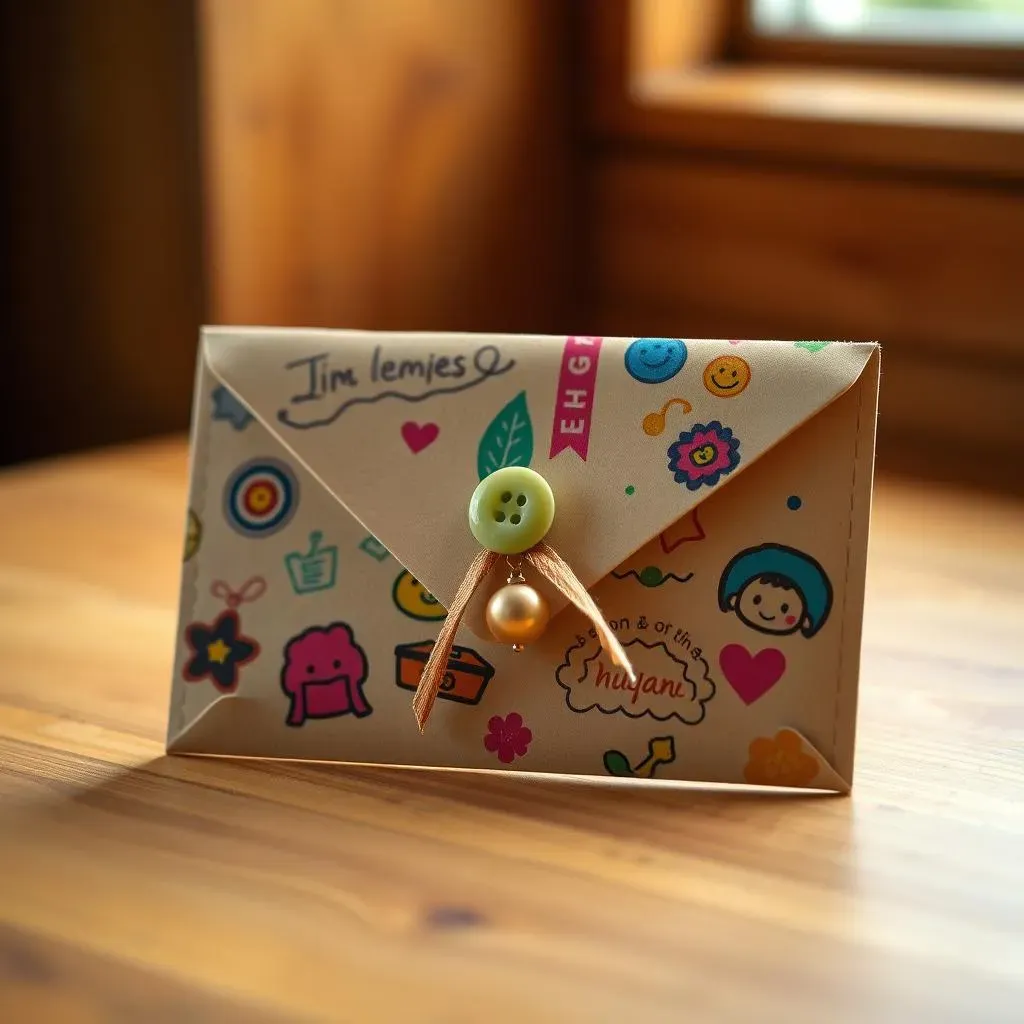
Alright, your envelope is assembled, looking all neat and tidy. But let's be honest, it's still a little...plain. This is where you get to unleash your inner artist! Think about who you're giving this gift card to. What are their favorite colors? Do they have any hobbies or interests you can play on? Grab some colorful markers or pens and doodle away! Simple stripes, polka dots, or even a cute little drawing can make a big difference. Got some spare stickers lying around? Now's their time to shine! Washi tape is another fantastic option – it comes in endless patterns and adds a touch of elegance without much effort. Remember that time my niece received a gift card to a bookstore? I drew a silly little reading worm on the envelope, and she loved it more than the gift card itself (almost!). It's those small, personal touches that make your diy gift card envelope truly special.
Elevate the Envelope with Extra Touches
Want to take your diy gift card envelope to the next level? Let's talk about adding some extra pizzazz! Consider using decorative scissors for a fancy edge – they instantly elevate the look. A small paper punch in a fun shape (think hearts, stars, or even tiny animals) can add a playful element. If you're feeling extra crafty, try adding a small ribbon or twine tied around the envelope. You can even thread a tiny charm or bead onto the ribbon for an extra surprise. Remember those old buttons you've been hoarding? A cute button glued to the front can add a vintage touch. For a holiday-themed gift card, a sprinkle of glitter (biodegradable, please!) can add a festive sparkle. The goal here is to think outside the box and use whatever you have on hand to make your envelope truly unique. It's like adding the perfect accessories to an outfit – it just pulls everything together!
Flair Idea | Materials Needed | Tips and Tricks |
|---|---|---|
Doodles and Drawings | Markers, pens | Reflect the recipient's interests. |
Stickers | Stickers (various themes) | Use fun and relevant designs. |
Washi Tape | Washi tape (various patterns) | Adds color and pattern easily. |
Decorative Scissors | Decorative scissors | Creates a fancy edge. |
Paper Punches | Paper punch (various shapes) | Adds playful elements. |
Ribbon or Twine | Ribbon, twine | Tie around the envelope for elegance. |
Charms or Beads | Small charms, beads | Thread onto ribbon for extra detail. |
Buttons | Buttons | Glue for a vintage look. |
Glitter | Biodegradable glitter | Adds festive sparkle (use sparingly). |
Your Personalized DIY Gift Card Envelope Awaits
So, there you have it! Crafting your own diy gift card envelope isn't just practical; it's a fun way to show you care. Forget those generic store-bought sleeves. With a few simple steps and a touch of creativity, you've now got the skills to make any gift card feel extra special. Go ahead, impress your friends and family with these personalized touches. Happy crafting!