Table of Contents
Tired of those generic, store-bought gift card holders? Want to add a sprinkle of handmade charm to your presents? You're in the right spot! A **diy gift envelope** is the perfect way to elevate a simple gift card into something truly special. Forget the mass-produced monotony; we're diving into the fun and easy process of creating your own adorable mini envelopes. This guide will walk you through gathering your materials, provide a simple step-by-step process for crafting your envelopes, and then spark your imagination with creative customization ideas. Finally, we'll touch on why that extra bit of effort in creating a **diy gift envelope** makes all the difference. So, grab your paper and let's get crafting!
Gathering Supplies for Your DIY Gift Envelope Project
Gathering Supplies for Your DIY Gift Envelope Project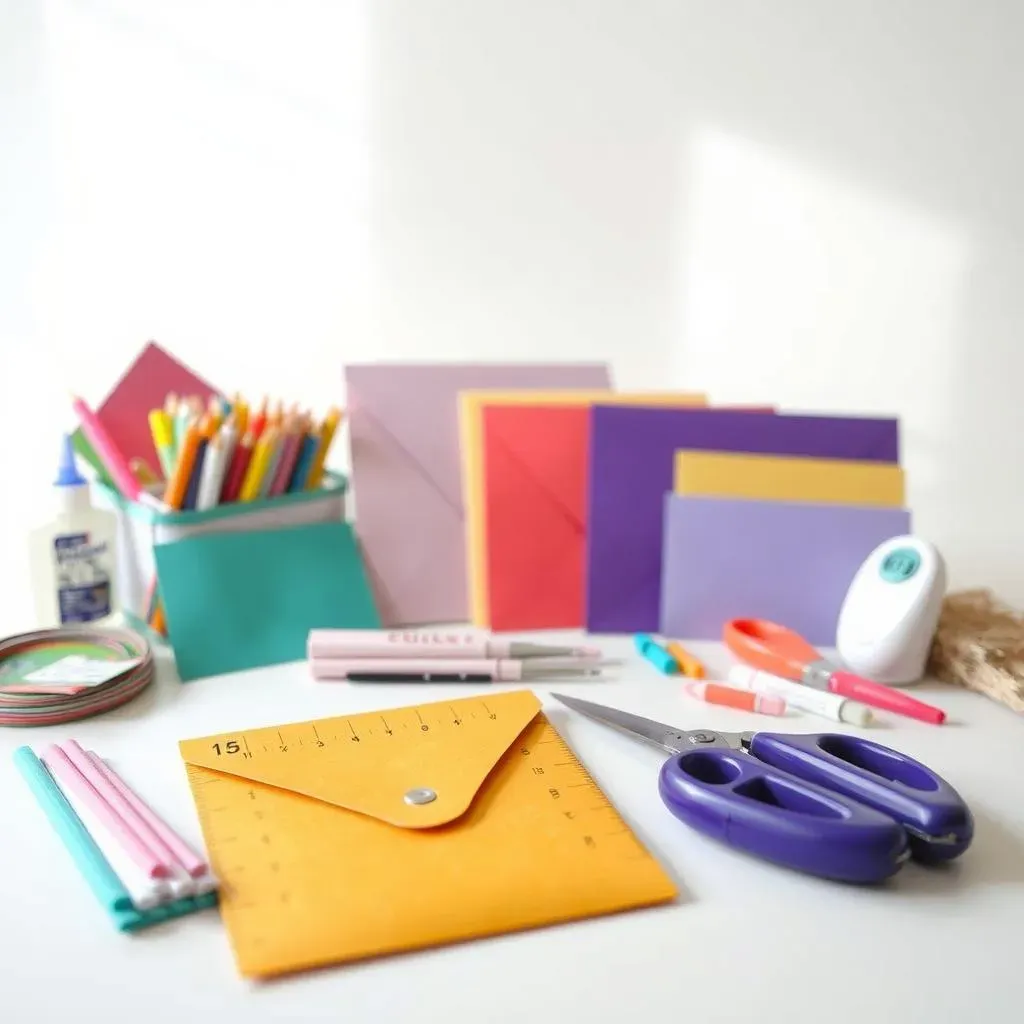
Alright, so you're itching to get started on those adorable mini envelopes? Smart move! First things first, let's round up the essentials. Think of it like prepping your artist's palette – having the right tools makes all the difference. You won't need a mountain of stuff, thankfully. Paper is your main squeeze, and don't be afraid to get a little wild with patterns and colors! Next up, you'll want some kind of adhesive – glue sticks, double-sided tape, even those cute little adhesive dots work wonders. Scissors are a must for trimming, and if you want those super clean folds, a scoring board is a game-changer, but the edge of a ruler works in a pinch too. Finally, for that extra touch of polish, consider a corner rounder punch. It gives your envelopes a professional feel without much fuss.
Supply | Why You Need It |
|---|---|
Paper (various colors/patterns) | The foundation of your envelope! Get creative. |
Adhesive (glue stick, tape, dots) | To hold your envelope together, obviously. |
Scissors | For precise cutting and trimming. |
Scoring Board (optional) | Creates crisp, clean folds. Makes life easier. |
Corner Rounder Punch (optional) | Gives a professional, rounded edge. |
StepbyStep Guide to Crafting Your DIY Gift Envelope
StepbyStep Guide to Crafting Your DIY Gift Envelope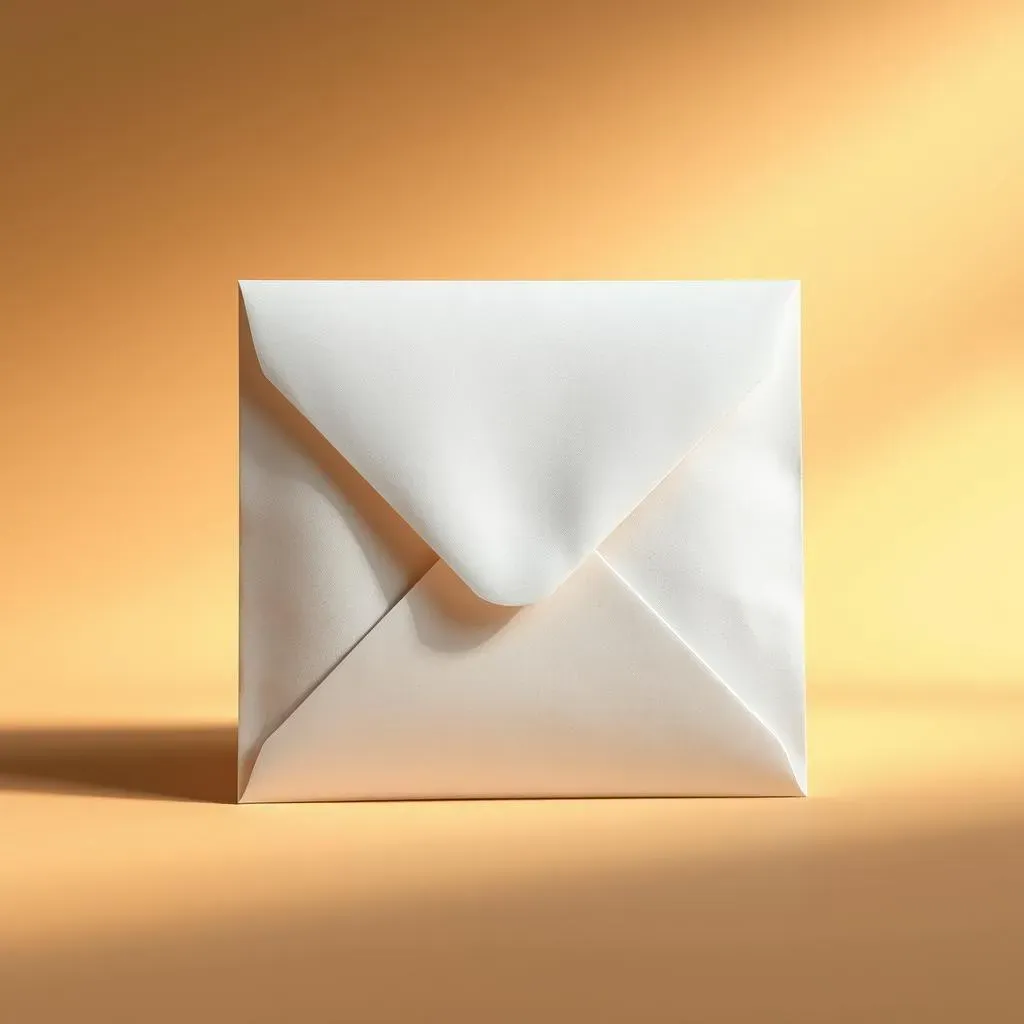
Getting Started: The Initial Fold
Alright, you've got your supplies, feeling crafty? Awesome. First, grab your chosen paper. A 4.5-inch square is a sweet spot for a standard gift card, but hey, if you're feeling rebellious, go rogue! Now, if you've got that fancy scoring board, line your paper up and score it at 2 inches and then again at 1 3/8 inches. No scoring board? No sweat. Just gently fold the paper at those measurements, using the edge of a ruler or even your trusty fingernail to get a decent crease. Think of it like folding a tiny paper airplane, but way less likely to crash and burn.
Once you've made those initial folds, smooth them out. A bone folder (if you're fancy) or just your finger works wonders. You should start to see the basic shape of your future envelope emerging. See? You're practically a paper-folding ninja already.
Shaping and Sealing Your Envelope
Next up, you'll notice some little corner bits sticking out. Time to get trim-happy! You can either fold these inward to create little flaps (more security!) or, if you're feeling minimalist, just snip them off. If you have that corner rounder punch, now's its time to shine! Give the top flap a little rounded edge for that professional touch. It's like giving your envelope a mini-makeover.
Almost there! Fold in the sides and then the bottom flap. Now for the satisfying part: sealing it. A dab of glue stick on the inside edges of the bottom flap, a strip of double-sided tape, or a couple of strategically placed adhesive dots will do the trick. Press it down firmly. Boom! You've got yourself a **diy gift envelope**. Pat yourself on the back; you earned it.
Creative DIY Gift Envelope Ideas and Customizations
Creative DIY Gift Envelope Ideas and Customizations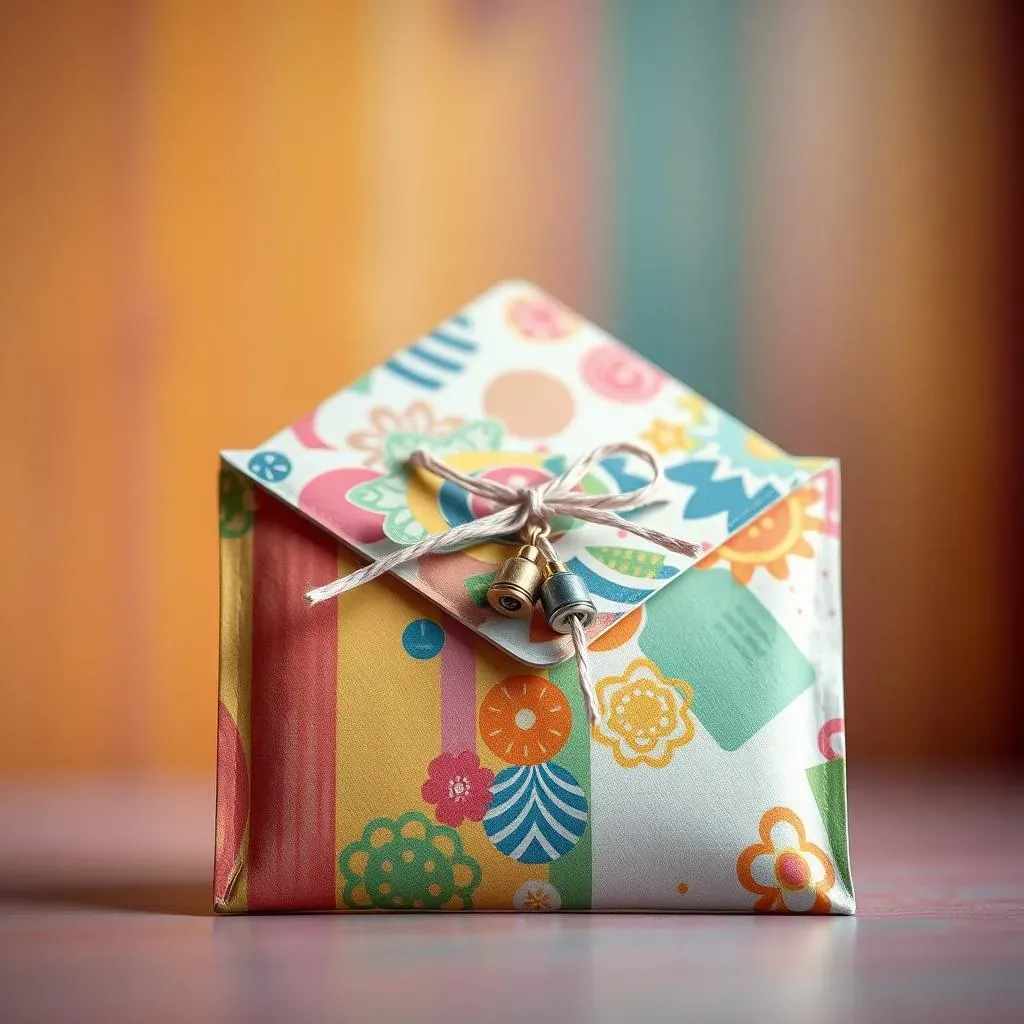
Paper Play: Beyond the Basics
Now that you've mastered the basic fold, let's ditch the plain white and inject some personality! Think of your paper as a blank canvas. Got some pretty scrapbook paper lying around? Perfect! Old maps? Super cool and unique. Even magazine pages can add a funky, recycled vibe. Consider the occasion and the recipient. Birthday? Go for bright and cheerful. Holiday? Festive patterns are your friend. For a more sophisticated feel, try textured paper or even vellum for a semi-transparent effect. Don't be afraid to mix and match patterns for the lining and outer part of the envelope for a fun surprise!
Embellishments and Extra Touches
Ready to take your **creative DIY gift envelope ideas and customizations** to the next level? Embellishments are your secret weapon! A simple ribbon tied around the envelope adds a touch of elegance. Small, delicate charms dangling from the tie? Even better. Stamps aren't just for postage, folks! Use decorative stamps and ink pads to create patterns or add a personalized message. Washi tape is another fantastic tool for adding color and pattern without the permanence of glue. Think of it as decorative masking tape – it comes in a million designs and is super easy to use. And for that extra bit of sparkle? A few strategically placed glitter dots or tiny sequins can work wonders, just don't go overboard unless you're aiming for full-on disco ball vibes.
Personalization Power-Ups
Want to make your **creative DIY gift envelope** truly unforgettable? Personalization is key. Instead of just writing the recipient's name, get creative with calligraphy or fancy lettering. Include a small, hand-drawn doodle that reflects their interests. If you know their favorite animal, draw a tiny version on the flap. Or, if you're feeling ambitious, try incorporating a small pressed flower or leaf for a natural touch. For a themed gift, let the envelope reflect it! Giving a coffee shop gift card? Use coffee-themed paper or add a tiny coffee bean charm. The possibilities are endless, and it's these little details that show you put in the extra thought – way more impressive than a generic envelope, right?
Why a DIY Gift Envelope Adds a Personal Touch
Why a DIY Gift Envelope Adds a Personal Touch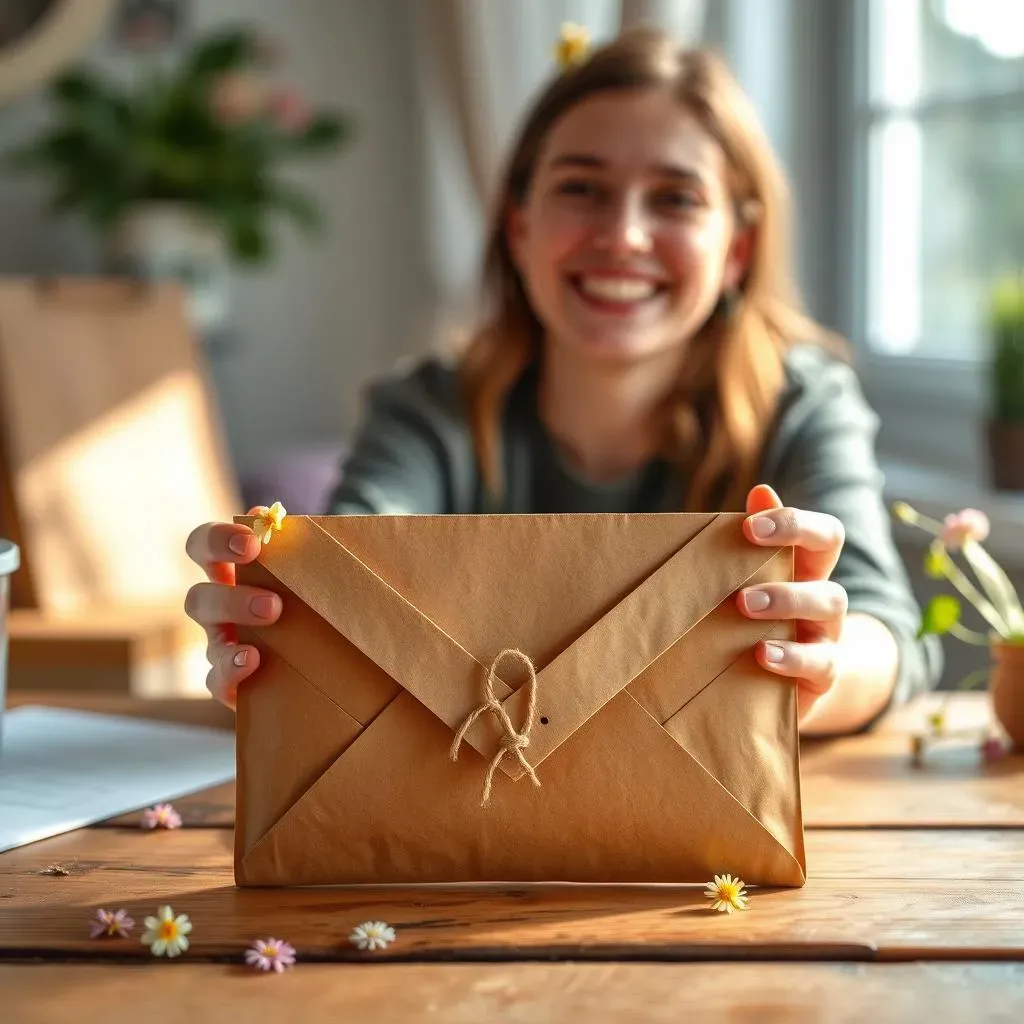
It Shows You Care (More Than a Little!)
Let's be real, slipping a gift card into a generic envelope is easy. Anyone can do it. But taking that extra bit of time to craft a **diy gift envelope**? That speaks volumes. It tells the recipient, "Hey, you're worth a little extra effort." It's a tangible way of saying, "I was thinking of you while making this." It's like baking someone cookies from scratch versus grabbing a pack from the store – both are nice, but one definitely has that extra sprinkle of love.
A Unique Touch in a World of Sameness
Think about it: how many generic gift card holders have you seen? Probably a gazillion. A **diy gift envelope**, on the other hand, is one-of-a-kind. It's a mini piece of art, crafted specifically for that person and that occasion. You get to choose the colors, the patterns, the embellishments – everything is tailored. It stands out from the pile and adds a delightful element of surprise before they even get to the gift card itself. It's like giving a gift wrapped in a story.
More Than Just an Envelope, It's a Keepsake
Here's the cool part: a **diy gift envelope** isn't just something to be tossed aside. Because it's handmade and personalized, it has the potential to become a little keepsake. The recipient might tuck it into a scrapbook, pin it to a bulletin board, or simply keep it as a reminder of your thoughtfulness. It transforms a simple gift card into a more memorable experience. It's a small gesture, sure, but those small gestures often leave the biggest impact.
Benefit of DIY Gift Envelope | Why It Matters |
|---|---|
Shows Extra Effort | Demonstrates thoughtfulness and care. |
Uniqueness | Stands out from generic options. |
Potential Keepsake | Adds lasting value beyond the gift card. |
Wrapping Up Your DIY Gift Envelope Journey
So there you have it! Crafting your own **diy gift envelope** isn't just about making a holder for a gift card; it's about adding a personal stamp to your present. From gathering your favorite papers to putting your own creative spin on the design, each step adds a layer of thoughtfulness that store-bought envelopes simply can't match. Go ahead, give it a try and watch how a little handmade effort can make a big impact.