Table of Contents
Introduction
Let's face it, sometimes finding the perfect wrapping for a gift card, some cash, or even just a couple of tickets feels like a chore. A plain envelope? A bit... sad. A full-blown gift box seems overkill for something flat. You want something thoughtful, something that shows a little effort without requiring a week in an art studio. This is where the **diy gift envelope box** comes in. It’s the sweet spot between a flimsy envelope and a bulky box, offering just enough structure and personality to make that small gift feel special. Forget those generic store-bought options that scream "last minute." Crafting your own means you control the look, the feel, and the message. It's surprisingly straightforward, even if your crafting skills peaked with macaroni art. This article will walk you through exactly how to build a sturdy, attractive diy gift envelope box from basic materials you likely have lying around. We'll cover what you need, the step-by-step process, and how to add your own flair. Ready to elevate your gift-giving game without breaking the bank or your patience? Let's get started.
Why Make a DIY Gift Envelope Box?
Why Make a DIY Gift Envelope Box?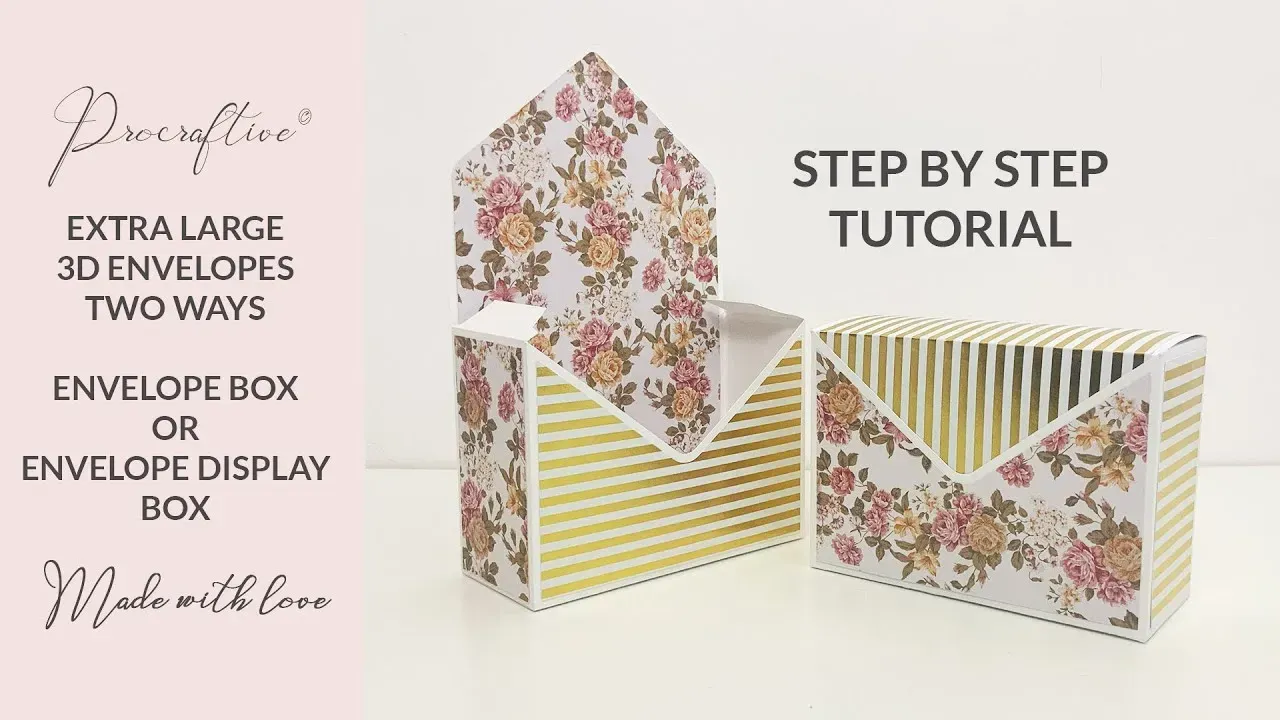
More Than Just Paper and Glue
Look, you could just slap a bow on a plain white envelope. We've all been there. But let's be honest, it feels a bit... phoned in, doesn't it? Making a diy gift envelope box isn't about being a crafting guru; it's about adding a personal touch that a store-bought card or basic envelope just can't replicate. Think about it – you're giving someone money for their birthday or a gift card to their favorite coffee shop. Tucking it into something you made yourself elevates that simple gesture. It shows you put in a little extra thought, a little extra effort. It's the difference between a handshake and a hug.
Skip the Generic, Go Custom
Another solid reason to tackle a diy gift envelope box? Cost and customization. Fancy gift boxes can cost a few bucks, and let's not even start on the environmental impact of all that excess packaging. With a DIY approach, you're likely using materials you already own – scrap paper, old cards, magazine pages. It's cheaper, often more sustainable, and infinitely more flexible. You can match the paper to their favorite color, the occasion, or even their personality. Giving cash for a graduation? Use paper with a map print. Gift card for a coffee addict? Find some cool coffee bean imagery. The possibilities are genuinely endless, unlike the two or three options at the pharmacy checkout.
So, why bother? Here's a quick rundown:
- Shows extra thought and effort.
- Costs less than store-bought options.
- Reduces waste by reusing materials.
- Allows for complete personalization.
- Makes a small gift feel more substantial.
Gathering Materials for Your DIY Gift Envelope Box
Gathering Materials for Your DIY Gift Envelope Box
What Paper Works Best?
Alright, first things first for your diy gift envelope box: the paper. You're not going to build a sturdy box with flimsy printer paper, unless you want your gift card to arrive looking like it survived a hurricane. You need something with a bit of backbone. Think cardstock, scrapbook paper, or even a thicker wrapping paper. The key is medium to thick weight. Standard A4 size is a good starting point, especially if you're just tucking in cash or a gift card. If you're planning on putting something slightly bulkier, you might need a larger sheet. Don't be afraid to raid your craft stash or even recycle an old greeting card with a nice design. Just make sure it's not so thick it's impossible to fold cleanly.
The Right Tools for the Job
Next up for your diy gift envelope box adventure are the tools that make it happen. You'll definitely need something to cut with. Sharp scissors are fine, but a craft knife and cutting mat will give you cleaner, straighter lines, which makes a huge difference in the final look. A ruler is non-negotiable. You need to measure accurately unless you enjoy wonky boxes. A pencil is handy for marking your folds and cuts – just remember to mark lightly so you can erase it later. A scoring tool (like a bone folder or even the back of a butter knife) is also super helpful for crisp folds, but you can usually get by pressing hard with a ruler. Don't overthink it; you probably have most of this stuff in a drawer somewhere.
Here’s a quick checklist of the basics:
- Medium to thick paper (cardstock, scrapbook paper, etc.)
- Sharp scissors or craft knife
- Cutting mat (if using a craft knife)
- Ruler
- Pencil
- Glue stick or other adhesive
- Optional: Scoring tool, decorative elements (stickers, ribbon, etc.)
Sticking It All Together and Adding Flair
Finally, you need a way to make your diy gift envelope box hold its shape. A good quality glue stick is usually sufficient for paper projects like this. Make sure it's one that actually sticks and doesn't just smear stuff around. White craft glue can work too, but use it sparingly to avoid warping the paper. Beyond the structural stuff, think about decoration. This is where you make it personal. You could print a small image (a photo, a cool graphic) to glue inside or on the outside. Use stickers, stamps, ribbon, or even just draw on it. This is your chance to ditch the generic and make your diy gift envelope box genuinely unique to the person you're giving it to. A little bit of effort here goes a long way.
StepbyStep Guide: Building Your DIY Gift Envelope Box
StepbyStep Guide: Building Your DIY Gift Envelope Box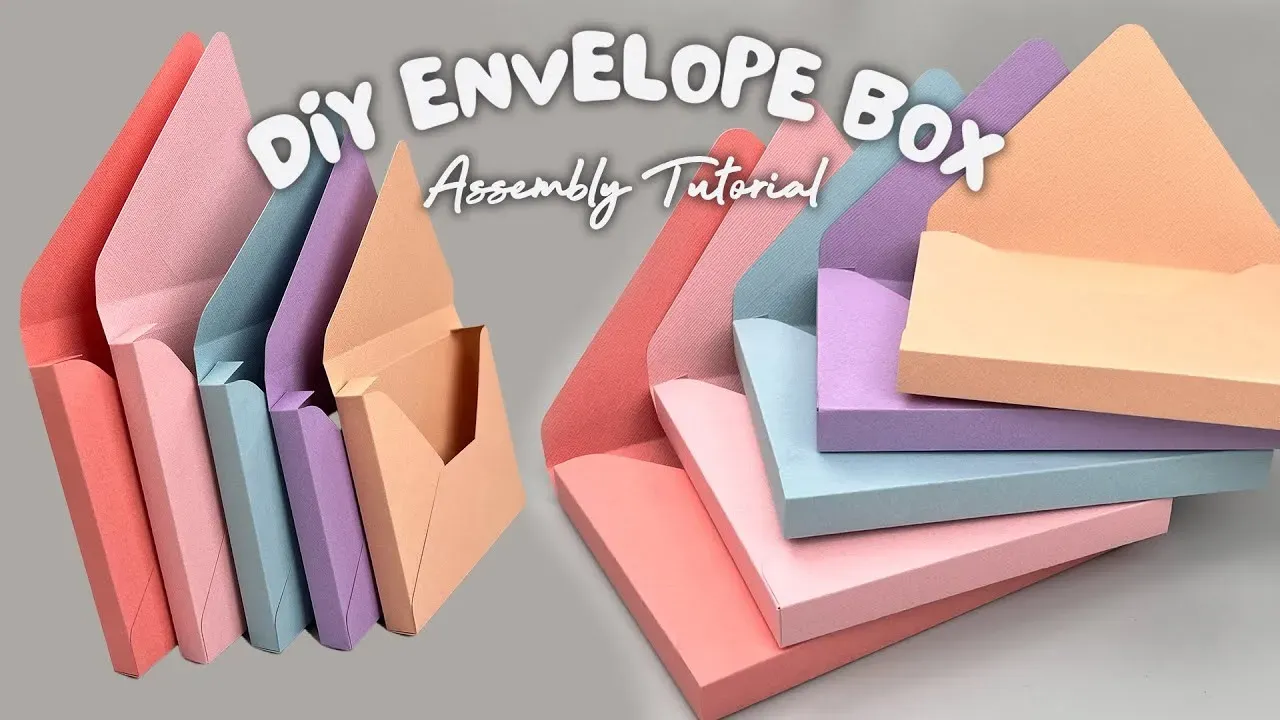
Measure Twice, Cut Once (Seriously)
Alright, you've got your paper and tools ready for your **diy gift envelope box**. Now comes the actual construction. Don't just eyeball it; this isn't abstract art. Start by cutting your paper into a perfect square. The size depends on what you're putting inside, but an 8x8 or 10x10 inch square is good for standard gift cards or folded cash. Accuracy here is key; a slightly off-square piece means a wonky box, and nobody wants that. Find the exact center of your square – you can do this by lightly drawing diagonal lines from corner to corner or using a ruler. This center point is where the magic happens, or rather, where the folding begins.
Ready to fold?
- Start with a perfect square of paper.
- Find and mark the center point.
- Fold each corner towards the center point.
- Crease the folds firmly.
Personalizing and Using Your Finished DIY Gift Envelope Box
Adding Your Signature Style
you've folded and glued your diy gift envelope box into existence. It looks pretty good, right? But a plain paper box, while functional, isn't exactly thrilling. This is where you inject some personality. Think about who the box is for. Are they obsessed with cats? Find a tiny cat sticker or draw one on. Do they love vintage maps? Glue a snippet of an old map inside or on the flap. You can stamp patterns, add a ribbon tie instead of just gluing the flap down, or even use different colors of paper for the inside and outside. Don't just sign your name; write a short, specific message tucked inside before you seal it up. It's these small touches that transform a simple paper container into a memorable part of the gift itself. You're not just handing over cash; you're handing over a small piece of your effort.
Your Custom Gift, Wrapped Just Right
So there you have it. You've taken some paper and glue and turned it into a sturdy, personalized container. No more shoving a gift card into a regular envelope and hoping it doesn't get lost. This diy gift envelope box adds a touch of care that store-bought options often lack. It's a practical way to present smaller items, showing you put in a little extra effort. Use it for birthdays, holidays, or just because. It's a small detail, but sometimes those are the ones that make a gift memorable.