Table of Contents
Want to give a gift that truly pops? Forget the boring gift bags! Let's make a DIY gift explosion box! It's like a regular box, but when the lid comes off, surprise! Down go the sides, revealing layers of your thoughtful photos, sweet messages, and maybe even a tiny present tucked inside. Think origami meets scrapbook, with a dash of delightful surprise. This guide will walk you through each step, from gathering your supplies to folding the perfect box layers and finally, adding your own creative flair with decorations. We'll even cover how to make a neat lid to keep all your surprises under wraps. By the end of this, you'll be a pro at crafting these awesome DIY gift explosion boxes, ready to wow anyone on your gift list.
What is a DIY Gift Explosion Box?
What is a DIY Gift Explosion Box?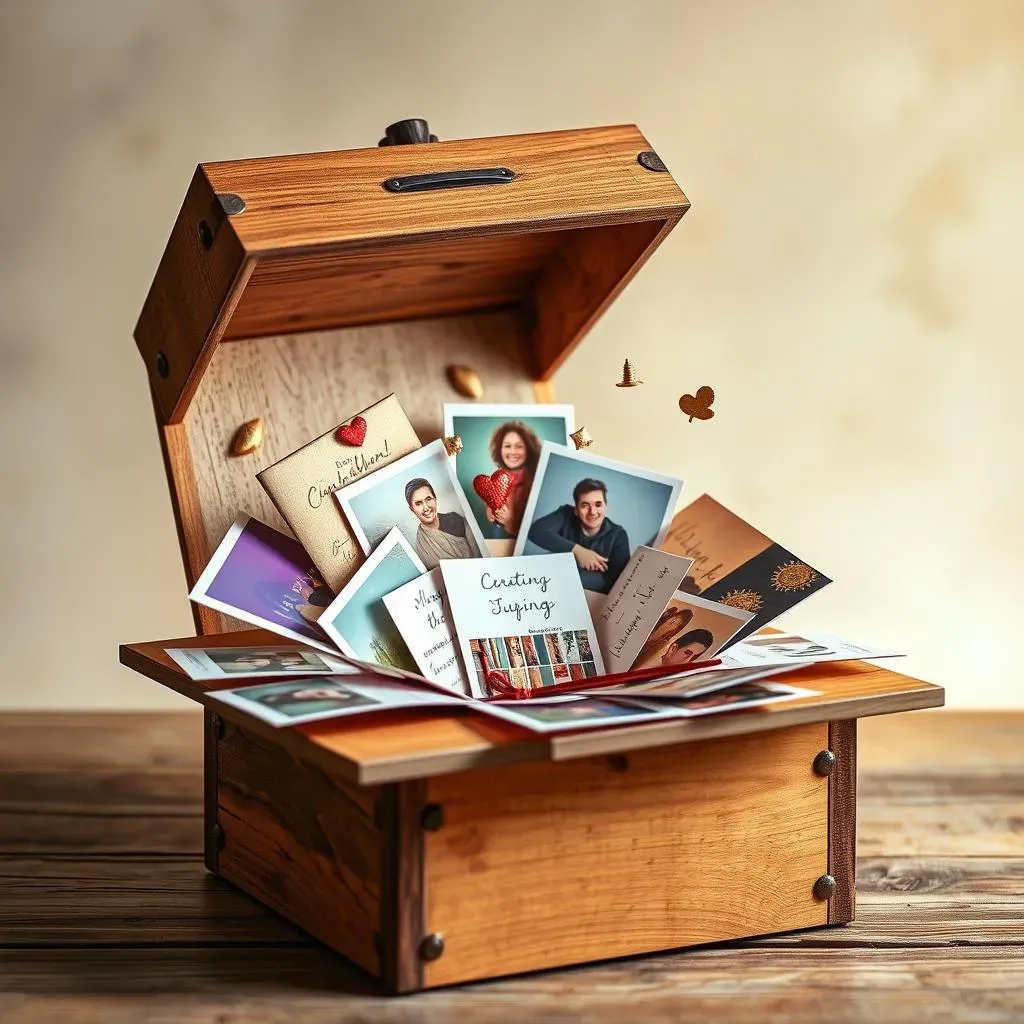
so you're picturing a regular gift box, right?
Now, imagine that box has a secret.
When the person you're gifting lifts the lid, BAM!
The sides fall outward, like a blooming flower, revealing layers of photos, little notes, and maybe even a small trinket or two.
That’s the magic of a DIY gift explosion box.
It's a handmade present that's more than just the sum of its parts.
It's an experience.
Think of it like a scrapbook that bursts open with memories and love.
DIY Gift Explosion Box Supplies You'll Need
DIY Gift Explosion Box Supplies You'll Need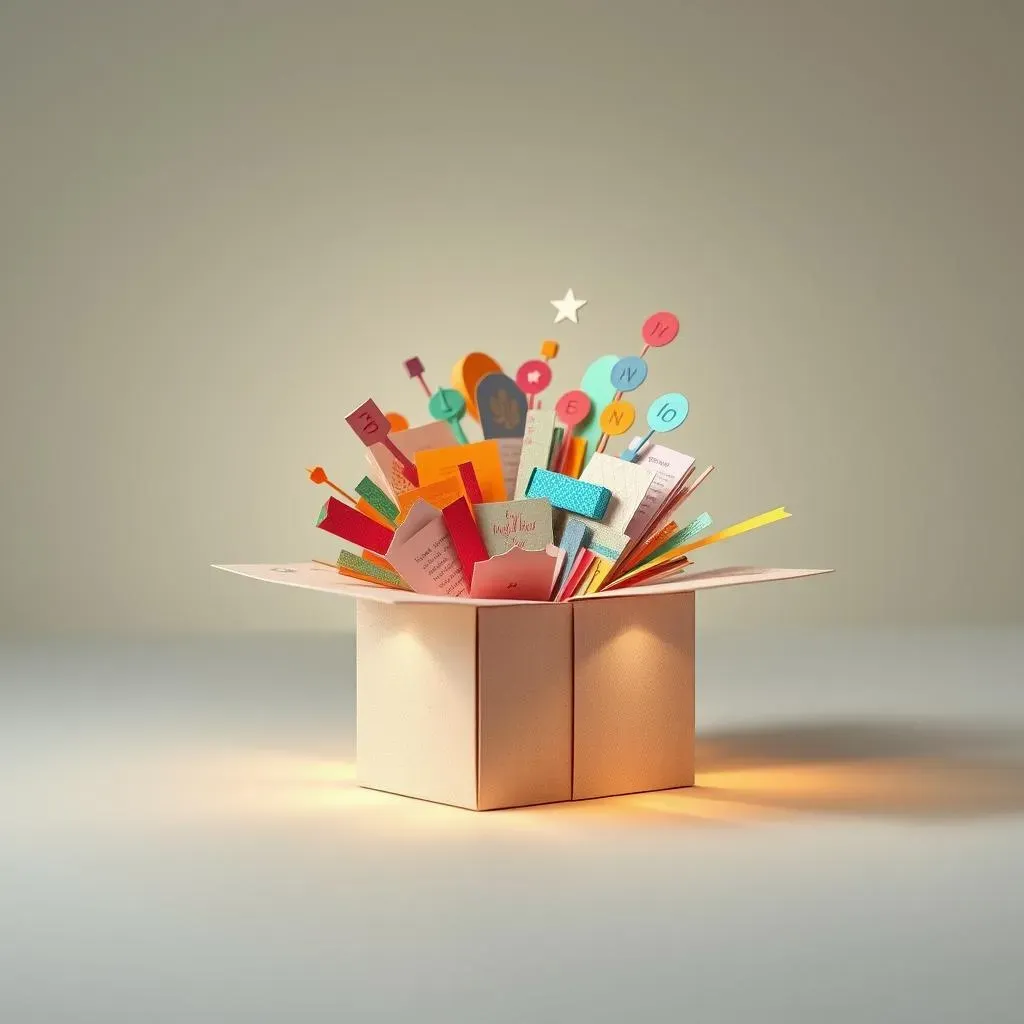
Gather Your Arsenal
Alright, so you're itching to make one of these cool boxes.
First things first, you need the right gear.
Think of it like prepping for a mini art attack, but way less messy (hopefully).
You won’t need a ton of fancy stuff, which is a win.
Grab some cardstock – the thicker stuff works best so your box doesn’t feel like it’s going to flop over.
Scrapbook paper is your friend for adding some pizzazz.
The Essential Toolkit
Now, for the nitty-gritty.
You'll definitely need scissors or a craft knife if you're feeling fancy – just be careful not to slice your fingers.
A glue stick is a must; liquid glue can get a bit drippy and we're going for neat, not a sticky situation.
A ruler will keep your lines straight, unless you're going for that abstract, 'I did this on purpose' look.
Pencils are handy for marking, and an eraser for when your 'on purpose' look goes a little too far.
Personalizing Your Pop-Up Masterpiece
This is where the fun really kicks in.
Think about what you want to put inside your explosion box.
Pictures are a classic – they capture memories and make the gift super personal.
Little notes with inside jokes or sweet messages add a heartfelt touch.
Got some small trinkets or mementos? Throw them in!
The beauty of a DIY gift explosion box is that you can totally customize it.
Get creative with stickers, washi tape, glitter (if you dare!), and anything else that screams 'you'.
Making Layers for Your DIY Gift Explosion Box
Making Layers for Your DIY Gift Explosion Box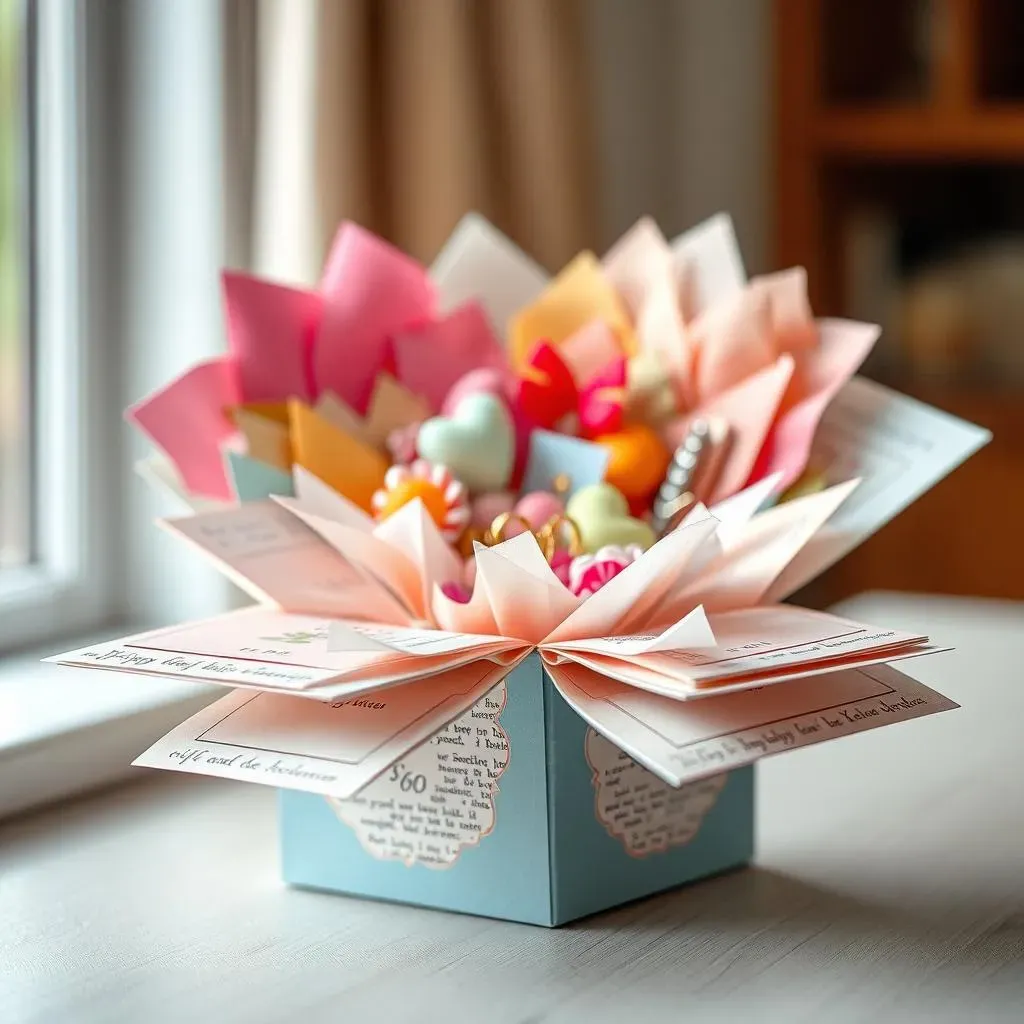
Crafting the Base Layer
Ready to get down to the nitty-gritty of layering?
Think of the base layer as the foundation of your surprise explosion.
You'll start with a 12x12 inch piece of cardstock.
Now, here’s the slightly fiddly but totally doable part.
You're going to score and fold it to create a box base.
Imagine dividing your 12x12 square into nine smaller 4x4 inch squares.
Fold along those lines.
Then, snip up to the first fold line on each side – this creates the flaps that will form the box walls.
Fold those flaps up and glue them to the inside of the adjacent square.
Boom! You've got your first layer.
Building Up the Surprise
One layer is cool, but multiple layers? That’s where the real 'explosion' happens.
For each subsequent layer, you'll repeat the process, but with slightly smaller squares.
Try making the next layer with 10.5x10.5 inch cardstock, creating 3.5x3.5 inch squares.
The layer after that could be 9x9 inches, making 3x3 inch squares.
You get the idea.
Each layer should be about 1.5 inches smaller than the one beneath it.
This allows them to nest neatly inside each other.
Once you’ve folded and glued these smaller boxes, you’ll attach them to the center of the larger box, stacking them up like a gift-filled tower.
Decorating Your DIY Gift Explosion Box and Creating the Top
Decorating Your DIY Gift Explosion Box and Creating the Top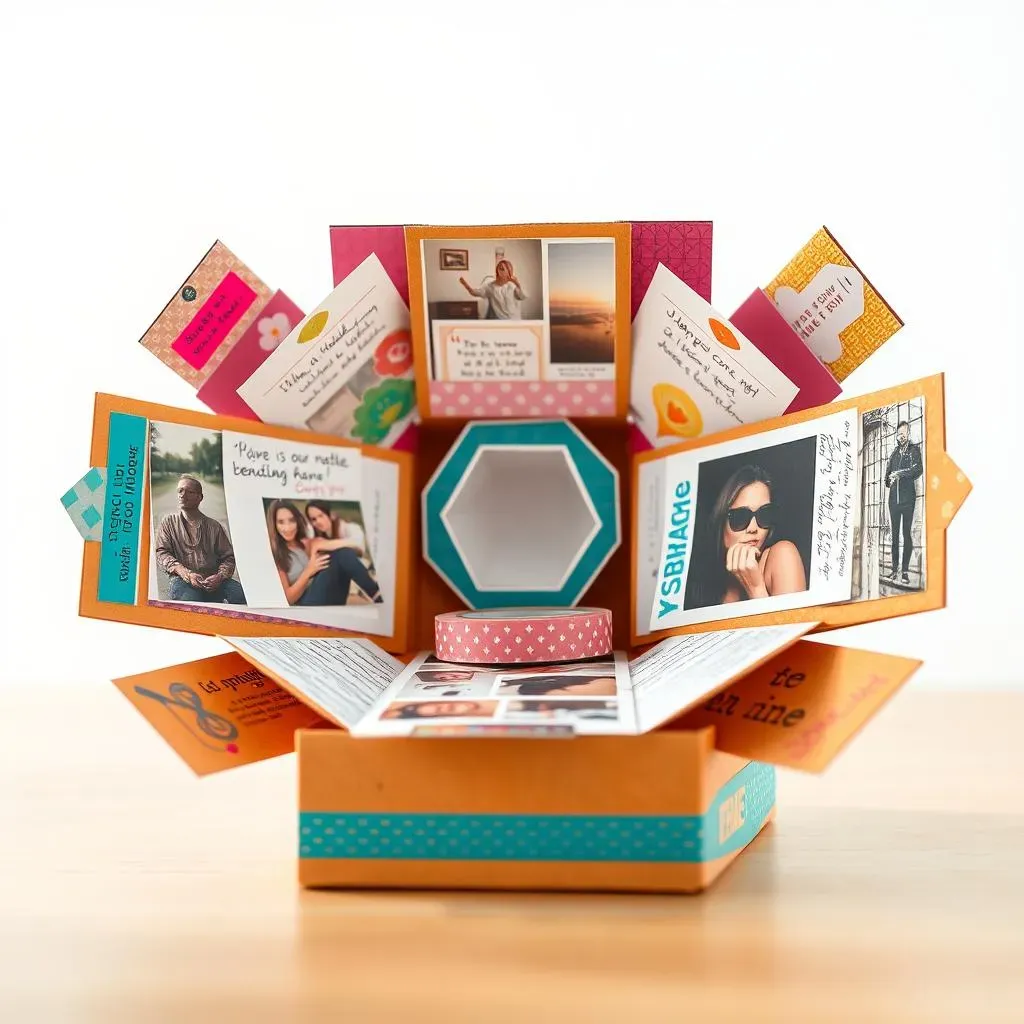
Making it Sparkle: Decoration Ideas
Now comes the really fun part: making your explosion box look amazing! Think of each layer as a mini canvas. Photos are always a winner – print out your favorites and arrange them on the panels. Don't just stick them on willy-nilly; play around with layouts. Maybe a collage on one side, a single standout photo on another. Little handwritten notes add a personal touch. Jot down memories, inside jokes, or just sweet nothings. Washi tape is your secret weapon here. It comes in a million colors and patterns and is perfect for adding borders or sticking down photos. Get some fun stickers too! They can add a pop of personality and fill in any empty spaces. Remember that hexaflexagon we mentioned? It's a cool way to create an endless loop of pictures in the center. It might sound fancy, but there are tons of easy tutorials online.
Capping it Off: Making the Lid
Alright, so you've got this awesome box of surprises, but it needs a lid, right? No problem! Grab a 7x7 inch piece of cardstock. You can find printable templates online that make this super easy, but the basic idea is to create a lid that fits snugly over your box. Score and fold the edges inwards – usually around 1 inch – to create flaps. These flaps will form the sides of your lid. Cut small slits on the score lines to help the corners fold neatly. Then, just like you did with the box base, fold those flaps inwards and glue them together. Make sure your lid isn't too tight or too loose; you want it to slide on and off easily but still stay put. Decorate the top of the lid too! Maybe a big sticker, a fancy paper cutout, or even just a simple, elegant design. It's the first thing they'll see, so make it count!
Unleash Your Creativity with a DIY Gift Explosion Box
So, there you have it! You've learned how to create your very own DIY gift explosion box, a truly unique way to show someone you care. From the initial folds to the final flourish of decoration, each step allows you to personalize your gift in a memorable way. Don't be afraid to experiment with colors, themes, and personal touches to make each box a special keepsake. Now go ahead and surprise someone with a gift that's as fun to make as it is to receive!