Table of Contents
Tired of those generic, boring gift tags you grab at the store last minute? Let's be honest, they're forgettable and add zero personality to your thoughtfully chosen presents. But what if you could easily transform your gift-giving game? Enter **DIY gift name tags** – your secret weapon for adding a personal, heartfelt touch that screams "I put thought into this!" This isn't just about slapping a name on a present; it's about crafting a mini work of art that shows you care, even before they tear into the wrapping paper. In this guide, we'll dive into the wonderful world of **DIY gift name tags**. We'll explore simple yet stunning ideas that anyone can pull off, no matter your crafting skills. From gathering the right materials and tools to step-by-step instructions for creating personalized tags, we've got you covered. Get ready to ditch the drab and discover how to make **DIY gift name tags** that are as unique and special as the gifts they adorn. Let's get crafty and make your gifts truly unforgettable!
Unleash Your Creativity with DIY Gift Name Tags
Unleash Your Creativity with DIY Gift Name Tags
Why Ditch Store-Bought Tags?
Seriously, have you ever stopped to really look at those generic gift tags at the checkout? They're functional, sure, but exciting? Inspiring? Nope. They're about as thrilling as plain toast. But **DIY gift name tags**? That's where the fun begins! It's your chance to inject a burst of your personality and creativity right into your presents. Think about it: a handmade tag tells someone you didn't just grab the first thing you saw; you put in a little extra effort, a sprinkle of love, and a whole lot of style.
Plus, let's be real, store-bought tags can be surprisingly pricey for what they are – just little pieces of paper! Going DIY is not only way more personal, but it’s also kinder to your wallet. You can raid your craft stash, repurpose materials you already have, and whip up a whole batch of gorgeous tags for less than the cost of a fancy coffee. It's like getting crafty brownie points for being both thoughtful and thrifty.
Beyond Paper: Unexpected Materials for Standout Tags
paper and cardstock are classics for a reason, but who says you have to stop there? Let's kick things up a notch and think outside the box – or, in this case, outside the paper pack. Imagine gift tags made from natural elements like dried leaves pressed between layers of contact paper, or tiny twigs tied together with twine. Suddenly, your gift has a rustic, earthy vibe that’s totally unique.
Don't underestimate the power of your scrap bin either! Fabric scraps, especially pretty patterned ones, can be cut into tag shapes and embellished. Buttons, beads, even pieces of old jewelry can add texture and sparkle. Get adventurous! Rummage through your drawers, your garden, your recycling – you'll be amazed at the treasures you can transform into eye-catching **diy gift name tags**.
Material | Style | Perfect For |
|---|---|---|
Dried Leaves | Rustic, Natural | Autumn gifts, nature lovers |
Fabric Scraps | Quirky, Colorful | Kids' birthdays, handmade items |
Repurposed Cardboard | Eco-friendly, Minimalist | Any occasion, sustainable gifting |
Make it Truly Yours: Personalization Power-Ups
Now for the real magic: personalization! This is where your **diy gift name tags** go from "cute" to "wow, they really thought of me." Hand lettering is a beautiful way to add a personal touch. Even if you don't think you have "good" handwriting, embrace the charm of your own style! A simple, heartfelt message written by you is always going to be more meaningful than a printed font.
Stamps are your best friend if you want to add designs quickly and easily. From simple shapes to intricate patterns, stamps can elevate your tags in seconds. Get themed stamps for holidays or occasions, or just have a collection of fun, versatile designs on hand. And don’t forget embellishments! A sprinkle of glitter, a few strategically placed sequins, a tiny paper flower – these little details can make a big impact. Tailor your tags to the recipient's personality or the occasion's theme. Are they a bookworm? Use a tag shaped like a bookmark. Is it a Christmas gift? Go wild with festive colors and sparkly accents. The possibilities are as endless as your imagination!
Simple & Stunning DIY Gift Name Tag Ideas You Can Make Today
Simple & Stunning DIY Gift Name Tag Ideas You Can Make Today
Stamped with Love Gift Tags
Ready for a seriously easy way to make your gift tags pop? Grab some stamps! Seriously, it's like instant awesome in tag form. You can go super simple with alphabet stamps and just spell out names or festive words. Or, if you're feeling a bit fancier, get some image stamps – snowflakes for winter, flowers for spring, cute animals for, well, any time because animals are always great. Ink pads in different colors are your secret weapon here. Metallic inks, like gold or silver, instantly add a touch of elegance. And don’t be afraid to layer stamps or mix and match designs. The beauty of stamped **DIY gift name tags** is that they look way more impressive than the effort you actually put in. It’s like magic, but with ink.
Twine & Tagboard: Rustic Charm Tags
If you're leaning towards a more natural, homespun vibe, twine and tagboard are your new best friends. Cut simple tag shapes out of kraft tagboard – you can find packs of it pre-cut, or just use a template and scissors. Then, the magic is in the details with twine! Wrap it around the top of the tag a few times, tie a cute bow, or even weave it through punched holes for a laced-up look. Add little sprigs of dried herbs like rosemary or lavender tucked under the twine for a touch of scent and visual appeal. These **DIY gift name tags** are perfect for anyone who loves a rustic, handmade aesthetic. They whisper "thoughtful" without shouting, and they’re incredibly versatile for any occasion.
Washi Tape Wonders Gift Tags
who doesn't have a drawer overflowing with washi tape? Time to put that collection to good use! Washi tape is basically decorative masking tape, and it comes in a million colors and patterns. Use it to create stripes, borders, or geometric designs on plain cardstock tags. You can even layer different tapes for a more complex look. Cut out simple shapes from cardstock and then go wild decorating them with washi tape. Write the recipient’s name with a marker on top of the tape, or use letter stickers. **DIY gift name tags** with washi tape are quick, colorful, and totally customizable. Plus, they're practically mess-free, which is always a win in my book.
Materials and Tools for Crafting Unique DIY Gift Name Tags
Materials and Tools for Crafting Unique DIY Gift Name Tags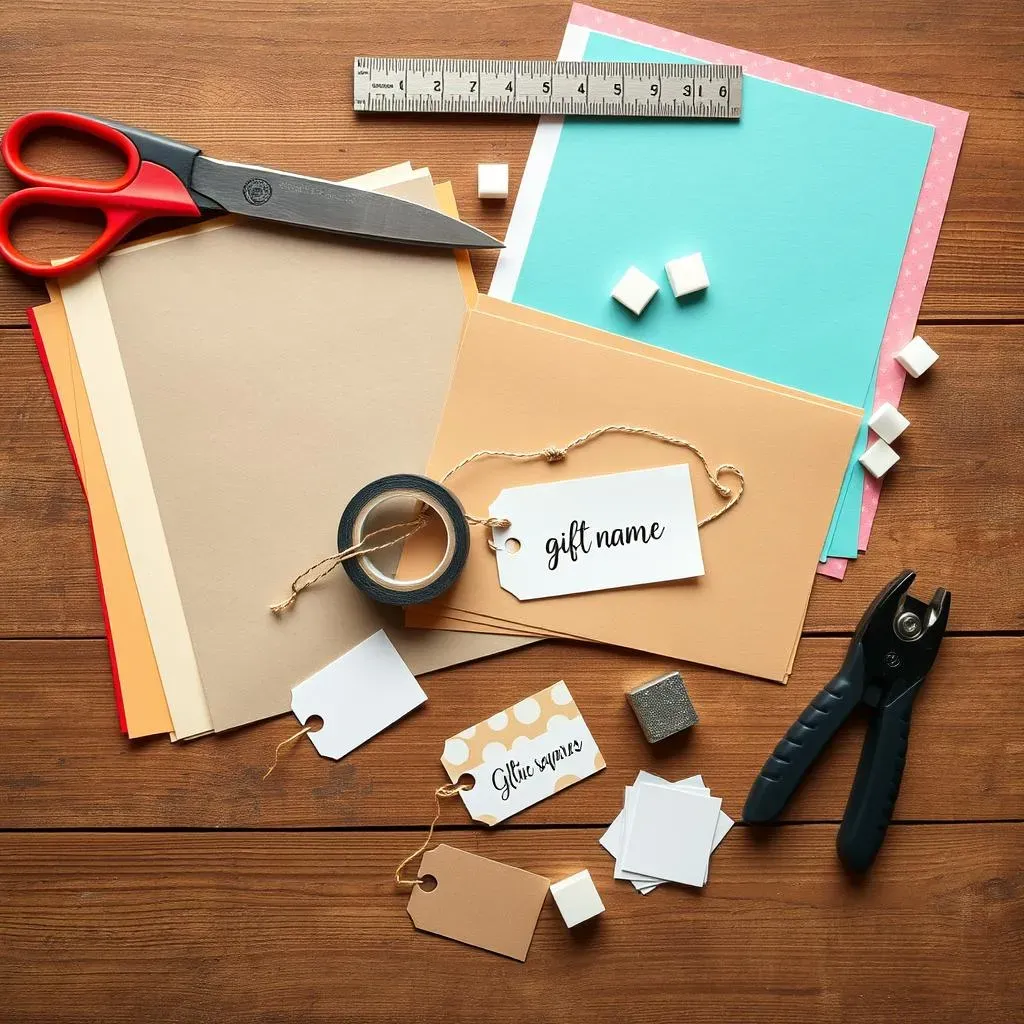
Essential Paper & Cardstock Choices
let's talk paper! Because when it comes to **DIY gift name tags**, your paper choice is like the foundation of your masterpiece. You can totally keep it simple with regular printer paper, especially for tags you plan to embellish a lot. But if you want something a bit sturdier and fancier, cardstock is your go-to. It comes in tons of colors and finishes, from smooth to textured, and it just feels more substantial. Kraft cardstock is amazing for a rustic look, and colored cardstock is perfect for matching your gift wrap or theme. Don't forget specialty papers too! Think glitter paper for extra sparkle, or patterned paper for built-in design. Experiment and see what you like – paper is your playground!
And hey, pro-tip: consider the weight of your paper. Lighter paper is easier to cut intricate shapes, but heavier cardstock will hold up better and feel more luxurious. For tags that will get handled a bit, especially on kids' gifts, go for something more robust. For delicate, decorative tags, you can get away with lighter options. It's all about finding the right balance for your **diy gift name tag** vision!
Must-Have Crafting Tools for Tag Making
Alright, paper? Check. Now for the fun part – the tools! You don't need a fancy craft room to make awesome **DIY gift name tags**, promise. But a few key tools will make your life so much easier and your tags look even more pro. First up: scissors and a craft knife. Sharp scissors are a must for basic shapes, but a craft knife (like an X-acto) is your best friend for intricate cuts and details. A metal ruler will help you get straight lines when using a craft knife – safety first, folks!
Next, think about adhesives. Glue sticks are great for general paper crafting, but double-sided tape is a game-changer for tags – no messy glue to worry about! For adding dimension, foam squares or dots are your secret weapon. And let's not forget hole punchers! A standard hole punch is essential for attaching your tags to gifts, but get creative with shaped punches for decorative edges or accents. With these basics in your toolkit, you're ready to tackle any **diy gift name tag** project that comes your way!
Tool | Use | Why You Need It |
|---|---|---|
Cardstock | Tag base | Sturdy, various colors/textures |
Scissors & Craft Knife | Cutting shapes | Precision for clean edges |
Double-Sided Tape | Adhesive | Clean, no-mess bonding |
Hole Punch | Making tag holes | Easy attachment to gifts |
StepbyStep Guide to Creating Personalized DIY Gift Name Tags
StepbyStep Guide to Creating Personalized DIY Gift Name Tags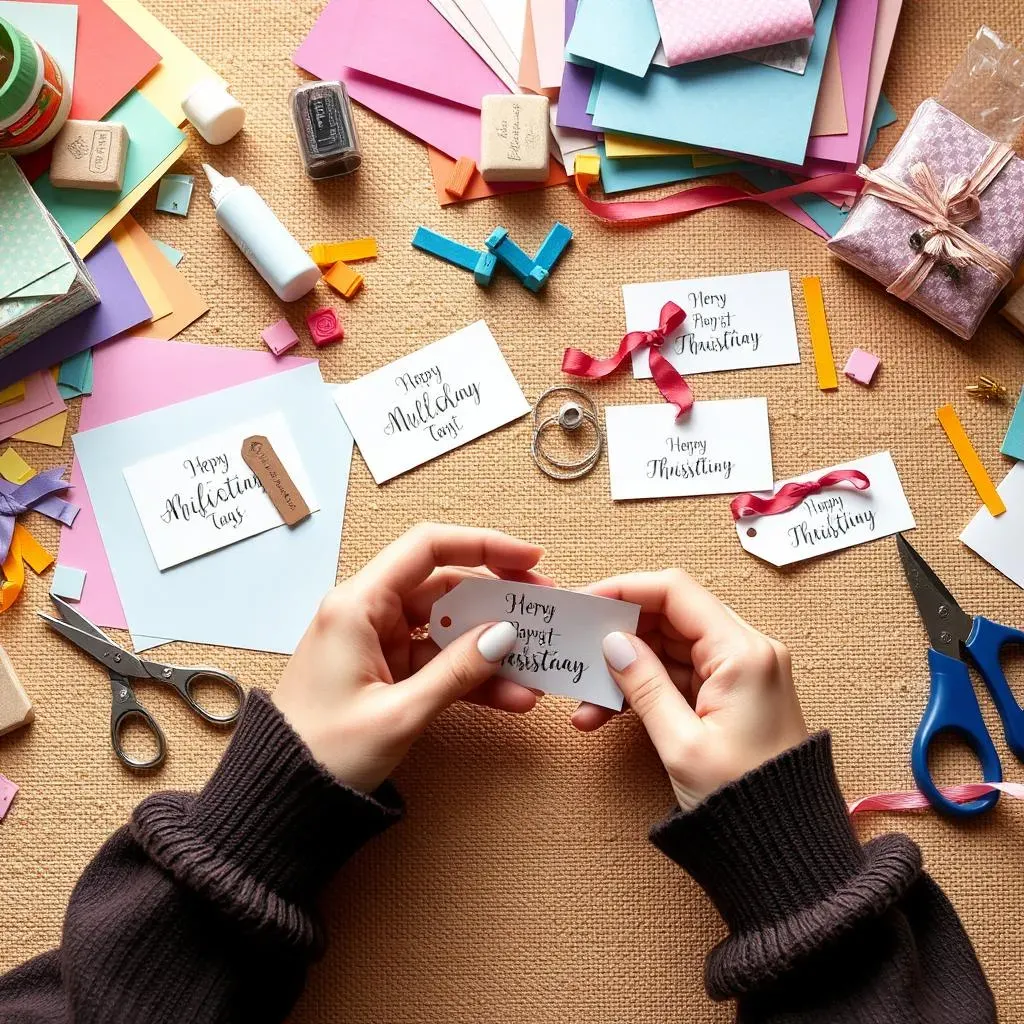
Easy Steps to DIY Amazing Gift Tags
Alright, let's get down to the nitty-gritty: actually making these awesome **DIY gift name tags**! Don't worry, it's easier than you think. First, gather your supplies – paper or cardstock, scissors, pens, and any embellishments you're itching to use. Start by deciding on your tag shape. Rectangles and squares are classic, but circles, hearts, or even freehand shapes can be super fun. Cut out your tag shapes – if you're making a bunch, a template can save you tons of time. Next comes the personalization party! This is where you let your creativity loose. Will you stamp names? Hand-letter messages? Add glitter? Ribbons? Go wild! Once you're happy with your design, punch a hole at the top of each tag. Thread some string, twine, or ribbon through the hole, and boom – you've got a personalized **DIY gift name tag** ready to make any present extra special.
Elevate Your Gift Presentation with Memorable DIY Gift Name Tags
Elevate Your Gift Presentation with Memorable DIY Gift Name Tags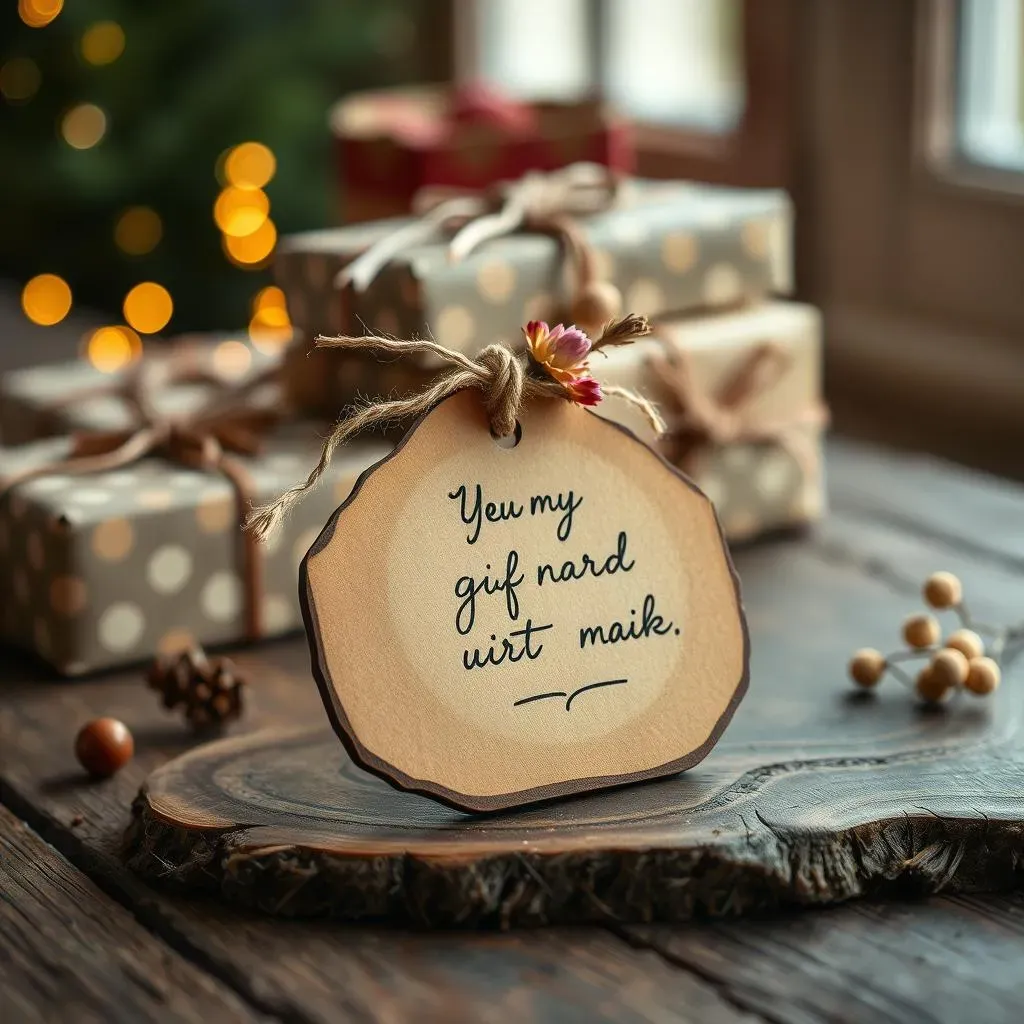
Tags That Tell a Story: Making Your DIY Gift Name Tags Memorable
Want to take your gift presentation from "nice" to "wow"? It's all about making your **DIY gift name tags** more than just labels; it's about turning them into mini keepsakes. Think about incorporating elements that reflect the recipient's personality or the occasion itself. For a book lover, use a tag shaped like a tiny open book and write a quote from their favorite author. For a gardener, attach a small packet of seeds to a tag made from recycled seed packets. It's these thoughtful details that transform a simple tag into something truly special and memorable.
Consider adding a handwritten note on the back of your tag – a personal message, a funny anecdote, or just a simple "thinking of you." These little extras show you've put in time and care, and they make the gift opening experience even more meaningful. Remember, **DIY gift name tags** are an extension of your gift, a little preview of the thoughtfulness inside. Make them count!
Theme It Up: DIY Gift Name Tags That Complement Your Gift Perfectly
One of the coolest things about **DIY gift name tags** is how easily you can tailor them to match the theme of your gift or the occasion. Giving a cozy blanket? Make a tag from soft felt or fabric and add a miniature pom-pom or tassel. Presenting gourmet treats? Use kraft paper tags and stamp them with food-related images or tie on a tiny whisk or spoon. Themed tags create a cohesive and polished look that elevates your entire gift presentation.
Think beyond just colors and patterns – consider the materials and embellishments too. For a rustic-themed gift, use wood slices as tags and burn the recipient's name into them (safely, of course!). For a sparkly, glamorous gift, go all out with glitter, sequins, and metallic accents on your tags. Matching your **DIY gift name tags** to the gift’s theme shows attention to detail and makes the whole package feel extra special and intentional.
Beyond the Name: Adding Extra Touches to Elevate Your DIY Gift Tags
Let's push those **DIY gift name tags** even further into awesome territory! Think about adding interactive elements or extra little goodies to your tags. Attach a tiny charm or a small trinket that the recipient can keep – it's like getting a little bonus gift attached to the tag! You could also incorporate a scratch-off element with a hidden message or a fun activity related to the gift. For kids, consider adding stickers or temporary tattoos to their tags for extra fun.
Another idea? Make your tags reusable! Laminate your **DIY gift name tags** or create them from durable materials like wood or metal. The recipient can then reuse them year after year, adding an eco-friendly and sentimental touch to your gift-giving. These extra touches transform your tags from disposable labels into cherished keepsakes that truly elevate your gift presentation and show you've gone the extra mile.
Wrap It Up with Wonderful DIY Gift Name Tags
So, there you have it! Ditching the generic store-bought tags for **DIY gift name tags** is a small change that makes a big impact. It's not just about labeling presents; it's about adding a sprinkle of your personality and a whole lot of heart to every gift you give. From simple stamped designs to more elaborate creations, the possibilities are as endless as your imagination. Go ahead, gather your supplies, unleash your inner crafter, and transform your gift presentation from ordinary to extraordinary. Get ready to watch faces light up, not just at the gift inside, but at the beautifully personalized tag that comes with it!