Table of Contents
Tired of giving the same old boring gifts? Want to add a personal touch to your presents this year? Forget the generic store-bought trinkets and dive into the world of **DIY gift ornaments**! Imagine the delight on your loved ones' faces when they receive a beautiful, handmade ornament crafted with care by you. These aren't just decorations; they're heartfelt tokens of affection that bring warmth and personality to any Christmas tree or holiday décor. This article is your go-to guide for creating stunning **DIY gift ornaments** that are both easy to make and incredibly thoughtful. We'll explore a treasure trove of unique ideas, from rustic wooden creations to sparkly, personalized baubles, ensuring you find the perfect project to match your style and skill level. Get ready to unleash your creativity and discover step-by-step instructions and pro tips to make this holiday season extra special with your own **DIY gift ornaments**. Let's get crafting!
Charming & Easy DIY Gift Ornaments to Make This Year
Charming & Easy DIY Gift Ornaments to Make This Year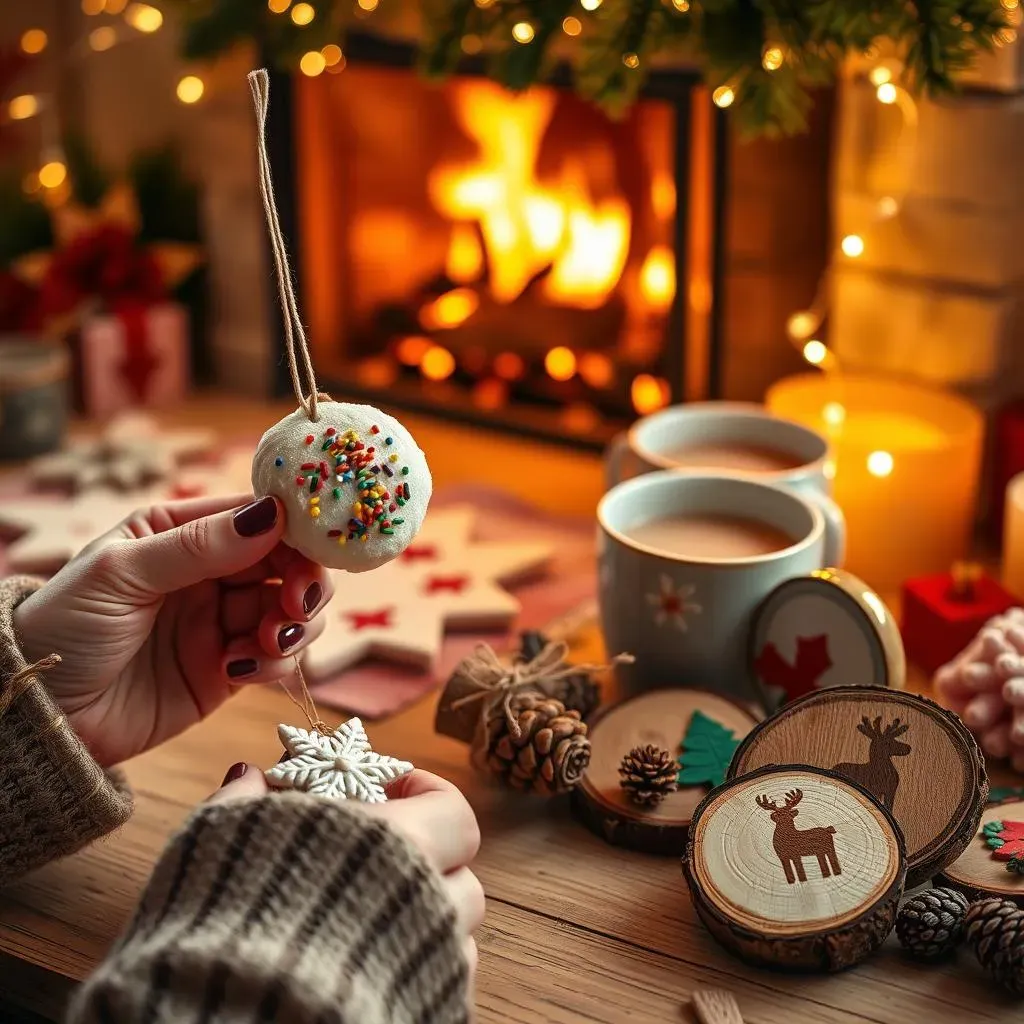
Let's kick things off with some seriously charming and, most importantly, easy DIY gift ornaments you can whip up this year. Forget complicated crafts that leave you frustrated. We're talking about projects that are actually fun and deliver maximum cuteness with minimal effort. Think of it: you, some simple supplies, and a dash of holiday cheer – that’s all it takes to create ornaments that look like they came straight from a boutique but are filled with your personal touch.
Seriously, who doesn't love a handmade gift? Especially during the holidays, when everything feels a bit more magical. These **charming & easy DIY gift ornaments** are perfect for teachers, neighbors, friends, family – basically anyone you want to show a little love to. Plus, making them is a blast! Turn on some festive tunes, gather your supplies, and get ready to unleash your inner craft guru. You might even surprise yourself with how adorable these turn out.
- Salt Dough Ornaments: Classic for a reason! Easy to make with pantry staples, and kids love helping.
- Cinnamon Stick Bundles: Smells amazing and looks rustic-chic. Tie cinnamon sticks with twine and add small decorations.
- Painted Wooden Slices: Grab some pre-cut wooden slices and let your creativity flow with paint, markers, or glitter.
Unique DIY Gift Ornament Ideas for a Personal Touch
Unique DIY Gift Ornament Ideas for a Personal Touch
Personalized Photo Ornaments: Memories on Display
let's crank up the personalization! Forget generic baubles, how about turning cherished memories into **unique DIY gift ornaments**? Photo ornaments are where it's at. Think about it: a snapshot from a fun vacation, a goofy picture of your pet, or a sweet family moment – instantly transformed into a festive keepsake. These aren't just ornaments; they're little time capsules of joy that your loved ones can hang on their tree year after year, bringing back those warm fuzzy feelings every time they see them.
And the best part? They are super easy to make. You can use clear glass or plastic ornaments and simply insert rolled-up photos inside. Or, for a vintage vibe, print black and white photos and decoupage them onto wooden ornaments. Feeling extra crafty? Transfer photos onto fabric and create quilted ornaments. Seriously, the possibilities are endless when it comes to **unique DIY gift ornament ideas** with photos. It's all about adding that personal touch that makes a gift truly special.
Nature-Inspired Ornaments: Bringing the Outdoors In
Want to bring a touch of the outdoors inside? Nature-inspired ornaments are incredibly **unique DIY gift ornament ideas** that are both beautiful and surprisingly simple to create. Think beyond just pinecones (though those are great too!). We're talking about incorporating elements like dried flowers, twigs, leaves, and even small stones into your ornaments for a rustic and organic feel. These ornaments bring a natural elegance to any tree and are perfect for those who love a more understated, earthy aesthetic.
Imagine delicate ornaments filled with pressed wildflowers, or rustic twig stars adorned with berries. You could even create ornaments using slices of wood and paint nature scenes on them. For a simple yet stunning option, gather some interesting twigs and arrange them into star or snowflake shapes, securing them with hot glue and adding a touch of glitter or paint. These **unique DIY gift ornaments** are not only gorgeous but also a great way to bring a little bit of nature's beauty into the holiday season.
Ornament Idea | Personal Touch | Materials |
|---|---|---|
Photo Ornaments | Cherished memories, personalized messages | Clear ornaments, photos, glue, ribbon |
Dried Flower Ornaments | Natural beauty, pressed flowers from their garden | Clear ornaments, dried flowers, twine |
Twig Ornaments | Rustic charm, foraged twigs from a special place | Twigs, hot glue, paint, glitter (optional) |
StepbyStep Guide to Creating Stunning DIY Gift Ornaments
StepbyStep Guide to Creating Stunning DIY Gift Ornaments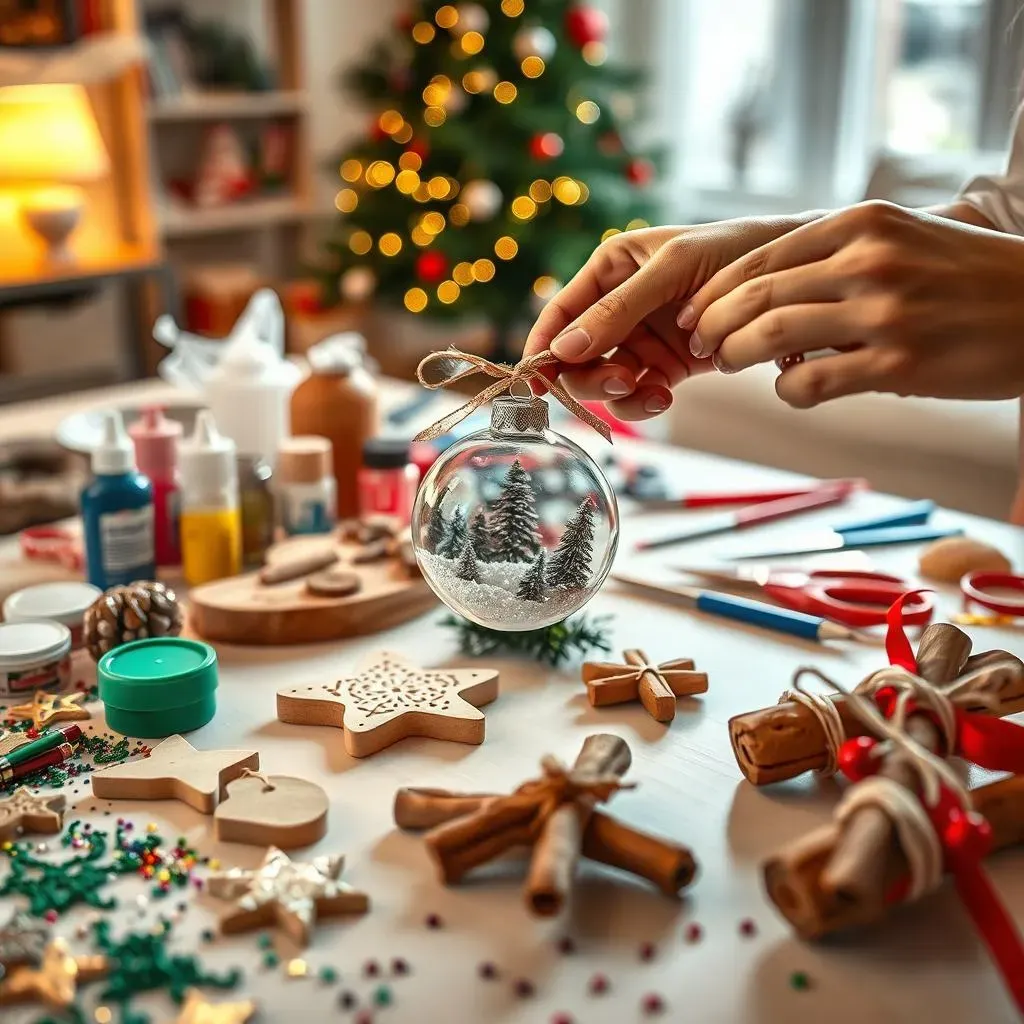
Gather Your Ornament Supplies
Alright, ready to dive into the nitty-gritty of crafting? First things first, you gotta gather your arsenal of supplies. No one wants to be mid-project and realize they're missing a crucial element, right? Think of it like prepping your kitchen before a big bake-off – organization is key to DIY ornament success. So, before you even think about glitter or glue, take a hot sec to round up everything you'll need for your chosen ornament project. Trust me, future you will thank you for not having to raid the craft store in your pajamas at the last minute.
What exactly should you be grabbing? Well, it totally depends on the type of **stunning DIY gift ornaments** you're aiming for. But here's a general checklist to get you started. For basic ornaments, you'll likely need things like blank ornaments (glass, plastic, wood, salt dough – take your pick!), glue (hot glue, craft glue, Mod Podge – the adhesive adventure is yours!), scissors, paint, markers, glitter (because, duh, glitter), ribbon, twine, and any extra embellishments you fancy – beads, buttons, sequins, tiny pom-poms – let your imagination run wild! For nature-inspired or photo ornaments, you'll need to add in those specific materials too – dried flowers, twigs, photos, etc. Basically, envision your dream ornament and then gather everything that will make that dream a reality.
Crafting Your Ornament: Step-by-Step
supplies are locked and loaded? Awesome. Now for the fun part: actually making these **stunning DIY gift ornaments**! Remember those easy and unique ideas we talked about? Let's break down the basic steps for a couple of them, just to get your creative gears turning. For salt dough ornaments (because who doesn’t love a classic?), you'll start by whipping up your dough (flour, salt, water – easy peasy). Roll it out, use cookie cutters to make cute shapes, bake 'em until they're hard, let them cool, and then unleash your inner Picasso with paint and glitter. Boom – instant adorable ornaments.
If you're feeling the photo ornament vibe, grab some clear ornaments (plastic ones are less breakable, just sayin'). Print out your photos in a size that will fit inside, roll them up carefully, and slide them in. You can add a sprinkle of fake snow or glitter inside for extra festive flair before sealing it up. Tie a pretty ribbon on top, and bam! Memories you can hang on a tree. For cinnamon stick bundles, simply gather a few cinnamon sticks, tie them together tightly with twine, and then get decorative! Add little pine sprigs, berries, tiny bows – whatever your heart desires. These steps are just starting points, of course. The real magic happens when you start tweaking and personalizing each project to make it truly yours (and gift-worthy!).
Ornament Type | Basic Steps | Pro-Tip |
|---|---|---|
Salt Dough | Mix dough, cut shapes, bake, cool, decorate | Use cookie cutters for consistent shapes. |
Photo Ornaments | Print photos, roll & insert, add snow/glitter, seal | Print photos on thinner paper for easier rolling. |
Cinnamon Sticks | Bundle sticks, tie with twine, decorate | Use different colored twines for variety. |
Adding the Finishing Touches for a Pro Look
Almost there! You've crafted your ornaments, and they're looking pretty darn good. But hold up – don't underestimate the power of those **stunning DIY gift ornaments**' finishing touches! These little details can elevate your handmade creations from "cute" to "wow, did you buy that at a fancy store?". We're talking about things like neatening up edges, adding elegant ribbons, and making sure everything is securely attached. It’s like putting on the perfect accessories with an outfit – it just pulls everything together and makes it look polished and professional, even if it's totally DIY.
Consider adding a sealant to painted ornaments to protect your artwork and give them a nice sheen. For ornaments with glued elements, double-check that everything is firmly attached and no rogue bits are sticking out awkwardly. And ribbons! Oh, the power of a good ribbon. Choose ribbons that complement your ornament's style and color scheme. Tie them in neat bows or create loops for hanging. A simple ribbon can instantly make an ornament look more refined. Also, think about presentation if these are gifts. A pretty gift box or a simple tag with a handwritten message takes your **stunning DIY gift ornaments** to the next level of thoughtfulness. It's all about showing that extra bit of care and attention to detail.
Tips and Tricks for Perfecting Your Handmade DIY Gift Ornaments
Tips and Tricks for Perfecting Your Handmade DIY Gift Ornaments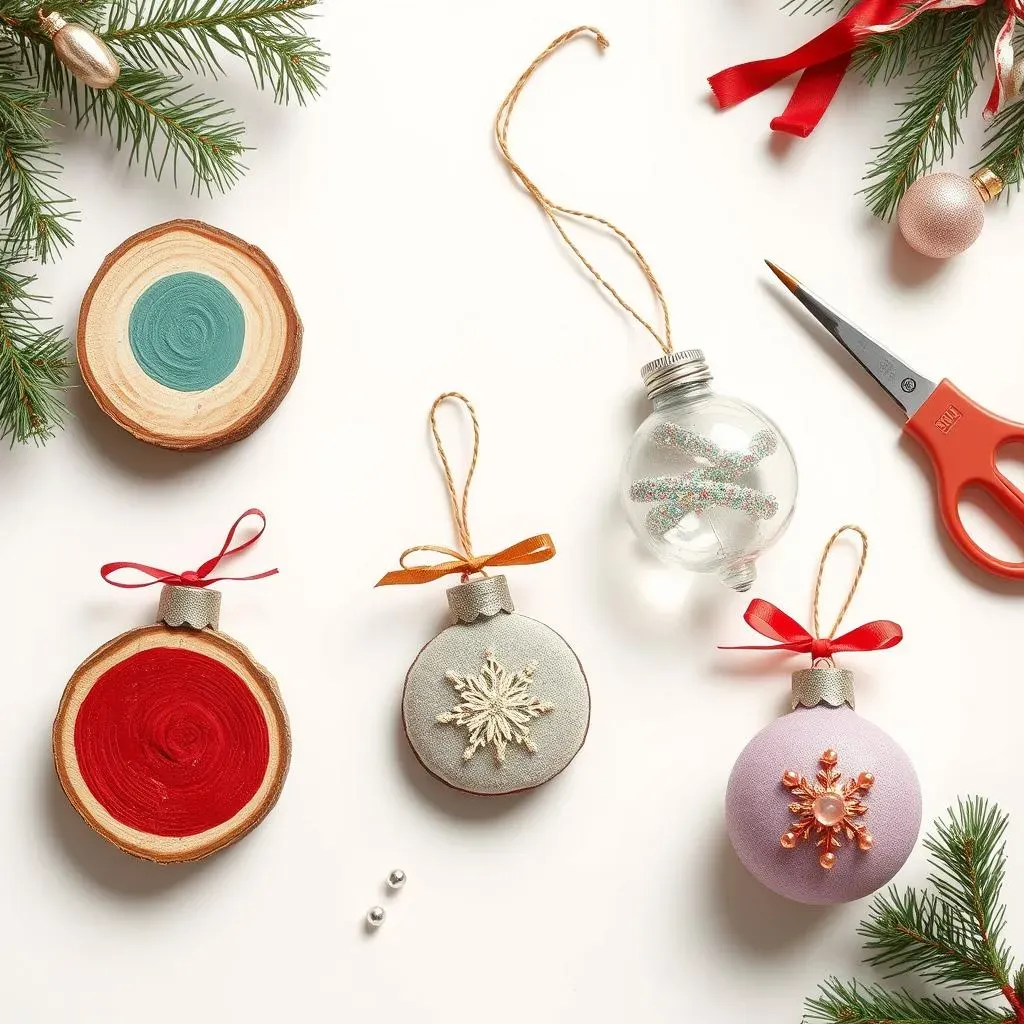
Mastering Key Techniques for Flawless Ornaments
Alright, let's talk pro-level tips to take your **handmade DIY gift ornaments** from "nice try" to "nailed it!". It's all about mastering a few key techniques that will make a world of difference in the final look. Think clean lines, smooth finishes, and secure attachments. These are the secrets that separate the amateur crafters from the ornament ओGs. Seriously, paying attention to these details is like adding that secret ingredient to your grandma's famous cookie recipe – it just elevates everything.
One major tip? Invest in good quality glue and learn how to use it properly. Hot glue is fantastic for quick projects, but for finer details, craft glue or even a specialized adhesive pen can give you more precision and less mess. Practice your painting techniques too! Thin, even coats are always better than gloopy, thick ones. And for glitter (because who can resist glitter?), use a sealant to prevent it from shedding all over everyone's houses for the next five years. These little tweaks are game-changers, trust me.
Choosing the Right Materials & Supplies
Listen up, because material choice is HUGE when it comes to **perfecting your handmade DIY gift ornaments**. Using the right stuff isn't just about making things easier on yourself (though it totally does); it's about ensuring your ornaments look amazing and last for years to come. Think about it – flimsy materials can make your hard work look cheap, while quality supplies give your ornaments a professional and polished vibe. It's like the difference between using bargain-bin chocolate chips and the good stuff in your holiday baking – you can taste the difference, and in crafting, you can definitely see it!
So, what should you be on the lookout for? For paint, acrylics are your best friend – vibrant, durable, and easy to work with. When it comes to ornament bases, consider the project. Wooden slices offer a rustic charm, glass bulbs are classic and versatile, and felt is fantastic for soft, cozy ornaments. Don't skimp on embellishments either! Good quality ribbons, beads, and even glitter (yes, glitter again!) will make your ornaments sparkle and shine in all the right ways. Investing a little extra in your materials will seriously pay off in the final wow-factor of your **handmade DIY gift ornaments**.
Tip Category | Specific Tip | Why It Matters |
|---|---|---|
Techniques | Use thin, even coats of paint | Prevents drips and uneven texture for a smoother finish. |
Materials | Choose quality acrylic paints | Vibrant colors and durability for long-lasting ornaments. |
Finishing | Seal glitter with Mod Podge or sealant | Keeps glitter in place and prevents messy shedding. |
Creative Problem Solving & Ornament Fixes
Let's be real, even the most seasoned crafters face hiccups. Glue spills, paint bleeds, ornaments that just don't look quite right – it happens! But don't panic! Part of **perfecting your handmade DIY gift ornaments** is knowing how to troubleshoot and fix those little crafting catastrophes. It's all about embracing the imperfections (because handmade charm, right?) and having a few tricks up your sleeve to salvage any ornament mishaps. Think of it as your DIY ornament first-aid kit – essential for a smooth crafting journey.
Got a glue blob where it shouldn't be? Try gently scraping it off with a craft knife or carefully dabbing it with a damp cloth before it fully dries. Paint gone rogue? A fine-tip brush and a steady hand can help you touch up mistakes. Ornament looking a bit plain? Embrace embellishments! Add extra glitter, ribbon, or beads to jazz it up and distract from any minor flaws. The key is to be resourceful and remember that most crafting oops can be turned into creative opportunities. So, don't toss that "imperfect" ornament – see if you can rescue it with a little problem-solving magic. Sometimes, those "fixed" ornaments end up being the most unique and charming of the bunch!
Wrap Up: Spread Holiday Cheer with DIY Gift Ornaments
So, there you have it! Creating **DIY gift ornaments** isn't just about saving a few bucks, it's about giving a piece of yourself. These handmade treasures are more than just decorations; they're little bundles of love and creativity that your friends and family will cherish for years to come. This holiday season, ditch the mass-produced and embrace the joy of crafting. Grab your supplies, get inspired by these ideas, and start making memories – one adorable **DIY gift ornament** at a time. Happy crafting and happy holidays!