Table of Contents
Tired of the same old, generic wrapping paper from the store? Does it feel impersonal, like it's missing that special touch for your thoughtfully chosen gifts? You're not alone! Many of us crave a more unique and heartfelt way to present our presents. That's where the magic of diy gift paper comes in. Imagine creating wrapping paper that's as special as the gift itself, reflecting your personality and the recipient's taste. This guide will unwrap the secrets to crafting stunning, personalized gift wrap right at home. We'll explore why choosing DIY is the way to go, dive into the essential supplies you'll need, walk through easy step-by-step instructions, and spark your imagination with endless customization ideas. Get ready to ditch the dull and embrace the delightful world of homemade gift wrap!
Unwrap Creativity: Why Choose DIY Gift Paper?
Unwrap Creativity: Why Choose DIY Gift Paper?
Say Goodbye to Generic, Hello to Gorgeous
Let's be real, store-bought wrapping paper can be, well, a bit blah. It's the same patterns everyone else is using, and honestly, does it really scream "thoughtful gift"? Opting for diy gift paper is like instantly injecting personality into your presents. It's a chance to show your creative flair and tailor the wrap to perfectly match the gift and the person receiving it. Think about it: a handmade touch elevates the entire gifting experience, making it feel extra special and considered. It's about going beyond just the present inside and making the whole package a delight.
Budget-Friendly and Kind to the Planet
Ever walked down the wrapping paper aisle and gasped at the prices? Seriously, for paper that's just going to get ripped off and tossed? Diy gift paper is a fantastic way to save some cash. You can use materials you likely already have around the house – think kraft paper, newspaper, even old maps! Plus, making your own wrap can be much more eco-friendly. You can choose recycled paper, or even fabric scraps, reducing waste and giving your gifts a green thumbs up. It’s a win-win: your wallet and the planet will thank you.
Unleash Your Inner Artist (No Skills Required!)
Worried you're not crafty enough for diy gift paper? Don't be! This isn't about needing to be a professional artist. It's about having fun and experimenting. Simple stamps, hand-drawn doodles, even potato prints can look amazing on wrapping paper. The beauty of DIY is that imperfections add to the charm. It's about the effort and love you put in, not about achieving perfect symmetry or flawless designs. Trust me, the recipient will appreciate the handmade touch way more than perfect, impersonal store-bought paper. So grab your supplies and get ready to have some creative fun!
MustHave Supplies for Your DIY Gift Paper Project
MustHave Supplies for Your DIY Gift Paper Project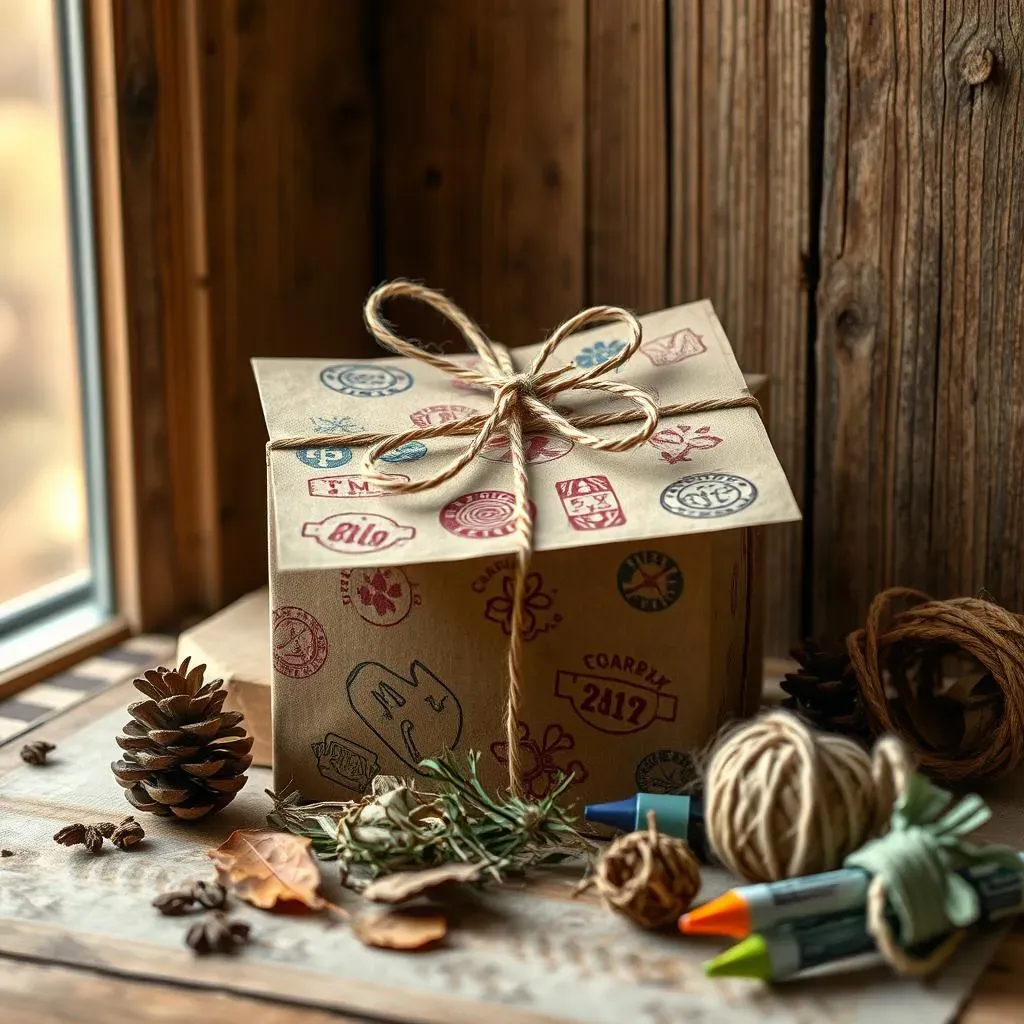
The Paper Base: Kraft is Your Friend (and Others!)
Alright, let's talk essentials for your diy gift paper adventure! First up, the foundation: paper. Kraft paper is seriously your best pal here. It's sturdy, affordable, and has that lovely natural brown look that works with pretty much any style. Think rustic chic meets modern minimalist. You can grab a big roll of kraft paper online or at any craft store, and it'll last you ages. But hey, don't feel limited! Newspaper is fantastic for a vintage or eco-conscious vibe – the comics section adds a fun pop! Even plain white printer paper can be elevated with your designs. The key is to choose something that's easy to work with and fits the look you're going for.
Consider these paper options for your DIY wrapping paper:
- Kraft Paper: Durable, versatile, and budget-friendly.
- Newspaper: Recycled, vintage aesthetic, and readily available.
- White Printer Paper: Clean slate for bold designs and colors.
- Butcher Paper: Similar to kraft paper, often wider rolls available.
- Fabric Scraps: Eco-friendly, reusable, and adds a touch of luxury (for fabric gift bags or furoshiki style).
Get Creative with Decor: Stamps, Ink, and Beyond
Now for the fun part: jazzing up your paper! For diy gift paper that wows, you'll want some awesome decorating tools. Stamps are a game-changer – you can find tons of designs online or in craft stores, from simple shapes to intricate patterns. Ink pads in different colors are essential too, think classic black, festive reds and greens, or metallics for a touch of glam. But don't stop there! Grab some colorful markers or pens for doodling and hand-lettering. Glitter adds instant sparkle (if you're feeling brave!). And for texture, think about twine, ribbons, or even natural elements like dried leaves or small pinecones. Seriously, raid your craft stash – you probably have more than you think!
Level up your DIY gift wrap with these decorating supplies:
- Stamps: Rubber or clear stamps in various patterns and themes.
- Ink Pads: Assorted colors, including metallic and archival options.
- Markers & Pens: Fine-tip markers, brush pens, metallic pens for drawing and lettering.
- Glitter: Fine or chunky glitter for adding sparkle and shine.
- Ribbons & Twine: Fabric ribbons, jute twine, baker's twine for tying and embellishing.
- Natural Elements: Dried flowers, leaves, small pinecones for rustic charm.
- Paint: Acrylic paints, watercolors, or even spray paint for bold designs.
- Mod Podge or Glue: For adhering embellishments and glitter.
- Scissors & Ruler: For precise cutting and measuring.
Easy Steps to Craft Stunning DIY Gift Paper at Home
Easy Steps to Craft Stunning DIY Gift Paper at Home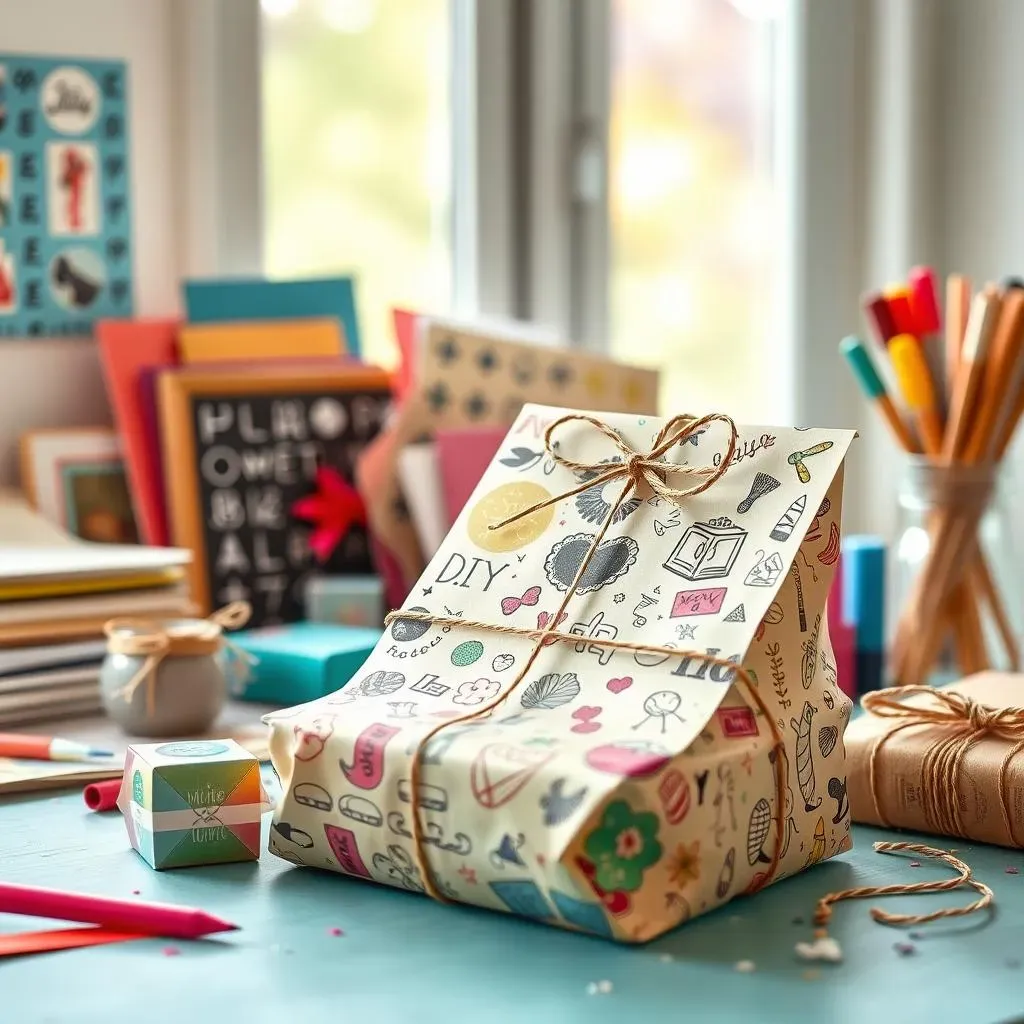
Step 1: Prep Your Paper Like a Pro
Alright, ready to dive into making your own gorgeous diy gift paper? First things first, let's get that paper prepped! Grab your chosen paper – kraft, newspaper, whatever you're feeling. Roll it out on a flat surface, like a table or even the floor (just make sure it's clean!). Now, think about the size of your gifts. No need to cut out individual sheets just yet, but get a sense of how much paper you'll need. If you're using a roll of kraft paper, you might want to cut off a manageable section to work with. For smaller gifts, you can even pre-cut a stack of paper to standard sizes to make things super efficient later on. Pro tip: use a ruler and scissors or a paper cutter for nice, clean edges. Nobody wants wonky wrapping!
Consider these paper prepping steps:
- Choose your paper: Kraft, newspaper, printer paper, etc.
- Clear your workspace: Find a flat, clean surface.
- Roll out paper: Unroll kraft paper or lay out your chosen sheets.
- Estimate size: Visualize how much paper you'll need for your gifts.
- Pre-cut (optional): Cut paper into manageable sheets or standard sizes for efficiency.
- Use tools for clean cuts: Ruler, scissors, or paper cutter for crisp edges.
Step 2: Design Time - Stamp, Doodle, Create!
Now comes the really fun part: adding your designs! This is where your diy gift paper truly comes to life. If you're using stamps, grab your ink pads and start stamping away! Experiment with different stamp placements – random patterns, neat rows, or even focusing designs on the corners or edges. For a hand-drawn look, unleash your inner artist with markers or pens. Doodles, simple lines, geometric shapes, or even writing the recipient's name can look amazing. Potato stamps are also a blast – just carve simple shapes into potato halves and get stamping with paint! Don't be afraid to mix and match techniques. Stamps and hand-drawn elements can look fantastic together. Remember, there are no mistakes in DIY, just happy accidents!
Step 3: Embellish and Finish with Flair
Almost there! Your diy gift paper is looking awesome, but let's add those final touches to really make it pop. Glitter is your friend if you want some sparkle – just sprinkle it over stamped or drawn areas while the ink is still a bit wet, or use Mod Podge to adhere it precisely. Ribbons and twine add texture and a touch of elegance. Wrap them around your gifts and tie them in bows or knots. For a natural vibe, tuck in small dried flowers, leaves, or pinecones under the ribbon. Wooden embellishments, like little tags or shapes, can also be glued on for extra dimension. Get creative with layering – try wrapping twine over ribbon, or adding multiple small embellishments. These finishing touches are what take your DIY gift wrap from simple to spectacular!
Consider these finishing touches for your DIY gift wrap:
- Glitter accents: Sprinkle glitter for sparkle and shine.
- Ribbons & Twine: Add texture and elegance with bows and knots.
- Natural elements: Dried flowers, leaves, pinecones for a rustic touch.
- Wooden embellishments: Tags, shapes, or letters for dimension.
- Layering: Combine ribbons, twine, and embellishments for visual interest.
- Personalized tags: Create custom gift tags to match your wrapping paper.
Personalize It! Endless Ideas for Custom DIY Gift Paper
Personalize It! Endless Ideas for Custom DIY Gift Paper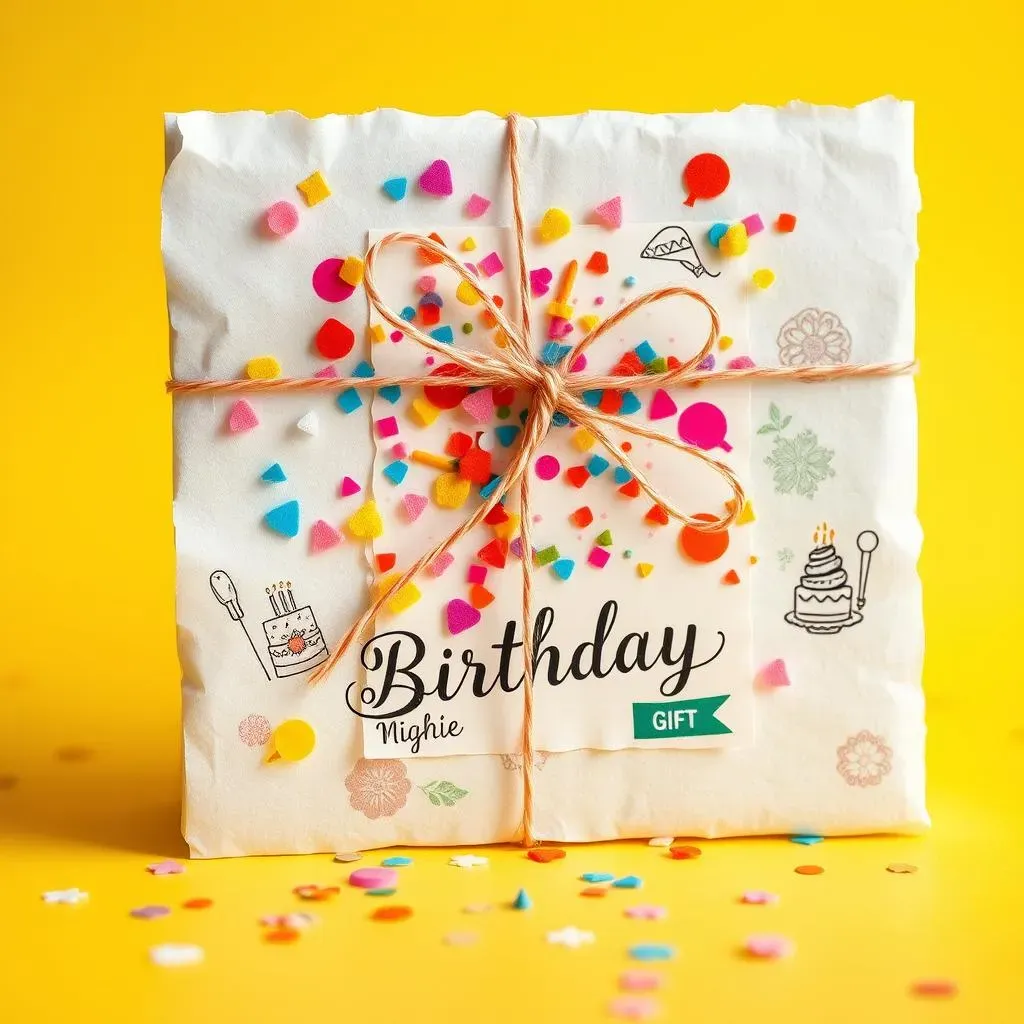
Theme It Up: DIY Gift Paper for Every Occasion
now that you've got the basics down, let's crank up the personalization! Seriously, this is where diy gift paper goes from "nice" to "wow!". Think about the occasion. Birthday? Go bright and bold with confetti stamps or hand-drawn balloons. Christmas? Classic red and green stamps, maybe snowflakes or reindeer. Baby shower? Soft pastels and cute animal motifs. Wedding? Elegant metallics and floral patterns. You can even match the wrapping to the gift itself! Giving a book? Use newspaper and stamp it with literary quotes. Homemade cookies? Kraft paper with a cute cookie cutter stamp pattern. The possibilities are truly endless when you start thinking thematically. It's about creating a cohesive and thoughtful presentation.
Here are some thematic DIY gift paper ideas to spark your creativity:
- Birthday: Confetti, balloons, birthday cake stamps, bright colors.
- Christmas: Snowflakes, reindeer, trees, stars, red, green, gold, silver.
- Baby Shower: Pastel colors, baby animals, rattles, footprints, polka dots.
- Wedding: Florals, lace patterns, hearts, doves, elegant metallics, monograms.
- Thank You: Floral patterns, simple and elegant designs, calming colors.
- Halloween: Pumpkins, bats, ghosts, spooky patterns, orange, black, purple.
Make it "Me" Wrap: Tailor it to the Recipient
Want to take your diy gift paper to the next level of awesome? Personalize it for *them*. Think about the person receiving the gift. What are their hobbies? Favorite colors? Style? If they're a nature lover, use leaf stamps and earthy tones. For a bookworm, try newspaper or book page scraps with ink splatters for a vintage vibe. If they're into modern design, geometric stamps and bold colors on white paper will look super chic. You can even incorporate their name or initials into the design. It's these little details that show you put extra thought and effort into their gift, making it feel truly special and unique. It's not just wrapping paper; it's a reflection of your thoughtfulness.
Beyond Paper: Mix Up Your DIY Gift Wrap Materials
Who says diy gift paper has to be *just* paper? Let's get a little wild! Fabric scraps are amazing for reusable gift wrap – think furoshiki style wrapping or simple fabric gift bags. Old maps have a cool vintage feel and are perfect for travel enthusiasts. Sheet music adds a touch of elegance for music lovers. Even brown paper grocery bags can be dressed up with stamps and embellishments for a rustic-chic look. Don't be afraid to experiment with different textures and materials to create truly unique and eye-catching gift wrap. Think outside the box (or, well, the roll of wrapping paper!) and see what creative combinations you can come up with. It's all about making your gifts stand out from the crowd.
Wrap it Up with Wow: Your DIY Gift Paper Journey
So, there you have it! Creating your own diy gift paper is not only easier than you might think, but it also adds a layer of thoughtfulness and creativity that store-bought paper simply can't match. From saving money and reducing waste to unleashing your inner artist and making each gift truly special, the benefits are clear. Why settle for ordinary when you can craft extraordinary? Grab your supplies, get inspired, and start making gift wrap that's as unforgettable as the presents inside. Happy crafting!