Table of Contents
Let's be honest, there's a certain disappointment that comes with slapping a flimsy, pre-made bow onto a carefully chosen gift. It's the equivalent of wearing a paper crown to a black-tie event. You put in the effort to find the perfect present, wrap it neatly, and then… that sad little plastic thing sits on top. It just doesn't scream "I thought about you!"
Why Bother with a DIY Gift Ribbon Bow?
Why Bother with a DIY Gift Ribbon Bow?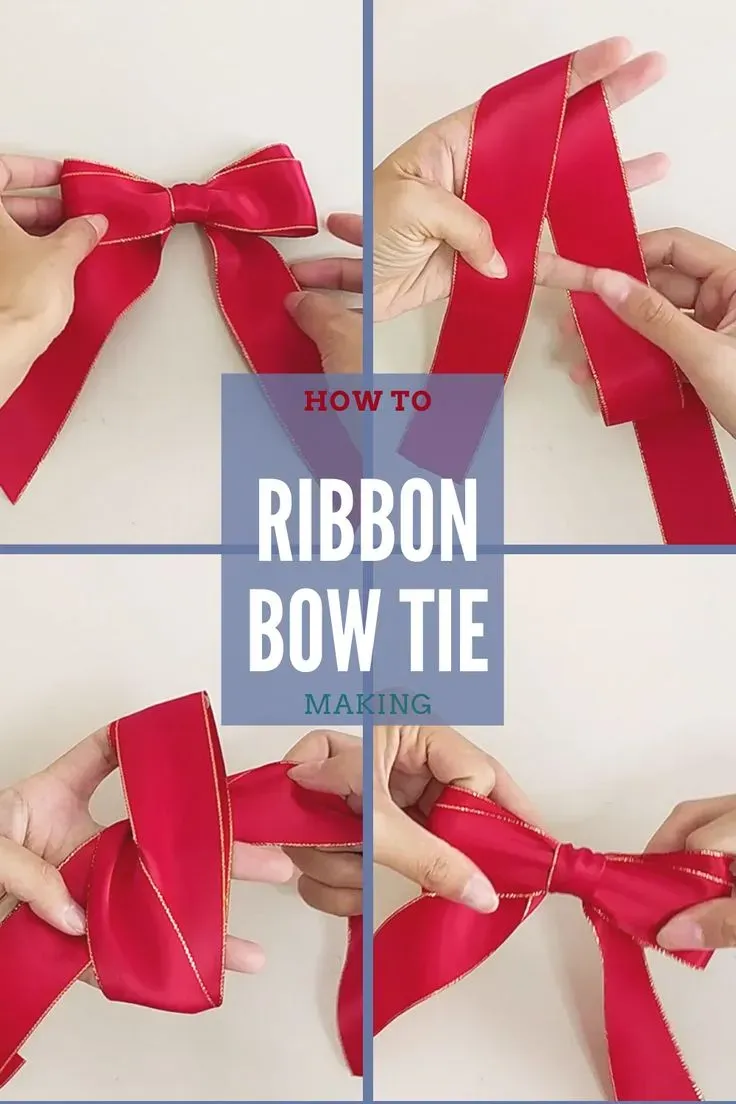
Look, you could just peel and stick one of those plastic monstrosities from the dollar store onto your gift. It'll hold down the wrapping paper, sure, but it screams "last minute thought." So,Why Bother with a DIY Gift Ribbon Bow?Because it’s about adding a piece of yourself to the presentation. It shows effort, care, and a personal touch that a mass-produced bow just can't replicate. Plus, honestly, those plastic ones often look cheap and fall apart instantly. Making your own gives you control over the quality, the color, the texture – everything. You can match the ribbon perfectly to the paper, the occasion, or even the recipient's personality. It’s a small detail, yes, but details matter. They turn a wrapped box into something special.
Getting Started: What You Need for Your DIY Gift Ribbon Bow
Getting Started: What You Need for Your DIY Gift Ribbon Bow
Alright, so you're ready to ditch the sad, store-bought loops and make your owndiy gift ribbon bow. Excellent choice. You don't need a craft store's entire inventory to get started. The bare essentials are actually pretty simple: you'll obviously need ribbon – and don't skimp here; cheap ribbon frays and looks terrible – a sharp pair of scissors, and maybe some floral wire or a twist tie to secure the center. That's really it for a basic bow. Of course, having double-sided tape or hot glue can help if you want a super polished look or are working with tricky fabrics, but for your first few attempts, just good ribbon and scissors will do the trick.
Crafting Your Classic DIY Gift Ribbon Bow: A StepbyStep Guide
Crafting Your Classic DIY Gift Ribbon Bow: A StepbyStep Guide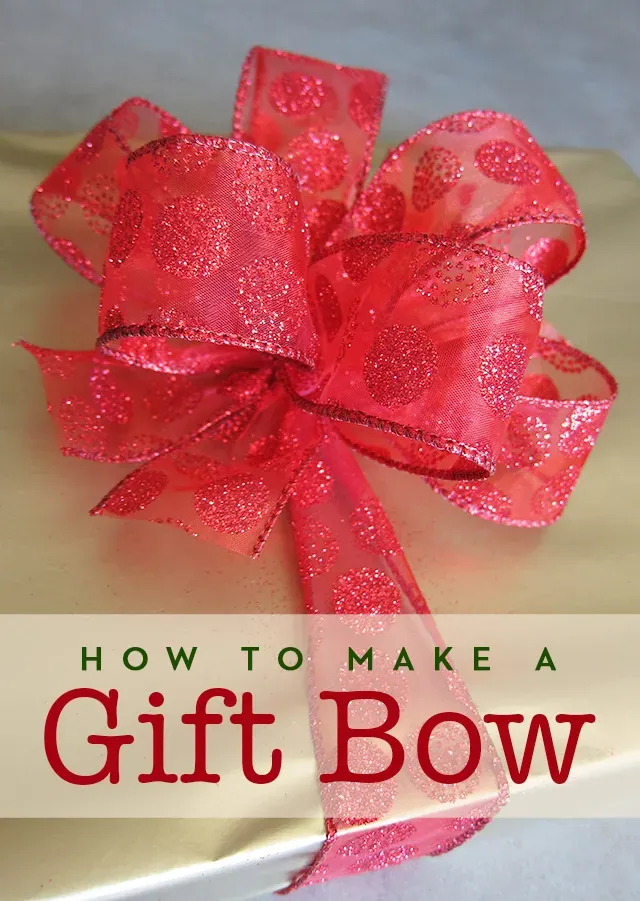
The Foundation: Loops and Tails
Alright, let's get down to business onCrafting Your Classic DIY Gift Ribbon Bow: A Step-by-Step Guide. Forget those frustrating wire-edged nightmares from the store. Making your own starts with knowing your ribbon. Pull out a length – how much depends on how big you want your bow. A good rule of thumb for a medium bow is about 2-3 feet, but play around. Hold the ribbon between your thumb and forefinger, leaving a tail of about 6-8 inches hanging down. Now, make a loop, bringing the ribbon back to your center point. This is your first loop. Keep it secure with your fingers. Then, make another loop on the opposite side, crossing it over the center. You're essentially making a figure-eight shape right now.
Securing the Center
With your figure-eight shape held firmly in the center, continue making loops, layering them on top of the first two. Try to make each new loop roughly the same size as the ones before it. The more loops you add, the fuller your bow will be. I usually aim for maybe three or four loops on each side for a decent-sized bow. Once you have all your loops, you need to secure that messy middle section. This is where floral wire or a twist tie comes in handy. While still pinching the center firmly, wrap the wire or tie tightly around the middle of your ribbon stack. Twist it off on the back. This is the skeleton of your bow.
- Common Ribbon Types for Bows:
- Satin: Smooth, shiny, looks elegant but can be slippery.
- Grosgrain: Ribbed texture, holds shape well, less likely to fray.
- Velvet: Luxurious feel, best for smaller or simpler bows as it's thick.
- Wired: Contains thin wire edges, makes shaping loops incredibly easy.
- Burlap/Natural Fibers: Rustic look, can be stiff, good for a natural vibe.
Fluffing and Finishing Touches
Now for the fun part: making it look like a proper bow and not just a squished mess of ribbon. Take your secured bundle and start separating the loops. Gently pull each loop away from the center, twisting some forward and some backward to create volume and dimension. Don't be afraid to really work them; this is where the magic happens. Trim the tails at the bottom. You can cut them straight across, at an angle, or create a fancy "v" shape by folding the ribbon lengthwise and cutting upwards towards the fold. Attach your finisheddiy gift ribbon bowto your package using the remaining wire/tie or a dot of hot glue or strong double-sided tape. Stand back and admire your handiwork.
Beyond the Basic: Creative Twists for Your DIY Gift Ribbon Bow
Beyond the Basic: Creative Twists for Your DIY Gift Ribbon Bow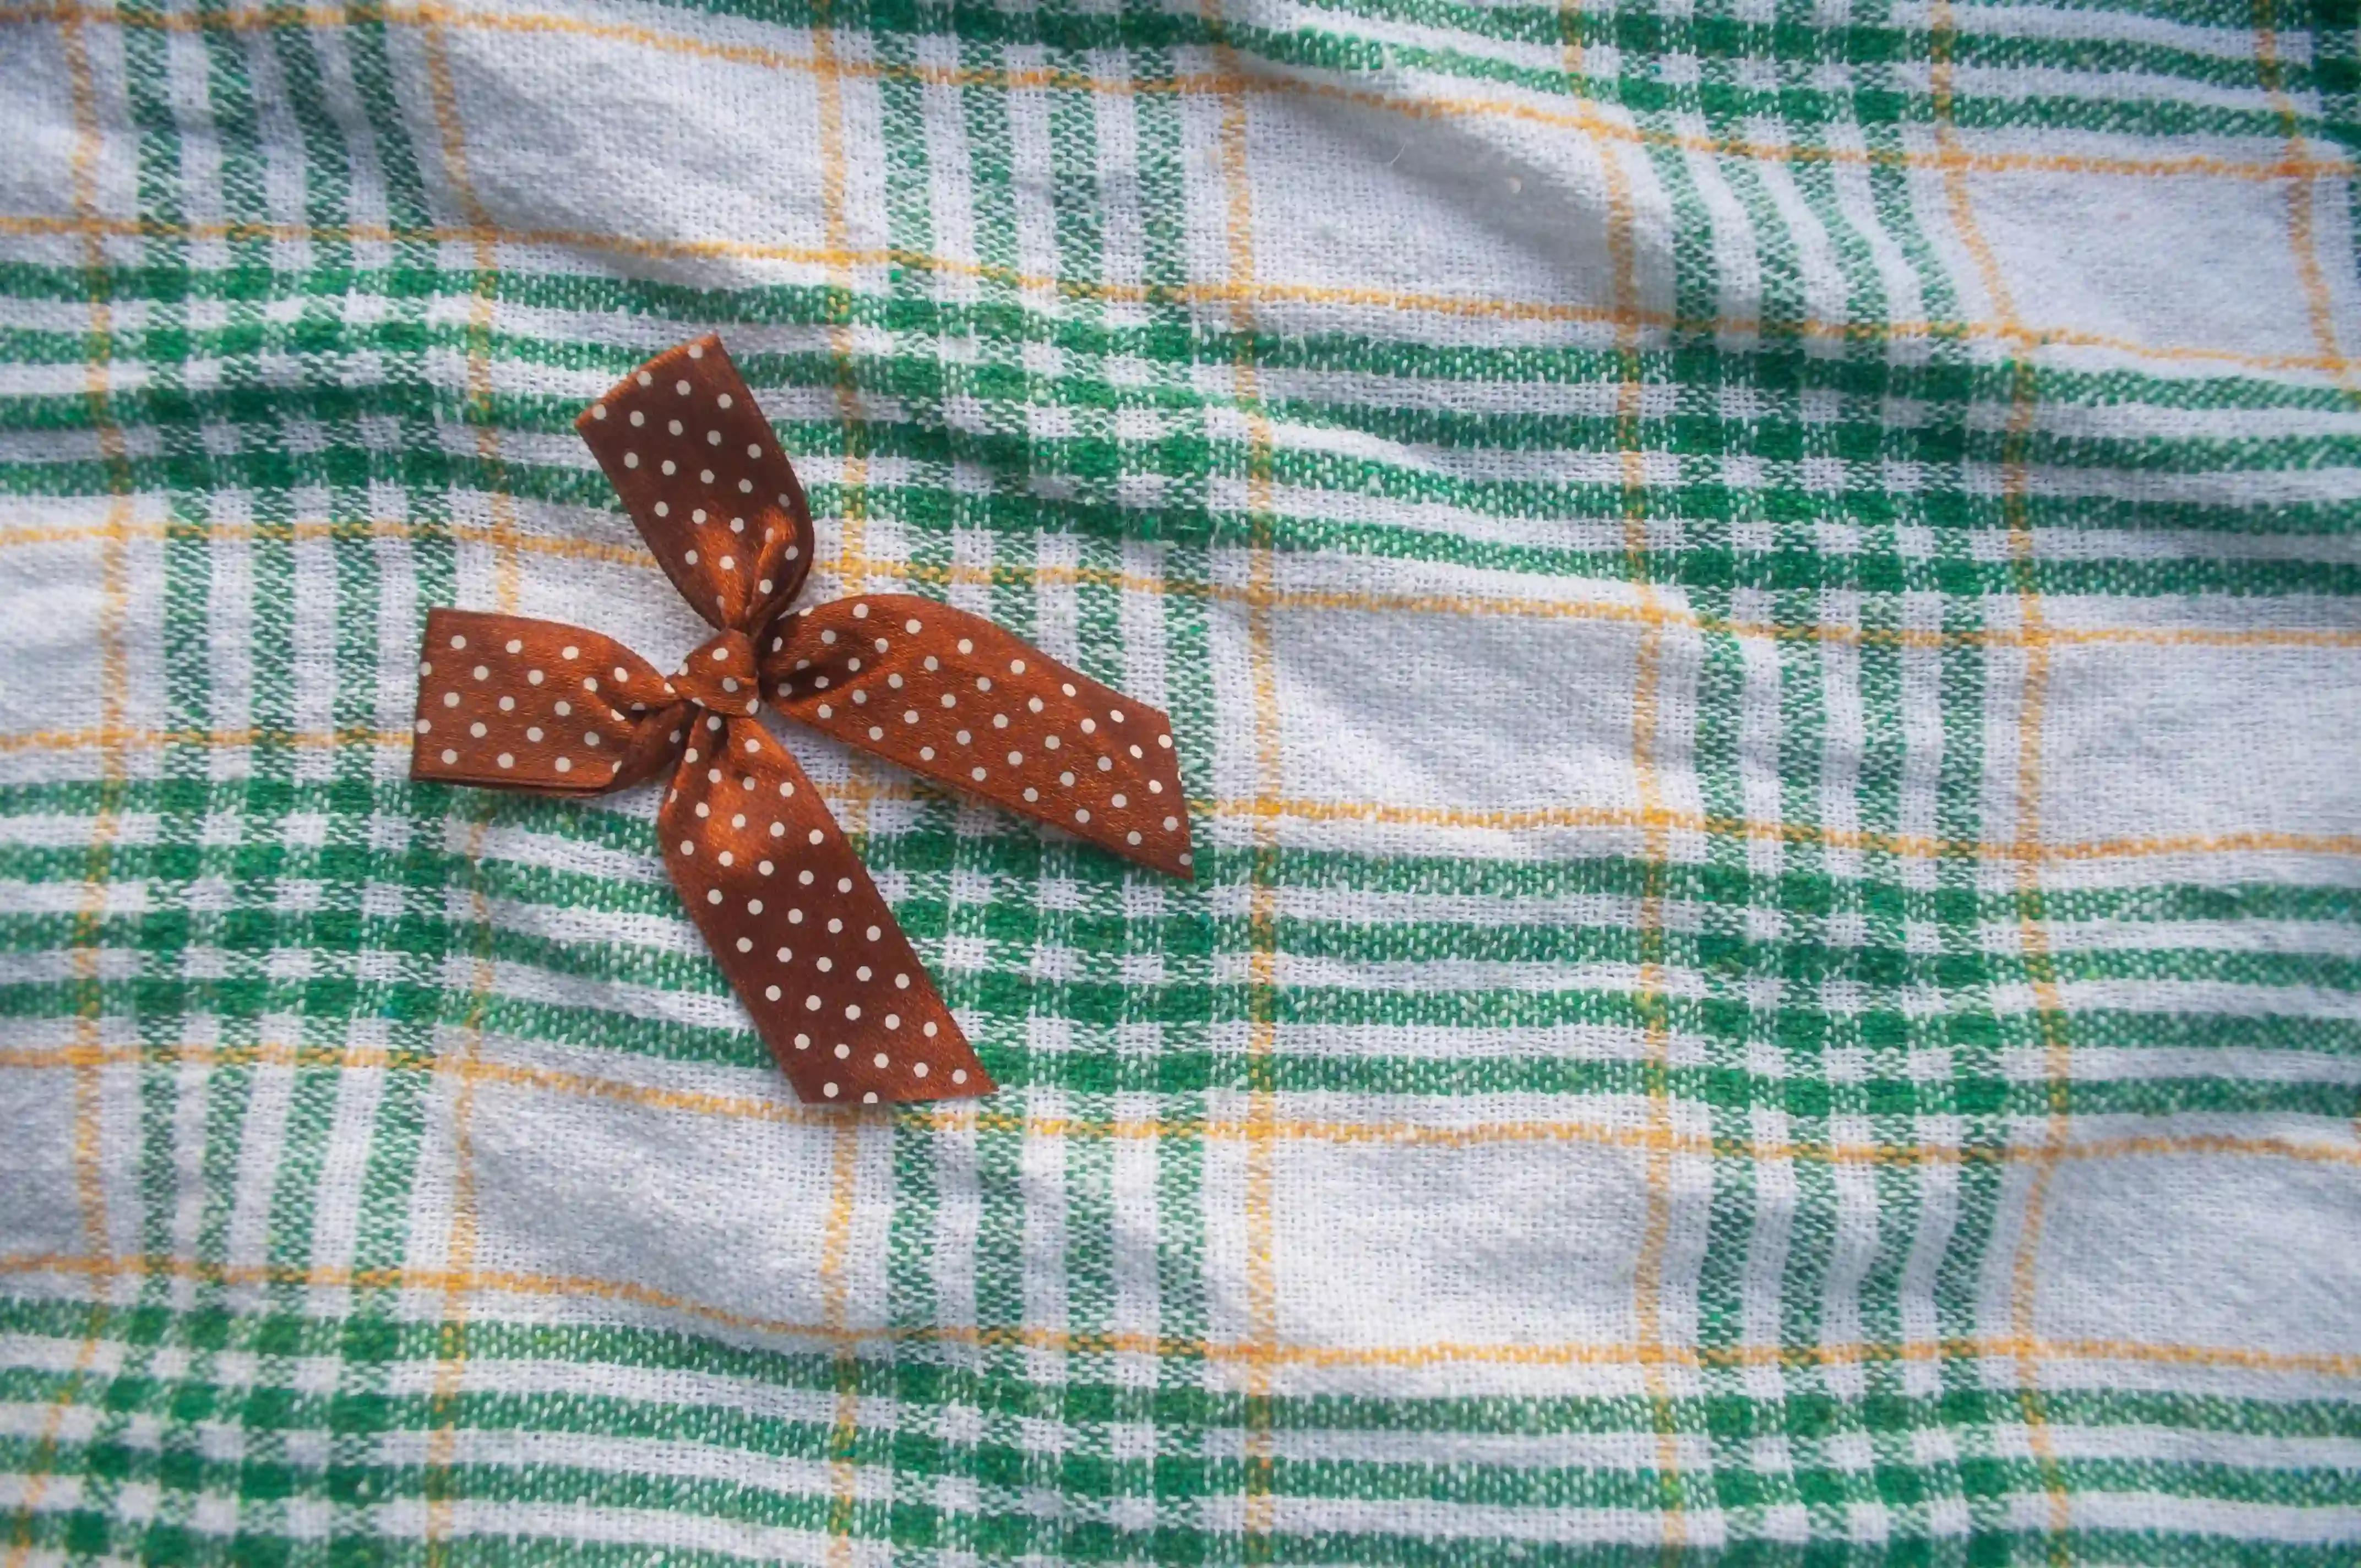
Mixing Textures and Colors
you've mastered the classic bow. You can whip one out in your sleep. But sticking to one type of ribbon for every single gift gets boring, fast. This is where you start playing. Don't be afraid to mix textures. A satin ribbon layered with a rougher burlap? Absolutely. A sheer organza over a solid grosgrain? Chef's kiss. You can also layer different colors. Use a wider, solid color ribbon as the base and add a thinner, contrasting patterned ribbon on top. This adds depth and visual interest that a single ribbon can't achieve. It takes yourdiy gift ribbon bowfrom standard to stunning with minimal extra effort.
Adding Embellishments and Flair
Just loops and tails feel a bit… naked sometimes, right? Once your bow is tied and fluffed, think about adding a little extra something. Got some leftover buttons? Hot glue one in the center. A small sprig of real or fake greenery, like eucalyptus or pine? Tuck it under the center tie. Tiny ornaments, jingle bells, or even a personalized tag threaded through one of the loops can elevate your bow significantly. These small additions make yourdiy gift ribbon bowfeel truly bespoke and tailored to the gift or the person receiving it. It's the difference between just wrapping a gift and crafting an experience.
- Ideas for Embellishing Your Bow:
- Buttons or beads glued to the center
- Small ornaments tied into the loops
- A sprig of fresh or artificial greenery
- Feathers or small craft flowers
- Personalized tags or charms
- Mini pinecones or berries
Your Final Flourish
So there you have it. Ditching the store-bought fluff and crafting your owndiy gift ribbon bowis less about being a master crafter and more about adding a genuine touch of effort. It’s a small detail, sure, but details matter. A handmade bow elevates your gift, showing the recipient that you invested a little extra time and care. It's not complicated, it doesn't require a workshop full of tools, and the result feels infinitely more personal than something peeled off a roll. Give it a shot on your next gift; you might be surprised how much you enjoy the process, and how much more special the finished package feels.