Table of Contents
Tired of the same old boring gift tags? Want to add a personal touch that truly wows? Let's ditch the generic store-bought labels and dive into the fun world of diy gift stickers! Imagine presenting a gift adorned with a sticker you designed yourself – it screams thoughtfulness and creativity, right? This isn't just about sticking a label on a present; it's about crafting a mini work of art that shows you went the extra mile. In this guide, we're going to walk you through everything you need to know to create amazing diy gift stickers. From gathering essential materials to exploring a treasure trove of creative ideas and techniques, we'll cover it all. We’ll even show you how to print and use your custom creations to make every gift extra special. Ready to unleash your inner artist and make gift-giving even more delightful? Let's get sticky!
Why You Should Make Your Own DIY Gift Stickers
Why You Should Make Your Own DIY Gift Stickers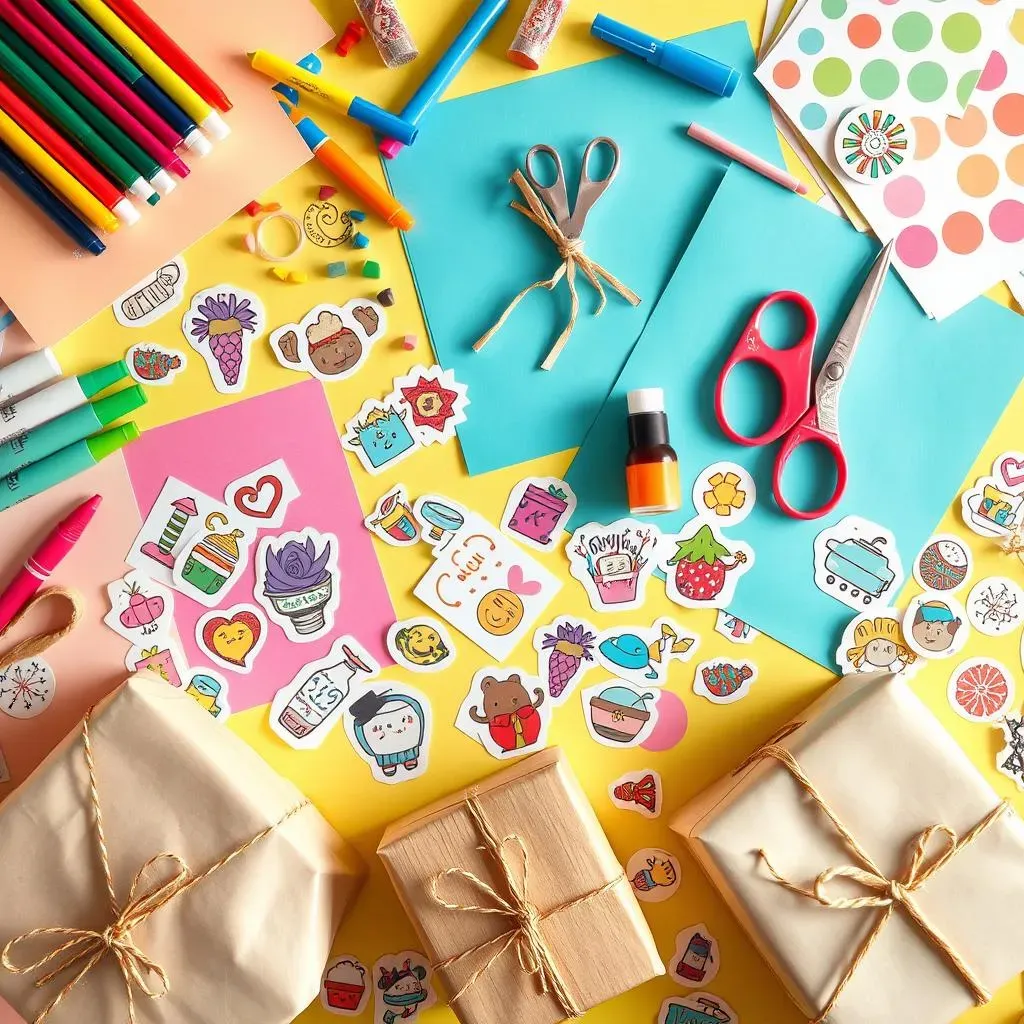
Add a Personal Touch That Store-Bought Stickers Can't
Let's be real, anyone can grab a pack of generic gift stickers from the store. They get the job done, sure, but where's the heart? Where's the "you" in that impersonal adhesive square? DIY gift stickers are where it’s at if you want to inject some genuine personality into your presents. It’s a small detail, absolutely, but it speaks volumes. It tells the receiver, "Hey, I didn't just slap any old label on this; I actually put in a little effort and thought just for you." And in a world of mass-produced everything, that little bit of extra effort makes a massive difference.
Think about it: you can tailor your stickers to perfectly match the gift, the occasion, or even the recipient's personality. Inside joke? Slap it on a sticker. Their favorite color? Make a sticker that pops with it. Going for a rustic vibe? Get crafty with some brown paper and twine. DIY gift stickers aren't just labels; they're tiny expressions of your care and creativity. They elevate your gift from "just something I bought" to "something special I made (or at least personalized!)". Plus, who doesn't love a bit of handmade charm? It beats a barcode any day.
Unleash Your Creativity and Save Some Cash
Beyond the personal touch, making your own diy gift stickers is a fantastic way to flex those creative muscles you might have been neglecting. Staring at a blank sticker sheet is like facing a mini canvas – the possibilities are genuinely endless. You can doodle, paint, stamp, use fancy fonts, or even raid your craft box for embellishments. Seriously, get wild! It’s your chance to experiment and have some fun without the pressure of creating a masterpiece. And let’s not forget the satisfaction of actually making something cool with your own two hands. In a digital world, that feeling of tangible creation is pretty darn rewarding.
And here’s a bonus that’ll appeal to the practical side in all of us: making diy gift stickers can save you money! Think about how much those cute sticker packs cost at the store – it adds up, especially if you're a frequent gift-giver. With a few basic supplies like sticker paper, some markers, and maybe a sprinkle of glitter (if you're feeling extra), you can whip up a whole stack of unique stickers for a fraction of the price. Plus, you get the added bonus of reducing waste by using up craft supplies you already have lying around. Creative, personal, and budget-friendly? That's a win-win-win in my book.
Benefit | Why it Matters |
|---|---|
Personal Touch | Shows you care and makes gifts more meaningful. |
Creativity Boost | Fun way to express yourself and experiment with designs. |
Cost Savings | Cheaper than buying pre-made stickers, especially in bulk. |
Uniqueness | Your gifts will stand out from the crowd with custom designs. |
Essential Materials for Crafting DIY Gift Stickers
Essential Materials for Crafting DIY Gift Stickers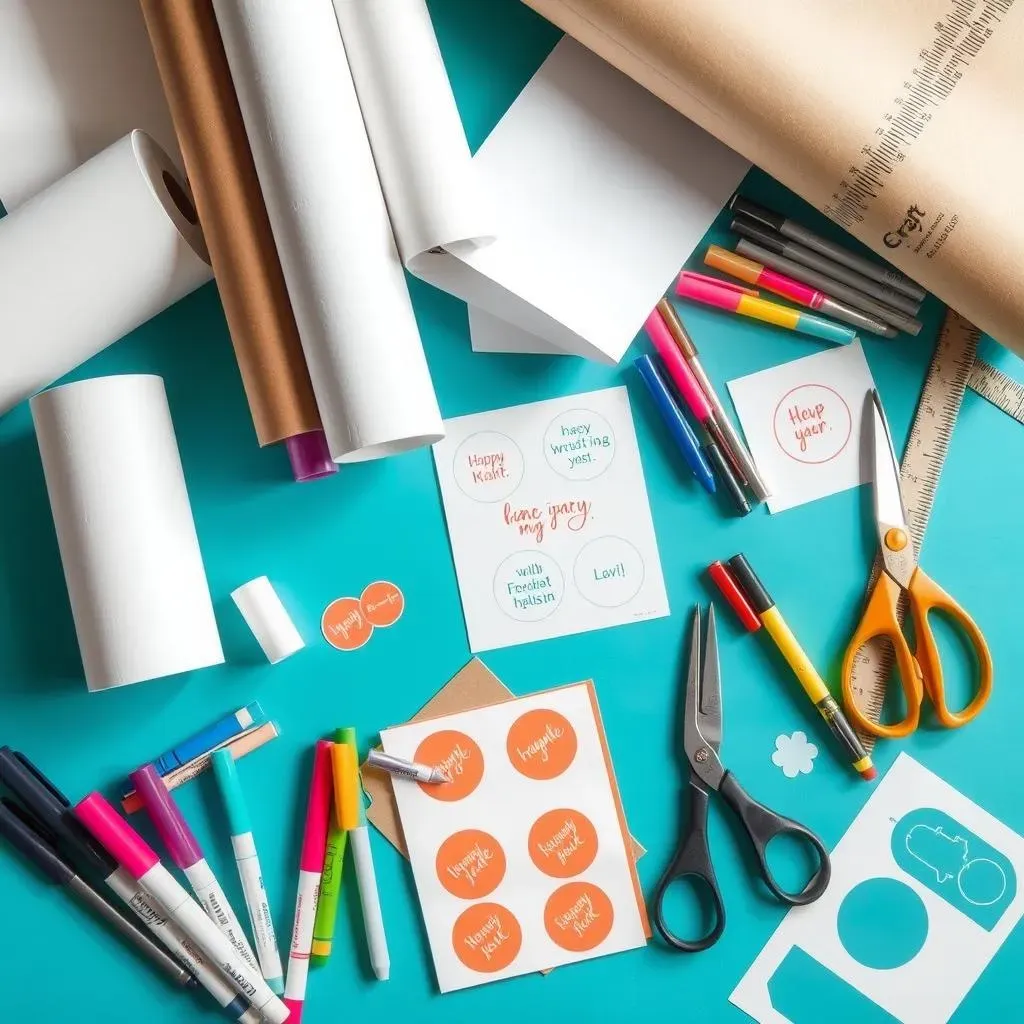
Sticker Paper: Your Sticky Canvas
Alright, so you're hyped to make your own diy gift stickers, awesome! First things first, you gotta have something to, you know, *stick* them on. That's where sticker paper comes in, and trust me, it's not all created equal. You've got your standard white sticker paper, which is like the blank canvas of the sticker world – versatile and always a solid choice. But hey, why stop there? For a rustic vibe, brown kraft sticker paper is your jam. Want a bit of shimmer? Go for glossy. Need something that can brave the elements (maybe for a gift on a water bottle?), snag some waterproof sticker paper. Seriously, the paper aisle is your playground here.
And don't even get me started on the finishes! Matte is cool for a chill, understated look, easy to write on with any pen. Glossy makes colors pop and gives your stickers a more polished, store-bought feel. Clear sticker paper? Now that's sneaky fun – perfect for layering designs or getting that "printed directly on the gift" look. Experiment a bit! Grab a variety pack if you're feeling adventurous. The right sticker paper can totally level up your diy gift stickers game before you even start drawing.
Tools of the Trade: Beyond Just Paper
paper sorted. But slapping designs onto sticker paper with your bare hands isn’t exactly efficient (or clean). Time to gather your sticker-making arsenal! First up: pens and markers. Fine-tip markers are your best friends for detailed designs and neat lettering. Brush pens are awesome for calligraphy-style vibes or bold strokes. Want some color? Grab a rainbow of colored markers or pens. Metallic pens? Hello, fancy shimmer! Permanent markers are a must if you want to avoid smudging, especially on glossy paper. Just raid your pen cup, or treat yourself to a new set – consider it an investment in your sticker artistry.
Next up, cutting tools. Scissors are essential, duh. A good pair of detail scissors (like the kind for nail art or embroidery) will be a lifesaver for intricate sticker shapes. If you're feeling fancy, a craft knife or rotary cutter can give you super clean edges, especially for straight lines. Rulers and stencils? Yep, those help too, especially if you're aiming for geometric designs or perfect shapes. And for applying your stickers smoothly without wrinkles? A small squeegee or even just a credit card works wonders. Basically, think about what kind of designs you want to make, and then arm yourself accordingly. No need to buy everything at once, start with the basics and build your toolkit as your diy gift stickers obsession grows!
Material Category | Essential Items | Why You Need Them |
|---|---|---|
Sticker Paper | White, Kraft, Glossy, Matte, Clear, Waterproof | The foundation of your stickers; choose based on desired look and use. |
Writing/Drawing Tools | Fine-tip markers, Brush pens, Colored pens/markers, Metallic pens, Permanent markers | For creating designs, lettering, and adding color. |
Cutting & Shaping | Scissors, Detail scissors, Craft knife/Rotary cutter, Rulers, Stencils | For precisely cutting out stickers and creating shapes. |
Application Tools | Squeegee/Credit card (optional) | For smooth, bubble-free sticker application. |
Creative DIY Gift Sticker Ideas and Techniques
Creative DIY Gift Sticker Ideas and Techniques
Hand-Drawn Doodles and Illustrations
Alright, let's get to the fun part: actually designing these diy gift stickers! If you're even a little bit artistic, or just enjoy doodling, this is your time to shine. Forget perfect lines and flawless drawings – the charm of hand-drawn stickers is in their quirky, unique imperfections. Grab your fine-tip markers and just start sketching! Think about the person receiving the gift, or the occasion. Birthday? Draw some balloons or cake slices. Holiday gift? Snowflakes, ornaments, or silly little monsters dressed as elves. Thank you gift? Maybe a cute little plant or a heart with a smiley face. Seriously, anything goes!
Don't underestimate the power of simple shapes and patterns either. Polka dots, stripes, stars, swirls – they can all look super cool and festive when you play with colors and arrangements. You can even create mini scenes or tell tiny visual stories on your stickers. Imagine a little stick figure roasting marshmallows over a campfire for a camping-themed gift, or a tiny cat wearing a party hat for a cat lover's birthday. The key is to have fun and let your personality come through. These diy gift stickers are all about adding that personal, human touch that no machine-printed label can ever replicate.
Stamping and Stencil Magic
Not feeling like a freehand artist? No problem! Stamps and stencils are your secret weapons for creating awesome diy gift stickers without needing to be Picasso. Stamps are seriously addictive – you can find them in every imaginable theme and style, from cute animals and floral designs to geometric patterns and cool typography. Ink pads in different colors are a must, and don't be afraid to experiment with layering different stamps or using multiple colors on one sticker. Imagine a kraft paper sticker stamped with a delicate floral design in a soft pastel color – instant rustic elegance!
Stencils are equally versatile. You can use them with markers, pens, or even sponges and paint for a bolder look. Letter stencils are perfect for creating personalized monograms or custom messages on your stickers. Shape stencils – stars, hearts, leaves, you name it – are great for adding consistent, clean designs. Pro tip: use washi tape to secure your stencils to the sticker paper to prevent them from shifting while you're inking or painting. Whether you're into clean, graphic designs or more whimsical, layered looks, stamps and stencils open up a whole world of possibilities for your diy gift stickers. Plus, they're super satisfying to use!
Technique | Description | Best For |
|---|---|---|
Hand-Drawn Doodles | Freehand drawings and illustrations using markers or pens. | Personalized, quirky, and unique stickers; showcasing artistic flair. |
Stamping | Using rubber stamps and ink pads to create repeating designs or motifs. | Rustic, elegant, or themed stickers; consistent and easy designs. |
Stencils | Using pre-cut shapes or letters to trace and fill in designs. | Clean, geometric, or lettered stickers; precise shapes and messages. |
Mix and Match: Combining Techniques
now for the real sticker wizardry – combining different techniques! This is where your diy gift stickers can go from cool to seriously next-level. Think about layering hand-drawn elements over stamped backgrounds, or using stencils to add details to your doodles. For example, you could stamp a floral border around a sticker and then draw a cute little bee buzzing in the center. Or stencil a letter monogram and then add hand-drawn flourishes and decorative lines around it. The possibilities are truly endless when you start mixing and matching.
Another fun idea is to incorporate different materials. Try adding glitter glue for some sparkle, or tiny paper cutouts for extra dimension. Washi tape isn't just for stencils – you can use it to create borders, stripes, or even geometric patterns directly on your stickers. Raid your craft stash! Buttons, beads, twine, fabric scraps – anything goes. Just make sure whatever embellishments you add are relatively flat so your stickers still, you know, stick properly. Experiment, play around, and don't be afraid to get a little messy. That's where the most awesome and unique diy gift stickers are born!
Printing and Using Your Amazing DIY Gift Stickers
Printing and Using Your Amazing DIY Gift Stickers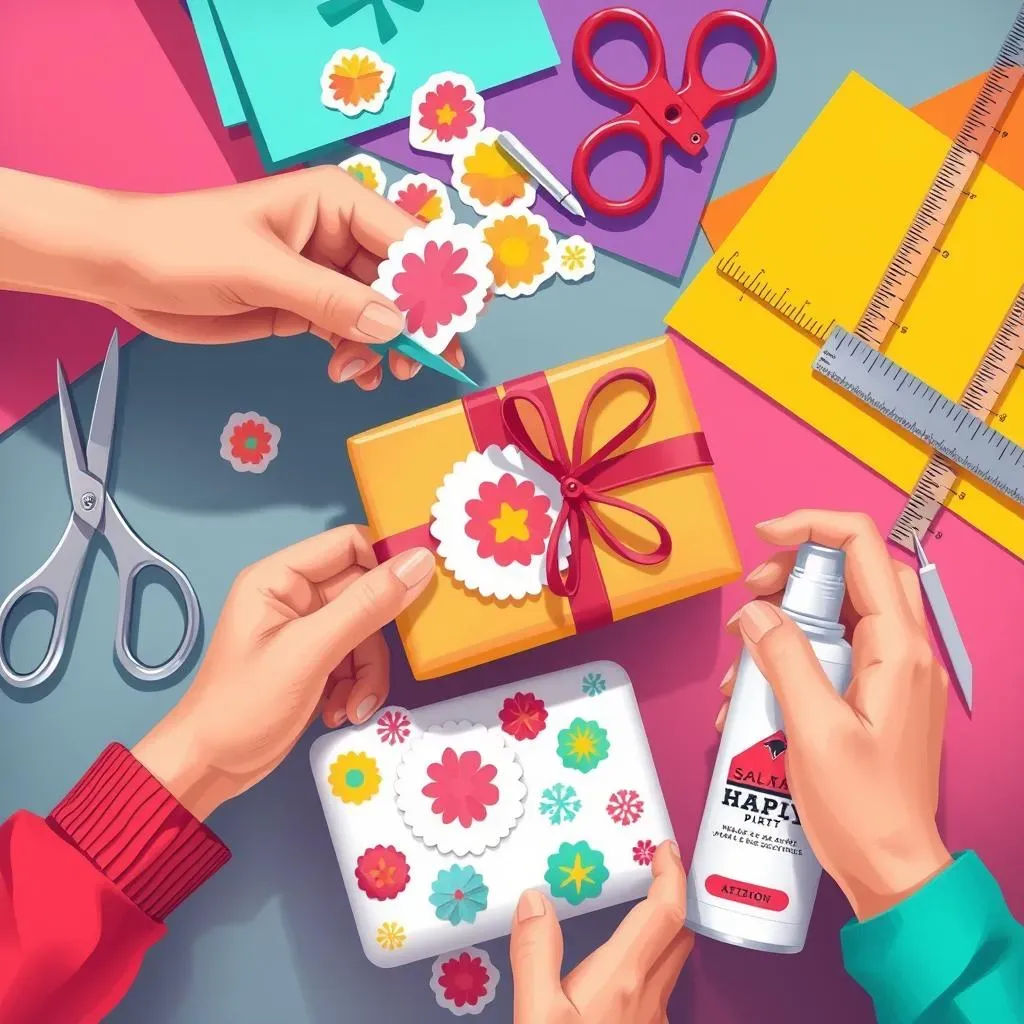
From Design to Decal: Printing Perfection
you've poured your heart and soul into designing the most epic diy gift stickers the world has ever seen. Now comes the moment of truth: printing them out! If you're rocking a home printer, you're in luck – most sticker paper is designed to play nice with inkjet or laser printers. But before you hit print and unleash a sticker avalanche, a little printer prep is key. First off, check your printer settings. You'll want to select the right paper type – usually something like "photo paper" or "glossy paper" works wonders for sticker paper, even if it's not actually glossy. This tells your printer to lay down the ink a bit differently for optimal results. And always, always do a test print on regular paper first! This saves you from wasting precious sticker paper if your design isn't quite centered or the colors are off. Trust me, a test print is your friend in the diy gift stickers game.
Once your test print looks golden, load up your sticker paper, cross your fingers, and hit print! Let those stickers dry for a hot minute before you start manhandling them – nobody wants smudged sticker sadness. And if you don't have a home printer or you're planning a stickerpalooza and need serious volume, print shops are your allies. They often have fancier printers that can handle thicker sticker paper or specialty finishes like die-cutting (which is sticker-speak for pre-cut shapes – super pro!). Plus, they can churn out stacks of stickers faster than you can say "adhesive awesomeness."
Cutting, Peeling, and Sticking Like a Pro
Printing? Nailed it. Now you're staring at a sheet of awesome diy gift stickers, but they're still stuck on the sheet, literally. Time for some sticker surgery! If you went for simple shapes, good old scissors will do the trick. Just take your time, cut along those lines, and try not to chop off any crucial bits of your design. Detail scissors, as mentioned earlier, are amazing for getting into those nooks and crannies of more intricate sticker shapes. For straight lines or if you're a perfectionist (no judgment!), a craft knife and ruler are your best buddies. Just be careful, keep those fingers out of the way, and maybe put down a cutting mat to protect your table situation.
Peeling and sticking – sounds easy, right? Mostly, yeah. But a few pro tips can elevate your sticker application game. Make sure the surface you're sticking to is clean and dry – no one likes a sticker that peels off because of dust or grease. Peel the backing paper off slowly and steadily, starting from one corner. Try to avoid touching the sticky side too much with your fingers, as oils can mess with the adhesive. Position your sticker carefully, and then smooth it down from the center outwards to avoid air bubbles. A credit card or squeegee (if you’re fancy) can help with this smoothing action. And boom! Your gift is now rocking a custom diy gift sticker that screams "thoughtful" and "awesome."
Step | Action | Pro Tip |
|---|---|---|
Printing | Print your designs on sticker paper. | Do a test print on regular paper first to check layout and colors. |
Cutting | Cut out your stickers from the sticker sheet. | Use detail scissors or a craft knife for intricate shapes; take your time! |
Applying | Peel off backing and stick to your gift. | Clean surface first; smooth from center outwards to avoid bubbles. |
Making Your Stickers Last: Durability Boost
Want your amazing diy gift stickers to go the distance? A few simple tricks can boost their durability and keep them looking fresh for longer. If you're using inkjet-printed stickers, especially with regular sticker paper (not waterproof), a sealant spray is your secret weapon. These sprays create a clear, protective layer over the ink, making your stickers water-resistant and less prone to fading or smudging. You can find sealant sprays specifically for paper crafts at most craft stores. Just give your printed stickers a light, even coat and let them dry completely before cutting them out.
For extra protection against wear and tear, consider laminating your stickers. You can buy self-adhesive laminating sheets that are super easy to use at home. Just apply a sheet of laminate over your printed sticker sheet, smooth out any bubbles, and then cut out your stickers as usual. Laminating adds a thicker, more durable layer that's also wipeable – perfect if your gift might be handled a lot or exposed to moisture. While these extra steps might sound like a hassle, they really do make a difference in the longevity of your diy gift stickers, especially if you've put in the effort to create truly special designs. Because nobody wants a sticker masterpiece to peel or fade prematurely!
Wrapping Up Your DIY Gift Stickers Adventure
So, there you have it! Creating diy gift stickers is not only a fantastic way to personalize your gifts, but it's also a fun and rewarding creative outlet. From simple hand-drawn designs to more elaborate printed creations, the possibilities are as endless as your imagination. Go ahead, grab your supplies, unleash your inner artist, and start making gift stickers that will bring smiles and a personal touch to every present you give. Happy crafting!