Table of Contents
Tired of those generic, store-bought gift fillers that just don't spark joy? Want to add a personal touch to your presents without breaking the bank? You're in the right place! Let's ditch the boring crinkle-cut paper from the store and dive into the wonderful world of diy gift stuffing! This isn't just about saving a few bucks; it's about unleashing your creativity and making your gifts extra special. Imagine crafting custom fillers that perfectly match your gift and the recipient's personality. In this guide, we'll show you how to transform everyday materials like paper scraps and even newspaper into fantastic, unique gift stuffing. We'll cover everything from the basic shredded paper technique to fun and creative alternatives, plus pro tips to ensure your diy gift stuffing game is always on point. Get ready to impress with gifts that are beautiful inside and out!
Unleash Your Creativity with DIY Gift Stuffing: Why Make Your Own?
Unleash Your Creativity with DIY Gift Stuffing: Why Make Your Own?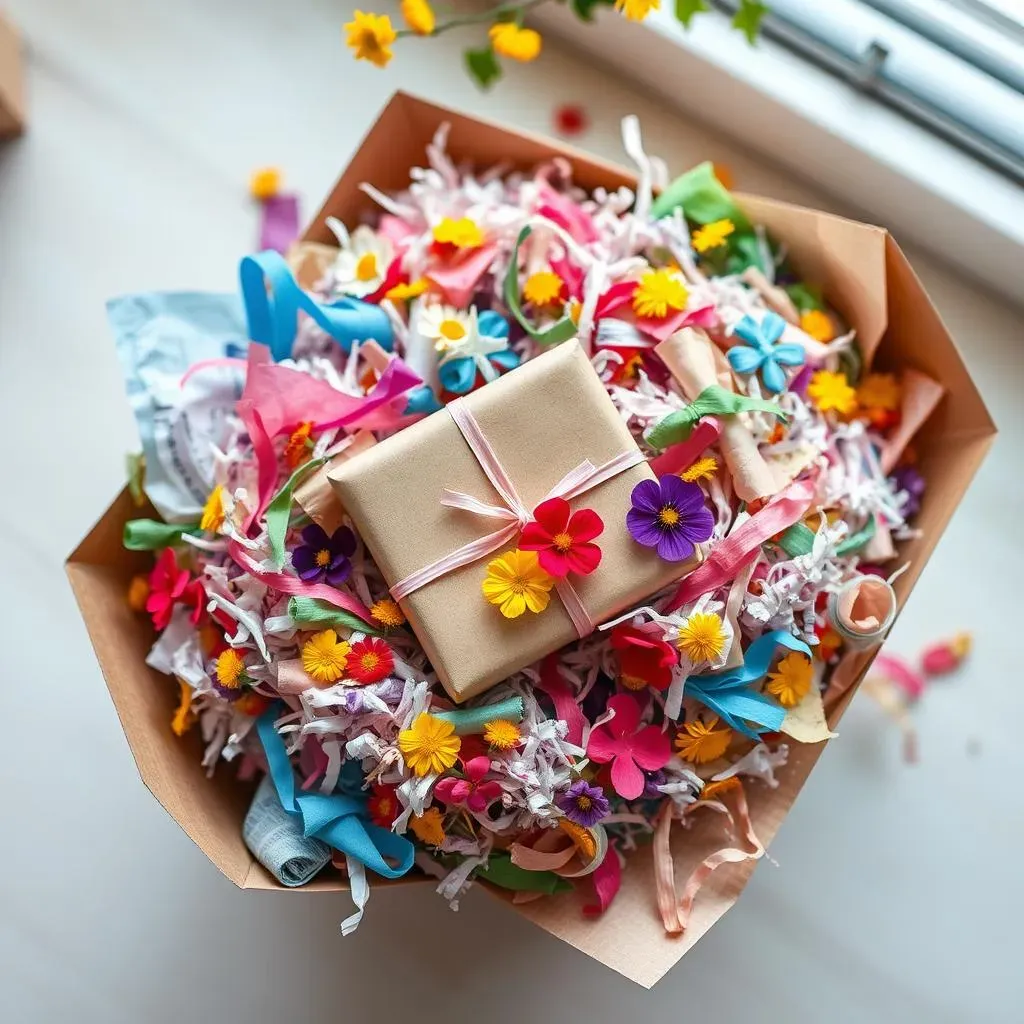
Say Goodbye to Boring Store-Bought Filler
Let's be real, that crinkly paper you grab at the store? It's functional, sure. But exciting? About as thrilling as watching paint dry. It’s the same stuff everyone else uses, offering zero personality and absolutely no wow factor. If you're aiming for a gift presentation that screams "I put thought into this," then generic filler just isn't gonna cut it. DIY gift stuffing is where it's at if you want to inject some genuine creativity and make your gifts truly stand out.
Think about it: your gift is awesome, right? Doesn't it deserve a grand entrance, not just a bed of blah? Making your own filler lets you tailor it perfectly to the gift, the occasion, and the person receiving it. It’s a chance to add an extra layer of thoughtfulness that store-bought stuff simply can’t match. Plus, who doesn't love a little bit of handmade charm?
Save Cash and the Planet: DIY is the Smart Choice
Beyond the creative freedom, let's talk practicalities. Store-bought gift filler? Seriously overpriced for what it is – basically just shredded paper or plastic. Why shell out cash for something you can easily make at home, often for free? DIY gift stuffing is a budget-friendly dream. You can raid your recycling bin and turn trash into treasure, giving old newspapers, magazines, and even colorful junk mail a fabulous second life.
And speaking of recycling, making your own filler is a much greener option. Think about all that plastic or virgin paper filler being produced, shipped, and then likely tossed after one use. By using materials you already have, you're reducing waste and giving the planet a little high-five. It’s a win-win: save money, be eco-conscious, and still create something amazing.
DIY Gift Stuffing Perks | Store-Bought Filler Drawbacks |
|---|---|
Unleashes creativity & personalization | Generic & lacks personality |
Cost-effective & budget-friendly | Overpriced for basic material |
Eco-friendly & reduces waste | Often made of new plastic or paper, adds to waste |
Fun & engaging to make | Just another item to buy |
Make Gift-Giving an Experience, Not Just an Exchange
Ultimately, diy gift stuffing isn't just about filling space in a gift bag or box; it's about elevating the entire gift-giving experience. It's about showing someone you went the extra mile, that you put in effort and care beyond just picking out a present. Crafting your own filler is a small detail that speaks volumes. It transforms a simple exchange into something more meaningful and memorable.
Imagine the recipient opening their gift and being greeted by a bed of beautifully coordinated, handmade stuffing. It sets the tone, builds anticipation, and makes the unwrapping process feel special. It’s those little touches that truly make a gift unforgettable. So, ditch the dull and embrace the delightful world of DIY gift stuffing – your presents (and your wallet) will thank you!
Gather Your Supplies: Everyday Materials for DIY Gift Box Stuffing
Gather Your Supplies: Everyday Materials for DIY Gift Box Stuffing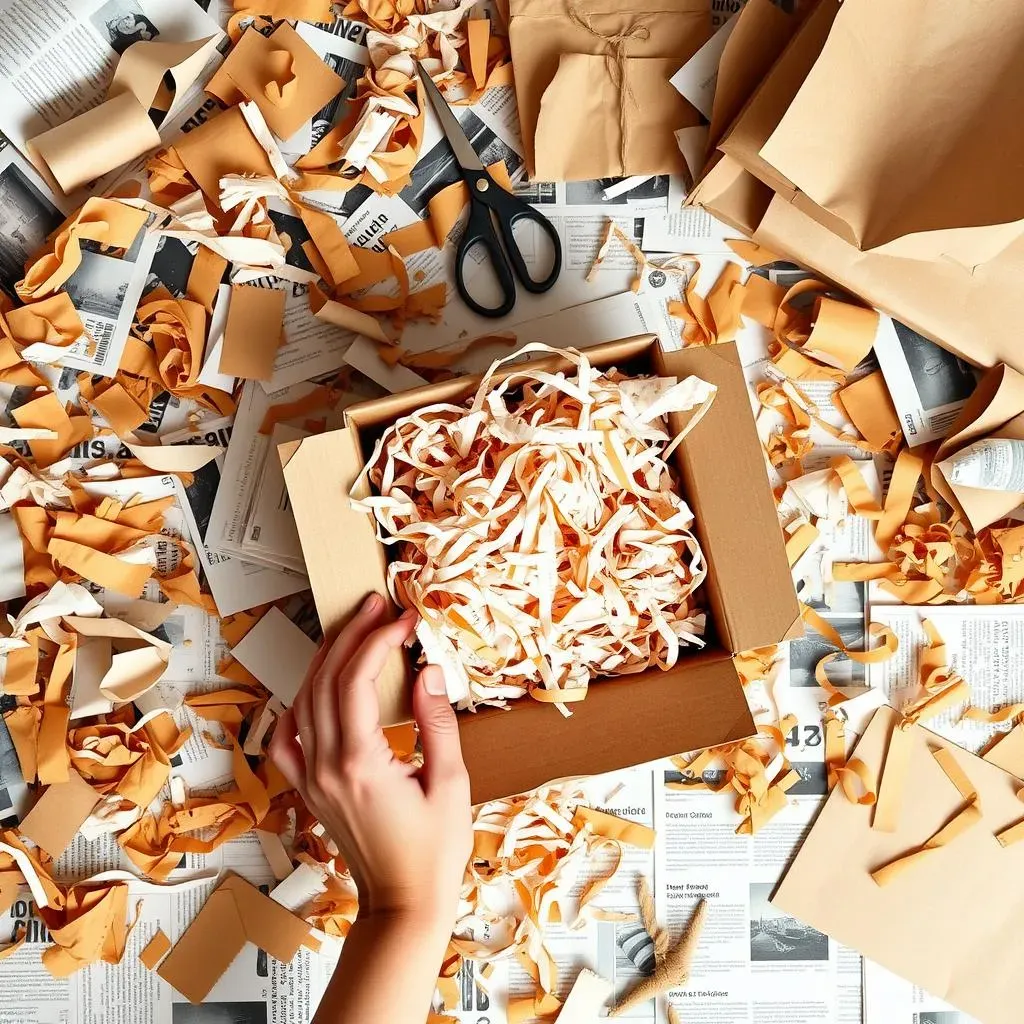
Raid Your Paper Stash: What to Use
so you're ready to dive into DIY gift stuffing, awesome! First things first, let’s talk materials. The absolute best part about this project? You probably already have tons of perfect stuffing materials lying around your house right now. Seriously! Think about all that paper that comes into your life: newspapers piling up, magazines you've already flipped through, kids' artwork from school, even junk mail (the colorful kind, not just bills!). All of this is gold when it comes to making your own unique gift filler.
Consider the vibe you're going for. Newspaper gives a cool, slightly vintage, or even eco-chic feel. Magazines can add pops of color and glossy texture. For a softer touch, tissue paper is fantastic – especially if you have a stash leftover from previous gifts. And don't forget about brown paper bags! They can be shredded for a rustic, natural look. The possibilities are pretty much endless, just look around and see what paper treasures you can unearth!
Paper Type | Stuffing Style | Best For |
|---|---|---|
Newspaper | Rustic, Vintage, Eco-chic | Casual gifts, masculine gifts, environmentally conscious recipients |
Magazines | Colorful, Glossy, Eclectic | Fun gifts, teen gifts, vibrant personalities |
Tissue Paper | Soft, Delicate, Elegant | Fragile items, feminine gifts, sophisticated presentations |
Brown Paper Bags | Natural, Rustic, Earthy | Handmade gifts, outdoorsy themes, simple and clean aesthetics |
Tools of the Trade: Keep It Simple
Now that you've got your paper sorted, let's quickly chat about tools. Don't worry, you don’t need any fancy gadgets for diy gift stuffing. The most essential tool in your arsenal is definitely a paper shredder. If you've got one of those cross-cut shredders for home use, you're golden. It makes quick work of turning stacks of paper into perfect little shreds. But hey, if you don't have a shredder, no sweat! Scissors work just fine too. It's a bit more hands-on, but honestly, it can be kind of therapeutic to just snip away and create your filler by hand. Plus, you get to control the size and shape of your shreds a bit more.
Beyond the shredder or scissors, you might want to grab a big bowl or container to hold your shredded paper as you go. This keeps things tidy and prevents paper explosions all over your workspace. And that's really it! Seriously, DIY gift stuffing is all about using what you have and keeping it easy. No need to overcomplicate things. Ready to get shredding?
Easy Peasy: StepbyStep Guide to Perfect DIY Shredded Gift Stuffing
Easy Peasy: StepbyStep Guide to Perfect DIY Shredded Gift Stuffing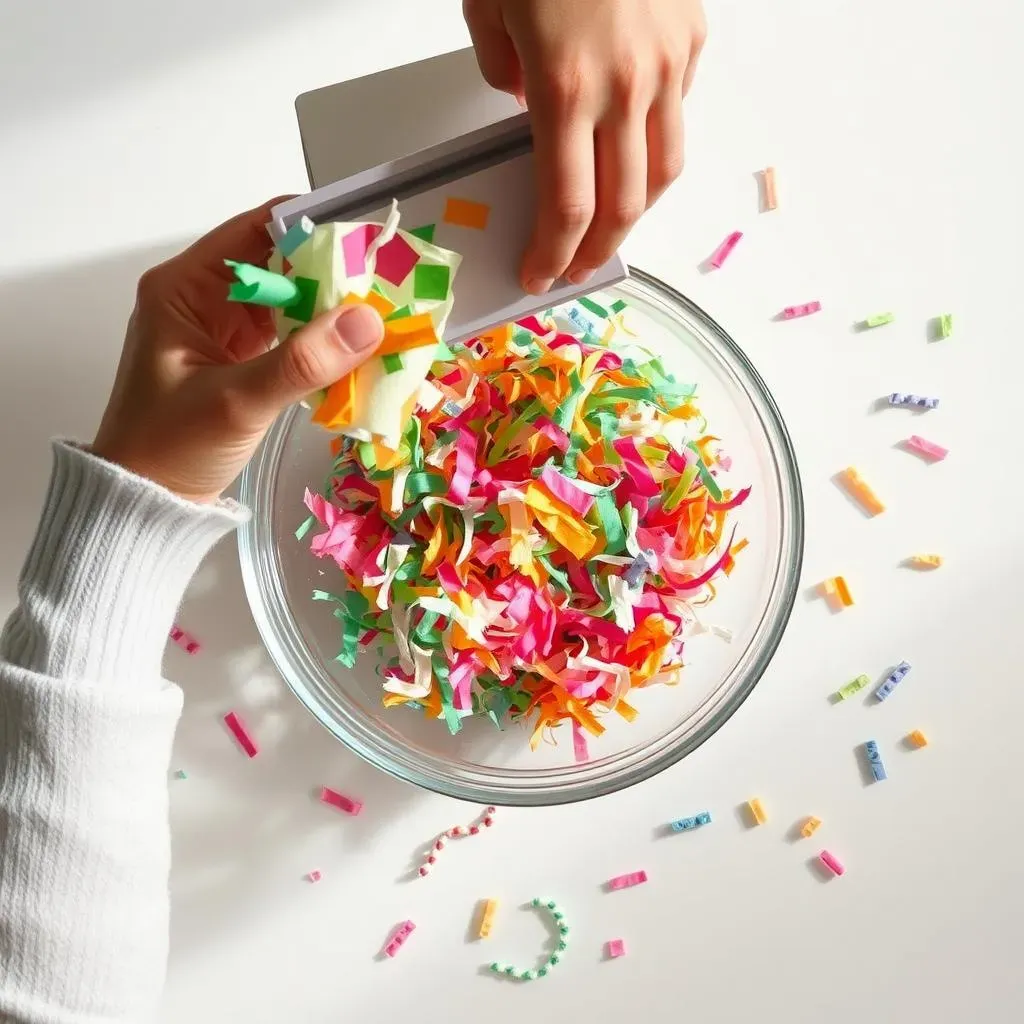
Step 1: Prep Your Paper and Shredder
Alright, ready to make some diy shredded gift stuffing magic? Let's get started! First things first, gather your chosen paper. Whether it's newspaper, magazines, or tissue paper, make sure it's relatively clean and dry. No one wants smelly or damp gift filler! If you're using newspaper or magazines, you might want to roughly tear them into smaller, more manageable pieces before feeding them into the shredder. This just prevents paper jams and makes the whole process smoother. Think of it as pre-chopping your veggies before stir-frying – it just makes everything flow better.
Next up, give your paper shredder a quick once-over. Especially if it's been sitting idle for a bit, it’s a good idea to run a few scrap sheets through to clear out any dust or old bits of paper. And super important: make sure your shredder is unplugged while you're doing any kind of cleaning or prep. Safety first, always! Once you're sure it's clean and ready to roll, plug it back in, and you're basically set to become a diy gift stuffing pro.
Step 2: Shred Away!
Now for the fun part: shredding! Grab your prepped paper and start feeding it into the shredder. Don't try to cram too much paper in at once, especially if you're using a basic home shredder. Feed it in gradually, letting the machine do its thing. As the shredded paper starts piling up, you'll see your diy gift stuffing dreams taking shape! If you're going the scissor route, just grab a stack of paper (not too thick, maybe 3-4 sheets at a time) and start cutting strips. For crinkle-cut style, try varying the width of your strips and scrunching them up a bit as you go.
Whether you're shredding by machine or by hand, aim for relatively thin strips. Thick chunks of paper don't make for very appealing or functional filler. Think delicate, fluffy clouds of paper goodness! And hey, don't stress about perfection. The beauty of diy gift stuffing is that it's all about handmade charm. A little bit of variation in size and shape just adds to the character. Keep shredding until you've got a nice pile of filler – enough to stuff your gift bags or boxes to your heart's content.
- Feed paper gradually: Don't overload your shredder.
- Vary strip width (scissors): For a more crinkled look.
- Aim for thin strips: Fluffier and better filler.
- Don't stress perfection: Handmade charm is key!
Step 3: Fluff, and Store (If You Can Resist Using It)
You've shredded a mountain of paper – awesome job! Now, take your hands and gently fluff up your diy gift stuffing. This adds volume and makes it look even more inviting. Imagine nestling your gifts in a cloud of your handmade filler – so much better than flat, boring strips, right? If you're planning to use your stuffing right away, great! Start adding it to your gift bags and boxes, arranging it nicely to showcase your presents.
If you've made a big batch and aren't ready to use it all at once, no problem. Store your diy gift stuffing in a large plastic bag or container to keep it clean and dust-free. Just make sure it's completely dry before storing it to prevent any mildew issues. Though honestly, once you see how fantastic your homemade filler looks, you might just find excuses to use it for everything! Get ready for compliments galore on your super thoughtful and creative gift presentations!
Beyond the Basics: Fun and Unique DIY Gift Stuffing Ideas
Beyond the Basics: Fun and Unique DIY Gift Stuffing Ideas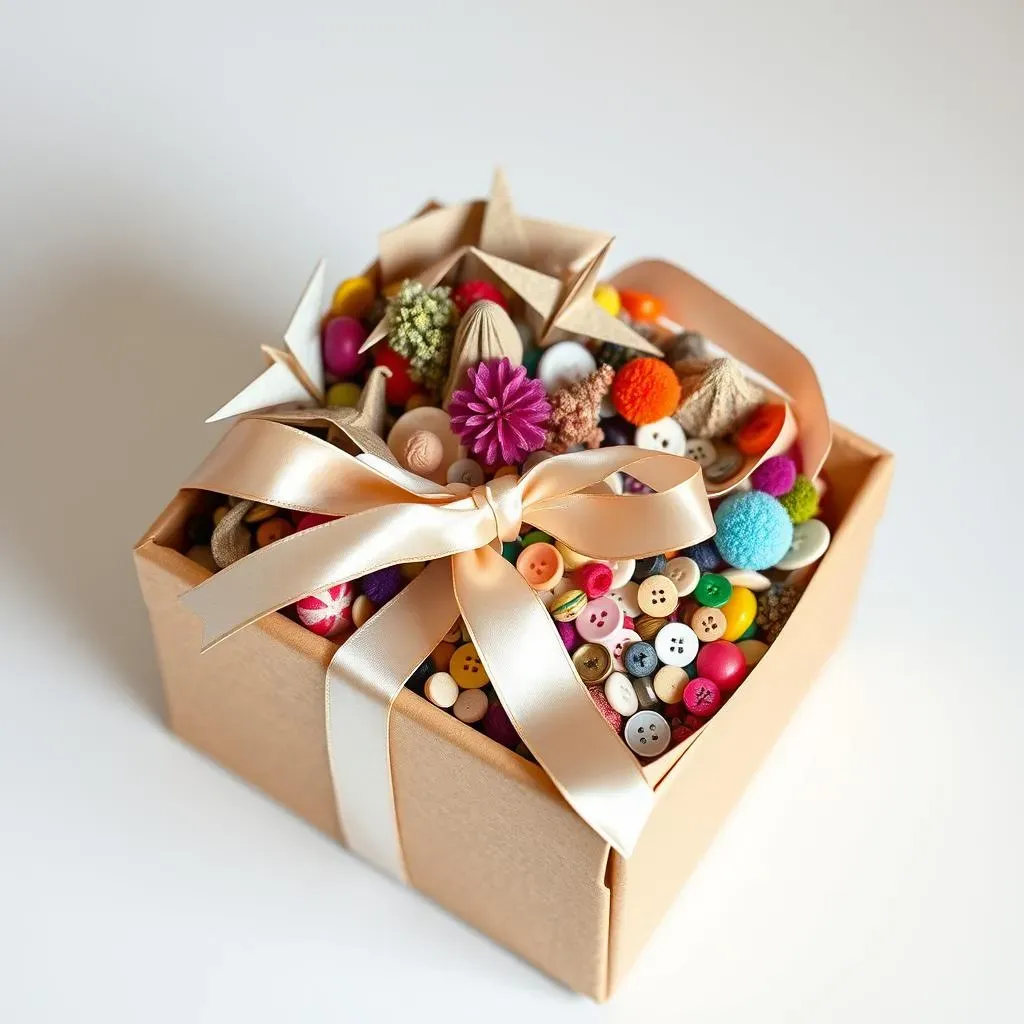
Level Up Your Gift Presentation
so shredded paper is awesome, it’s classic diy gift stuffing for a reason. But, what if we kicked things up a notch? What if we went totally beyond basic and explored some seriously fun and unique filler ideas? Because honestly, once you start thinking outside the box, the possibilities are endless! We're talking filler that not only looks amazing but also adds an extra layer of personality and surprise to your gifts. Ready to get inspired and take your gift presentation from "nice" to "whoa, that's incredible?" Let's dive into some seriously cool diy gift stuffing upgrades that will make your presents unforgettable.
Pro Tips & Tricks for Flawless DIY Gift Stuffing Every Time
Pro Tips & Tricks for Flawless DIY Gift Stuffing Every Time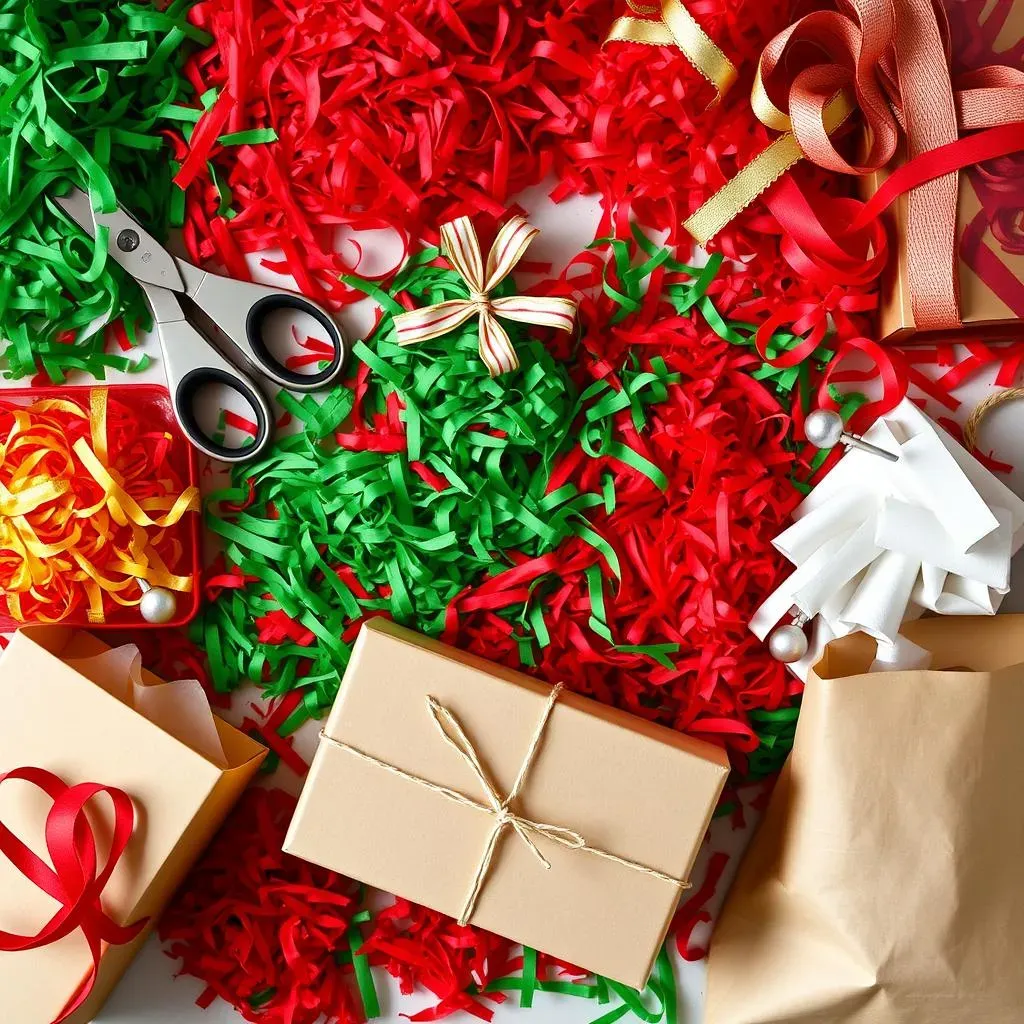
Color Coordination is Key: Matching Filler to Gift & Occasion
so you're making your own awesome diy gift stuffing – fantastic! But before you go wild and shred every piece of paper in sight, let's talk strategy. Color coordination is your secret weapon for taking your filler from "meh" to "magnificent." Think about your gift itself, the occasion, and the vibe you're aiming for. A bright, rainbow explosion of magazine shreds might be perfect for a kid's birthday, but maybe not so much for a sophisticated wedding present. Consider using colors that complement the gift wrapping or the theme of the event. Neutrals like kraft paper or white tissue paper are always classy and versatile. For holidays, go thematic – reds and greens for Christmas, pastels for Easter, and so on. A little color planning goes a long way in making your diy gift stuffing look professionally chic, even though it's totally homemade.
Volume Control: Stuffing Just Right (Not Too Much, Not Too Little)
Ever get a gift where you can barely see the actual present because it's buried under a mountain of filler? Or worse, a gift box that feels totally empty and underwhelming? Yeah, volume control is crucial in the diy gift stuffing game. You want enough filler to cushion the gift and make it look abundant, but not so much that it's overflowing or makes the gift hard to get to. A good rule of thumb is to start with a base layer of filler in your gift bag or box, place your gift on top, and then add more filler around the sides and over the top until it looks nicely nestled. You should still be able to see a hint of the gift peeking through, enticing the recipient to dig in! It's all about balance – creating that perfect visual appeal without going overboard and creating a filler avalanche.
Shredding Techniques: Get Creative with Your Cuts
Who says diy gift stuffing has to be just straight shreds? Let's get a little fancy with our shredding techniques! If you're using scissors, experiment with different cuts. Try wider strips for a chunkier, more textured look. Or go super thin for delicate, almost hair-like strands. You can even try diagonal cuts to create a fun, crinkled effect. For a really unique touch, consider mixing different types of paper and shredding styles together. Imagine combining thin, white tissue paper shreds with wider, colorful magazine strips – instant visual interest! Don't be afraid to play around and see what cool textures and patterns you can create. After all, diy gift stuffing is all about expressing your creativity, so have fun and make it your own!
Pro Tip | Description | Benefit |
|---|---|---|
Color Coordination | Match filler color to gift, occasion, or theme. | Elevates presentation, looks more polished & thoughtful. |
Volume Control | Use enough filler to cushion and look abundant, but not excessive. | Balanced visual appeal, gift is accessible and inviting. |
Creative Shredding | Experiment with different strip widths and cutting styles. | Adds unique texture and visual interest to filler. |
Wrap It Up with Wow: Your DIY Gift Stuffing Success
So there you have it! Creating your own diy gift stuffing is not only a breeze, but it's also a fantastic way to personalize your gifts and add that extra touch of thoughtfulness. Forget those generic fillers and embrace the fun of crafting something unique and budget-friendly. Whether you're shredding paper, crinkling tissue, or getting fancy with fabric scraps, your gifts are guaranteed to stand out. Go ahead, get creative and make your next gift truly unforgettable with your very own diy gift stuffing!