Table of Contents
Tired of the same old boring store-bought gift wrap? Want to add a personal touch that screams "I put thought into this!"? Let's ditch the generic and dive into the world of diy gift wrap envelope creations! This isn't just about wrapping a gift; it's about crafting an experience, even before they peek inside. Imagine handing over a beautifully handmade envelope, bursting with personality, instead of a predictable paper bag. It's easier than you think, way more impressive, and honestly, kind of fun. In this guide, we’re unwrapping all the secrets to making stunning diy gift wrap envelopes right at home. First, we’ll explore why choosing a handmade envelope makes your gift extra special. Then, we’ll gather up the simple supplies you’ll need. Ready to get crafty? We’ll walk you through a super easy step-by-step process to construct your own envelopes. But we won’t stop there! Get ready for a burst of creative ideas to seriously level up your envelope designs. Finally, we’ll brainstorm some unique ways you can use these handmade wonders beyond just gift-giving. So, grab your paper and let’s make some magic with diy gift wrap envelopes!
Why Choose a DIY Gift Wrap Envelope? Personal Touch Matters
Why Choose a DIY Gift Wrap Envelope? Personal Touch Matters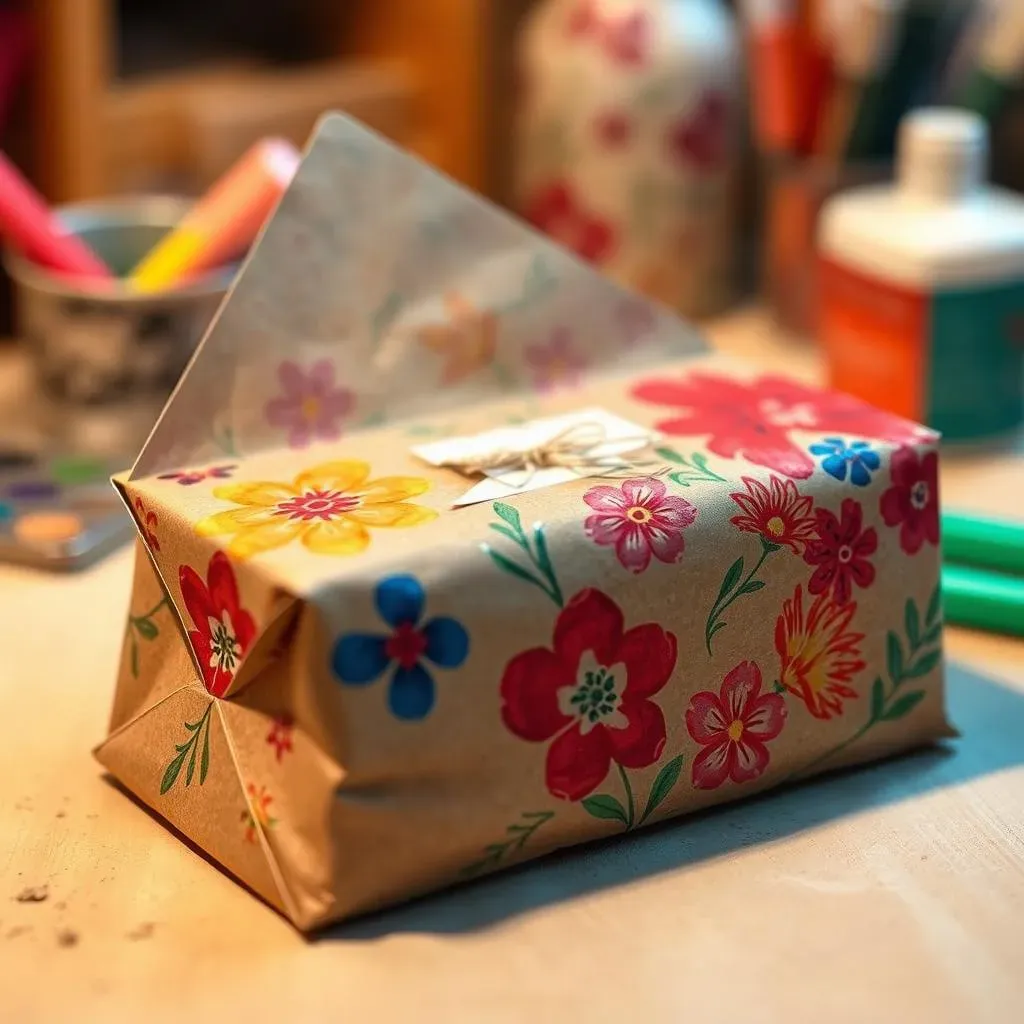
Skip the Store-Bought, Go Heart-Made
Let’s be real, store-bought gift wrap is everywhere. It's convenient, sure, but does it really say "I thought about you" ? Probably not as much as a diy gift wrap envelope. Think about it: anyone can grab a roll of generic paper at the checkout. But taking the time to craft something by hand? That’s a whole different ball game. It shows you went the extra mile, that you put in effort beyond just picking out the gift itself. That extra effort? It speaks volumes.
Plus, let's talk about standing out. In a sea of similar-looking presents, a diy gift wrap envelope instantly grabs attention. It's unique, it's different, and it hints at something special inside. It’s like saying, "Hey, this gift is one-of-a-kind, just like you." And honestly, who doesn't love feeling like their gift is the most special one under the tree or on the table?
Unleash Your Inner Artist (Yes, You Have One!)
Don't think you're crafty? Making a diy gift wrap envelope is the perfect way to prove yourself wrong! It's not about being a professional artist; it's about having fun and letting your personality shine through. Seriously, even simple designs can look amazing and feel incredibly rewarding to create. Think of it as a mini art project that also happens to be super practical and thoughtful.
And guess what? You get to totally customize it! Match the envelope to the gift, the person, the occasion – the possibilities are endless. Use their favorite colors, add a funny quote, incorporate elements related to their hobbies. This level of personalization is just impossible to achieve with pre-made wrapping. It's your chance to get creative and make something truly special, something that reflects both you and the recipient.
DIY Gift Wrap Envelope Perks | Store-Bought Wrap Drawbacks |
|---|---|
Personalized and Unique | Generic and Common |
Shows Extra Thought and Effort | Can Seem Impersonal |
Fun and Creative Activity | Just Another Task |
Cost-Effective (Use what you have!) | Recurring Expense |
Eco-Friendly and Wallet-Friendly Wins
Let’s not forget the practical side of diy gift wrap envelopes. Think about all that wrapping paper that ends up in the trash after just one use. It’s a lot! Making your own envelopes is a much more eco-conscious choice, especially if you use recycled paper or materials you already have lying around. Brown paper bags, old maps, even fabric scraps can be transformed into beautiful and unique envelopes.
Plus, it's a budget win! Gift wrap can actually add up, especially during holidays or for multiple gifts. With diy gift wrap envelopes, you’re saving money while also being kinder to the planet. It’s a win-win situation. So, ditch the guilt of wasteful wrapping and embrace the charm and practicality of handmade envelopes. Your gifts will look amazing, and you’ll feel good about it too.
MustHave Supplies for Your DIY Gift Wrap Envelope Project
MustHave Supplies for Your DIY Gift Wrap Envelope Project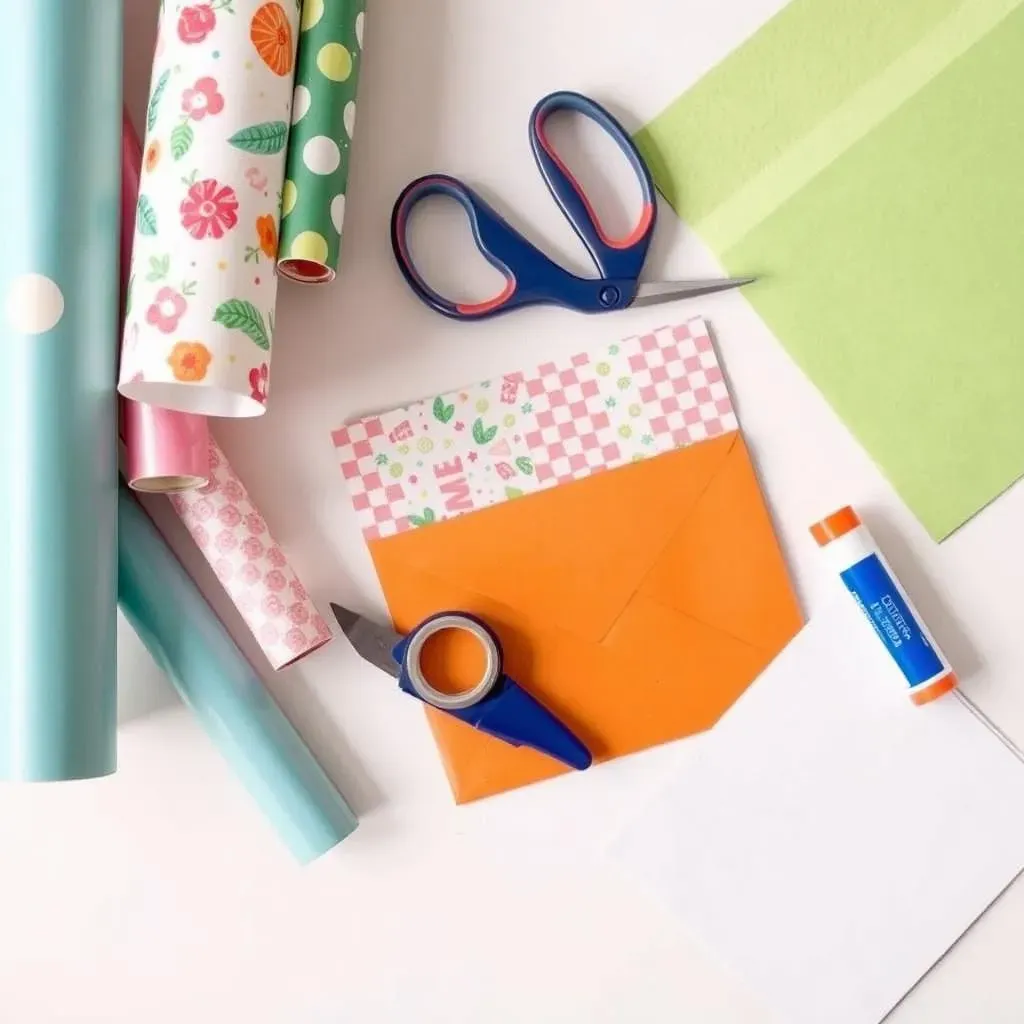
Gather Your Arsenal: Simple Tools for Envelope Success
Alright, ready to dive in and make some awesome diy gift wrap envelopes? Good news – you don’t need a craft room overflowing with fancy gadgets. For most projects, you can get started with stuff you probably already have around the house. Seriously! Think of this as your “envelope-making starter kit.” Having the right bits and pieces handy just makes the whole process smoother and way more enjoyable. Let’s break down the must-have supplies so you’re all set to create.
Paper Power: Choosing Your Envelope Base
First up, paper! This is the heart of your diy gift wrap envelope, so picking the right kind is key. Wrapping paper is an obvious choice, and it comes in a zillion colors and patterns. Scrapbook paper is another fantastic option, especially if you want something a bit thicker and more decorative. Don't underestimate the charm of brown kraft paper for a rustic or minimalist vibe. Even colored printer paper can work in a pinch, especially if you plan to jazz it up with decorations later. The thickness of the paper matters too – you want something sturdy enough to hold its shape but still easy to fold. Experiment and see what you like best!
Cutting Edge: Scissors and Trimmers
Sharp scissors are non-negotiable. Trying to cut paper with dull scissors is just asking for frustration and jagged edges. Invest in a decent pair of craft scissors, and your fingers (and your envelopes) will thank you. If you're planning on making a bunch of envelopes, or want super precise cuts, a paper trimmer is a game-changer. It's like a guillotine for paper, giving you straight, clean lines every time. Not essential, but definitely a nice-to-have, especially if you're aiming for a really polished look for your diy gift wrap envelopes.
Stick It Together: Adhesives for Envelope Assembly
To hold your diy gift wrap envelope masterpieces together, you’ll need some kind of adhesive. Double-sided tape is your best friend here. It’s clean, easy to use, and creates a strong bond without any messy glue showing. Glue sticks are another option, especially for kids or if you’re going for a more budget-friendly approach. Just be careful not to use too much, or your paper might wrinkle. For extra fancy envelopes, you could even use glue dots or decorative tape for sealing – think washi tape for a pop of color and pattern!
Supply | Why You Need It | Bonus Tip |
|---|---|---|
Paper (Wrapping, Scrapbook, Kraft) | The foundation of your envelope! | Experiment with different weights and textures. |
Sharp Scissors or Paper Trimmer | Clean, precise cuts are key. | Keep scissors sharp for best results. |
Double-Sided Tape or Glue | To assemble and seal your envelope. | Double-sided tape is cleaner and stronger. |
StepbyStep Guide: Creating Your Own DIY Gift Wrap Envelope
StepbyStep Guide: Creating Your Own DIY Gift Wrap Envelope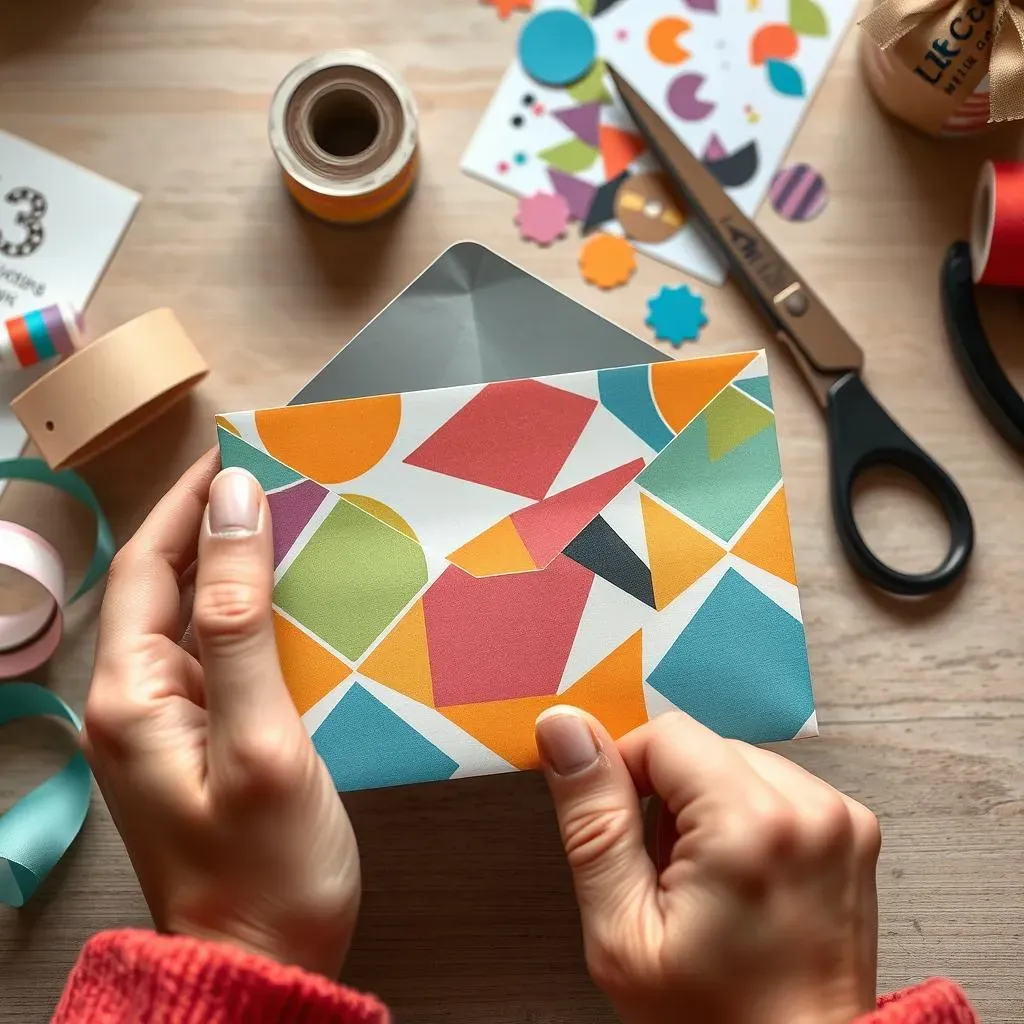
Step 1: Measure and Cut Your Paper - Size Matters!
Alright, let’s get down to actually making a diy gift wrap envelope! First things first: size. Think about what you're planning to put inside. A gift card? Cash? Small trinkets? Your envelope needs to be big enough to hold your gift comfortably, but not so huge that it looks empty. A good starting point is to take your gift and place it on your chosen paper. Now, roughly estimate how much paper you’ll need to wrap around it, leaving some extra for folding and sealing.
For a standard rectangular envelope shape, you’ll want to cut a square or rectangle of paper. If you're using a square, it's super easy – just fold corner to corner! For a rectangle, the longer sides will become the sides of your envelope. Don’t stress too much about perfect measurements at this stage; you can always trim later. Just get a decent sized piece to work with. Pro tip: for your first try, maybe use a slightly larger piece of paper than you think you need – it’s always easier to trim down than to add more paper!
Step 2: Folding Magic - Turning Paper into a Pocket
Now for the fun part: folding! This is where your flat piece of paper starts to magically transform into a diy gift wrap envelope. Lay your paper face down on a flat surface. If you started with a square, bring one corner up and fold it towards the center, but not exactly to the center. You want to create the bottom flap of your envelope. Do the same with the opposite corner. These two folded flaps should slightly overlap in the middle. For the side flaps, fold the remaining two sides inwards, overlapping the bottom flaps you just made.
If you are working with a rectangular piece of paper, the process is similar. Imagine the rectangle is oriented vertically. Fold the bottom edge up, about a third of the way, to create the bottom flap. Then fold the top edge down, overlapping the bottom flap slightly. Finally, fold in the left and right sides to create the side flaps, again overlapping the bottom and top flaps. Crease all your folds sharply to make your envelope crisp and neat. A bone folder or even the edge of a ruler can help you get really sharp creases. Take your time with the folds – neat folds make a neater envelope!
Step 3: Seal and Embellish - The Finishing Flourish
Almost there! Your diy gift wrap envelope is taking shape. Now it’s time to secure those flaps and add a little pizzazz. Using your double-sided tape (or glue), apply adhesive to the inside edges of the side flaps and the bottom flap. Carefully fold the top flap down and press firmly to seal the envelope. Make sure everything lines up nicely. Give it a good press to ensure the adhesive sticks properly. And just like that, you have a basic envelope!
But why stop at basic? This is where you can really let your creativity shine! Grab those decorations you gathered. Ribbons, stickers, stamps, washi tape, glitter – go wild! Tie a ribbon around your envelope, add a cute sticker to seal the top flap, stamp a design on the front, or use washi tape to create colorful borders. You can even write the recipient's name or a short message directly on the envelope. The possibilities are endless. This is your chance to make your diy gift wrap envelope truly unique and special. So have fun and make it your own!
Step | Action | Tip |
|---|---|---|
1. Measure & Cut | Cut paper square or rectangle. | Start slightly larger, trim later. |
2. Fold | Fold flaps to create envelope shape. | Crease folds sharply for neatness. |
3. Seal & Embellish | Adhere flaps, decorate to personalize. | Get creative with decorations! |
Creative Ideas to Elevate Your DIY Gift Wrap Envelope Designs
Creative Ideas to Elevate Your DIY Gift Wrap Envelope Designs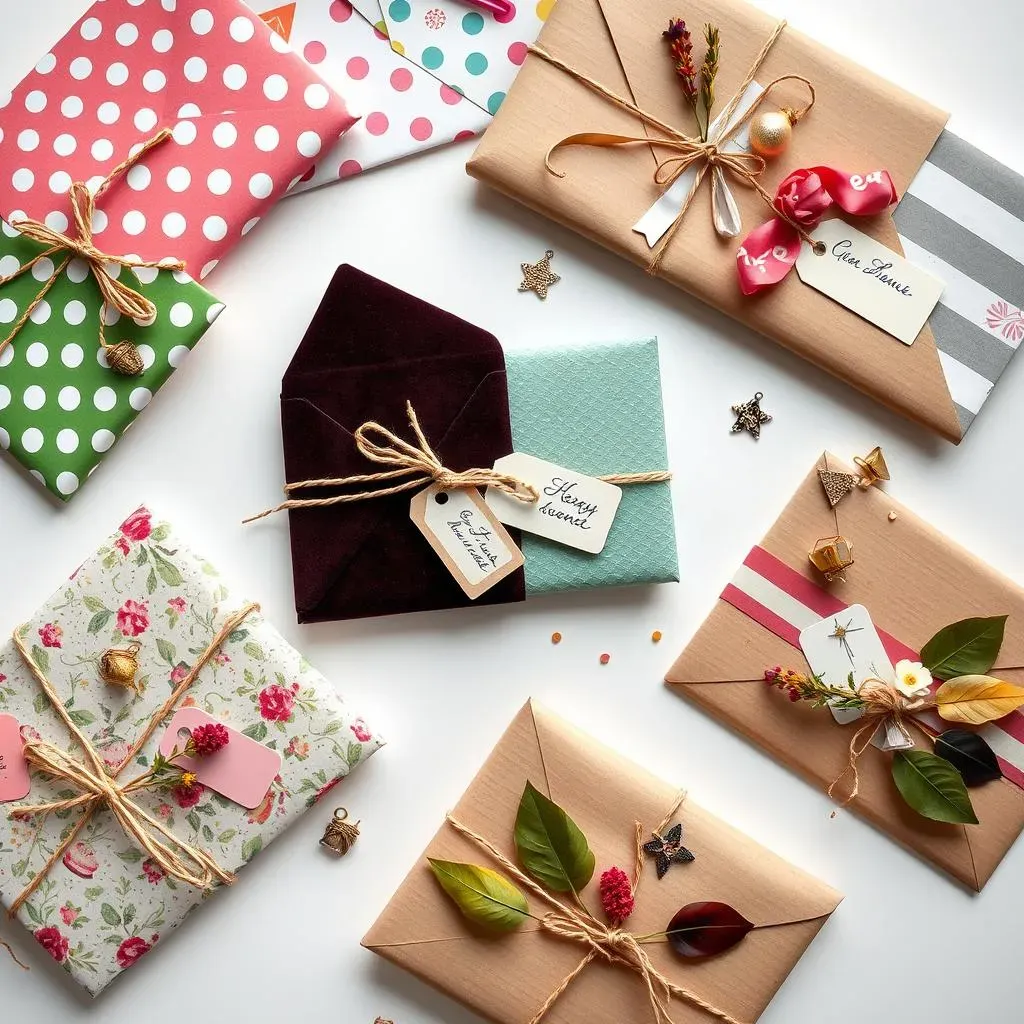
Pattern Play: Unleash the Power of Prints and Textures
so you've mastered the basic diy gift wrap envelope. Awesome! But now, let's crank up the style factor. One of the easiest ways to do this is by playing with patterns and textures. Think beyond plain paper! Grab some paper with cool prints – polka dots, stripes, florals, geometric designs – anything that catches your eye. Scrapbook paper aisles are goldmines for this stuff. Don't just stick to printed paper, though. Texture adds a whole new dimension. Embossed paper, textured cardstock, even fabric scraps can create seriously stunning envelopes. Imagine a velvet envelope for a super luxe gift? Or a kraft paper envelope with subtle embossed details for a rustic-chic vibe? Texture and pattern are your secret weapons for taking your envelopes from simple to sensational.
Want to get even more creative? Combine patterns and textures! Use a patterned paper for the main envelope and then add a textured flap in a contrasting color. Or use different textured papers for different parts of the envelope to create layers and visual interest. You can even create your own patterns! Use stamps, stencils, or even freehand draw designs onto plain paper before you fold your envelope. Get experimental! The beauty of diy gift wrap envelope designs is that you're in control. Don't be afraid to mix and match and see what amazing combinations you can come up with.
Embellishment Extravaganza: Adding Those Wow Factors
Alright, patterns and textures are just the beginning. Let's talk embellishments! This is where you can really inject personality and flair into your diy gift wrap envelope designs. Ribbons are a classic for a reason. Tie a simple satin ribbon around your envelope for elegance, or use twine or raffia for a more rustic feel. Bows, charms, and tags are also fantastic additions. Attach a small charm that relates to the gift or the recipient – a tiny key for a housewarming gift, a miniature book for a book lover. Tags are perfect for adding a handwritten message or the recipient's name in a fancy font. Don't forget about stickers! Fun, quirky, elegant – stickers come in every style imaginable and are a super easy way to add a pop of personality.
For a touch of sparkle, consider glitter (sparingly, unless you want glitter-bombs!), sequins, or rhinestones. Metallic pens and markers are great for adding elegant lettering or drawing delicate designs. Dried flowers, pressed leaves, or small sprigs of greenery can bring a natural, organic element to your envelopes. Get inspired by the season or the occasion! Use holiday-themed embellishments for Christmas or birthday-themed decorations for birthday gifts. The key is to think about what will make your diy gift wrap envelope feel extra special and tailored to the person receiving it. A little embellishment goes a long way in creating a truly memorable presentation.
Embellishment Idea | Style Vibe | Best For |
|---|---|---|
Satin Ribbon | Elegant, Classic | Formal Gifts, Special Occasions |
Twine or Raffia | Rustic, Natural | Handmade Gifts, Casual Occasions |
Charms & Tags | Personalized, Thoughtful | Any Gift, Adds a Special Touch |
Stickers & Washi Tape | Fun, Playful, Colorful | Kid's Gifts, Casual Gifts, Everyday |
Glitter & Sequins | Glamorous, Festive | Celebrations, Parties (Use Sparingly!) |
Dried Flowers & Leaves | Natural, Organic, Delicate | Nature Lovers, Romantic Gifts |
Beyond Basic: Unique Uses for Your Handmade DIY Gift Wrap Envelopes
Beyond Basic: Unique Uses for Your Handmade DIY Gift Wrap Envelopes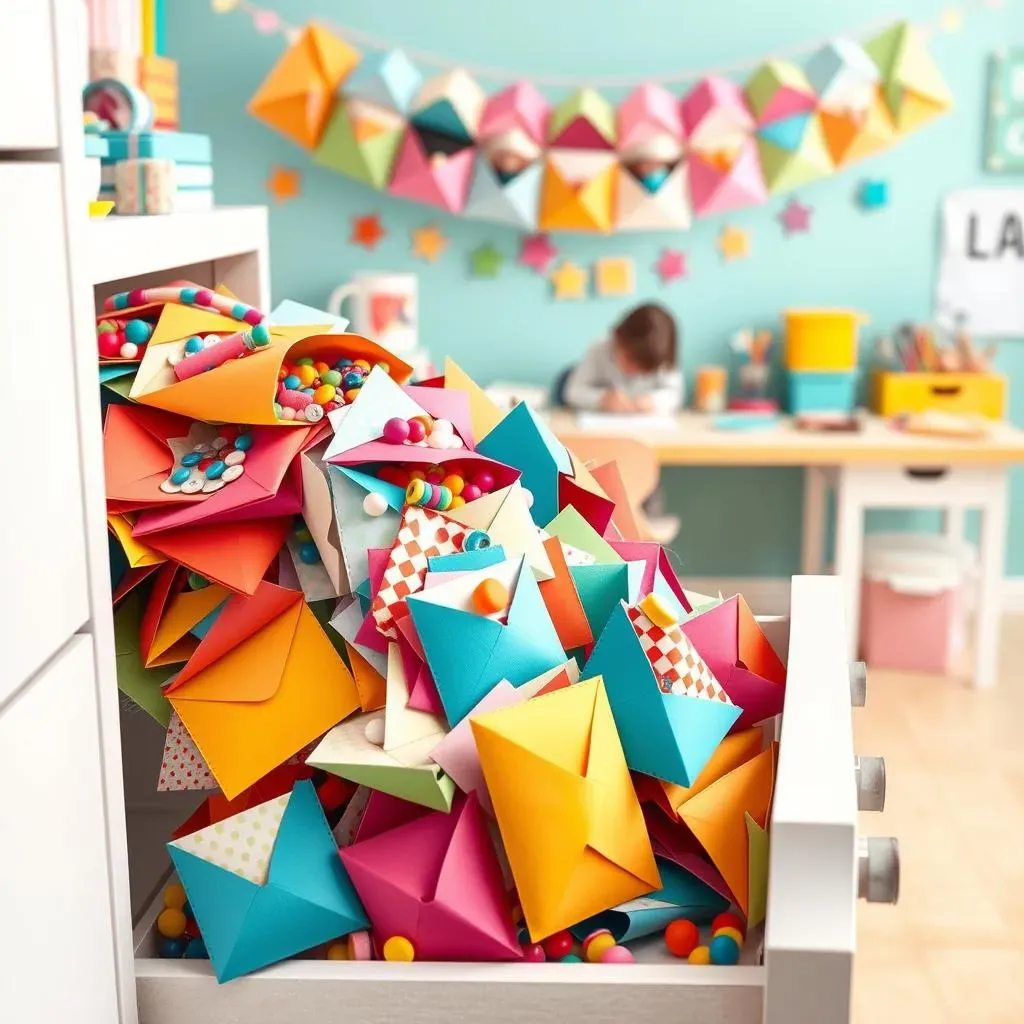
Organization Station: Envelopes Beyond Gifts
so you've got a stack of gorgeous diy gift wrap envelopes. But hold on, their talents extend way beyond just holding birthday cash! Think about it – these little paper pockets are organizational superheroes in disguise. Need to tame that unruly drawer of coupons? Boom, envelope organizers! Got a million tiny beads or buttons threatening to take over your craft space? Envelopes to the rescue! They are perfect for sorting seeds for the garden, keeping track of receipts, or even organizing different types of screws and nails in the garage. Seriously, once you start using them for organization, you'll wonder how you ever lived without them.
And it’s not just about function; it’s about style too. Ditch those boring plastic containers and bring some personality to your organization game. Imagine opening a drawer and seeing a rainbow of patterned envelopes instead of a jumbled mess. Suddenly, even chores feel a little more cheerful! Plus, because you made them yourself, you can customize the size and style to perfectly fit whatever you’re organizing. Label them with pretty markers or create a whole filing system – the possibilities are as endless as your imagination. DIY gift wrap envelopes aren't just pretty faces; they're practical powerhouses!
Party Perfect: Envelopes as Event Essentials
Planning a party? Guess what – diy gift wrap envelopes are secret weapons for event awesomeness! Forget generic party favor bags, create mini envelopes to hold treats, small toys, or personalized notes for your guests. They instantly elevate the whole vibe and feel way more thoughtful than store-bought plastic trinkets. Think weddings, birthdays, baby showers – any celebration gets a boost of charm with handmade envelopes. Use elegant paper for sophisticated events or go wild with bright colors and fun patterns for kids' parties. Match them to your theme, add personalized tags, and you’ve got party favors that guests will actually appreciate (and maybe even want to keep!).
But party favors are just the beginning. DIY gift wrap envelopes are also amazing for invitations! Imagine receiving a beautifully crafted envelope in the mail, hinting at the special event to come. It sets the tone right from the start and makes guests feel extra special. Use calligraphy for elegant wedding invites or create fun, playful designs for birthday parties. You can even include little extras inside the invitation envelopes, like confetti, pressed flowers, or small charms related to the event. It’s all about creating an experience and making your event unforgettable, starting from the moment your guests open their invitations.
Unique Use | Benefit | Example |
|---|---|---|
Organization | Stylish, Customized Storage | Coupon organizers, seed packets, craft supply sorting |
Party Favors | Personalized, Thoughtful Treats | Wedding favors, birthday treats, baby shower gifts |
Crafting Canvas: Envelopes in Creative Projects
Calling all crafters! DIY gift wrap envelopes aren't just the end product; they can be the starting point for even more creative adventures. Think of them as blank canvases ready to be transformed. Use them as pages in mini albums or journals. Bind a bunch together to create a unique scrapbook or travel journal. Decorate the envelopes themselves with photos, drawings, and mementos to tell a story. They’re also fantastic for collage projects. Cut them up, layer them, combine them with other paper scraps, and create mixed media masterpieces. The different textures and patterns of your envelopes will add depth and interest to your artwork.
And for the seriously crafty, consider using diy gift wrap envelopes in larger projects. Create envelope advent calendars for Christmas, where each envelope holds a daily treat or activity. Make envelope garlands or banners for party decorations. Use them as pockets in fabric projects, adding hidden compartments to bags or organizers. Get really ambitious and try making an entire dress or piece of wearable art out of intricately folded envelopes (okay, maybe that’s a bit extreme, but you get the idea!). The point is, don’t limit yourself to just using envelopes as envelopes. They are versatile building blocks for all sorts of amazing creative endeavors. So grab your paper, scissors, and glue, and let your imagination run wild!
Wrapping It Up: Your DIY Gift Wrap Envelope Journey
So there you have it! From ditching dull store-bought wrapping to crafting personalized treasures, you're now equipped to conquer the world of diy gift wrap envelopes. It's not just about saving a few bucks on wrapping paper; it’s about injecting your personality, showing you care, and making even the smallest gift feel incredibly special. Whether you go minimalist chic or full-on glitter bomb, your handmade envelopes are guaranteed to impress. Now, go forth, get creative, and let your gifts speak volumes before they're even opened!