Table of Contents
Is your gift wrap situation less "gift-giving guru" and more "gift wrap explosion"? We've all been there, knee-deep in crumpled paper, tangled ribbons, and rolls that seem to multiply in the dark corners of closets. It's time to ditch the chaos and embrace calm with some seriously clever DIY gift wrap storage solutions. This isn't about spending a fortune on fancy organizers; it's about using what you have and getting a little crafty to create a gift wrap station that's as functional as it is fabulous. Ready to transform your wrapping woes into wrapping wins? This guide will walk you through budget-friendly, space-saving DIY gift wrap storage ideas that will tame the paper tiger and have you wrapping like a pro in no time. From repurposing household items to simple weekend projects, we’ll cover it all, ensuring you find the perfect DIY gift wrap storage solution to suit your space and style.
Tired of Tangled Rolls? The Need for DIY Gift Wrap Storage
Tired of Tangled Rolls? The Need for DIY Gift Wrap Storage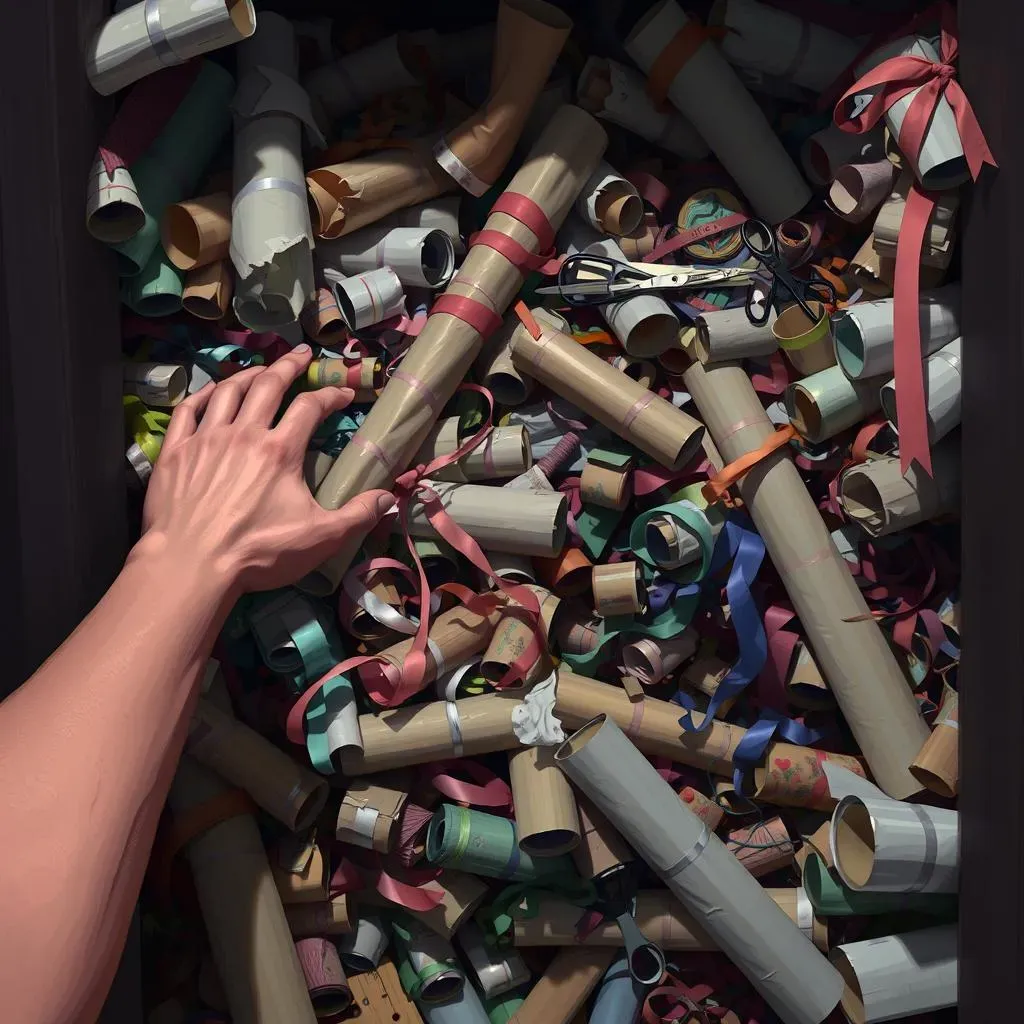
The Gift Wrap Struggle is Real
Let's be honest, gift wrapping can be fun, but the storage of gift wrap? Not so much. It usually ends up a chaotic mess, right? You shove rolls into the back of a closet, ribbons become a tangled nightmare, and you can never find scissors when you need them. Sound familiar? This disorganization isn't just annoying; it's actually costing you time and money. Think about it: how often have you bought *another* roll of wrapping paper because you couldn't find the half-used one from last year? Or worse, wrestled with crumpled, ripped paper that's no longer gift-worthy?
It's a common problem, and you're definitely not alone if your gift wrap storage situation is less than ideal. But imagine a world where your wrapping supplies are neatly organized, easily accessible, and maybe even…dare I say…a little bit stylish? That's the dream, and with a bit of DIY spirit, it's totally achievable. We're talking about reclaiming your closet space, saving money by actually using what you already have, and making gift wrapping a genuinely enjoyable part of the gift-giving process, not a dreaded chore.
Why Organized Gift Wrap Storage Matters
Beyond just decluttering, having a proper DIY gift wrap storage system is a game-changer. Think about the time you'll save! No more frantic rummaging through piles of paper just minutes before a birthday party. Everything will be right where you need it, when you need it. Plus, organized storage actually protects your supplies. Wrapping paper stays smooth and crease-free, ribbons don't get tangled beyond recognition, and you'll be able to see exactly what you have on hand, preventing unnecessary purchases. It's about maximizing efficiency and minimizing stress, all while adding a touch of order to what can often be a hectic season of gift-giving.
DIY Solutions: Tailored to Your Space and Style
The best part about DIY gift wrap storage is that it's completely customizable. Whether you have a sprawling craft room or a tiny apartment closet, there's a solution out there for you. And you don't need to be a master crafter to pull these ideas off! We're talking simple, practical projects that anyone can tackle, often using items you probably already have around the house. From repurposing cardboard boxes and garment bags to creating wall-mounted organizers and under-bed storage, the possibilities are endless. It's all about getting creative and finding smart ways to utilize your existing space and resources to conquer that gift wrap chaos once and for all. Ready to dive into some specific DIY ideas? Let's get started!
Unleash Your Inner Organizer: Genius DIY Gift Wrap Storage Ideas
Unleash Your Inner Organizer: Genius DIY Gift Wrap Storage Ideas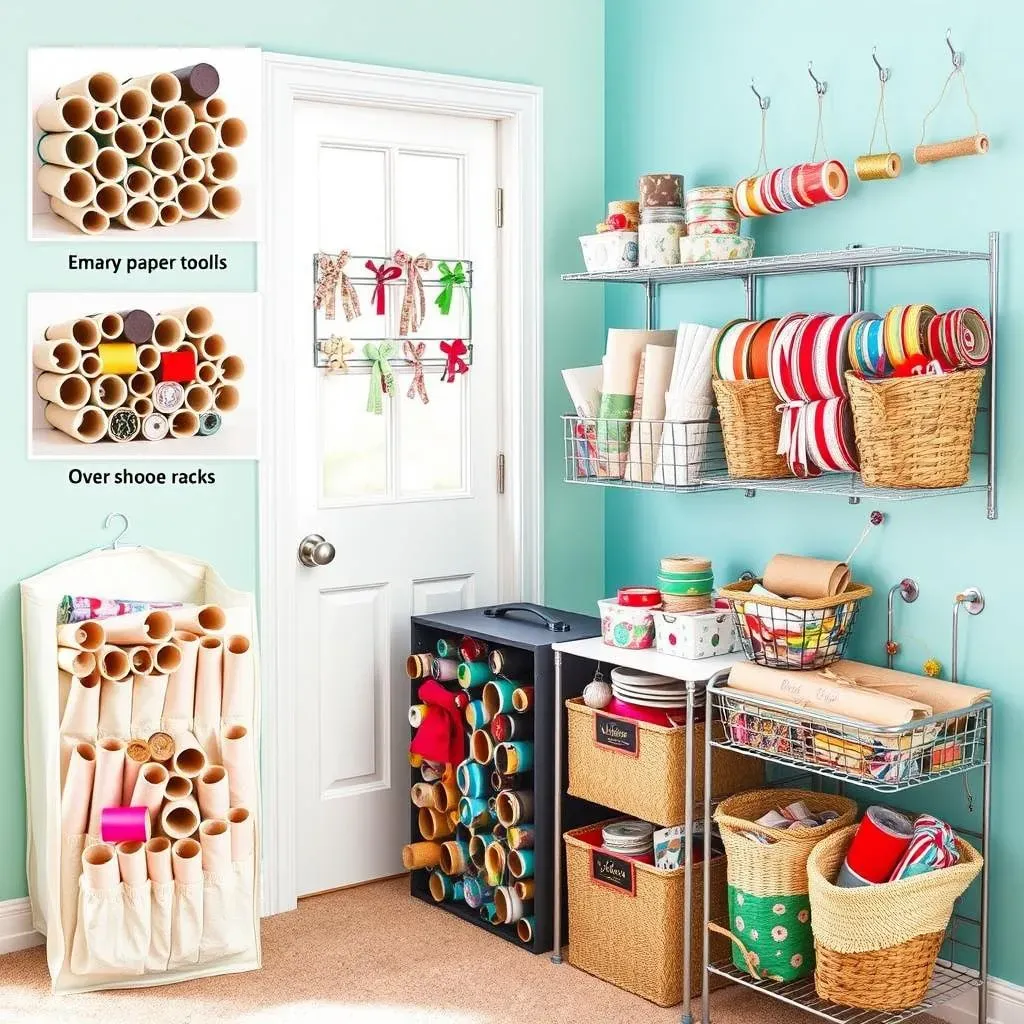
Repurpose and Reimagine: Everyday Items to the Rescue
Seriously, you already have a treasure trove of potential gift wrap organizers hiding in plain sight! Think about it: empty paper towel rolls are perfect for keeping individual wrapping paper rolls from unfurling. Shoe boxes, especially the sturdy ones from nicer shoes, become instant storage containers for smaller rolls, ribbons, tags, and bows. Even old garment bags, hanging in your closet unused, are begging to be repurposed into vertical gift wrap organizers – just add cardboard tubes inside to give them structure and slide in your rolls. Before you head to the store to buy anything, take a look around your house. You'll be amazed at what you can repurpose with a little imagination.
One of my favorite super simple hacks? Use binder clips to keep wrapping paper rolls neatly closed. No more runaway rolls springing open and getting crinkled! And for ribbons? Those over-the-door organizers meant for shoes? Flip one sideways, and the pockets become perfect for stashing ribbon spools – you can even sort them by color or type. It's all about looking at everyday items with a fresh perspective and seeing their organizational potential. You're not just decluttering; you're giving these items a second life and saving money in the process.
Vertical Victory: Wall-Mounted and Hanging Solutions
When floor and closet space is precious, going vertical is your best bet for DIY gift wrap storage. Consider mounting a wire shelving unit on a wall in your craft room, garage, or even the back of a closet door. These are fantastic for stacking rolls of wrapping paper horizontally, and you can add baskets or bins on the shelves for ribbons and other supplies. Another brilliant idea? Repurpose a spice rack! The tiered shelves are perfectly sized for holding rolls of ribbon and twine, keeping them visible and easily accessible. Plus, it looks pretty darn cute, too.
For a super easy hanging solution, grab some sturdy hooks and attach them to a wall or inside a closet door. Then, simply thread twine or ribbon through the center of your wrapping paper rolls and hang them from the hooks. Voila! Instant vertical storage that takes up zero floor space. You can even get fancy and use decorative hooks to add a touch of style. The key is to think upwards and utilize wall space that often goes unused. It’s a game-changer for small spaces and keeps everything visible and within reach.
BudgetFriendly DIY Gift Wrap Storage: Saving Space and Money
BudgetFriendly DIY Gift Wrap Storage: Saving Space and Money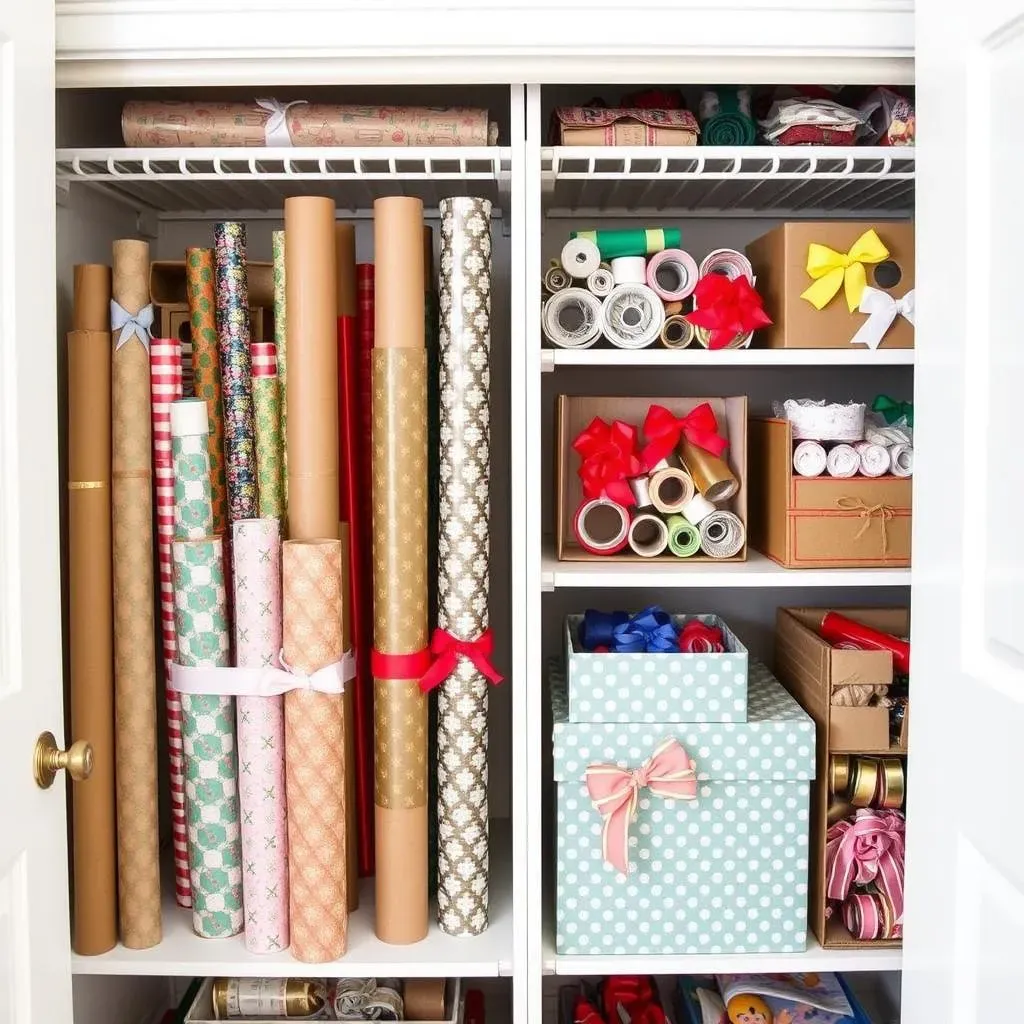
Wallet-Friendly Wrapping Wonders
Let's talk about the sweet spot: DIY gift wrap storage that doesn't break the bank. Because honestly, who wants to spend a ton of money organizing something that's meant to *save* you money in the long run? The good news is, you absolutely don't have to. Budget-friendly DIY gift wrap storage is totally within reach, and it's all about smart material choices and a little bit of resourcefulness. Think less fancy контейнеры and more clever repurposing. We're diving into ideas that utilize everyday items, dollar store steals, and maybe just a touch of craftiness to create storage solutions that are as kind to your wallet as they are to your closet space.
Clever DIY Gift Wrap Storage Hacks for Every Home
Clever DIY Gift Wrap Storage Hacks for Every Home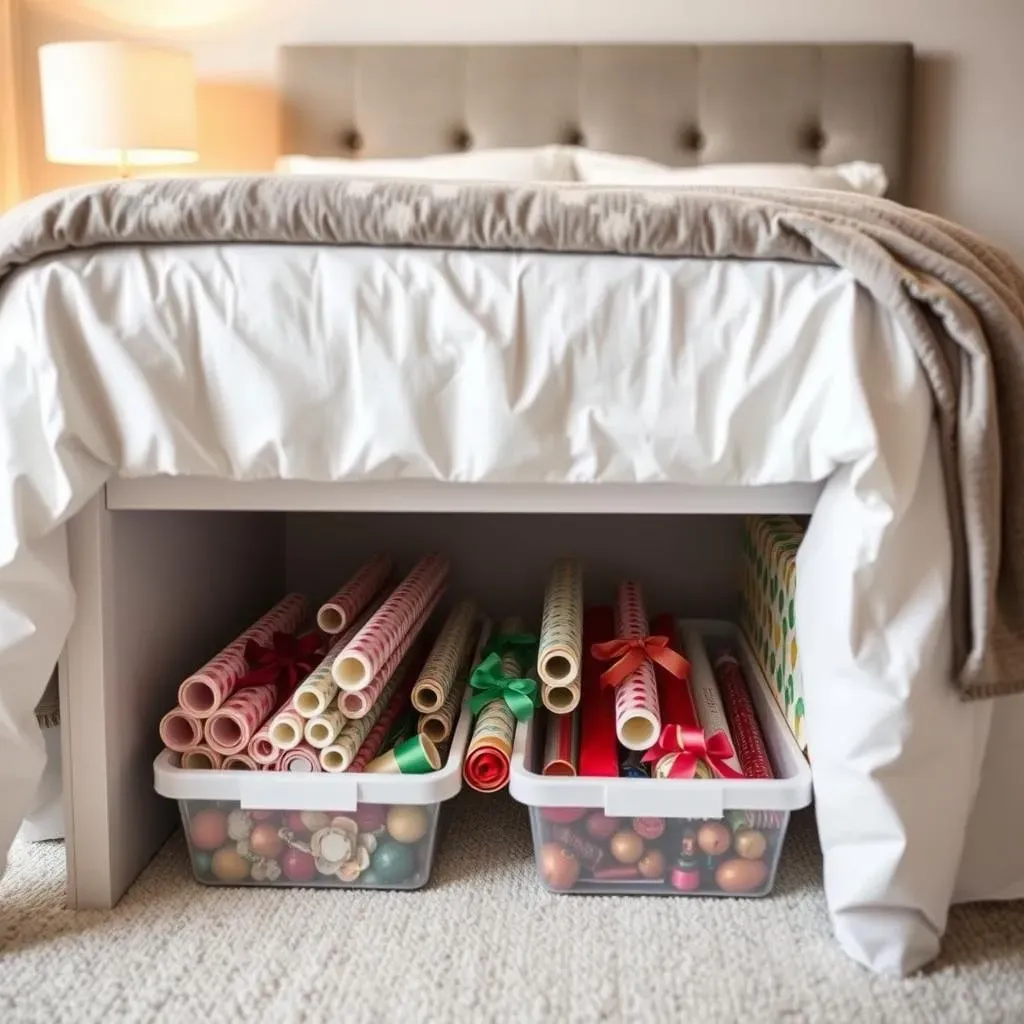
Under-Bed Gift Wrap Oasis
Limited closet space? Look no further than under your bed! That often-neglected area is prime real estate for DIY gift wrap storage. Grab some shallow plastic storage bins – the kind designed to slide under beds – and you've got instant, out-of-sight storage. Line up your wrapping paper rolls, tuck in ribbons and bows, and slide those bins under the bed. It’s like a secret gift wrap hideaway, easily accessible when you need it but completely hidden when you don't. Plus, it keeps everything dust-free and protected from getting squished in a crowded closet. Seriously, under-bed storage is a game-changer for small spaces.
For extra credit, measure the space under your bed and get bins that maximize the available area. Clear bins are especially helpful because you can see what's inside without having to pull them all the way out. If you want to get really fancy, add dividers inside the bins to keep different types of wrapping paper or supplies separated. Think cardboard cutouts or even repurposed cereal boxes. Suddenly, that awkward under-bed space becomes a super organized and totally genius DIY gift wrap storage solution. Who knew?
Door-Mounted Delight: Back-of-the-Door Magic
Don't forget about the backs of your doors! They are vertical storage ninjas just waiting to be utilized for clever DIY gift wrap storage. Over-the-door organizers aren't just for shoes or toiletries; they are surprisingly versatile for wrapping supplies. Choose one with clear pockets, and you can easily see all your ribbons, bows, tags, and even smaller rolls of wrapping paper. Hang it on a closet door, pantry door, or even the back of a bedroom door. It’s instant vertical storage that keeps everything visible and accessible, freeing up valuable shelf and floor space. Plus, it’s incredibly easy to set up – no tools required!
Another door-mounting trick? Install a few rows of hooks on the back of a door and use them to hang rolls of wrapping paper vertically with twine or ribbon loops. This works especially well for longer rolls and creates a visually appealing display (if you're into that sort of thing). You can even dedicate different rows of hooks to different types of wrapping paper – holidays, birthdays, general occasions. Back-of-the-door storage is all about maximizing often-overlooked space and keeping your gift wrap supplies organized and within easy reach. It’s a simple hack with a big impact on clutter control.
Your Complete Guide to Creating the Perfect DIY Gift Wrap Storage Station
Your Complete Guide to Creating the Perfect DIY Gift Wrap Storage Station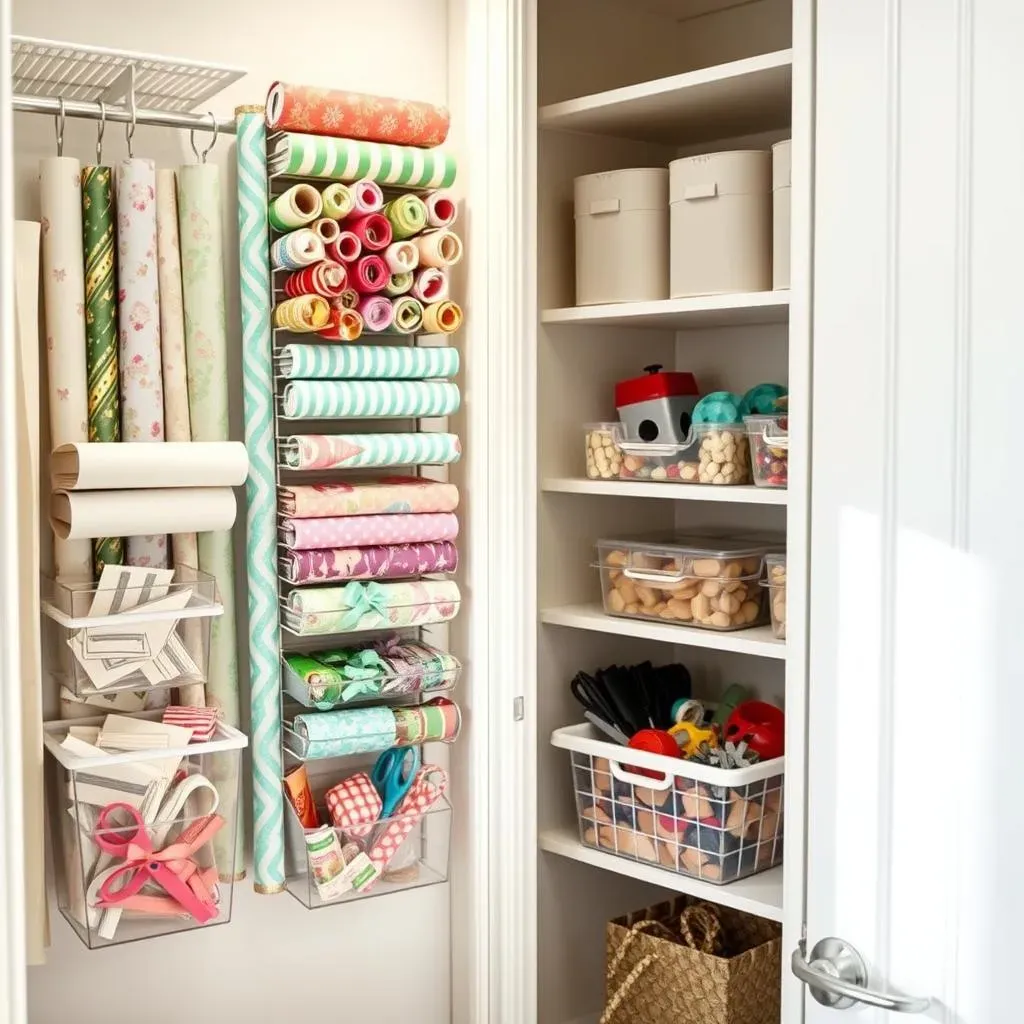
Assess Your Space and Supplies: The Foundation of Your Station
Alright, so you're ready to build the ultimate DIY gift wrap storage station? Awesome! But hold your horses before you start grabbing cardboard boxes. First things first: take a good, hard look at your space and your current gift wrap situation. Seriously, it's like decluttering 101 – you gotta know what you're working with. Where are you planning to stash this organizational masterpiece? Closet? Corner of a room? Under the bed? Knowing your real estate is key. Then, wrestle all your wrapping paper, ribbons, bows, and tags into one spot. Yes, *all* of it. This inventory check is crucial. No point in building a station that’s too small (or ridiculously oversized) for your needs.
Think of it like planning a mini home renovation, but for gift wrap. Measure your available space – height, width, depth. Jot it down. Then, sort through your supplies. How many rolls of paper do you actually have? Are you a ribbon hoarder (no judgment, I might be too)? Do you have a mountain of gift bags taking up space? Categorize it all – paper, ribbons, bows, bags, tools. This assessment will guide your DIY choices and ensure your final gift wrap storage station is perfectly tailored to *your* stuff and *your* space. No generic solutions here, we're going bespoke, baby!
- Measure your designated storage space (closet, under bed, etc.).
- Gather ALL your wrapping supplies in one place.
- Inventory your wrapping paper rolls (count them!).
- Assess your ribbon, bow, and tag collection.
- Consider any tools you want to store (scissors, tape, etc.).
Setting Up for Success: Assembling Your DIY Gift Wrap Station
you've done your recon, you know your space and your stash. Now for the fun part: actually building your DIY gift wrap storage station! Remember all those genius ideas we talked about? Time to pick and choose what works best for you. If you're short on space, vertical solutions are your friend – wall-mounted organizers, back-of-door systems, repurposed garment bags. If you've got more floor space, under-bed bins or rolling carts might be ideal. Don't be afraid to mix and match ideas! Maybe a wall-mounted paper roll holder combined with under-bed storage for bags and bows? Get creative and customize it to your heart's content.
As you're setting up, think about accessibility. You want to actually *use* this organized station, right? So, make sure your most frequently used items are easily reachable. Consider clear containers or labels so you can quickly see what's where. And pro-tip: keep your wrapping tools – scissors, tape, pens – right there in your station. No more frantic searches when wrapping time strikes! A well-organized DIY gift wrap storage station isn't just about tidiness; it's about making gift wrapping easier, faster, and maybe even a little bit enjoyable. Who knows, you might actually start *looking forward* to wrapping presents. maybe that's a stretch, but it'll definitely be less of a headache!
DIY Station Element | Organization Tip |
|---|---|
Wrapping Paper Rolls | Vertical storage, individual slots (tubes, dividers), binder clips |
Ribbons & Twine | Spool organizers (spice racks, dowels), clear bins, divided drawers |
Bows & Tags | Shallow boxes, clear containers, labeled drawers or pockets |
Tools (Scissors, Tape) | Dedicated caddy or small container within the station, drawer organizer |
Wrap It Up: Your DIY Gift Wrap Storage Journey
So, there you have it – a treasure trove of DIY gift wrap storage ideas to banish the clutter and bring order to your wrapping supplies. No more wrestling with rogue rolls or digging through mountains of paper. Whether you opted for a repurposed garment bag, a clever closet door organizer, or a stylish under-bed solution, you're now equipped to tackle gift-giving occasions with ease and maybe even a little joy. Remember, the best DIY gift wrap storage is one that works for *you* and your space. Get creative, have fun with it, and enjoy the bliss of a beautifully organized wrapping station. Happy wrapping!