Table of Contents
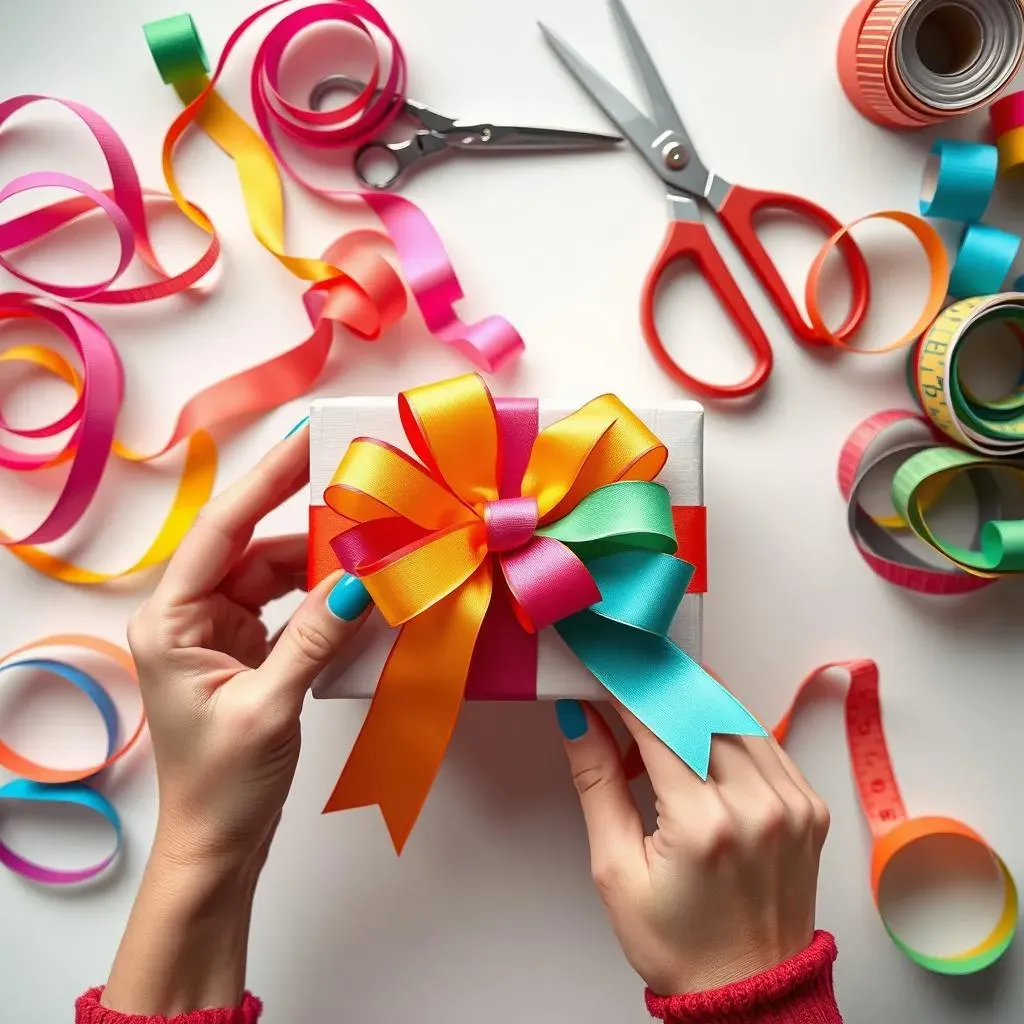
Tired of those generic, store-bought bows that flatten in transit and lack personality? Want to add a touch of handmade charm and impress your gift recipients? Then you've come to the right place! Forget those flimsy ribbons and embrace your inner craft enthusiast because we're diving deep into the delightful world of diy gift wrapping bows. This isn't just about sticking a pre-made bow on a present; it's about crafting something special, something that screams "I put thought into this!" Ready to ditch the predictable and unleash your creativity? In this guide, we'll explore a treasure trove of tutorials, from super simple bows you can whip up in minutes to more elaborate designs that will seriously wow. We'll uncover the best materials to use for unique and eye-catching bows and share pro tips that will make your DIY creations look professionally made. So, grab your scissors and let's transform your gift wrapping game with stunning, personalized diy gift wrapping bows that are guaranteed to make any present extra special.
Unleash Your Inner Artist: Mastering DIY Gift Wrapping Bows
Unleash Your Inner Artist: Mastering DIY Gift Wrapping Bows
Beyond the Basic Bow: Why DIY?
Let's be real, store-bought bows are fine, totally functional. But where's the fun in "fine"? Gift-giving should be an experience, from picking out the perfect present to that final flourish of wrapping. And that's where diy gift wrapping bows step in to seriously elevate your game. It's about injecting your personality, your style, your *you-ness* into every single detail. Think of it as taking your gift from "nice" to "wow, they really thought of everything!"
Mastering diy gift wrapping bows isn't just about saving a few bucks (though that's a sweet bonus, let's be honest). It's about unleashing your inner artist! Seriously, who knew crafting bows could be so… liberating? You get to play with colors, textures, materials – the possibilities are genuinely endless. It's like mini-art projects that happen to make your gifts look amazing. Plus, there's that undeniable satisfaction of saying, "Yeah, I made that," when someone compliments your stunning gift presentation. Trust me, the feeling is addictive.
- Personalized Touch: Make bows that perfectly match the recipient and occasion.
- Endless Creativity: Explore different materials, colors, and styles.
- Impressive Presentation: Elevate your gift-wrapping from ordinary to extraordinary.
- Cost-Effective: Often cheaper than buying pre-made bows, especially for bulk gifting.
- Sense of Accomplishment: Enjoy the satisfaction of creating something beautiful by hand.
From Basic to Boujee: StepbyStep DIY Gift Bow Tutorials
From Basic to Boujee: StepbyStep DIY Gift Bow Tutorials
The 5-Minute Wonder: Classic Ribbon Bow
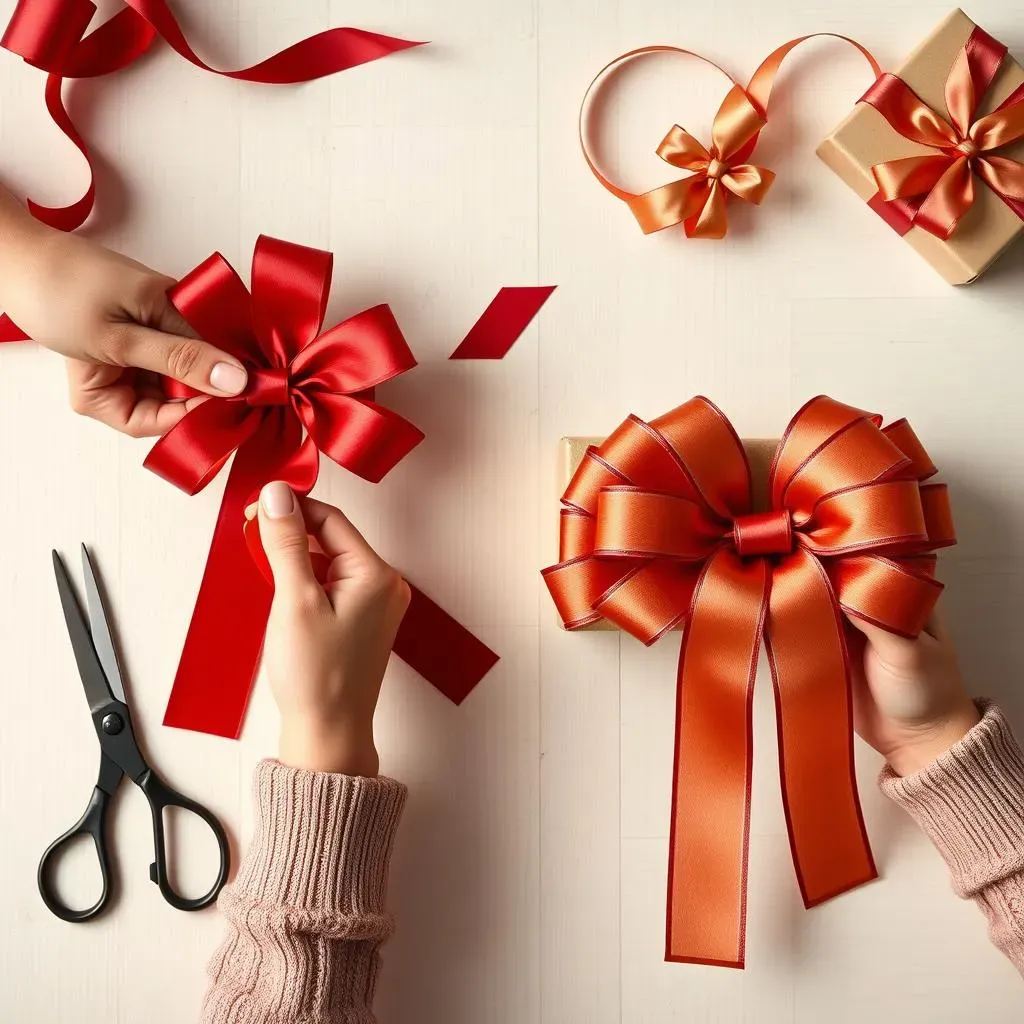
Alright, let's kick things off with the absolute OG of diy gift wrapping bows: the classic ribbon bow. Seriously, if you need a bow in, like, five minutes flat, this is your jam. You probably already know the drill, but let's break it down just in case. Grab your favorite ribbon – satin, grosgrain, even curling ribbon works – and get ready to loop and swoop your way to bow perfection. Think of it as tying your shoelaces, but for presents! It's all about creating loops, layering them, and cinching that center. Don't stress about making it perfect on your first try; even slightly wonky handmade bows have charm. Plus, practice makes perfect, and soon you'll be churning these out like a bow-making machine.
For this super simple bow, you just need ribbon and scissors. Cut a length of ribbon, make a loop, then another, and another, holding the center as you go. Once you've got a few loops, snip the end and use a shorter piece of ribbon to tie around the middle, creating that classic bow shape. Fluff it up, trim the tails at an angle if you’re feeling fancy, and boom! Instant gift upgrade. Seriously, it's so easy, it's almost ridiculous. But hey, sometimes simple is exactly what you need, especially when you've got a mountain of gifts to wrap. This classic diy gift wrapping bow is your speedy, stylish solution.
Bow Type | Difficulty | Materials | Time |
|---|---|---|---|
Classic Ribbon Bow | Easy | Ribbon, Scissors | 5 minutes |
Level Up: The Fluffy Boutique Bow
classic ribbon bow mastered? Awesome. Now, let's crank up the volume and dive into something a little more… *boujee*. Enter the fluffy boutique bow! These are those bows that look like they came straight from a fancy gift shop, all voluminous and impressive. But guess what? You can totally make them yourself, and it's not nearly as hard as you might think. The secret ingredient here is layering and a slightly different looping technique. Instead of just simple loops, we're going to create figure eights and multiple layers to build up that incredible fluffiness. Think of it like leveling up your bow game from beginner to intermediate. You'll need a bit more ribbon and maybe a touch more patience, but the payoff is a seriously stunning diy gift wrapping bow that will make any gift look extra special.
To achieve that boutique bow look, you'll want to use wired ribbon; it holds its shape like a dream. Start by making a center loop, then twist and create loops on either side, forming a figure-eight pattern. Keep layering these loops, making them slightly larger as you go outwards. The wired edge lets you shape and manipulate the loops to get that perfect, full, and fluffy effect. Secure it all in the center with wire or ribbon, and prepare to be amazed at your transformation from basic bow maker to boutique bow boss. These diy gift wrapping bows are perfect for occasions when you really want to make a statement – birthdays, holidays, or just because you’re feeling extra generous.
Creative Materials for Unique DIY Gift Wrapping Bows
Creative Materials for Unique DIY Gift Wrapping Bows
Think Outside the Ribbon Box: Material Magic
ribbon is classic, we get it. But what if we dared to venture beyond the usual suspects? This is where creative materials for unique diy gift wrapping bows come into play, and trust me, this is where things get *really* fun. Forget the craft store aisle for a minute and start looking around your house with fresh eyes. Suddenly, scrap fabric, burlap, even paper bags transform into bow-making gold! It's all about seeing the potential in everyday items and turning them into something extraordinary. Think texture, think pattern, think unexpected – that's the key to crafting bows that truly stand out. Ready to raid your stash and unleash your inner material maverick?
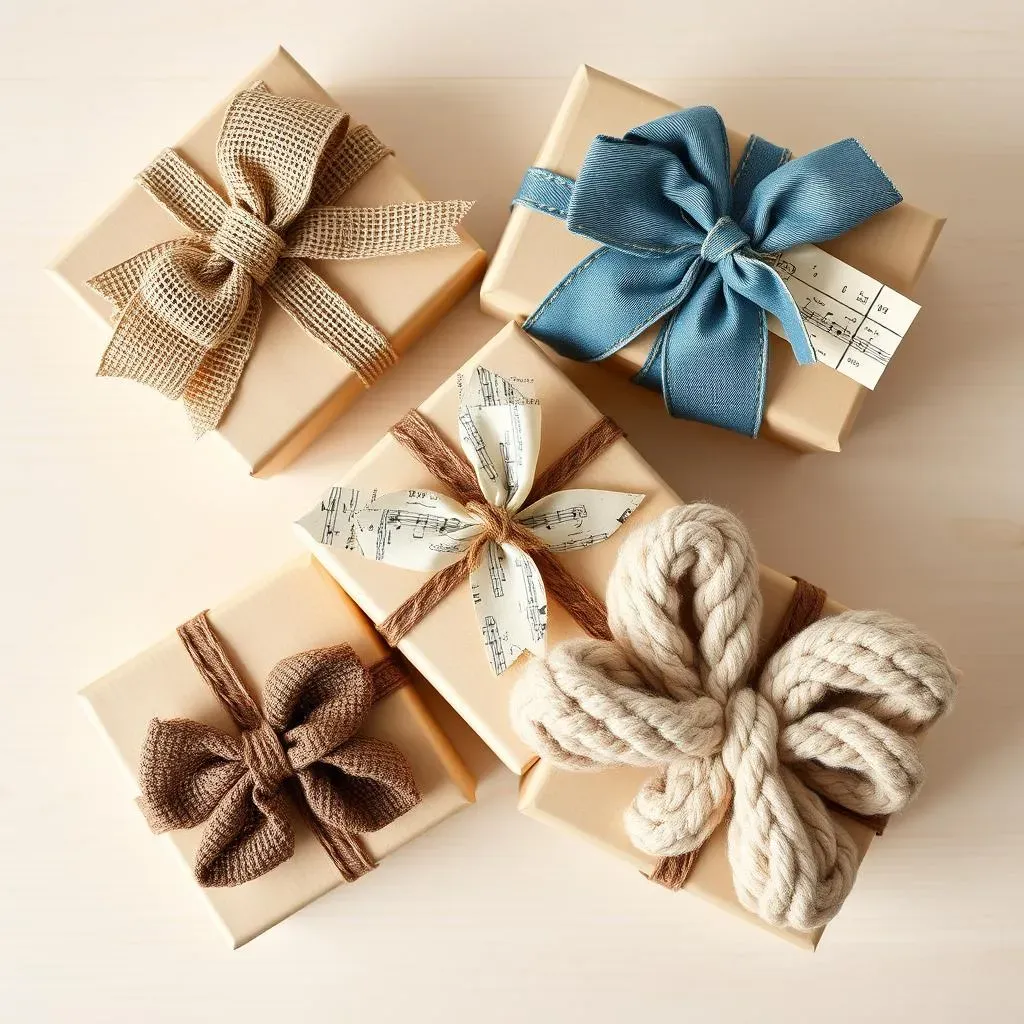
Seriously, the possibilities are as wild as your imagination. Old scarves with cool prints? Bow material. Leftover denim scraps from a sewing project? Rustic chic bows, here we come! Even pages from old books or sheet music can be repurposed into wonderfully unique paper bows with a vintage vibe. And don't even get me started on the world of yarns and twine – chunky knit bows? Yes, please! The beauty of using unconventional materials is that each bow becomes a one-of-a-kind creation, reflecting your personal style and adding an extra layer of thoughtfulness to your gifts. It's like saying, "I not only picked out a great gift, but I also made this awesome bow just for you, using, like, this super cool thing I found!"
Material | Bow Style | Vibe |
|---|---|---|
Burlap | Rustic Bow | Earthy, Natural, Farmhouse Chic |
Denim | Denim Bow | Casual, Trendy, Upcycled |
Sheet Music | Paper Bow | Vintage, Musical, Elegant |
Yarn | Chunky Knit Bow | Cozy, текстурный, Handmade |
Pro Tips for Flawless DIY Gift Bows Every Time
Pro Tips for Flawless DIY Gift Bows Every Time
Tools of the Trade: Must-Have Supplies
so you're armed with ideas and ready to create some epic diy gift wrapping bows. But hold up a sec! Before you dive in, let's talk about having the right tools. Trust me, a few key supplies will make your bow-making journey way smoother and your results way more, well, flawless. Think of it like being a chef – you can't whip up a gourmet meal with just your hands, right? Same goes for bows! Having the right gear not only makes things easier but also opens up possibilities for more intricate and professional-looking designs. Let's get you set up for bow-making success!
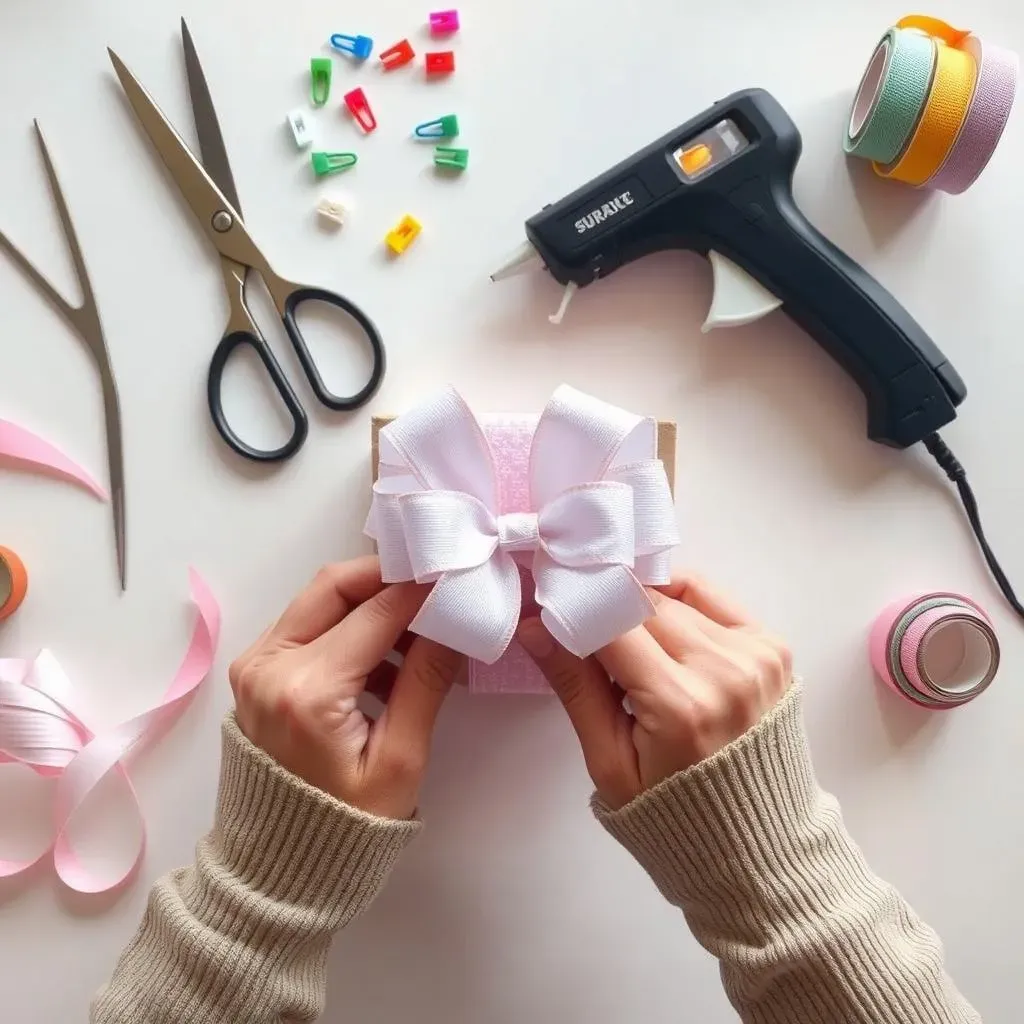
First things first: sharp scissors are non-negotiable. Dull scissors are the enemy of clean ribbon cuts and frustration's best friend. Invest in a good pair, and your fingers (and your bows) will thank you. Next up, hot glue gun – this is your secret weapon for securing layers, adding embellishments, and generally making sure your bows stay put. Low-temp glue guns are perfect for delicate ribbons. And for those boutique-style bows, wired ribbon is a game-changer, giving you structure and shape that regular ribbon just can't match. Finally, don't underestimate the power of clips or clothespins for holding loops in place while you work – they're like extra hands when you need them most! With these essentials in your toolkit, you're well on your way to crafting pro tips for flawless diy gift bows every time.
Tool | Why You Need It | Pro-Tip |
|---|---|---|
Sharp Scissors | Clean cuts, prevents fraying | Keep a dedicated pair just for ribbon! |
Hot Glue Gun (Low-Temp) | Secure layers, add embellishments | Use sparingly to avoid bulkiness. |
Wired Ribbon | Structure, shape for boutique bows | Experiment with different wire gauges. |
Clips/Clothespins | Hold loops in place while assembling | Plastic clips prevent damage to delicate ribbons. |
Practice Makes Perfect: Don't Be Afraid to Experiment
Here's a truth bomb: your first few diy gift wrapping bows might not be magazine-cover worthy. And that's totally okay! Like any craft, bow-making takes a little practice to get the hang of. The key is to not get discouraged if your initial attempts are a bit… wonky. Embrace the learning process, see each bow as a mini-experiment, and don't be afraid to try new things. Seriously, some of the coolest techniques and styles come from just playing around and seeing what happens. Think of it as happy accidents in the world of ribbon and loops!
So, grab some scrap ribbon or paper and just start practicing different bow styles. Watch a few more tutorials, try different looping techniques, and don't be afraid to deviate from the instructions and put your own spin on things. Experiment with different materials too – see how fabric scraps behave compared to paper, or how yarn works versus ribbon. The more you play, the more comfortable you'll become with the process, and the faster you'll develop your own signature bow-making style. Remember, even the most experienced bow pros started somewhere, probably with a slightly lopsided first attempt. The journey to pro tips for flawless diy gift bows every time is paved with practice and a willingness to experiment!
Wrap It Up with DIY Gift Bow Brilliance
So there you have it! From paper scraps to fancy fabrics, the possibilities for diy gift wrapping bows are truly endless. Hopefully, you're now brimming with inspiration and ready to ditch those boring store-bought bows for good. Making your own bows isn't just a fun craft project; it's a way to add a personal touch, show you care, and seriously elevate your gift-giving game. Go ahead, experiment with different materials, try out those tutorials, and unleash your inner bow-making artist. Get ready to impress everyone with your beautifully wrapped gifts, topped with stunning, handmade bows that are as unique and special as the presents they adorn.