Table of Contents
Want to make your jewelry gifts even more memorable? Forget generic store-bought boxes! Imagine the delight on your loved one's face when they receive a beautifully crafted, handmade package. This isn't just about giving jewelry; it's about adding a personal touch that speaks volumes. In this guide, we'll show you how to create your own stunning DIY jewelry gift boxes. From simple paper designs to more elaborate fabric-covered creations, you'll discover easy-to-follow steps and creative ideas to make your gifts truly stand out. Ready to add that extra sparkle to your presents? Let's dive into the world of DIY jewelry gift boxes and unlock your crafting potential!
Why DIY Jewelry Gift Boxes are the Perfect Touch
Why DIY Jewelry Gift Boxes are the Perfect Touch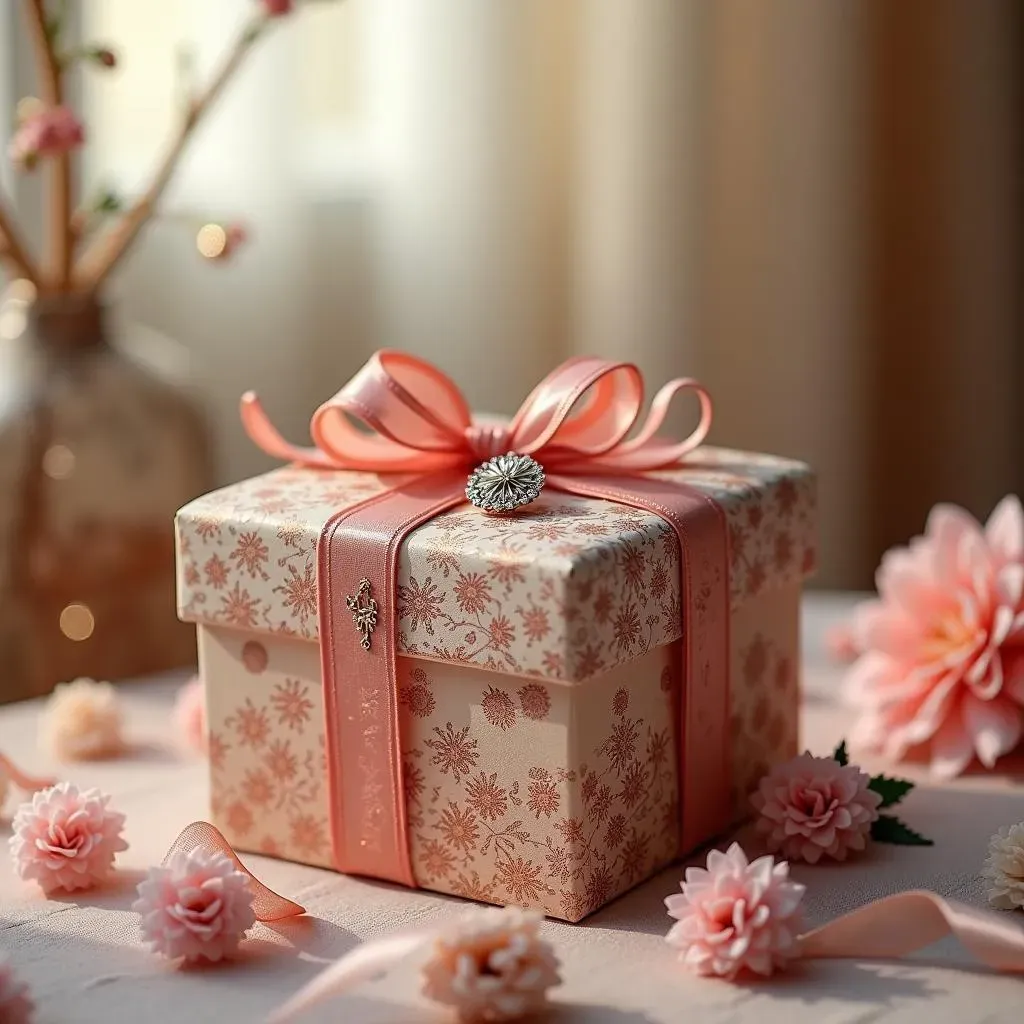
Adding a Personal Touch to Your Gift
Ever get a gift that felt, well, a bit generic? Like someone just grabbed the first thing they saw at the store? DIY jewelry gift boxes are the opposite of that. They scream, "I made this for YOU!" It's like saying, "Hey, I put in extra effort because you're worth it." Think about it: a handmade box shows you care enough to spend time and energy, not just money. That personal touch elevates your gift from just an object to a heartfelt gesture. It tells a story before the jewelry is even revealed.
Unleash Your Creativity and Save a Buck
Store-bought gift boxes? They're fine, I guess. But they're also kinda boring and often overpriced for what they are – just cardboard and paper. Making your own DIY jewelry gift box lets you be the boss of design. Want to use sparkly paper? Go for it. Ribbons? Pile them on! Plus, let's be real, crafting your own box can save you some cash. Those fancy jewelry boxes at stores? They add up. With a few simple supplies, you can create something way more unique and special, without emptying your wallet. It's a win-win: creative expression and budget-friendly gifting!
- Personalized and Thoughtful: Shows extra care and effort.
- Unique and Creative: Express your style and make it one-of-a-kind.
- Cost-Effective: Save money compared to buying pre-made boxes.
- Fun to Make: Crafting can be relaxing and enjoyable.
- Eco-Friendly Option: Use recycled materials for a sustainable choice.
StepbyStep Guide to Crafting Your Own DIY Jewelry Gift Box
StepbyStep Guide to Crafting Your Own DIY Jewelry Gift Box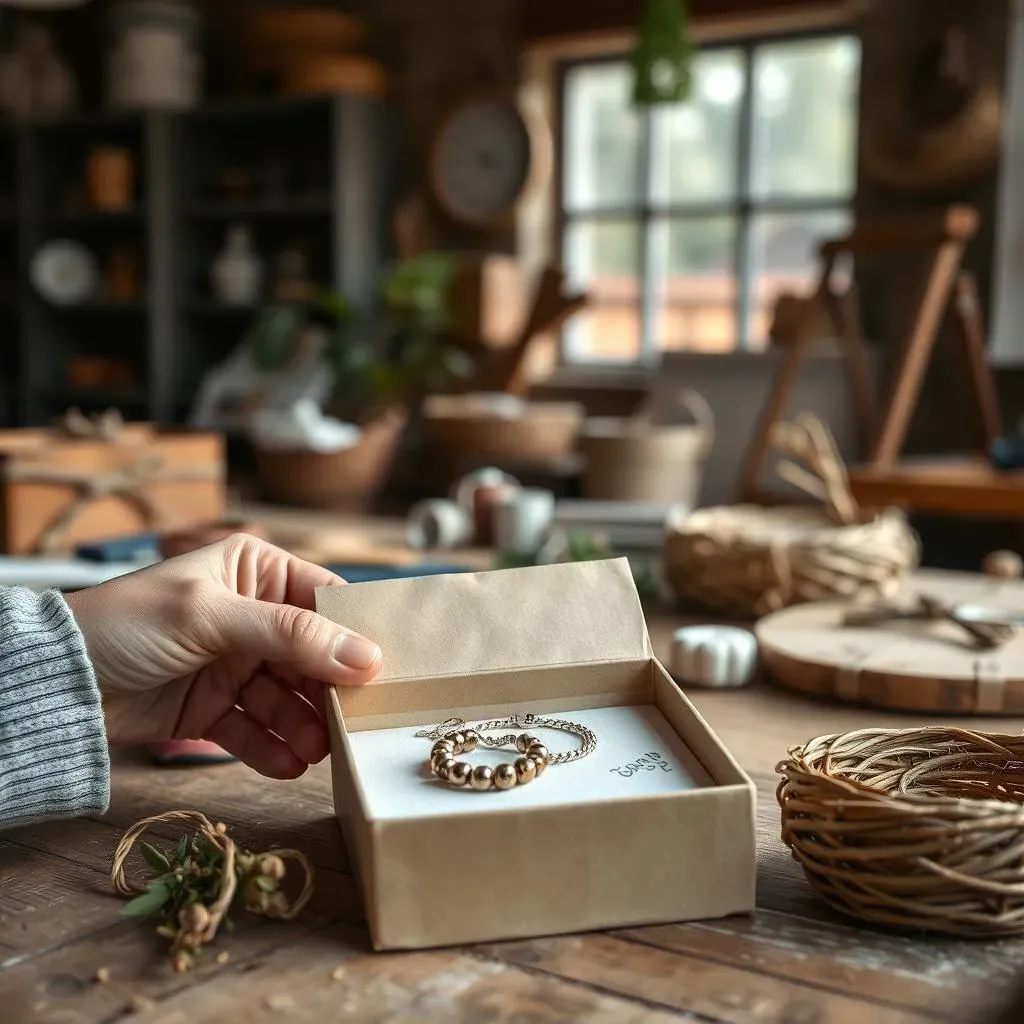
Gather Your Supplies: The Treasure Chest of Tools
Before you even think about folding paper, you gotta round up your crew of crafting supplies. Think of it like prepping your kitchen before you bake a cake – you wouldn't start without flour, right? For a basic paper jewelry box, you won't need a ton of fancy stuff. Cardstock is your MVP here – it's sturdier than regular paper and comes in tons of colors and patterns. Scissors or a craft knife are a must for cutting, unless you plan on ripping the paper like a wild animal (please don't). A ruler helps you make straight lines, because eyeballing it? Sometimes it works, sometimes it looks like a toddler did it. And finally, glue or double-sided tape to stick it all together. Easy peasy, right?
Folding and Assembling: Origami Without the Tears (Hopefully)
Now for the fun part: turning a flat piece of paper into a box! Don't worry, we're not doing crazy origami here. Most DIY jewelry gift boxes are based on pretty simple folds. Start by measuring and marking your cardstock. Think about the size of your jewelry – you don't want to cram a necklace into a tiny box or have a ring swimming in a giant one. There are tons of free templates online if you're not feeling like a geometry whiz. Once you've got your lines, score them lightly – that just means making a shallow cut or crease to help the paper fold neatly. Then, fold along those lines. It's like following a map, but instead of buried treasure, you get a cute box. Finally, use your glue or tape to secure the flaps and edges. Pro tip: don't go overboard with the glue unless you want a sticky, messy situation.
Supply | Why You Need It | Alternatives |
|---|---|---|
Cardstock | Sturdy box base | Thick paper, scrapbook paper |
Scissors/Craft Knife | Precise cutting | Paper trimmer (for straight lines) |
Ruler | Straight lines & measuring | Any straight edge will do in a pinch |
Glue/Double-sided Tape | Sticking it all together | Glue dots, craft glue |
Adding Finishing Touches: Sprinkle on the Pizzazz
Your box is built, but it's looking a little…naked. Time to dress it up! This is where you can really let your creativity shine. Ribbons are a classic for a reason – they add a touch of elegance and you can tie them in bows or knots. Washi tape is your friend if you want patterns and colors without the mess of glue. Stickers? Always a good idea. Think about the person you're giving the gift to. Do they love glitter? Sprinkle some on! Are they more into minimalist vibes? Keep it simple with a nice ribbon and a tag. You can also add little details like paper flowers, beads, or even hand-drawn designs. The goal is to make the box as special as the jewelry inside. Don't be afraid to experiment and have fun with it!
Creative Ideas and Customizations for Your DIY Jewelry Gift Box
Creative Ideas and Customizations for Your DIY Jewelry Gift Box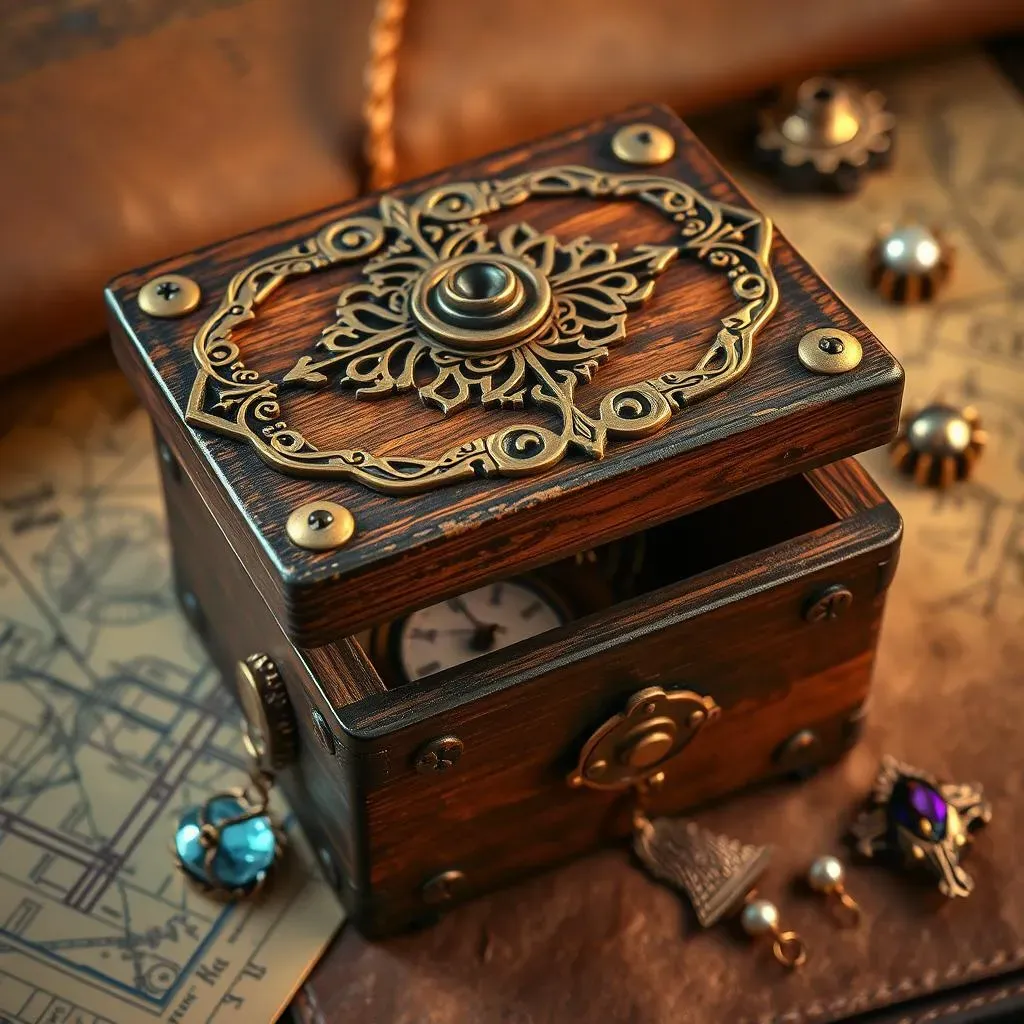
Theme It Up: Boxes for Every Occasion
a plain box is cool, but a themed box? That's next level gifting! Think about why you're giving this jewelry. Birthday? Go bright and confetti-crazy! Holiday gift? Red and green paper, maybe some snowflakes. Valentine's Day? Hearts galore! You can match the box to the occasion. Imagine a little pirate chest for a kid's birthday, filled with treasure (aka, cool jewelry). Or a sophisticated black and gold box for a fancy anniversary gift. Themes make it extra fun and show you really put thought into it.
Material Mania: Paper is Just the Beginning
Cardstock is great, but who says you have to stop there? Get wild with your materials! Fabric scraps can make super soft and plush boxes – perfect for delicate necklaces. Felt is another fun option, easy to cut and glue. You could even use recycled materials like old book pages for a vintage vibe, or maps for someone who loves to travel. Think outside the paper box (pun intended!). Using different materials not only looks cool but also adds different textures and feels to your gift. Suddenly, your DIY jewelry gift box is not just a box, it's a tactile experience!
- Fabric: Soft, plush boxes for delicate jewelry.
- Felt: Easy to cut, colorful, and fun textures.
- Book Pages/Maps: Vintage or travel-themed boxes.
- Cork: Unique texture, can be painted or decorated.
- Wallpaper Samples: Often free, lots of patterns and colors.
Secret Messages and Hidden Treasures: Surprise Inside a Surprise!
Want to make your DIY jewelry gift box even more unforgettable? Add a secret message! Tuck a little handwritten note inside the lid. It could be a sweet message, a funny joke, or even a clue to another surprise. You can also add other small goodies inside the box with the jewelry. Think tiny candies, confetti, dried flowers, or little charms. It's like a treasure hunt in a box! These little extras make opening the gift an adventure and show you went the extra mile to create a moment of joy. It's all about making the experience special from start to finish.
Wrap it Up: Your DIY Jewelry Gift Box Journey
So, you've learned how simple and rewarding crafting your own DIY jewelry gift box can be. It's more than just a box; it's a personal statement, a touch of your creativity, and a way to show you truly care. Whether you choose a simple paper design or get fancy with fabrics and embellishments, your handmade box will make any jewelry gift feel extra special. Now go ahead, gather your supplies, and start crafting! Your perfect DIY jewelry gift box is just a few steps away.