Table of Contents
Want to give a gift that's more than just stuff? Forget boring bags and predictable presents. Let's make a DIY jumping gift box that'll seriously wow anyone who opens it! Imagine their face when they lift the lid and BAM! - cubes pop out, filled with photos, little treats, or sweet messages. This isn't just a gift box; it's an experience, a mini-explosion of fun and surprise all wrapped up in paper and rubber bands. Ready to ditch the store-bought snooze-fest and create something genuinely awesome? This guide will walk you through every step to craft your own amazing diy jumping gift box. We'll cover all the materials you'll need, give you super clear instructions for making those cool pop-up cubes and the box itself, and even share some pro-tips to dodge any crafting oopsies. Let's get making!
Materials for Your DIY Jumping Gift Box
Materials for Your DIY Jumping Gift Box
Alright, wanna make this awesome jumping gift box? First, you gotta gather your loot! Think of it like prepping for a super fun mission. You can't build a rocket without the right parts, and you can't make a jump-out-and-surprise gift box without some key supplies. Don't worry, it's not like you need anything crazy expensive or hard to find. Most of this stuff you might already have lying around your house. If not, a quick trip to the craft store or even the stationery aisle at the supermarket will sort you out. Trust me, getting your materials together is the first step to unleashing some serious gift-giving magic!
Material | Why You Need It |
|---|---|
Cardstock (65 lb recommended) | This is your box and cube base! Sturdy enough to pop, but still easy to cut and fold. Think of it as the bones of your project. |
Scissors or Cricut Machine | For cutting out all the shapes. Scissors are classic, a Cricut is like having a robot buddy to do the cutting perfectly. Your choice, both work! |
Glue Stick or Double-Sided Tape | To stick the box and cubes together. Glue is forgiving, tape is fast and clean. Pick your weapon! |
Rubber Bands (small to medium size) | These are the secret sauce! They make the cubes jump. Grab a bunch, you might need to experiment to find the bounciest ones. |
Ruler | To measure and make straight lines if you're cutting by hand. Unless you're a super-eyeball-it pro, rulers are your friend. |
Pencil | For marking measurements and fold lines. Erasable kind is best, in case you go a bit wonky (we all do!). |
Decorative Paper, Photos, Stickers (optional) | To make your box look snazzy! Go wild with colors, patterns, pictures of the gift receiver – make it personal! |
StepbyStep Guide: Crafting PopUp Cubes and the Box
StepbyStep Guide: Crafting PopUp Cubes and the Box
materials are sorted, awesome! Now for the fun part – actually building this jumping surprise. Don't stress, it's like following a recipe, but for awesome gifts instead of cookies. We're gonna break it down into bite-sized steps so it's super easy to follow. First, we'll tackle those pop-up cubes – they're the stars of the show, after all. Then, we'll build the box to keep them all contained until the big reveal. Ready to turn that cardstock into something amazing?
Making the Pop-Up Cubes: Get Ready to Fold!
These cubes might look a bit tricky, but trust me, folding is your superpower here. Imagine you're making origami, but way simpler and way more rewarding because, surprise cubes! You can either use a template (there are loads online, just search "pop-up cube template") and cut it out by hand, or if you have a Cricut, even better, let that machine do the precise cutting for you. Either way, you'll end up with a flat shape that looks kinda like a wonky cross.
Once you have your cube shape cut out, it's folding time. This is where those score lines (the dashed lines on your template) come in super handy. If you're cutting by hand, you can lightly score along the fold lines with a ruler and something pointy-ish but not too sharp, like an empty pen. Scoring just makes folding crisp and easy. Fold along every score line – fold them all the same way at first, then go back and crease them properly so they're nice and sharp. Think of it like training your paper to bend exactly where you want it to.
Step | Action |
|---|---|
1 | Cut out cube template from cardstock (using scissors or Cricut). |
2 | Score along all fold lines (if cutting by hand). |
3 | Fold along all score lines, creasing firmly. |
Now for the magic trick: making it a cube! Add a tiny bit of glue or double-sided tape to the tabs – usually, there are little triangle-shaped bits designed to be glued. Carefully bring the sides together, matching up the edges and sticking those tabs down. Hold it for a few seconds to let the glue grab. Boom! You've made a cube! Repeat this until you have a bunch of cubes – how many depends on how jumpy you want your box to be. Six to nine cubes usually looks pretty cool.
Building the Box: Container for the Surprise!
With your pop-up cubes ready to roll, it's box-building time. This box is like the stage for our cube performance, so it needs to be sturdy but not steal the show. Just like the cubes, you can find box templates online, or if you're feeling brave, you can design your own simple square or rectangular box. Cut out your box template from cardstock, score the fold lines (if needed), and fold it up just like you did with the cubes.
Glue or tape the box together, making sure it's nice and solid. No one wants a box that falls apart before the surprise even happens! Leave the lid unglued for now – we need to get those jumpy cubes inside first!
The Jumping Mechanism: Rubber Band Power!
Here's where the jumping magic happens – rubber bands! Take a rubber band and loop it around one folded cube, going around the middle. Then, squish the cube flat again, holding the rubber band in place. Do this for all your cubes. This is what makes them pop open when released from the box.
Now, carefully arrange your rubber-banded cubes inside the box. You can stack them neatly or scatter them a bit for a more chaotic jump. Experiment to see what looks best! Once your cubes are nestled in, close the lid of your box. And that's it! You've built the jumping gift box structure. Now comes the super fun part – making it look awesome!
Tips and Tricks for a Flawless DIY Jumping Gift Box
Tips and Tricks for a Flawless DIY Jumping Gift Box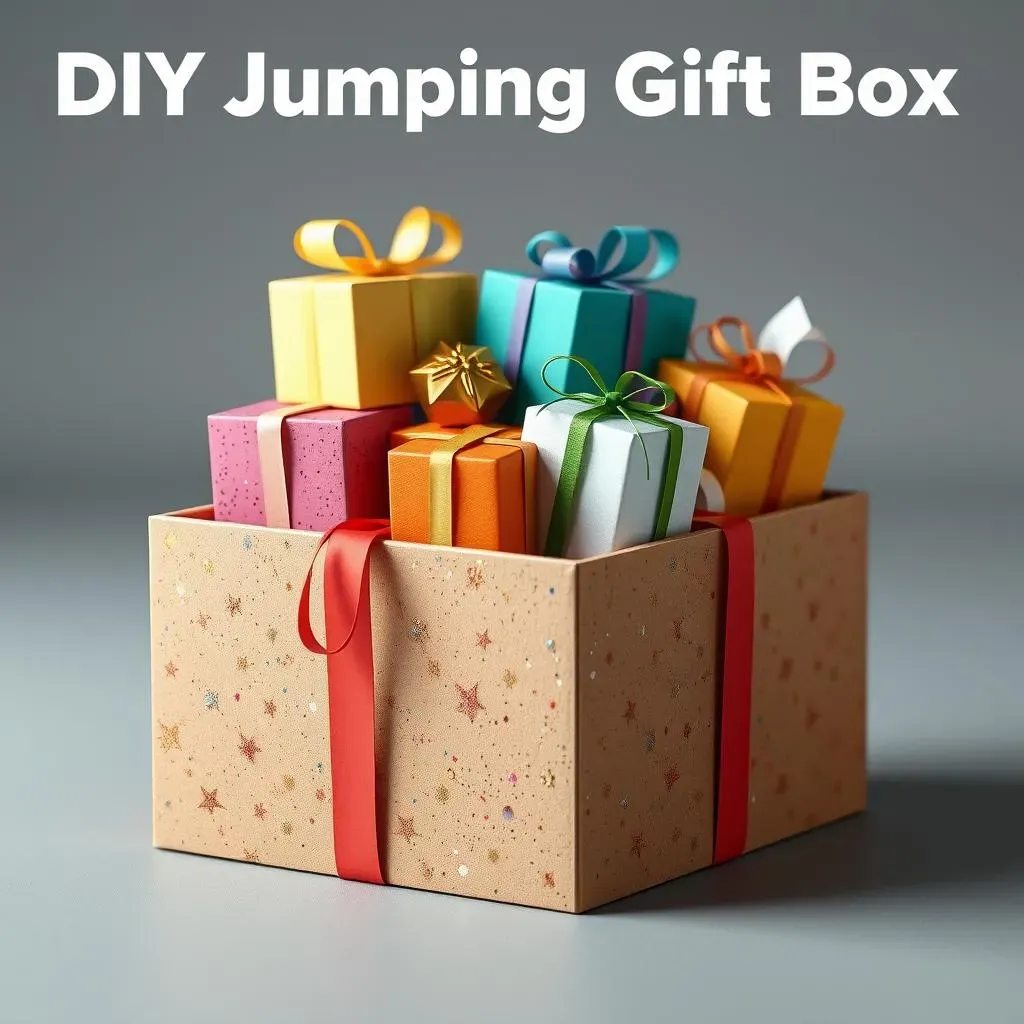
Choosing the Right Cardstock and Rubber Bands
so you're getting into the nitty-gritty now, wanting to make your jumping gift box truly awesome. It's all about the details! Think of your cardstock as the foundation of your masterpiece. You really wanna aim for that 65 lb weight I mentioned earlier. Why? Because it's like Goldilocks zone – not too flimsy, not too thick. Too thin and your box will be floppy and sad, too thick and those cubes will be stubborn and refuse to pop with pizzazz. Trust me on this, 65 lb is your friend.
Rubber bands are the unsung heroes of this project. They're the tiny engines that power the surprise! But not all rubber bands are created equal. You need ones that are stretchy enough to wrap around the cubes but strong enough to actually make them jump. Small to medium-sized ones are usually best. Don't be afraid to experiment! Grab a variety pack and see which ones give you the best pop. It's like finding the perfect bouncy castle for your paper cubes.
Mastering the Folds and Assembly
Crisp folds are your secret weapon for a professional-looking jumping gift box. Imagine trying to build a Lego castle with bent and crinkled bricks – disaster, right? Same goes for paper crafts! Take your time when scoring and folding. A bone folder or even just the edge of a ruler can make scoring super easy. And when you fold, make those creases sharp! Run your finger along the fold to really set it. It's like ironing your paper – but way more fun.
Assembly is where it all comes together, literally. When you're gluing or taping, don't slop it on like you're frosting a cake gone wrong. A thin, even layer is all you need. Too much glue and you'll have a sticky mess, too little and your box might decide to stage a dramatic collapse at the wrong moment. And speaking of moments, hold those glued tabs together for a few seconds to let them bond properly. Patience is key, young grasshopper!
Problem | Solution |
|---|---|
Cubes not popping enough | Try using slightly stronger or tighter rubber bands. Make sure rubber bands are centered. |
Box feels flimsy | Double-check you used 65 lb cardstock. Reinforce corners with extra glue or tape if needed. |
Glue showing or messy | Use a glue stick for cleaner application, or try double-sided tape. Wipe away excess glue immediately. |
Personalizing Your Jumping Surprise
Alright, the box is built, the cubes are jumpy – now let's make it personal! This is where you can really let your creativity loose. Think about who you're giving this to. What do they love? Are they obsessed with cats? Cover it in cat stickers! Do they have a favorite color? Go wild with colorful paper! Photos are always a winner too. Print out some fun snaps and stick them on the cubes or inside the box. It turns a cool DIY project into a heartfelt, unique gift.
Don't just stop at paper and photos though. Get creative with embellishments! Glitter (if you dare!), ribbons, little paper cutouts, drawings, washi tape – the possibilities are endless. Think of your jumping gift box as a blank canvas, ready for your artistic flair. Make it as wild, wacky, or elegant as you like. The most important thing is that it reflects you and the person you're giving it to. Make it memorable!
Ready to Jump into Gifting?
So, you've got the know-how to whip up your own diy jumping gift box. Forget those generic gifts that get tossed aside. This project lets you add a personal, playful touch that no store-bought present can match. It's about more than just the gift inside; it's about the moment of surprise and delight you create. Grab your cardstock, get crafty, and watch those smiles pop up just like your cubes!