Table of Contents
Ever wrestled with a tiny, sad bow on a huge gift? You know the feeling, you've got this awesome, oversized present, but all the store has are those puny little bows that look totally out of place. It's like putting a postage stamp on a billboard! That's where the magic of a **diy large gift bow** comes in. Forget those frustrating trips to find the right size. In this guide, we're going to show you how to make your own giant, gorgeous bows right at home. We'll cover everything from gathering your simple supplies to step-by-step instructions that even a kid can follow. Plus, we'll share some fun ideas to make your **diy large gift bow** extra special and totally unique. Get ready to ditch the store-bought stress and unleash your inner bow-making pro!
Why struggle with storebought bows? DIY large gift bows are the answer
Why struggle with storebought bows? DIY large gift bows are the answer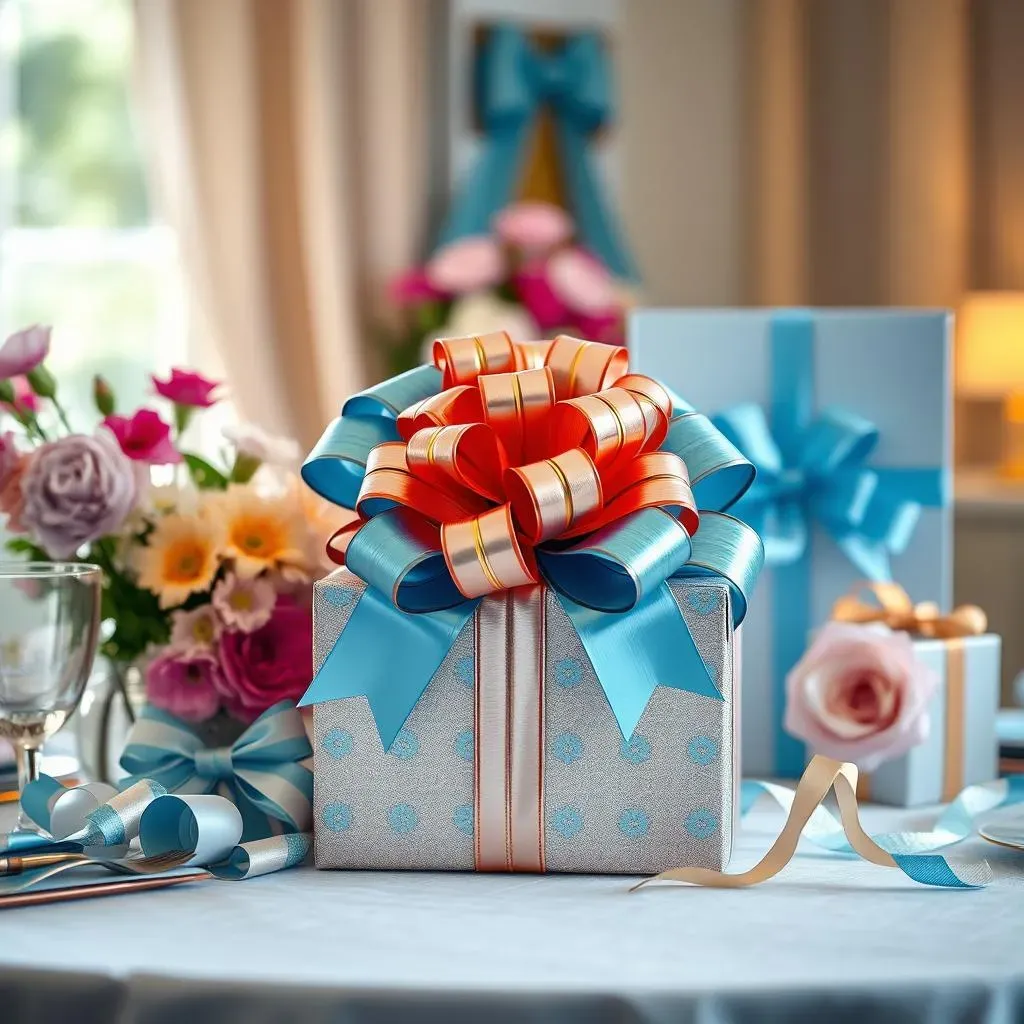
The Bow Dilemma: Store-Bought Shortcomings
Let's be real, store-bought bows can be a major letdown.
You're wrapping this awesome, huge gift, maybe a bike or a giant stuffed animal, and you head to the store for a bow.
What do you find?
Teeny-tiny bows that look ridiculous on your present.
It's like they're made for ants, not actual gifts!
And the colors? Don't even get me started.
Generic red and gold are fine, but what if your gift wrap is blue and silver?
Suddenly, your perfectly wrapped present looks like a clash of রং (colors!).
DIY to the Rescue: Bows Your Way
This is where making your own **diy large gift bow** becomes a game-changer.
Seriously, why settle for less when you can have a bow that's exactly what you want?
Want a bow as big as your head?
Go for it!
Need a bow in a specific color or pattern to match your wrapping paper perfectly?
Easy peasy.
Making your own bow means you're in control.
You get the size, color, and style you want, every single time.
Plus, it's way more impressive when you can say, "Oh, this bow? I made it myself."
People will think you're a crafting genius!
Gather your supplies to create your DIY large gift bow
Gather your supplies to create your DIY large gift bow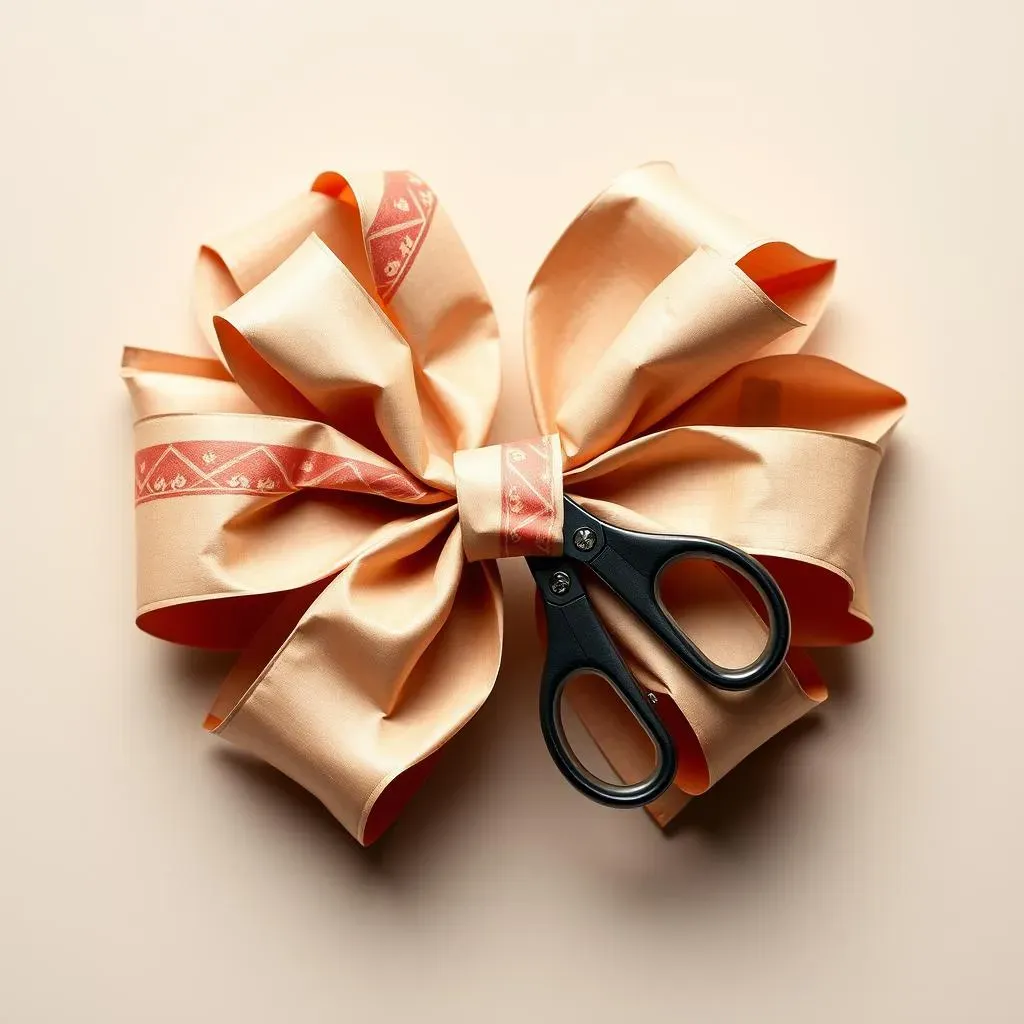
Alright, so you're ready to ditch the sad store bows and make your own awesome creation.
First things first, you gotta gather your gear.
Think of it like getting your tools ready before building a super cool Lego castle, but instead of plastic bricks, we're using paper and tape.
Don't worry, you probably have most of this stuff lying around already.
Let's check out what you'll need to become a DIY bow master.
The DIY Bow Toolkit: What You'll Need
Making a giant paper bow isn't rocket science.
In fact, it's surprisingly simple.
Here's a quick rundown of the essentials you'll want to grab before we get started:
- Wrapping Paper: This is the star of the show! Pick something sturdy, not that super thin stuff that rips if you look at it funny. The thicker paper holds its shape better and makes a much more impressive bow. Bonus points if it has a grid on the back – those lines are lifesavers for cutting straight strips.
- Scissors: Sharp scissors are your best friend here. Dull scissors will make you want to throw the whole project out the window. Trust me, you need a pair that can cut cleanly through the wrapping paper without mangling it.
- Tape: Double-sided tape is fantastic because it hides the tape and makes your bow look super polished. But if you only have regular clear tape, that works too! Just try to be neat with it.
- Ruler (Optional but Recommended): Unless you're a cutting ninja, a ruler will help you get those strips of paper nice and even. Straight strips = a neater bow.
- Pencil (Optional): For marking those cutting lines if your wrapping paper doesn't have a grid.
- Hole Punch (Single): This is for making a neat little hole to thread ribbon or wire through to attach your bow to the gift. Not strictly necessary, but it makes things look pro.
Stepbystep guide: Crafting your own DIY large gift bow
Stepbystep guide: Crafting your own DIY large gift bow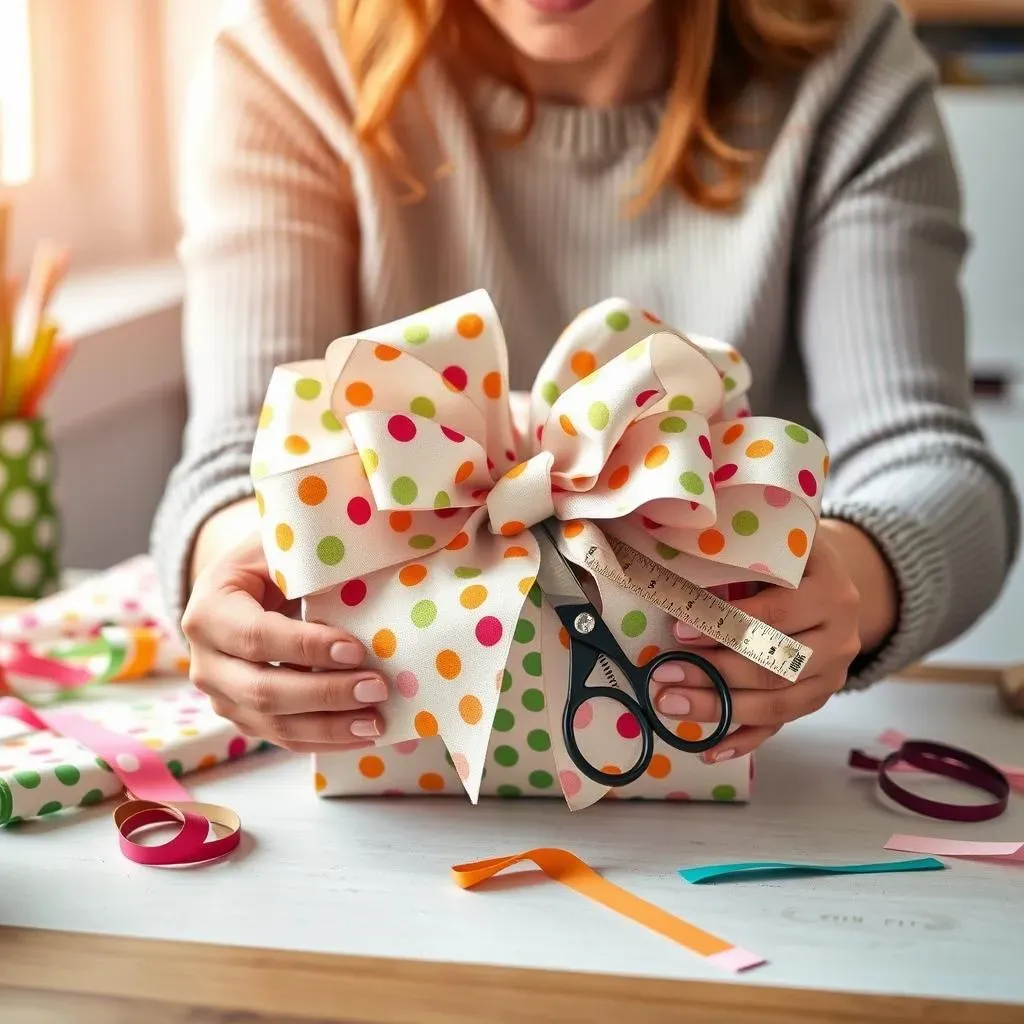
Cutting the Strips: Precision is your friend
you've got your wrapping paper, scissors ready to rock, and maybe even a ruler if you're feeling extra precise.
Now comes the slightly tedious but super important part: cutting strips.
Think of these strips as the building blocks of your bow masterpiece.
If they're wonky, your bow will be wonky.
Nobody wants a wonky bow!
So, if your wrapping paper is blessed with a grid on the back, thank your lucky stars and use those lines as your guide.
Cut along them to get nice, even strips.
If you're grid-less, don't panic.
Grab your ruler and pencil.
Decide how wide you want your strips – about 1.5 to 2 inches is a good starting point for a large bow – and mark your lines before cutting.
Remember, longer strips make bigger loops, so for a truly giant bow, you'll want some long pieces.
Bow Assembly: From Strips to Stunner
Alright, strips are cut, and you're probably thinking, "How does this pile of paper become a bow?"
Magic, my friend, paper-folding magic!
Take one strip and make a loop, bringing the ends together.
Don't crease it sharply, we want soft loops here.
Secure the ends together with a piece of tape, double-sided is best if you have it.
Repeat this with all your strips.
Pro tip: start with your longest strips first.
These will form the outer, bigger loops of your bow.
As you work your way to the shorter strips, your loops will naturally get smaller, creating that classic bow shape.
- Cut Strips: Evenly sized strips are key.
- Make Loops: Loop each strip and tape the ends.
- Start Big: Begin with the longest strips for the outer loops.
Creative ideas to personalize your DIY large gift bow
Creative ideas to personalize your DIY large gift bow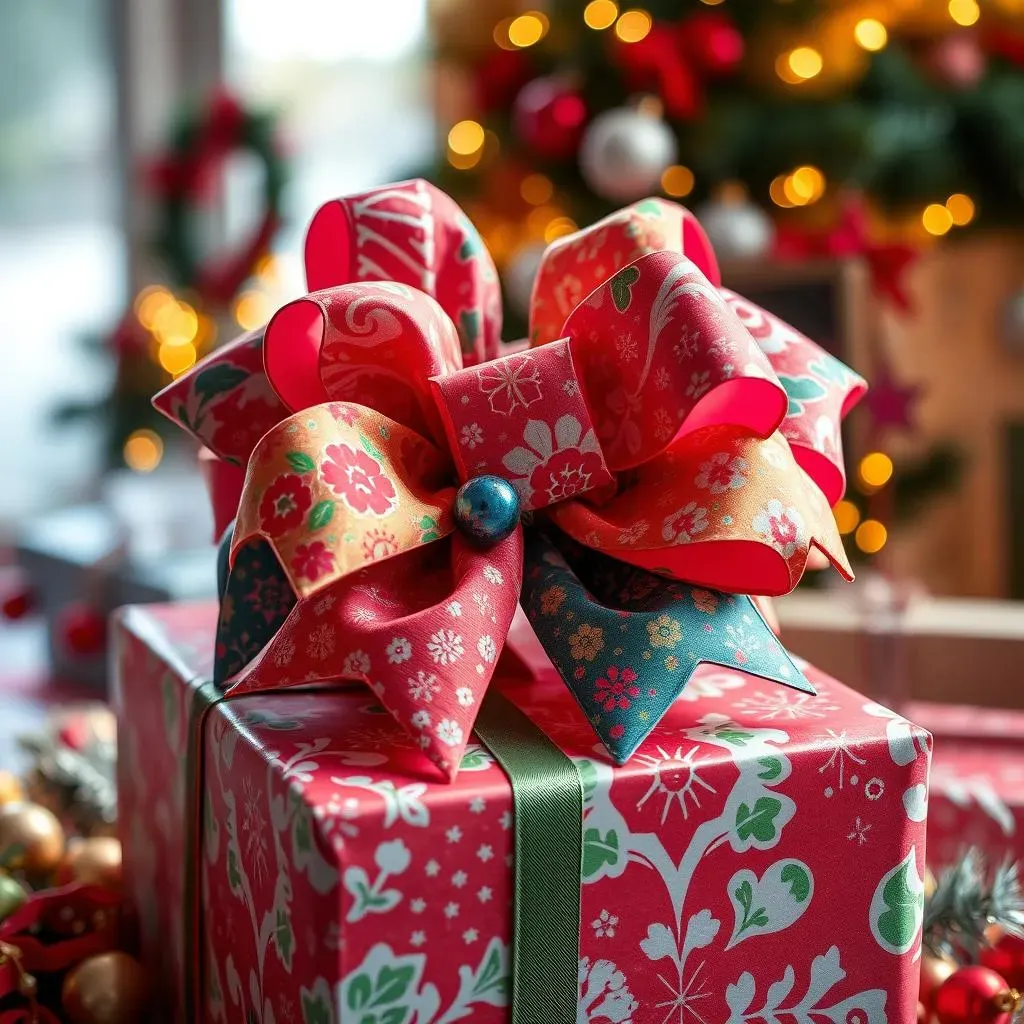
Make it Pop with Patterns and Colors
so you've mastered the basic bow.
Great!
But why stop there when you can turn your **diy large gift bow** into a real showstopper?
Think beyond plain wrapping paper.
Grab some paper with cool patterns – polka dots, stripes, maybe even some funky animal prints if you're feeling wild.
Solid colors are cool, but patterns? Patterns scream "I put in effort!"
And don't be afraid to mix and match.
Use different patterned papers for the strips to create a bow that's totally unique.
It's like giving your bow its own personality.
Plus, consider the occasion.
Red and green for Christmas? Sure, but maybe try silver and blue for a winter birthday, or pastel colors for a spring celebration.
Matching the bow to the theme? Genius level crafting, right there.
Add Some Flair: Ribbons, Sparkles, and More!
Paper strips are just the beginning.
Want to seriously up your bow game?
Let's talk embellishments.
Ribbon streamers cascading down from the center of the bow? Yes, please!
Glitter? If you dare (and don't mind finding sparkles everywhere for the next month), go for it.
Small ornaments or charms dangling from the loops?
Suddenly, your **diy large gift bow** isn't just a bow, it's a decorative masterpiece.
Think about adding:
- Ribbon streamers: Choose colors that complement your paper.
- Glitter accents: A little sparkle never hurt anyone (except maybe your vacuum cleaner).
- Small ornaments: Tiny bells, miniature flowers, cute charms – get creative!
- Tags: Personalized gift tags attached to the bow loops add a thoughtful touch.
Just remember, a little goes a long way.
You want to enhance your bow, not bury it under a mountain of stuff.
Unless, of course, you're going for the "mountain of awesome" look.
In that case, more is definitely more.
Wrapping it up: Your DIY large gift bow success!
So, you've mastered the art of the **diy large gift bow**! No more settling for undersized, underwhelming bows from the store. Now you can create bows that are as big and bold as your gifts themselves. Think of the compliments! Think of the savings! But most importantly, think of the satisfaction of making something awesome with your own two hands. Go forth and bow-ify all the gifts! And hey, if you make a bow so big it needs its own zip code, send us a picture!