Table of Contents
Want to make a gift that's as awesome as what's inside? Forget store-bought bags. Let's build a DIY large gift box! It's way cooler and shows you put in extra effort. Think about the look on their face when they see this huge, custom-made box. This isn't just about wrapping a present; it's about making an experience. Ready to ditch boring and go big? This guide will walk you through why a large gift box is the ultimate surprise, what stuff you'll need to gather, and how to put it all together without any fuss. Get ready to create a "wow" moment with your very own diy large gift box!
Why Go Big? The Awesome Reasons for a DIY Large Gift Box
Why Go Big? The Awesome Reasons for a DIY Large Gift Box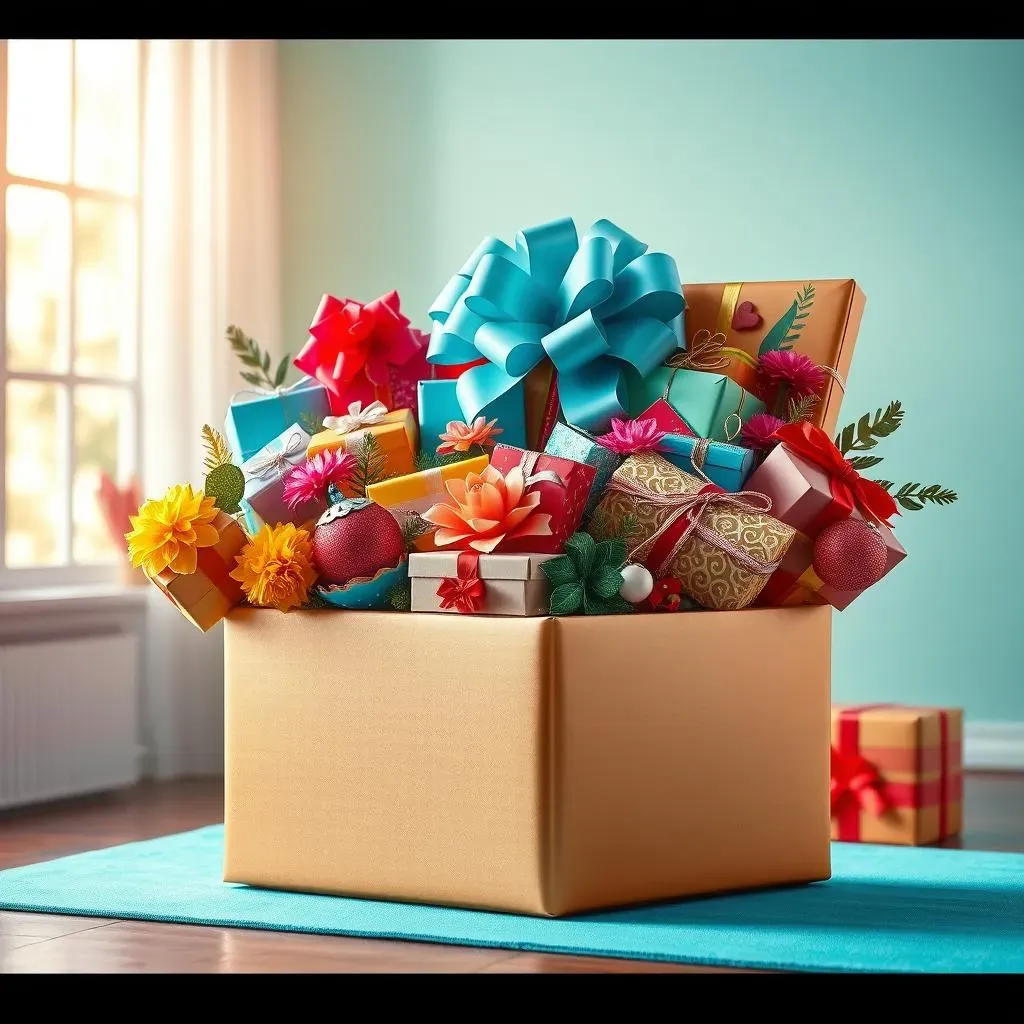
Bigger Box, Bigger Surprise
Ever given a gift and it just felt… small? Like, the box was tiny and the surprise was over in a flash? Making a DIY large gift box changes all that. It's like saying, "Hey, this gift is a BIG deal!" before they even open it. Think about it: a giant box is way more exciting to see than a little one. It builds anticipation and makes the whole gift-giving thing way more fun. Plus, who doesn't love ripping into a massive package? It feels like you're in a movie or something!
Practical and Packed with Goodies
Beyond the "wow" factor, a diy large gift box is actually super useful. Sometimes, you just have a lot of smaller gifts to give. Instead of wrapping them all separately, you can toss them into one big, awesome box. Think birthday parties with lots of little presents, or a holiday gift with a bunch of fun items. It keeps everything together and makes it look like a super generous, overflowing gift. Plus, you can fit in bigger or bulkier presents that would never squeeze into a regular box. It's practical and impressive all at once!
Reason to Go Big | Why It's Awesome |
|---|---|
Surprise Factor | Creates excitement and anticipation! |
Practicality | Fits more gifts, keeps things organized. |
Impressive | Looks more generous and thoughtful. |
MustHave Materials for Your DIY Large Gift Box Project
MustHave Materials for Your DIY Large Gift Box Project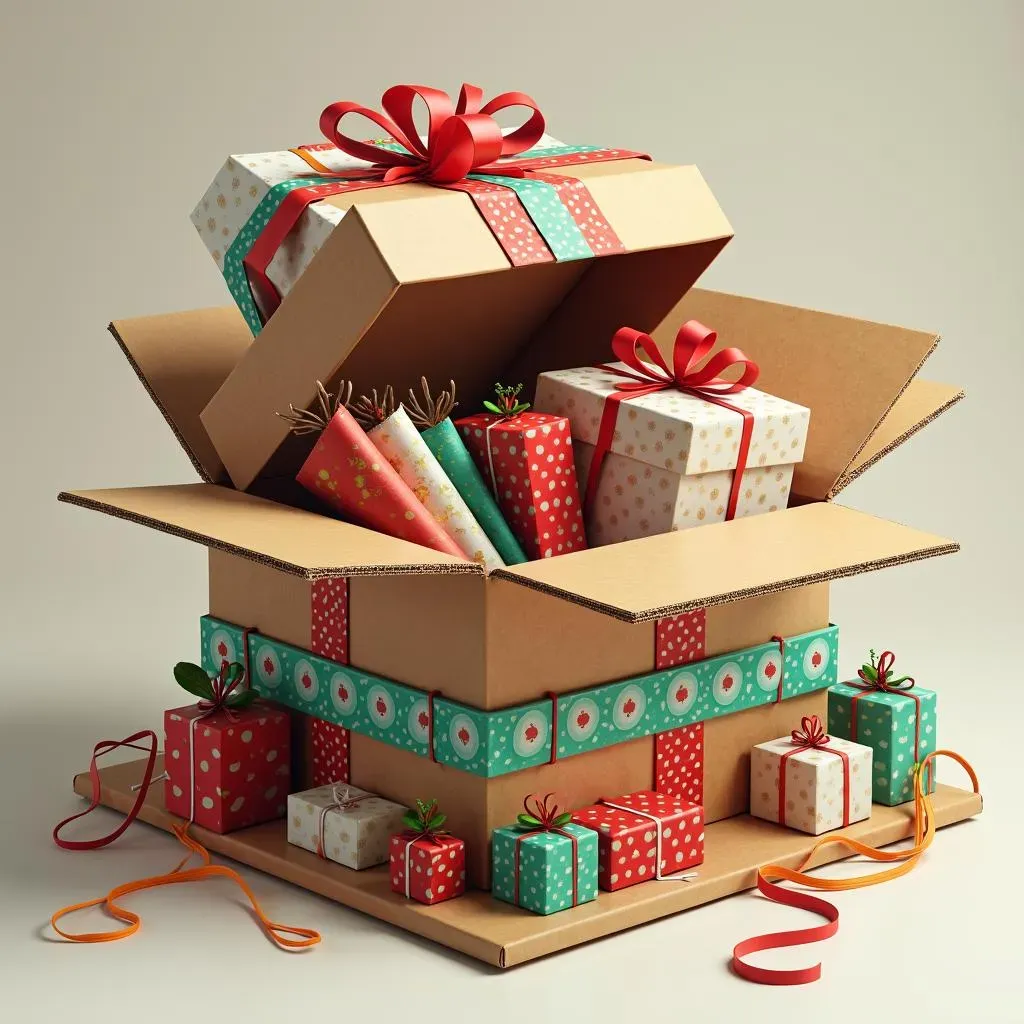
Cardboard: Your Box Foundation
First thing's first, you can't build a box without cardboard, duh. But not all cardboard is created equal. Think about those big boxes from appliances or furniture deliveries. Those are gold! They're sturdy and usually pretty large, perfect for our mission. If you don't have those lying around (seriously, who throws those away?), hit up your local grocery or big box store. They're usually happy to give away empty boxes. Just make sure the cardboard is thick enough to hold your gifts without collapsing – we're going for impressive, not disastrous.
Cutting and Sticking: Tools of the Trade
Alright, cardboard acquired! Now you'll need to actually, you know, shape it. Grab a pair of scissors or a craft knife. Scissors are safer for little hands, but a craft knife (used carefully by an adult!) can give you cleaner cuts, especially on thick cardboard. For sticking it all together, tape is your best friend. Packing tape is strong and clear, so it's great for holding the box together without being too obvious. Glue works too, especially hot glue for a super strong hold, but tape is faster and less messy. Ruler and pencil? Yeah, those are kinda important for straight lines and measuring – unless you're going for the abstract, wobbly box look.
Material | Why You Need It |
|---|---|
Large Cardboard Box | The base of your awesome gift box! |
Scissors or Craft Knife | For cutting the cardboard to shape. |
Packing Tape or Strong Glue | To hold the box together securely. |
Ruler and Pencil | For measuring and marking straight lines (optional, but helpful). |
Decoration Station: Make it Pop!
so you've got a box. But it's just… brown. Let's fix that! Grab some wrapping paper, colorful construction paper, or even paint. Get wild! Ribbons, markers, glitter (if you dare!), stickers – anything goes. Think about who you're giving the gift to. Is it for a superhero fan? Boom, superhero theme! Someone who loves rainbows? Rainbow explosion box! This is where you can really let your creativity shine and turn a plain cardboard box into a gift box masterpiece. Don't be boring – make it awesome!
Building Big Fun: Easy Steps to Assemble Your DIY Large Gift Box
Building Big Fun: Easy Steps to Assemble Your DIY Large Gift Box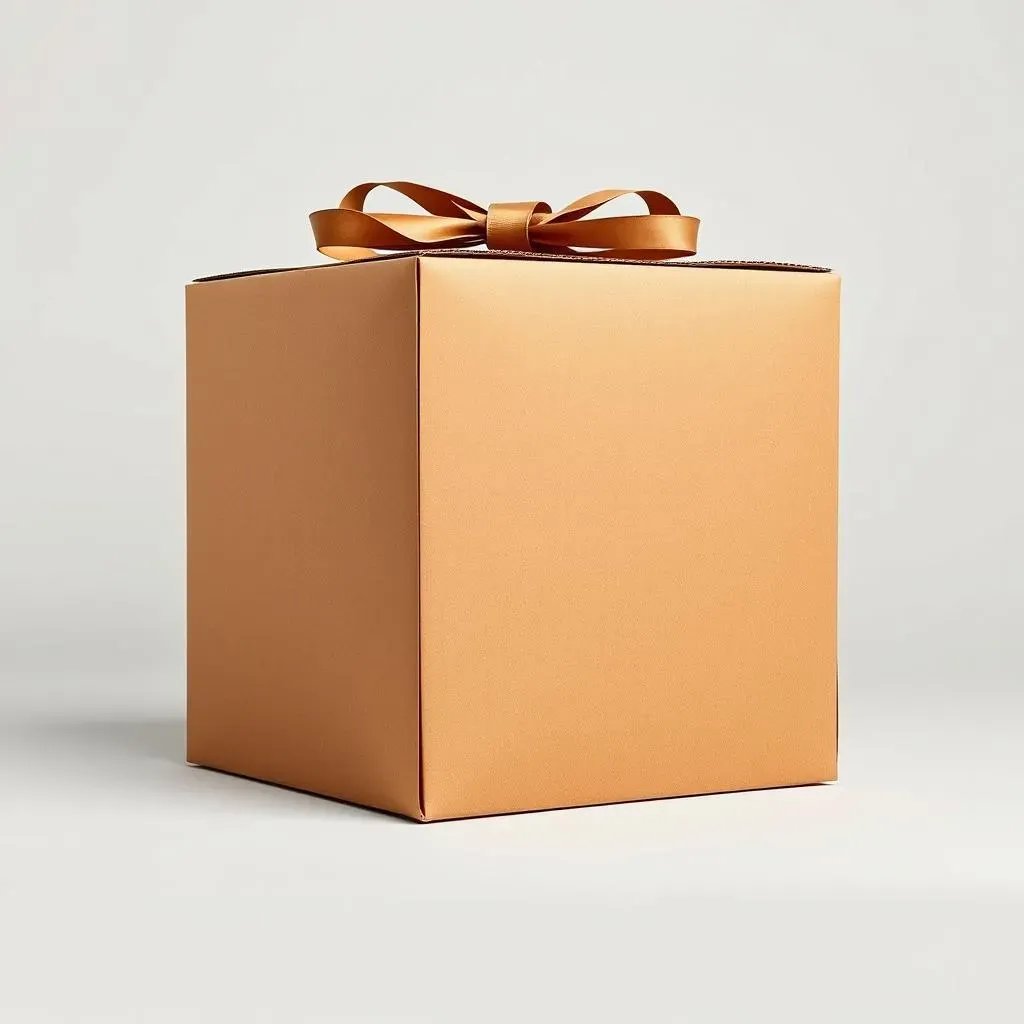
Step 1: Flatten and Plan Your Box Shape
Alright, let's get this box built! First, you gotta wrangle that cardboard box and lay it flat.
It's probably folded up from shipping, so carefully open all the flaps until it's one big, flat piece of cardboard.
Now, picture your gift inside. How big does the box need to be? Think about the size you want and roughly sketch it out on the cardboard with your pencil.
Don't worry about being perfect, just get a basic square or rectangle shape in mind. Ruler time! Use it to draw straight lines for the sides of your box. Straight lines make for a less wonky box, trust me.
Step 2: Cut and Fold for Box Magic
Carefully cut along those lines you drew.
If you're using scissors, take your time. If an adult is helping with a craft knife, even better – just be super careful!
You should now have a flat piece of cardboard in the basic shape of your box sides.
Next, we're making folds. Imagine where the corners of your box will be. Gently score along these lines – scoring just means making a light crease to help the cardboard fold neatly.
You can use a ruler and gently run your scissors along the line (not cutting all the way through!). Now, fold up those sides along your scored lines. Box shape alert!
- Flatten: Open your cardboard box completely.
- Plan: Sketch the desired box size and shape.
- Cut: Carefully cut out your box shape.
- Score: Lightly crease fold lines for clean edges.
- Fold: Fold up the sides to form the box.
Step 3: Tape It Up and Make It Strong
Taping time! This is where the magic happens and your flat cardboard turns into a sturdy box.
Start with the bottom. Fold in the bottom flaps of your box and grab that packing tape.
Tape those flaps together really well. Don't be shy with the tape – you want a strong bottom so your gift doesn't fall through.
Go all around the edges of the bottom flaps with tape to seal it up tight.
Now do the same for the sides, taping along all the seams where the cardboard edges meet.
More tape equals a stronger box. Think of it like armor for your awesome gift!
Big Finish: Your DIY Large Gift Box is Ready to Wow!
So, you've gone big and built your own DIY large gift box. Give yourself a pat on the back! You ditched the boring store-bought stuff and made something way more memorable. Now you've got a gift presentation that's as awesome as the gift itself. Go ahead, fill it up, and get ready to see some serious smiles. Who knew cardboard and creativity could make such a big impact? Happy gifting!