Table of Contents
Want to amp up your Christmas curb appeal this year? Forget store-bought decorations that look like everyone else's. Let's talk about crafting some seriously eye-catching charm with **diy outdoor christmas gift boxes**! Imagine your yard sparkling with oversized, illuminated presents – festive, fun, and totally unique. This isn't just about stacking boxes; it's about creating durable, weatherproof, and dazzling decorations that scream holiday cheer. Ready to ditch the generic and dive into DIY? We'll walk you through choosing the perfect base for your boxes, how to make them glow, tips for withstanding winter weather, and finally, how to decorate them to perfection. Get ready to make your home the most festive on the block with these **diy outdoor christmas gift boxes**!
DIY Outdoor Christmas Gift Boxes: Choosing Your Base
DIY Outdoor Christmas Gift Boxes: Choosing Your Base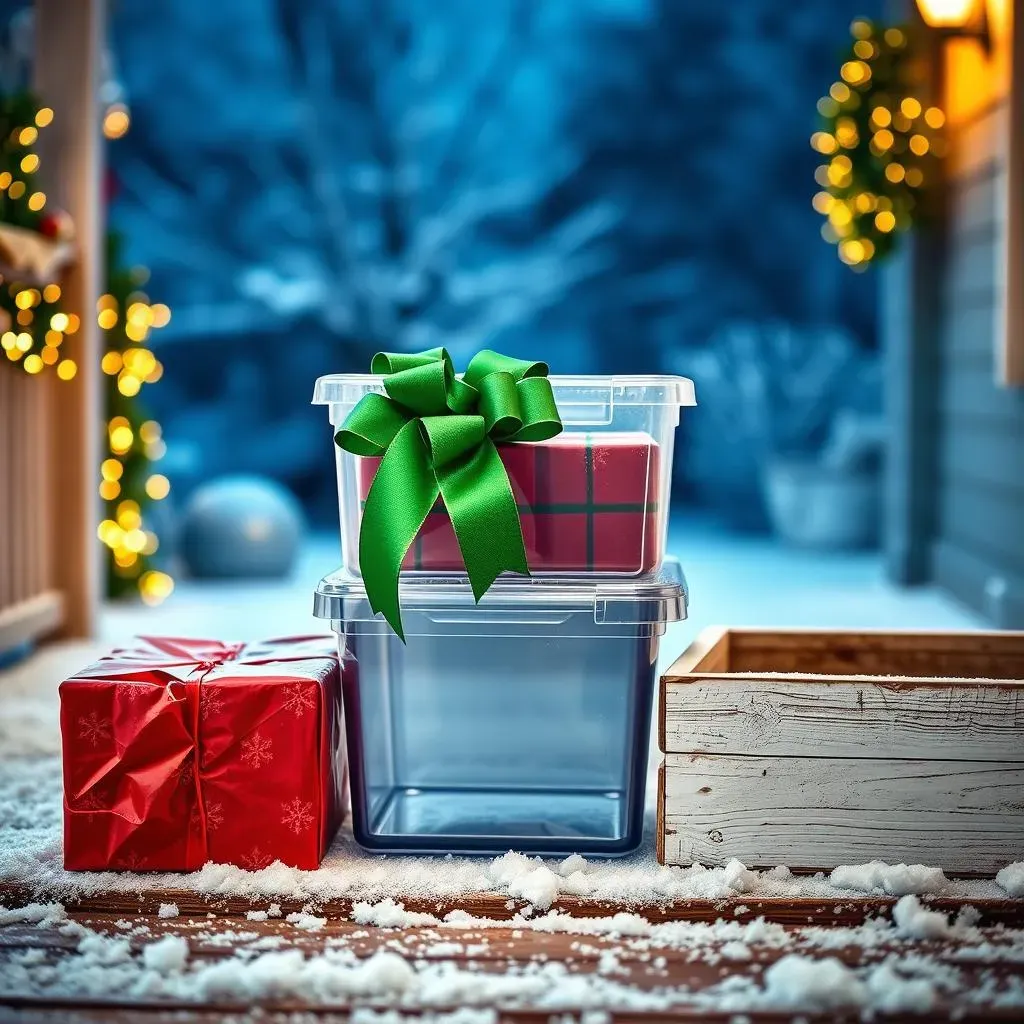
Alright, so you're diving into the awesome world of DIY outdoor Christmas gift boxes? First things first: the base. This is where it all begins, and honestly, the right choice here can make or break your project. Think about it – this is the skeleton of your festive masterpiece! You've got a few main contenders, each with its own perks and quirks. Are we talking classic cardboard? Maybe you're leaning towards something more robust like plastic bins or even building a frame from wood? Each material brings something different to the table in terms of cost, durability, and how easy they are to work with. Let's break down some options to find the perfect foundation for your dazzling DIY outdoor Christmas gift boxes.
Base Material | Pros | Cons | Best For |
|---|---|---|---|
Cardboard Boxes | Cheap, readily available, easy to cut and shape. | Not weather-resistant, flimsy without reinforcement, short lifespan outdoors. | Indoor use, or very temporary outdoor displays in dry climates, budget projects. |
Plastic Storage Bins | Waterproof, durable, stackable, reusable year after year. | Can be more expensive upfront, less traditional "gift box" shape, might need to be weighted down in wind. | Long-lasting outdoor displays, areas with wet weather, easy storage after holidays. |
Wooden Frames (DIY) | Very sturdy and durable, customizable size and shape, can be painted or stained. | Requires more tools and building skills, can be time-consuming to construct, heavier to move and store. | Permanent or semi-permanent outdoor displays, specific size requirements, those who enjoy woodworking. |
Making Your DIY Outdoor Christmas Gift Boxes Light Up
Making Your DIY Outdoor Christmas Gift Boxes Light Up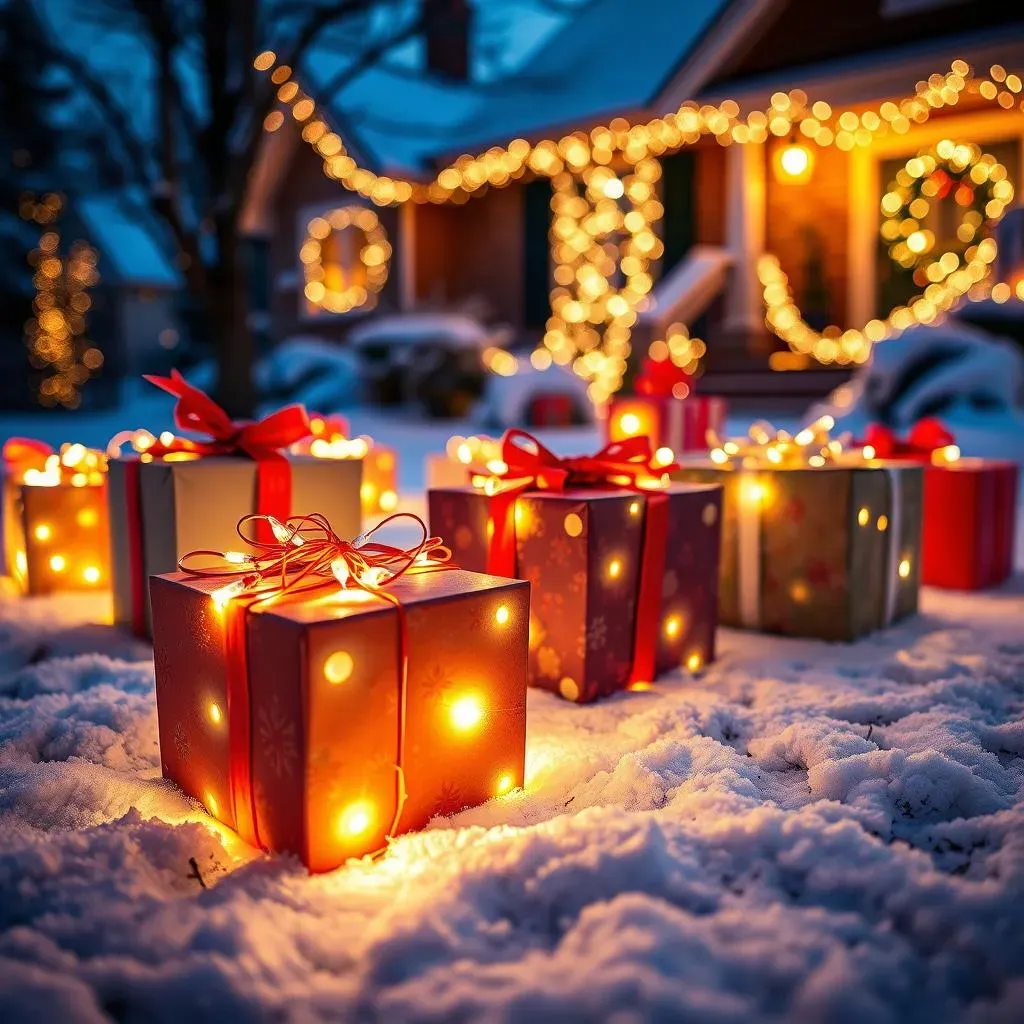
Choosing the Right Lights for Your DIY Outdoor Christmas Gift Boxes
let's get to the fun part – lighting them up! Because what's a Christmas gift box without that magical glow, right? But hold on, before you grab any old string of lights, think about where these boxes are going – outside! That means weather is a factor. You need lights that can handle a bit of drizzle, maybe even some snow, depending on where you live. Plus, you want them bright enough to actually see from the street, making your **DIY outdoor christmas gift boxes** a real showstopper. So, what kind of lights are we talking about?
LEDs are your best friend here, seriously. They're energy-efficient, which is awesome if you plan on leaving these beauties on for hours each night. They also come in a ton of colors and stay cool to the touch, which is safer, especially if you're using cardboard boxes. Incandescent lights are an option too, they give off that classic warm Christmas glow, but they use more energy and can get hot. Battery-operated lights are super handy if you don't want to mess with cords, especially for placement further away from outlets, but you'll need to keep an eye on battery life.
Light Type | Pros | Cons | Outdoor Suitability |
|---|---|---|---|
LED Lights | Energy-efficient, long-lasting, cool to touch, variety of colors, durable. | Can sometimes be a bit pricier upfront (but saves money in the long run). | Excellent - most are designed for outdoor use. |
Incandescent Lights | Classic warm glow, generally cheaper to buy initially. | Higher energy consumption, get hot, shorter lifespan, less durable. | but check for outdoor rating and be mindful of heat with cardboard. |
Battery-Operated Lights | Cordless, versatile placement, good for areas without outlets. | Batteries need replacing, brightness may be less consistent, can be less eco-friendly. | Good for specific placements, but consider battery life and weather protection for battery packs. |
Integrating Lights into Your DIY Outdoor Christmas Gift Boxes
Alright, lights chosen! Now, how do we actually get them *into* the boxes so they look amazing? This is where a little bit of crafty ingenuity comes in. For cardboard or wooden boxes, you can actually poke small holes and thread the lights through from the inside out. This gives a really neat, clean look, like the lights are part of the box itself. If you're using plastic bins, you might not want to drill holes, so wrapping the lights around the outside is totally fine and still looks festive. Think about how you want the light to show – do you want a soft glow peeking through, or a bolder, more defined outline of light? For a softer glow with cardboard, you could even line the inside of the box with tissue paper or vellum to diffuse the light beautifully.
Securing the lights is key too. You don't want them shifting around or falling off, especially if there's wind. Zip ties are your best friend for attaching lights to wooden frames or securing them inside boxes. For wrapping around plastic bins, clear packing tape or even outdoor-rated clips can work wonders. And think about hiding those cords! Nobody wants to see a tangle of green wire ruining the magic. Try to run cords along the back or underside of the boxes, using tape or clips to keep them tucked away as much as possible. **Making your DIY outdoor christmas gift boxes light up** isn't just about throwing lights in a box; it's about creating a polished, professional-looking glow that elevates your whole display.
Weatherproofing DIY Outdoor Christmas Gift Boxes for the Outdoors
Weatherproofing DIY Outdoor Christmas Gift Boxes for the Outdoors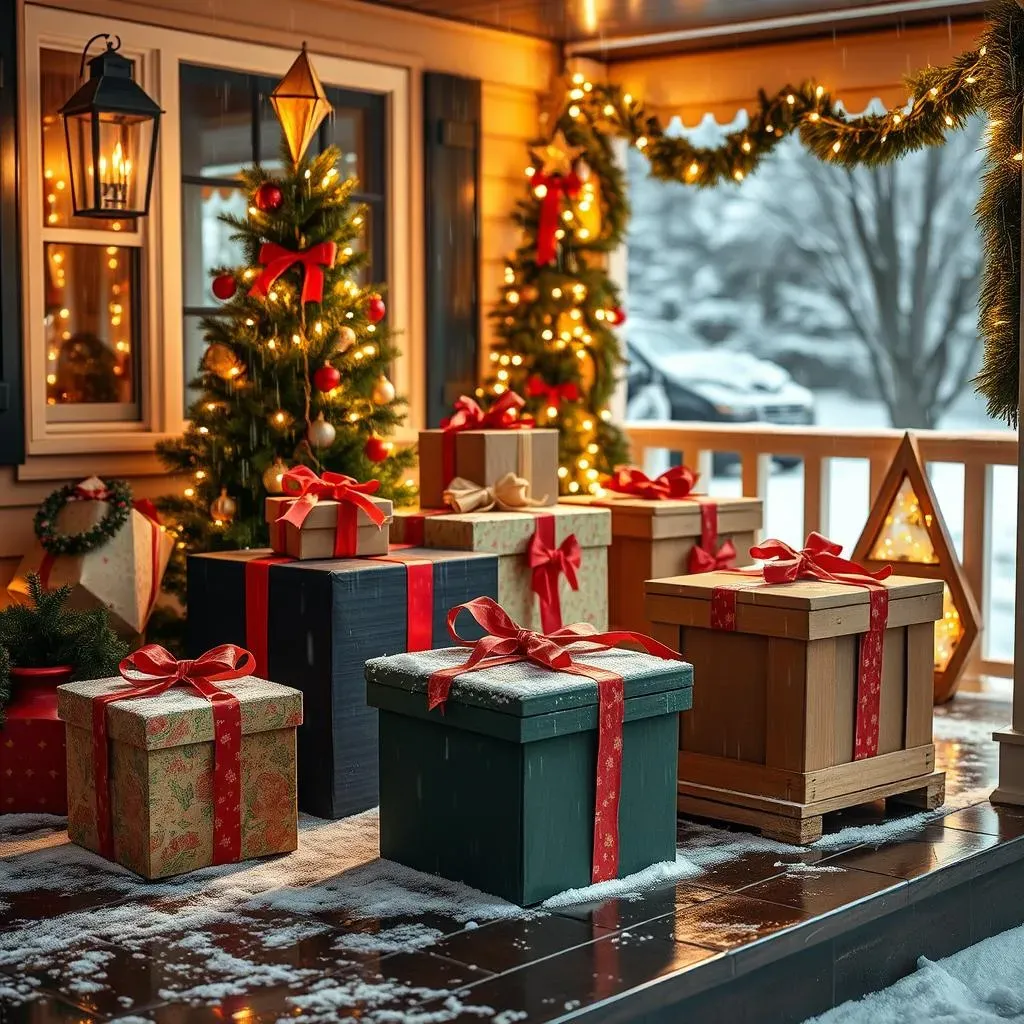
Why Weatherproofing Matters for Outdoor Gift Boxes
so you've put in the effort to make these awesome **diy outdoor christmas gift boxes**, they're looking fantastic, all lit up and ready to spread holiday cheer. But wait! Before you just toss them out into your yard, think about Mother Nature. Rain, snow, wind – she can be a bit of a Grinch when it comes to decorations. That's where weatherproofing comes in. Seriously, taking a little extra time to weatherproof your creations is going to save you a whole lot of heartache (and soggy cardboard) later on. Imagine putting all this work in, only to have your beautiful gift boxes turn into mush after the first drizzle. No thanks! Weatherproofing isn't just about making them last longer; it's about protecting your time, effort, and holiday spirit. Plus, weatherproofed boxes look way better for longer – no droopy, sad-looking presents on your lawn!
Think of it like this: you wouldn't go outside in a blizzard in just a t-shirt, right? Your Christmas decorations need protection too! Basic weatherproofing is actually pretty straightforward. It's all about creating a barrier between your box and the elements. We're talking sealants, protective films, and smart material choices. Even simple things like elevating your boxes slightly off the ground can make a difference. So, let's get into the nitty-gritty and figure out how to make sure your **weatherproofing DIY outdoor christmas gift boxes for the outdoors** can withstand whatever winter throws their way.
Top Weatherproofing Techniques for Different Materials
Now, the best **weatherproofing DIY outdoor christmas gift boxes for the outdoors** strategy really depends on what you've used as your base. Cardboard, plastic, wood – they all have different needs. For cardboard, because let's face it, it's basically paper's weaker cousin when it comes to water, you need to go all-in on sealing. Think multiple layers of heavy-duty packing tape – every seam, every edge, completely covered. Then, consider a waterproof sealant spray designed for crafts. Seriously, don't skimp on this! For plastic bins, you're already in a much better position since plastic is naturally water-resistant. However, you might want to seal any openings or gaps, especially around where lights are inserted, just to be extra safe. Silicone caulk works great for this. And for wooden frames, paint is your friend! Outdoor-rated paint not only adds color but also creates a protective layer. Consider a primer first for extra durability, and make sure to seal any joints or nail holes.
Don't forget about the decorations on your boxes either! If you're using fabric ribbon, for example, a fabric sealant spray can help prevent it from getting soggy and losing its shape. For bows or other embellishments, make sure they are also made of weatherproof materials or treated with a sealant. The goal is to create a fully protected package, from the base box to the tiniest decorative detail. With the right **weatherproofing DIY outdoor christmas gift boxes for the outdoors** methods, your festive creations will not only look amazing but also last throughout the entire holiday season, no matter the weather!
Base Material | Primary Weatherproofing Method | Additional Tips |
|---|---|---|
Cardboard | Heavy-duty packing tape + Waterproof sealant spray | Multiple layers of tape, focus on sealing all seams and edges, consider a plastic sheet underneath for ground moisture. |
Plastic Bins | Silicone caulk for gaps, check for water-tight seals | Ensure lid is securely closed, consider drainage holes at the bottom in case any water gets in. |
Wooden Frames | Outdoor primer + Outdoor paint/stain + Wood sealant | Seal all joints and nail holes, consider elevated base to prevent ground moisture damage. |
Decorating & Displaying Your DIY Outdoor Christmas Gift Boxes
Decorating & Displaying Your DIY Outdoor Christmas Gift Boxes
Unleashing Your Inner Decorator: Themes and Styles
boxes are built, lights are in, they're weatherproofed – now for the seriously fun part: making them look like actual Christmas presents! This is where your creativity gets to shine. Think about the overall vibe you're going for in your yard. Are you dreaming of a classic, elegant Christmas? Go for rich reds, golds, and greens. Maybe you're more into a winter wonderland theme? Silvers, whites, and icy blues are your jam. Or perhaps you want something totally playful and bright? Think vibrant pinks, teals, and lime greens! Seriously, the sky's the limit when it comes to **decorating & displaying your DIY outdoor christmas gift boxes**. Don't be afraid to get a little wild and match your boxes to your house's style or your personal taste. It's all about making *you* smile when you pull up to your home.
Consider coordinating your gift box decorations with your other outdoor Christmas decor. If you've got a lot of red and gold going on with your wreaths and garlands, carry that theme through to your boxes for a cohesive look. Or, if you want your gift boxes to really pop, choose contrasting colors that will stand out against your existing decorations. Maybe your house is mostly white lights? A set of brightly colored gift boxes could be just the thing to add a punch of fun. Think about using different textures too! Shiny ribbons, matte paper, glittery accents – mixing textures adds depth and visual interest to your **decorating & displaying your DIY outdoor christmas gift boxes** and makes them way more eye-catching.
Decoration Style | Color Palette | Ribbon & Bow Ideas | Extra Embellishments |
|---|---|---|---|
Classic Christmas | Red, Green, Gold, Silver | Velvet ribbons, metallic bows, striped ribbons | Pinecones, berries, jingle bells, traditional ornaments |
Winter Wonderland | White, Silver, Blue, Icy tones | Satin ribbons, sheer bows, glittery ribbons | Snowflakes, icicles, faux snow, white branches |
Playful & Bright | Pink, Teal, Lime Green, Purple | Brightly colored ribbons, polka dot bows, patterned ribbons | Oversized ornaments, candy canes, fun character cutouts |
Ribbons, Bows, and All Things Festive: Embellishment Ideas
Let's talk trimmings! Ribbons and bows are the bread and butter of gift box decorating, right? But don't just grab any old roll of ribbon. Think about scale. For big outdoor boxes, you want *wide* ribbons that make a statement. Think 2-inch, 3-inch, even wider! Wired ribbon is your best friend because it holds its shape beautifully, especially outdoors where wind might be a factor. And don't be shy with the bows! Big, fluffy bows are what we're after. You can buy pre-made bows to save time, or get crafty and learn to make your own – there are tons of easy tutorials online. Experiment with different bow styles too – classic loops, pom-pom bows, even star-shaped bows for a unique twist on your **decorating & displaying your DIY outdoor christmas gift boxes**.
Beyond ribbons and bows, think about other festive touches you can add. Oversized ornaments are super fun and add a touch of whimsy. Attach them securely with wire or strong adhesive so they don't go rogue in a gust of wind. Pinecones and berries are great for a more natural, rustic look. You can even spray paint pinecones to match your color scheme! Jingle bells are another classic Christmas element that adds a festive sound when the wind blows. And don't forget about labels! Make oversized gift tags out of cardstock or wood and write fun messages like "Do Not Open Until December 25th!" or "Merry Christmas from [Your Family Name]" to personalize your **decorating & displaying your DIY outdoor christmas gift boxes** even further.
Placement is Key: Creating a Festive Display
your boxes are decked out and dazzling – now where do you put these beauties? Placement is key to maximizing their impact. Think about creating a focal point in your yard. Grouping your gift boxes together, rather than scattering them randomly, makes a much stronger statement. Consider stacking them in a pyramid shape for a classic Christmas tree vibe, or arrange them around your porch or entryway to frame your home. If you have steps leading up to your door, placing gift boxes on either side of the steps is a super welcoming and festive touch. Think about varying the sizes of your boxes in your display too. Mixing large, medium, and small boxes adds visual interest and prevents your display from looking too uniform.
Don't forget about lighting! Make sure your **diy outdoor christmas gift boxes** are positioned so their lights are visible from the street. If you've got spotlights in your yard, consider aiming one at your gift box display to really make it shine at night. And think about daytime curb appeal too. Even when they're not lit up, your decorated gift boxes should look festive and inviting. Adding daytime decorations like greenery, berries, or colorful ornaments ensures they look fantastic around the clock. With a little thought and creativity in your placement, your **decorating & displaying your DIY outdoor christmas gift boxes** will transform your yard into a Christmas wonderland that everyone will admire!
Wrapping Up Your DIY Outdoor Christmas Gift Boxes
So, there you have it! Creating **diy outdoor christmas gift boxes** is a fun and surprisingly simple way to make a big impact with your holiday decorations. From picking your base to adding lights and weatherproofing, you've got all the steps to craft festive boxes that will last. Now, it's time to unleash your creativity with colors, ribbons, and bows to truly personalize your display. Get ready to enjoy the glow and festive spirit of your handmade **diy outdoor christmas gift boxes** all season long and impress all your neighbors with your unique holiday style!