Table of Contents
Walk into a Z Gallerie and you see it: the sparkle, the drama, the pieces that just scream 'expensive taste.' You spot that abstract painting, the geometric mirror, or that uniquely shaped lamp, and your heart does a little flutter. Then you see the price tag, and your wallet whimpers in fear. It's a classic dilemma for anyone who loves that chic, modern, slightly glamorous aesthetic but isn't working with an unlimited budget. This is exactly where the magic ofdiy z galleriecomes in. Why pay full price for something you can recreate yourself with a bit of creativity and a trip to the hardware store? We're talking about capturing that high-end vibe without the high-end cost. Forget browsing online with teary eyes. We'll walk you through tackling some of their signature looks, from art knockoffs that actually look good to mirror projects that add serious shine, and even some furniture hacks to elevate your space. Get ready to roll up your sleeves and transform your home into a place that looks like it cost a fortune, but didn't.
Why Try DIY Z Gallerie Style?
Why Try DIY Z Gallerie Style?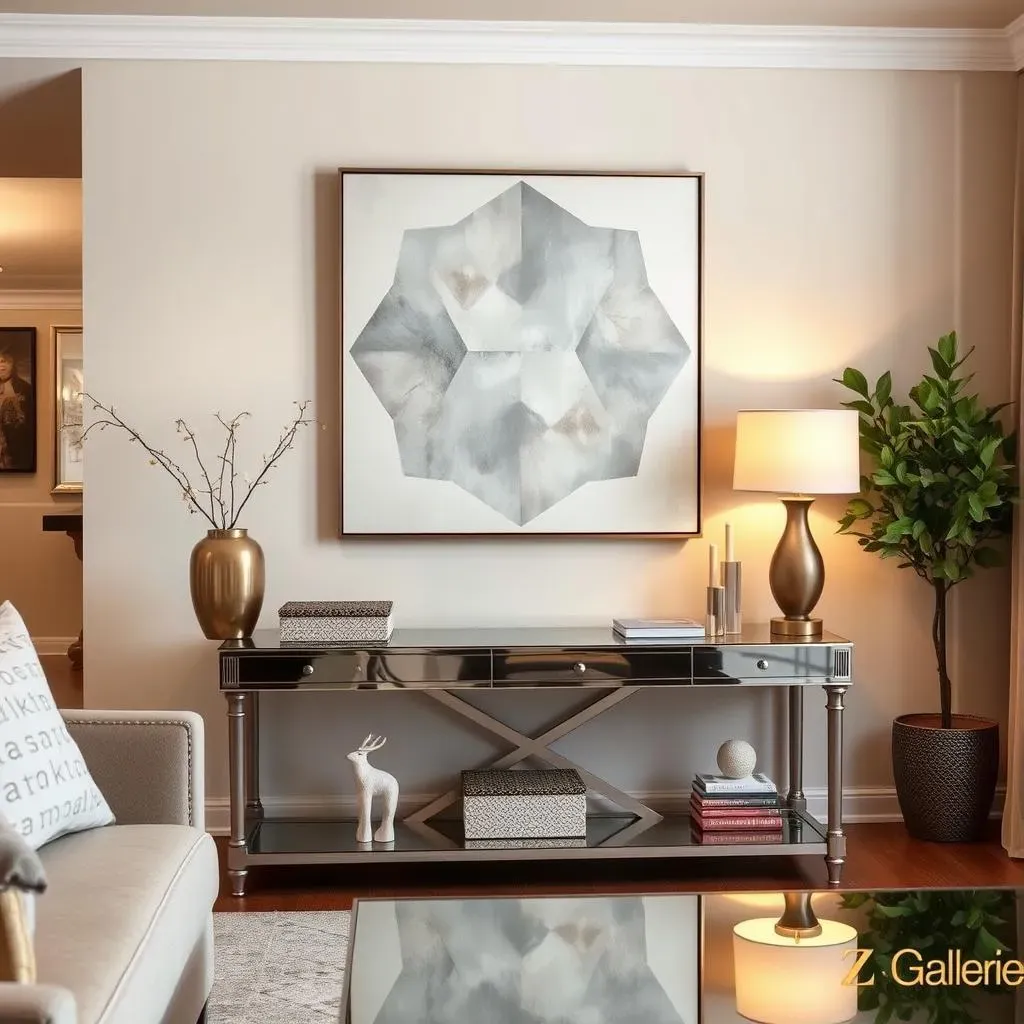
Beat the Price Tag
Let's be real. Z Gallerie has some gorgeous stuff. Their aesthetic is undeniably chic, modern, and often, well, sparkly. You see that perfect mirrored console or that dramatic piece of abstract art, and you immediately start mentally rearranging your living room. Then you glance at the price tag. Ouch. It hits you like a ton of bricks, or maybe a very expensive crystal sculpture. This is the number one reason to exploreWhy Try DIY Z Gallerie Style?. You can get that high-impact look without taking out a second mortgage. We're talking about saving hundreds, sometimes thousands, of dollars on pieces that, with a little effort and know-how, you can replicate yourself. It's like getting the designer handbag look with a clever dupe – nobody has to know, and your bank account stays happy.
Get That "I Made This" Feeling
Beyond the sheer financial victory, there's a deep satisfaction in creating something with your own two hands. Remember that time you finally assembled that IKEA furniture without crying? This is like that, but way cooler. When a guest compliments your stunning geometric wall art or your custom-painted metallic vase, you get to casually say, "Oh, this? I made it." It's a small moment of triumph, a quiet fist pump to yourself. DIY Z Gallerie projects aren't just about saving cash; they're about adding a personal touch, tailoring pieces to your exact taste and space, and gaining a new skill or two along the way. Plus, it beats scrolling endlessly through online shops feeling inadequate.
- Save a significant amount of money.
- Customize pieces to fit your specific decor and needs.
- Experience the satisfaction of creating something yourself.
- Learn new crafting or building skills.
- Avoid impulse buys by focusing on creating instead.
It's More Accessible Than You Think
Maybe you're thinking, "I can barely hang a picture frame straight, how am I supposed to recreate a Z Gallerie mirror?" Fair point. But the truth is, many of their signature looks are based on simple concepts: geometric shapes, metallic finishes, mirrored surfaces, and abstract patterns. These aren't rocket science. A lot of the magic comes from using the right materials and techniques, which are totally learnable. You don't need a full workshop or years of experience. Many DIY Z Gallerie tutorials break down projects into simple steps. A little paint, some glue, maybe a few pre-cut wood pieces, and suddenly you're on your way to a high-end look. It's about breaking down the seemingly complex into manageable tasks, proving you don't need a design degree to have a stylish home.
Simple DIY Z Gallerie Art Knockoffs
Simple DIY Z Gallerie Art Knockoffs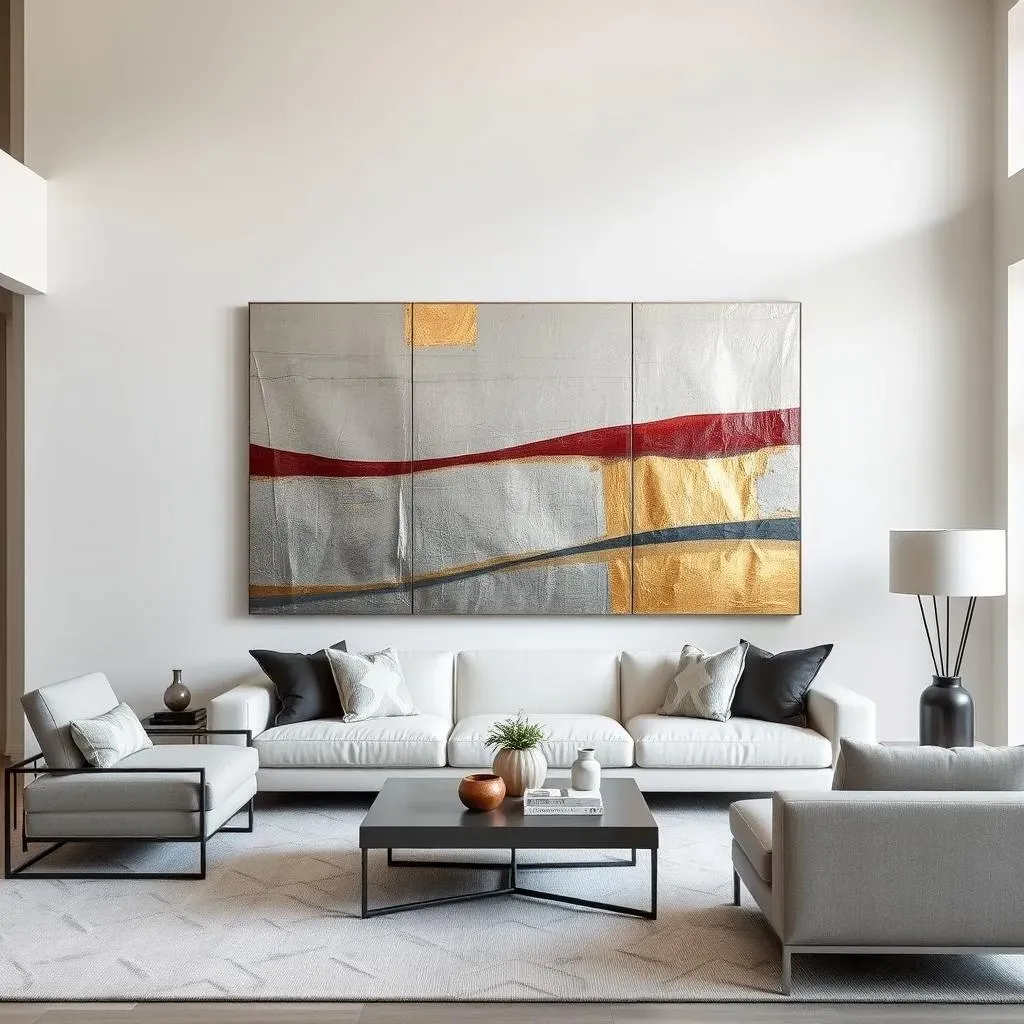
Alright, let's talk art. You've seen those gorgeous, often abstract pieces at Z Gallerie that pull a room together. They've got the metallic sheen, the subtle textures, the kind of vibe that looks effortlessly chic. But then you check the price, and suddenly that effortless vibe feels a lot like hard work for your bank account. This is whereSimple DIY Z Gallerie Art Knockoffsbecome your best friend. The good news? A lot of their signature art styles are surprisingly simple to replicate. Think layered paints, tape used to create crisp geometric lines, or even just strategically applied gold leaf. You don't need to be Picasso; you just need a blank canvas (or even a piece of plywood), some paint, maybe some metallic spray paint, and a little patience. It's about breaking down the look into basic techniques anyone can handle, turning a potentially intimidating project into something manageable and, dare I say, fun.
Tackling DIY Z Gallerie Mirror Projects
Tackling DIY Z Gallerie Mirror Projects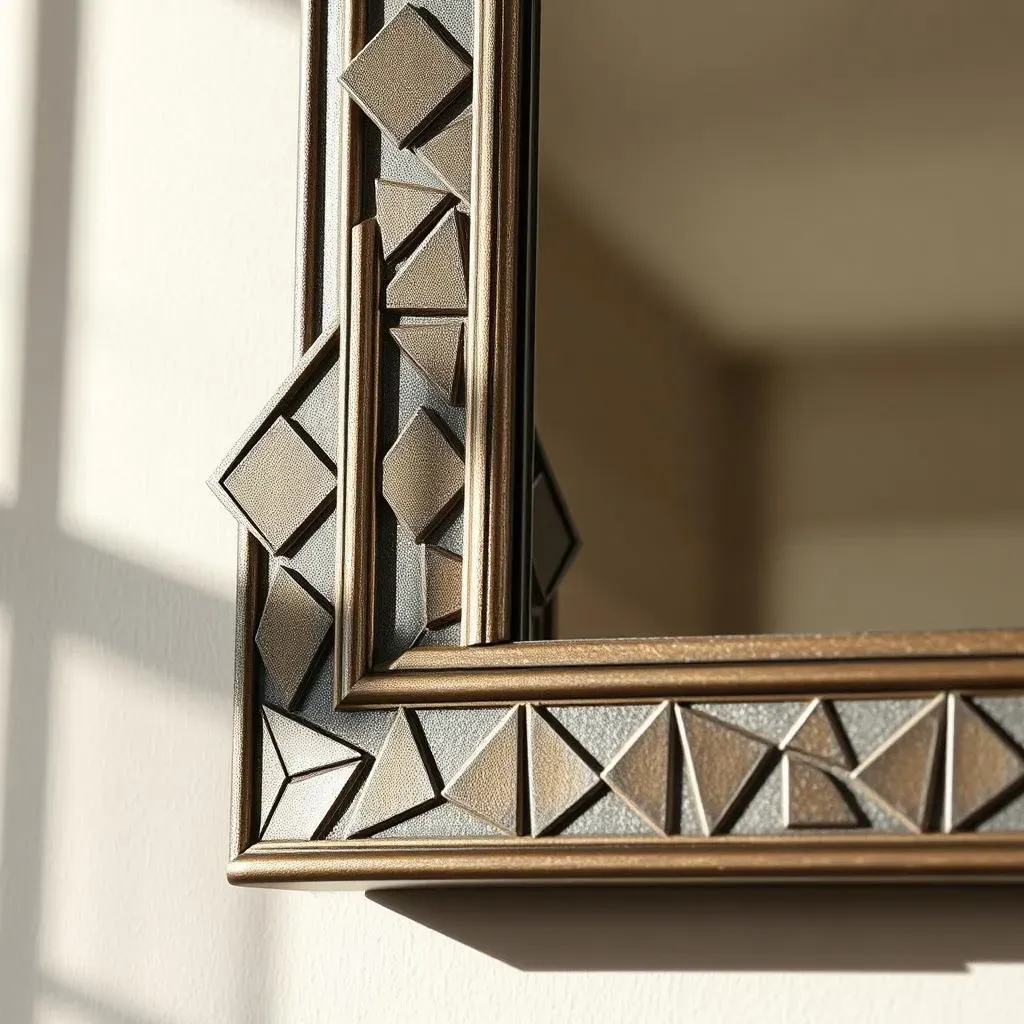
let's pivot to mirrors. Z Gallerie is famous for its statement mirrors – the ones with intricate frames, geometric patterns, or dramatic sunburst designs that make a wall pop. They bounce light around, make a room feel bigger, and frankly, just look cool. But those price tags? They can be astronomical, making you feel like you need to take out a small loan just to check your reflection in style. This is exactly whyTackling DIY Z Gallerie Mirror Projectsis such a popular route for savvy decorators. We're talking about transforming basic, affordable mirrors into show-stopping pieces that mimic those high-end designs. It’s less about being a master craftsman and more about smart material choices, careful measuring, and not being afraid of a little glue and paint. Think adding pre-cut wooden shapes to a plain mirror frame, creating a starburst effect with dowels, or even just giving a thrift store find a metallic makeover.
Beyond Art: DIY Z Gallerie Furniture Hacks
Beyond Art: DIY Z Gallerie Furniture Hacks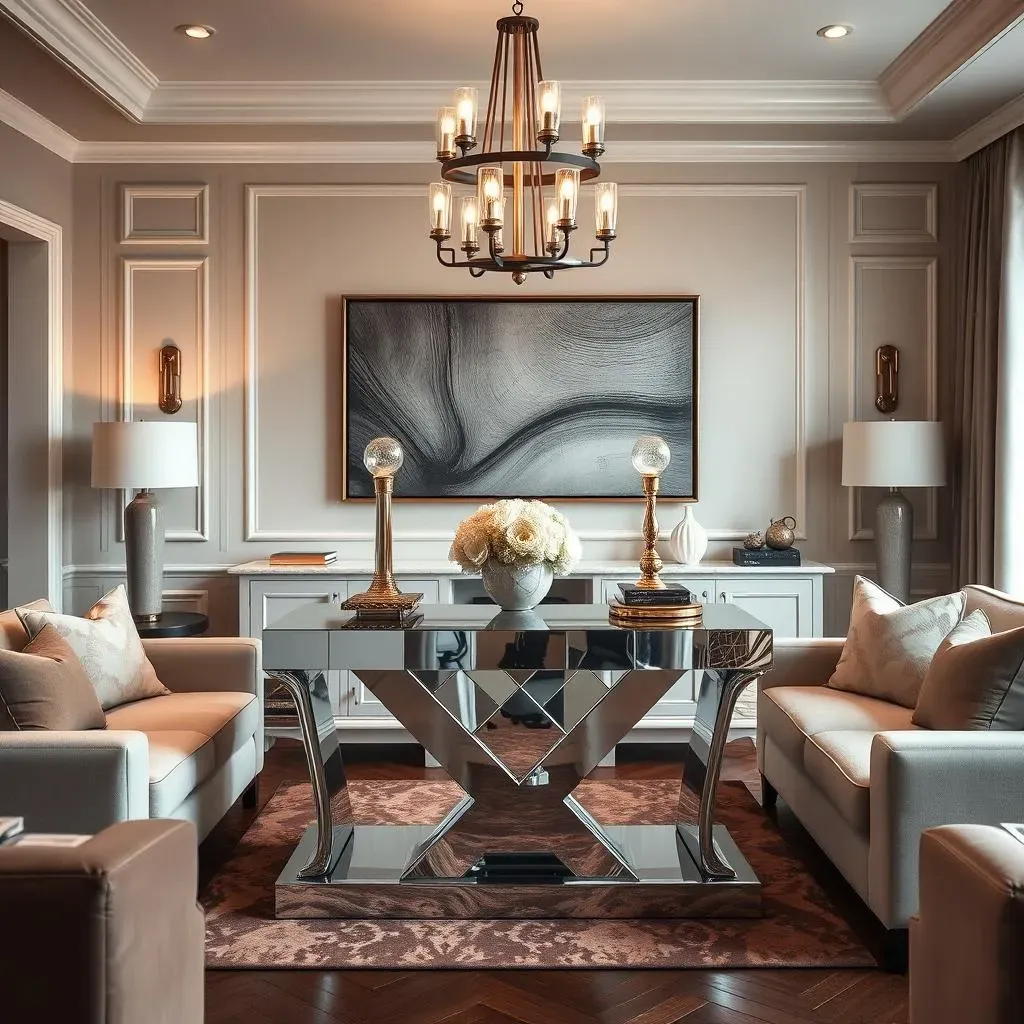
Elevating Basic Pieces with Z Gallerie Flair
Z Gallerie isn't just about wall decor; their furniture often features bold shapes, luxurious finishes, and unexpected details. Think mirrored cabinets, geometric coffee tables, or consoles with metallic accents. Replicating these pieces from scratch is often too complex for a casual DIYer, butBeyond Art: DIY Z Gallerie Furniture Hacksoffers a smarter approach. The trick lies in taking a basic, affordable piece – say, a simple dresser from a big box store or a thrifted side table – and giving it a high-end makeover. This could involve adding mirrored tiles to drawer fronts, applying metallic paint or leaf to legs and trim, or attaching pre-cut wood appliques to create intricate patterns. It's about identifying the key design elements of a Z Gallerie piece and figuring out how to graft them onto a cheaper base. This method saves significant cash and lets you customize dimensions and finishes.
For example, that ubiquitous IKEA Malm dresser? It becomes a canvas for a Z Gallerie-inspired transformation. Adding mirrored panels to the front of each drawer instantly elevates its look from dorm room basic to glamorous bedroom statement. Or consider a plain wooden console table. A coat of glossy black paint, some strategically placed gold leaf on the legs, and perhaps a geometric overlay cut from thin MDF can turn it into something that looks like it belongs in a designer showroom. It requires careful planning and execution, sure, but the payoff is a piece that fits your space and style perfectly, without the eye-watering price tag. It's less about building furniture and more about clever cosmetic surgery for your existing or inexpensive finds.
- Identify key Z Gallerie furniture styles (mirrored, metallic, geometric).
- Select an affordable base piece (thrift store find, basic retail item).
- Determine the specific hack needed (mirrored tiles, paint, appliques).
- Measure carefully before purchasing materials.
- Follow tutorials or plan steps meticulously.
Specific Furniture Targets: Consoles, Tables, and More
Let's get specific about common furniture items ripe for a Z Gallerie hack. Console tables are prime candidates. They're often simple in structure, making them easy to modify. Adding decorative trim, painting them in a high-gloss or metallic finish, or even adding a faux marble top can drastically change their appearance. Coffee tables with interesting bases or geometric shapes are also popular targets. Sometimes, simply adding a bold, metallic paint to the base of a plain glass-top table is enough to give it that dramatic Z Gallerie edge. Cabinets and sideboards can be updated by replacing hardware with glamorous knobs, adding mirrored or patterned contact paper to interior backs, or applying wood trim to create paneling effects on doors.
The beauty of these furniture hacks is their adaptability. You aren't limited to recreating one specific Z Gallerie item. Instead, you can mix and match elements you like from different pieces to create something truly unique. Saw a console with cool legs and a cabinet with interesting door fronts? Combine those ideas on a single piece you're hacking. It encourages creativity and ensures the final product feels personal, not just a cheap copy. It takes patience and attention to detail, especially when working with materials like mirrors or delicate finishes, but the sense of accomplishment you get when you see your transformed piece is genuinely rewarding.
Making Your DIY Z Gallerie Look Shine
Making Your DIY Z Gallerie Look Shine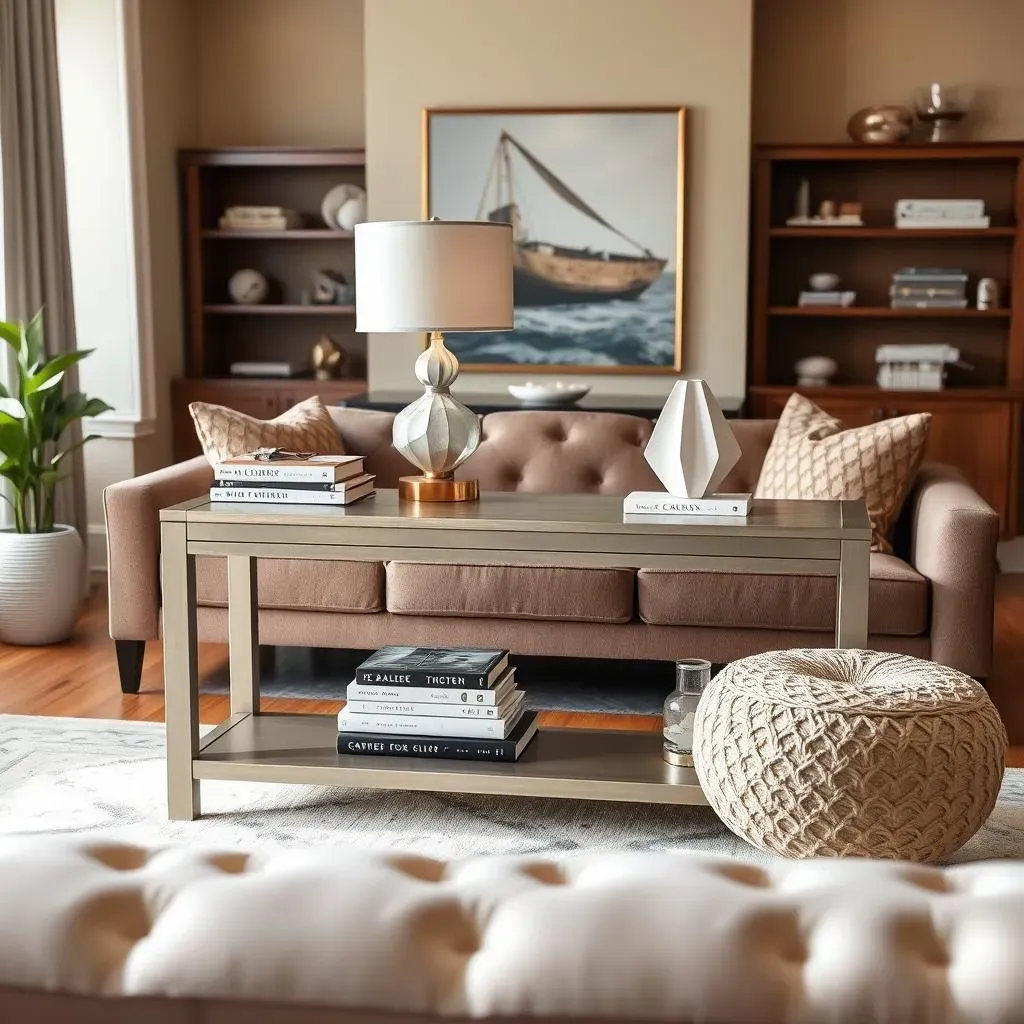
The Finishing Touches That Matter
you've done the hard work. You've hacked the furniture, painted the art, glued the mirror pieces. But this is where you elevate your project from "clearly homemade" to "seriously impressive."Making Your DIY Z Gallerie Look Shineis all about the details you add at the end. Think about the hardware on that dresser you transformed. Did you swap out the basic knobs for something weighty and metallic, maybe crystal or a brushed gold? That tiny change makes a huge difference. Consider the edges of your mirror frame; are they crisp and clean, or could they use a touch-up? A little bit of metallic Rub 'n Buff on edges or raised details can mimic expensive finishes. Don't forget the base of furniture pieces – adding small furniture feet or even just painting the existing ones black or gold can ground the piece and give it a more polished look. It's these small, often overlooked steps that separate a good DIY from a great one.
Styling Your New Statement Piece
Now that your DIY piece is finished and looking sharp, don't just plop it in a corner and hope for the best. How you style your new Z Gallerie-inspired creation is key to making it look like it belongs. If it's a console table, what are you placing on it? A stack of chic coffee table books, a sculptural lamp, maybe a geometric vase? Less is often more when showcasing a dramatic piece. For wall art, consider the surrounding elements. Does it need a simple frame to look more finished, even if the original Z Gallerie piece was frameless? Are the other items on the wall competing with it, or do they complement its style? Think about lighting, too. A strategically placed lamp or even a picture light can highlight the textures and finishes you worked so hard on. It's about creating a vignette around your DIY project that makes it feel like an intentional, high-end addition to your space, not just something you cobbled together in the garage.
What's the single most important finishing touch for a DIY mirror?
Your High-End Home, Achieved DIY
So there you have it. Taking on adiy z gallerieproject isn't about creating a perfect replica down to the last glitter fleck. It's about capturing the essence, the feel, the *look* that makes their pieces stand out. You've seen that with some effort, a little paint, maybe some glue, and definitely less money than you'd spend in their store, you can add that touch of glamour and modern flair to your own space. It might not fool a professional interior designer under a magnifying glass, but who cares? Your friends will be asking where you found that amazing piece, and you'll get to tell them you made it yourself. That's a satisfaction money can't buy, even at Z Gallerie prices.