Table of Contents
Let's be honest, walking into a Z Gallerie store or browsing their website is an exercise in wanting everything. The glam, the sparkle, the statement pieces – it's all undeniably chic. Then you see the price tags, and reality bites. Your wallet stages a silent protest. But what if you could capture that same high-end, glamorous vibe without emptying your savings account? That's where the world of diy z gallerie decor comes in.
Why Attempt DIY Z Gallerie Decor Anyway?
Why Attempt DIY Z Gallerie Decor Anyway?
The Sticker Shock is Real
Look, we've all been there. You see a stunning mirrored console table or a ridiculously chic sculpture at Z Gallerie, your heart flutters, then you glance at the price tag and your heart does a little flip-flop of despair. Their stuff is gorgeous, no argument there, but it often comes with a price that requires liquidating a small asset or two. That's the number one driver for diving into diy z gallerie decor. It’s not about being cheap; it’s about being smart and resourceful. Why pay hundreds, sometimes thousands, for something you can recreate for a fraction of the cost?
Unleash Your Inner Crafty Genius
Beyond the obvious savings, there's a genuine thrill in making something beautiful with your own hands. Z Gallerie pieces often have unique textures, finishes, and details. Trying to replicate those yourself is a fantastic creative challenge. It pushes you to learn new skills, work with different materials, and troubleshoot problems. You get to put your own spin on a design, maybe changing the color, size, or finish to perfectly match your space. It’s like getting a custom piece tailored just for you, but you're the tailor.
- Save significant cash on high-end looks.
- Gain the satisfaction of a completed DIY project.
- Customize pieces to fit your exact style and space needs.
- Learn new crafting and building techniques.
- Avoid buyer's remorse over expensive impulse buys.
It's Not As Hard As You Think
Seriously. A lot of Z Gallerie's signature looks involve relatively simple techniques like applying mirror tiles, adding trim, using metallic paints, or working with specific textures. The magic often lies in the *combination* of these elements and a good finish. You don't need a workshop full of power tools or years of experience. Many popular knockoffs can be done with basic supplies from a craft store or even the dollar store. It’s more about patience and attention to detail than advanced carpentry.
Decoding the Z Gallerie Vibe: Elements for Your DIY Projects
Decoding the Z Gallerie Vibe: Elements for Your DIY Projects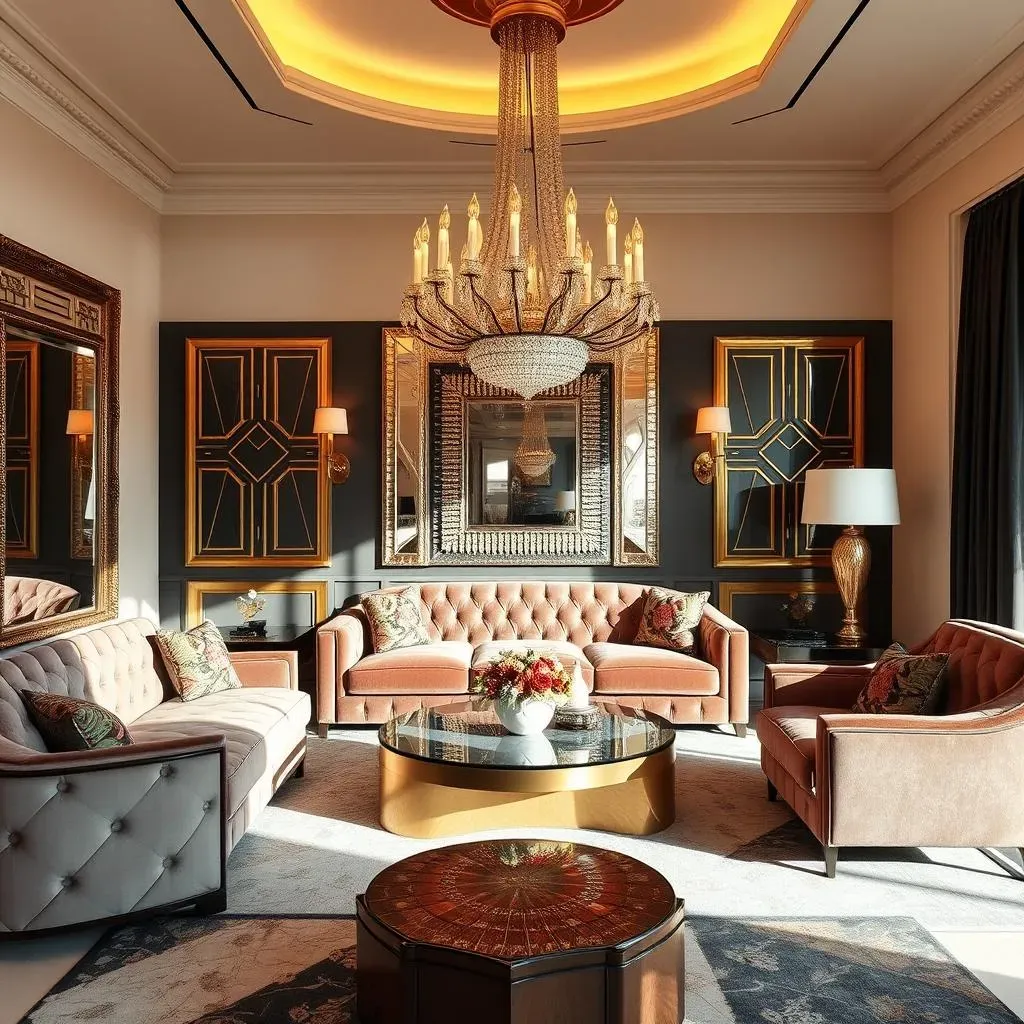
Alright, so before we start gluing mirror tiles onto everything that stands still, we've got to figure out what actually *makes* something look like it came from Z Gallerie. It's more than just shiny stuff, though there's definitely plenty of that. When you're Decoding the Z Gallerie Vibe: Elements for Your DIY Projects, think high contrast, bold metallics (especially gold, silver, and rose gold), mirrored surfaces galore, plush textures like velvet and faux fur, and statement pieces that demand attention. They love geometry, often incorporating clean lines, sharp angles, and sometimes dramatic curves. Lighting is key too – sparkly chandeliers, dramatic lamps, and anything that catches the light. It's a look that screams "glamorous penthouse," even if you're living in a studio apartment.
Popular DIY Z Gallerie Decor Knockoffs You Can Actually Make
Popular DIY Z Gallerie Decor Knockoffs You Can Actually Make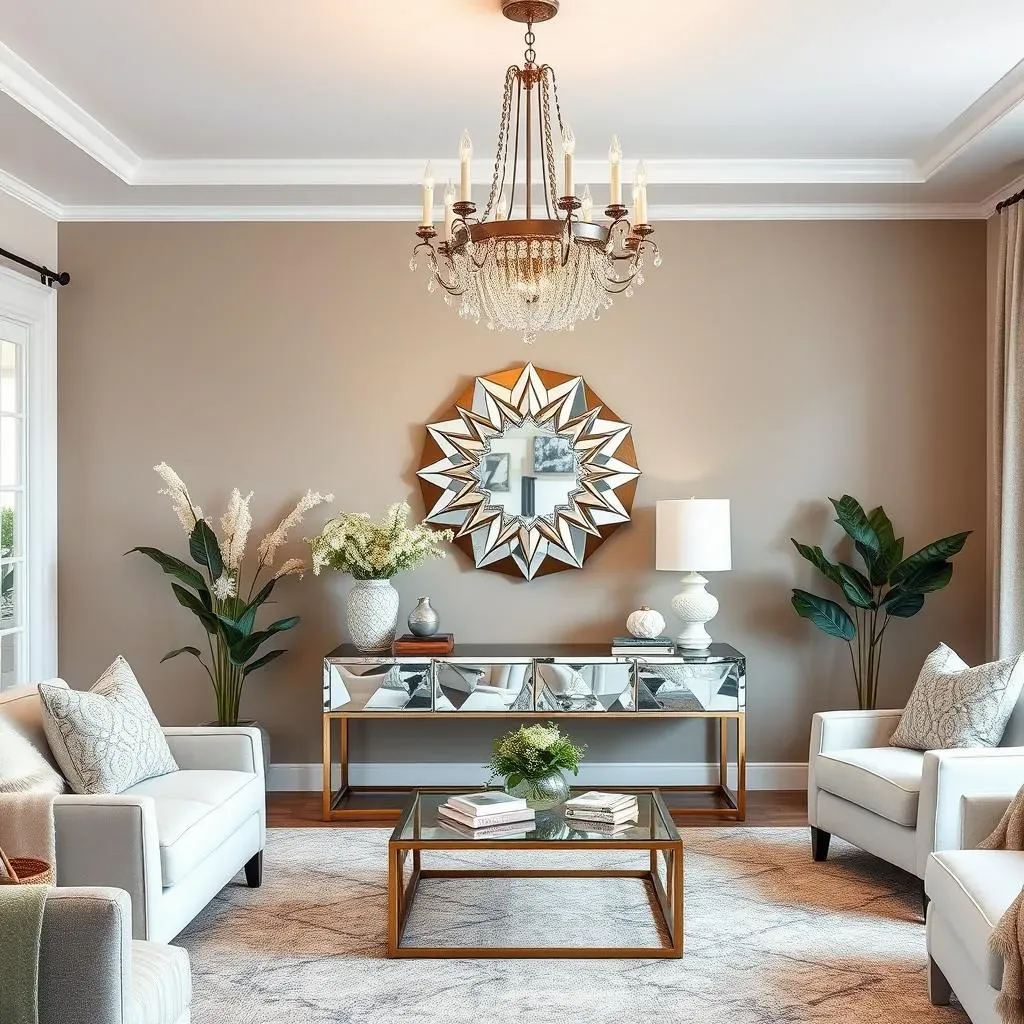
Mirrored Magic: Console Tables and Wall Art
One of the most recognizable Z Gallerie looks involves mirrors. Not just hanging a mirror, but incorporating mirrored surfaces *into* furniture and art pieces. Think console tables with mirrored tops and drawer fronts, or geometric wall art made entirely of mirrored tiles. These aren't just reflective surfaces; they're statement pieces that bounce light around a room, making it feel bigger and brighter. Crafting your own version often involves starting with an inexpensive base piece – maybe a plain wooden console from a thrift store or a simple canvas – and applying pre-cut mirror tiles. It sounds fiddly, and okay, sometimes it is, but the payoff is huge. You can find these tiles at craft stores, hardware stores, or even online in various shapes and sizes. Edge banding or simple trim painted metallic can hide rough edges and give it a polished, store-bought finish.
Sculptural Statements and Dramatic Lighting
Beyond the shine, Z Gallerie excels at interesting sculptural pieces and dramatic lighting. Those abstract gold or silver sculptures that look like twisted metal or organic shapes? Often, you can recreate a similar effect using unexpected materials like PVC pipe bent with heat, or even crumpled aluminum foil shaped and then painted with metallic leaf or spray paint. Lamps and chandeliers with lots of sparkle or unique bases are another staple. A plain lamp base can be transformed with textured paint, applied jewels, or even wrapped in metallic wire or rope. Chandeliers can be upgraded by adding extra crystals or swapping out dull finishes for something more reflective. It’s about seeing an object not just for what it is, but for what it *could* be with a little imagination and a can of gold spray paint.
- Mirrored furniture (consoles, side tables)
- Geometric mirrored wall art
- Abstract metallic sculptures
- Upgraded lamps and chandeliers
- Textured or jeweled decorative boxes
Mastering Materials and Techniques for DIY Z Gallerie Decor
Mastering Materials and Techniques for DIY Z Gallerie Decor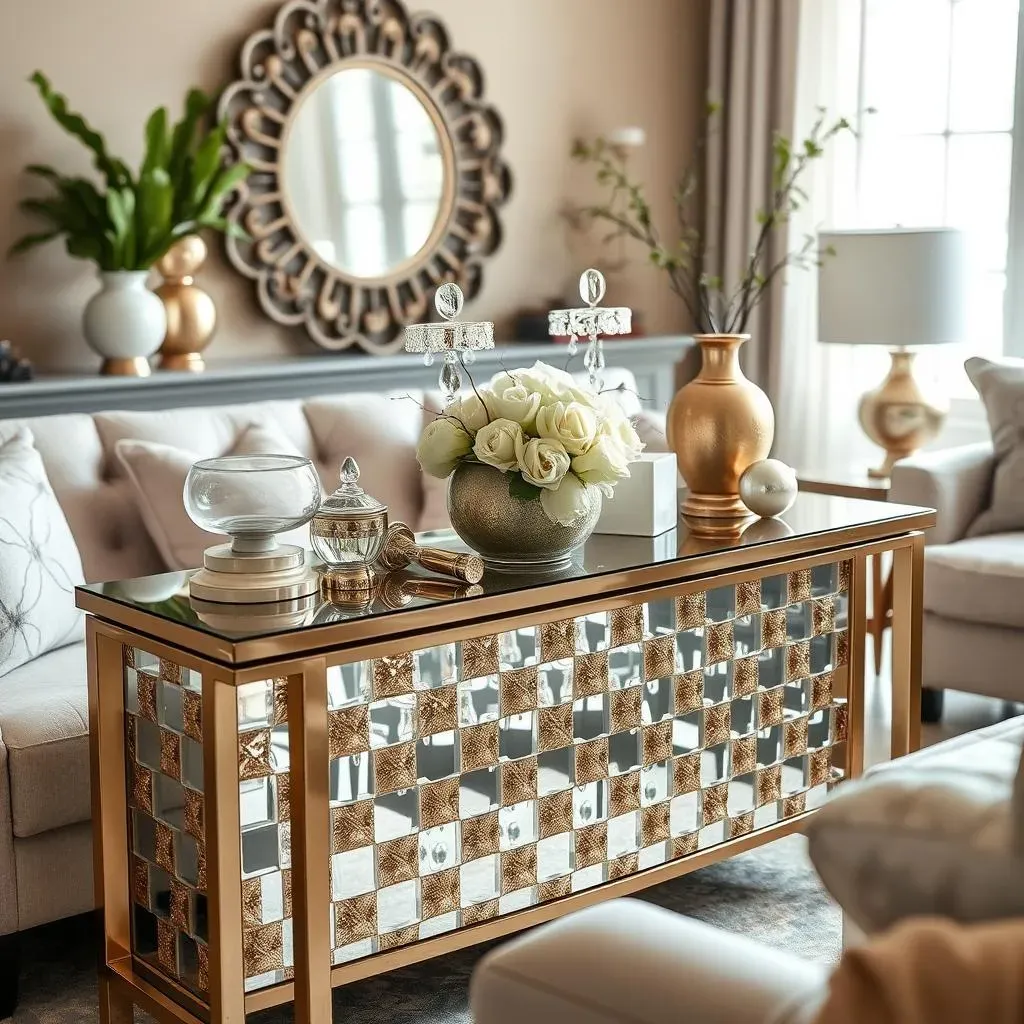
Stocking Up on the Right Stuff
Alright, let's talk supplies for your diy z gallerie decor adventures. You're not going to need solid gold bars, thankfully. The secret sauce often lies in clever use of affordable materials. Think mirror tiles – these are your best friends for those reflective surfaces. You can find them in various shapes and sizes, often with adhesive backs. Another staple is metallic spray paint. Gold, silver, rose gold, even copper – get good quality stuff for a smooth, even finish. Don't skimp here; cheap paint looks cheap. Wood trim, MDF boards, even PVC pipes can form the base for sculptural pieces or add architectural detail. Adhesives are crucial; you'll need strong glue for mirrors and embellishments. Consider E6000 or specialized mirror adhesive. Foam core board is surprisingly useful for creating lightweight shapes and backings for wall art. And don't forget the embellishments: glass beads, acrylic crystals, even interesting hardware can elevate a piece from 'meh' to 'marvelous'.
Mastering the Gleam and Glam Techniques
Getting that Z Gallerie look isn't just about *what* you use, but *how* you use it. The key techniques for diy z gallerie decor often involve application and finishing. Applying mirror tiles requires patience and a steady hand; measure twice, stick once, as they say. Grouting isn't usually necessary for decorative pieces, but filling small gaps with a metallic paint pen can make a big difference. Metallic painting needs thin, even coats to avoid drips and get that smooth, reflective surface. Sometimes, layering different metallic shades adds depth. For sculptural pieces, learning how to join materials like wood, PVC, or foam core securely is vital. Hot glue is fast, but wood glue or stronger epoxy might be necessary for durability. Texturing is another trick; you can use joint compound, spackling paste, or even textured spray paints to add dimension before painting. Sanding between coats, especially with paint, ensures a professional finish.
- Measure accurately before cutting or applying materials.
- Apply metallic paint in thin, even layers.
- Use strong adhesives suitable for the materials you're joining.
- Sand surfaces for a smooth base before painting or finishing.
- Experiment with layering metallic paints for depth.
- Practice on scrap pieces before tackling your main project.
Finishing Touches That Make a Difference
This is where your diy z gallerie decor piece goes from looking homemade to looking high-end. The finishing touches are critical. Once your paint is dry and your mirrors are stuck, inspect your work closely. Are there any visible glue spots? Can you touch them up? Are the edges clean? Adding simple trim, like small wooden molding or even just a painted strip, around mirrored areas or along the edges of a console can hide imperfections and give it a finished, polished look. Consider adding felt pads to the bottom of furniture pieces to protect your floors. If you're working with a lamp, ensure the wiring is neat and hidden. Sometimes, a clear protective topcoat is necessary, especially on surfaces that will see wear and tear. It's these small details – the clean edges, the hidden seams, the smooth finish – that truly elevate your DIY creation and make it look like it belongs in a high-end showroom, not your garage.
Your Glam Home Awaits (Without the Debt)
So there you have it. The path to a Z Gallerie-inspired home doesn't require a second mortgage or selling a kidney. It requires some glue, maybe some spray paint, a bit of patience, and the willingness to get your hands dirty. These DIY projects aren't magic; they're just clever ways to replicate expensive finishes and designs using materials that cost pennies on the dollar. You won't fool a professional appraiser, but you will impress your friends and, more importantly, create a space you actually love looking at, all while keeping your bank account relatively intact. Now go forth and glam up your place.