Table of Contents
You've got the perfect gift, wrapped just so, and then it hits you: you forgot the gift bag. Or maybe the store bags are all flimsy and boring. Happens to the best of us. Before you make a mad dash back to the store or shove that beautifully wrapped present into a plastic grocery bag (we've all considered it), let's talk about a better way. Making aneasy diy gift bagisn't some Pinterest-perfect fantasy; it's surprisingly simple and genuinely useful. It saves you time, a few bucks, and adds a personal touch that a generic store-bought bag just can't match.
Why Bother with an Easy DIY Gift Bag Anyway?
Why Bother with an Easy DIY Gift Bag Anyway?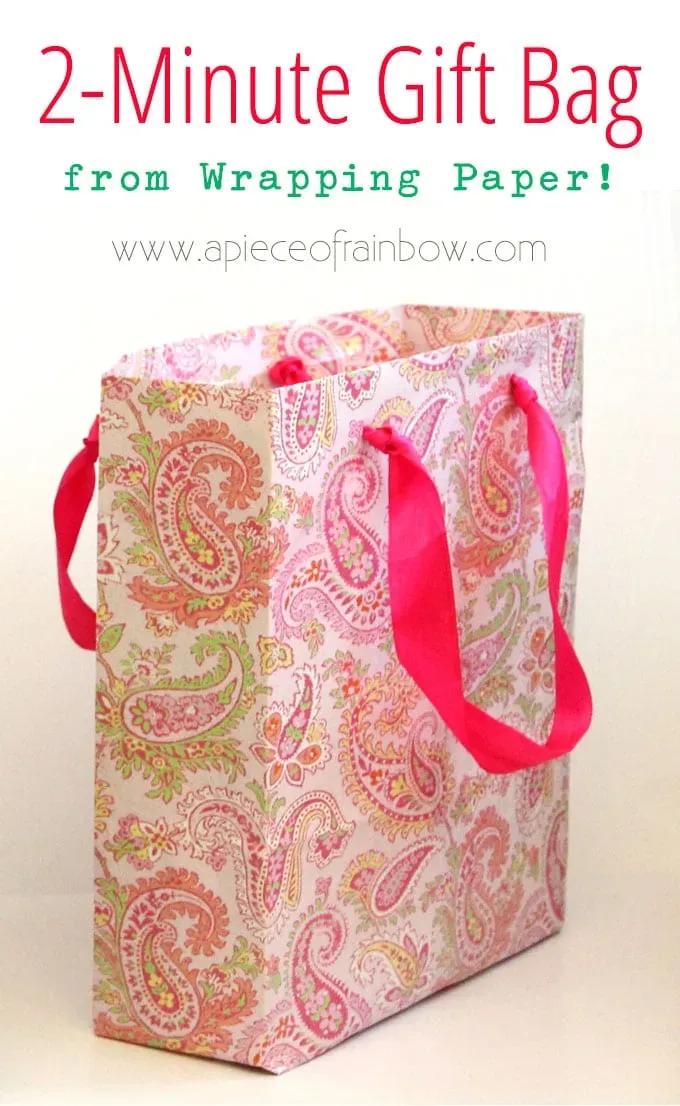
Look, we've all been there. Standing in the gift wrap aisle, staring at rows of overpriced, sometimes questionable, paper bags. Maybe you need a specific size or color that just isn't there. Maybe you're trying to be a bit more eco-friendly and reuse materials. Or perhaps you just want your gift to stand out from the sea of generic store packaging. This is exactly where the magic of aneasy diy gift bagcomes in. It's not just about saving a few bucks, though that's a nice bonus. It's about flexibility, personalization, and let's be honest, the quiet satisfaction of saying, "Yeah, I made that," when someone compliments the packaging.
Gathering Your Arsenal: Supplies for Your Easy DIY Gift Bag
Gathering Your Arsenal: Supplies for Your Easy DIY Gift Bag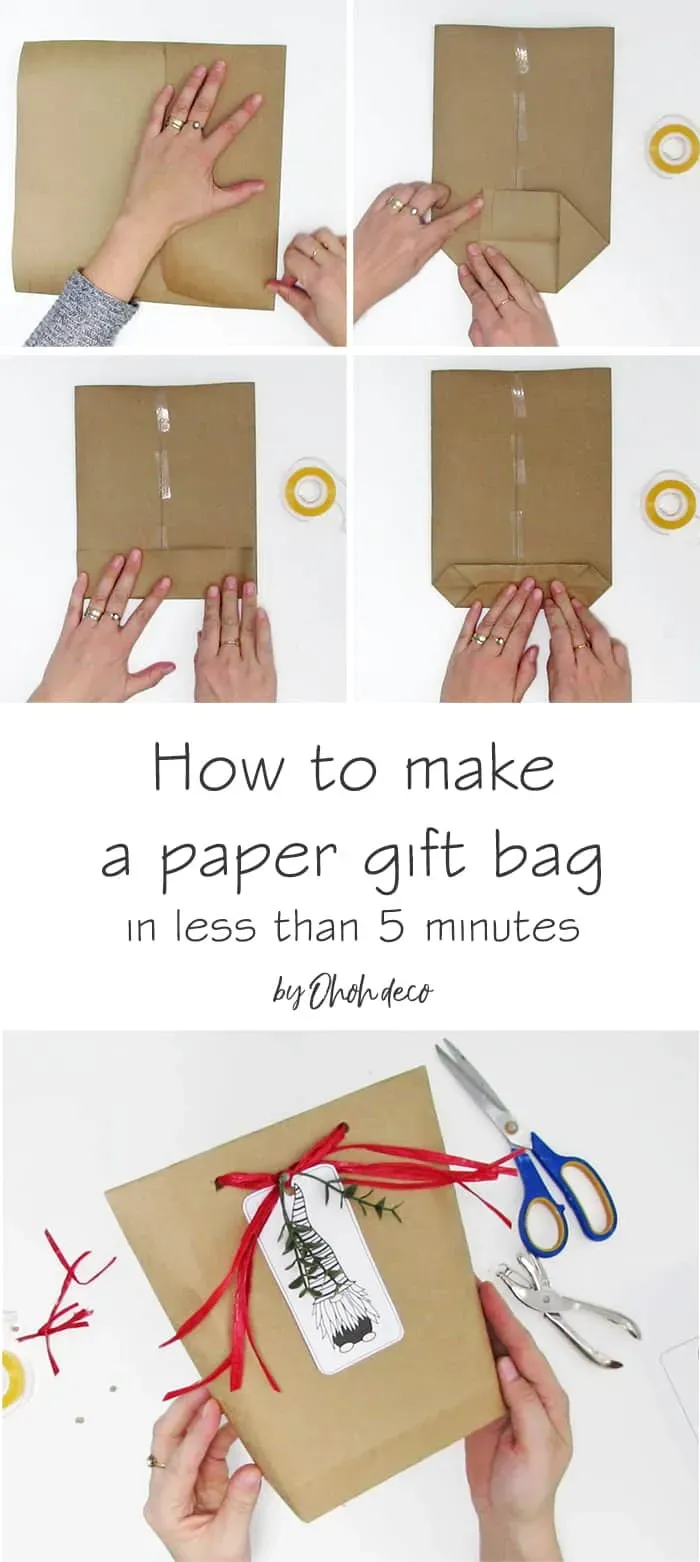
The Absolute Must-Haves for Your Easy DIY Gift Bag
Alright, let's get down to brass tacks. You don't need to raid an art supply store to make aneasy diy gift bag. The core ingredient? Paper. Any paper, really. Old wrapping paper scraps work wonders, especially the stuff you saved thinking "I'll use this someday." That day is today. Brown paper bags from the grocery store? Perfect. Newspaper? Adds a cool, rustic vibe. Construction paper, cardstock, even magazine pages if you're feeling adventurous. The size and thickness of your paper will dictate the size and sturdiness of your bag, so pick something appropriate for your gift.
Sticking Power: Picking Your Adhesive
Next up, you need something to hold this paper architecture together. Your standard school glue stick is the MVP here. It's clean, easy to use, and dries relatively fast. Double-sided tape is another excellent choice, offering a strong, immediate bond without any drying time. If you're dealing with slightly heavier paper or plan to put something with a bit of weight in the bag, a liquid craft glue or even a hot glue gun (use cautiously!) provides more durability. Just make sure whatever you pick is sticky enough to keep the seams from popping open the moment you drop a gift inside.
Sticky Situations: Adhesive Options
- Glue Stick: Fast, clean, good for lighter paper.
- Double-Sided Tape: Instant hold, no mess, great for clean lines.
- Liquid Craft Glue: Stronger bond, takes time to dry, good for heavier paper.
- Hot Glue Gun: Very strong, fast drying, requires care to avoid burns or messy drips.
Beyond the paper and the glue, everything else is gravy. Scissors are pretty essential for cutting your paper to size, obviously. A ruler or straight edge helps you get those nice, crisp folds that make the bag look less like a crumpled mess and more like intentional design. A bone folder, or even the back of a spoon, can help crease folds sharply. That's really it for the bare minimum. See? Told you it was easy. Now, let's talk about making it look less... plain.
Fold, Glue, Done: Crafting Your Easy DIY Gift Bag StepbyStep
Fold, Glue, Done: Crafting Your Easy DIY Gift Bag StepbyStep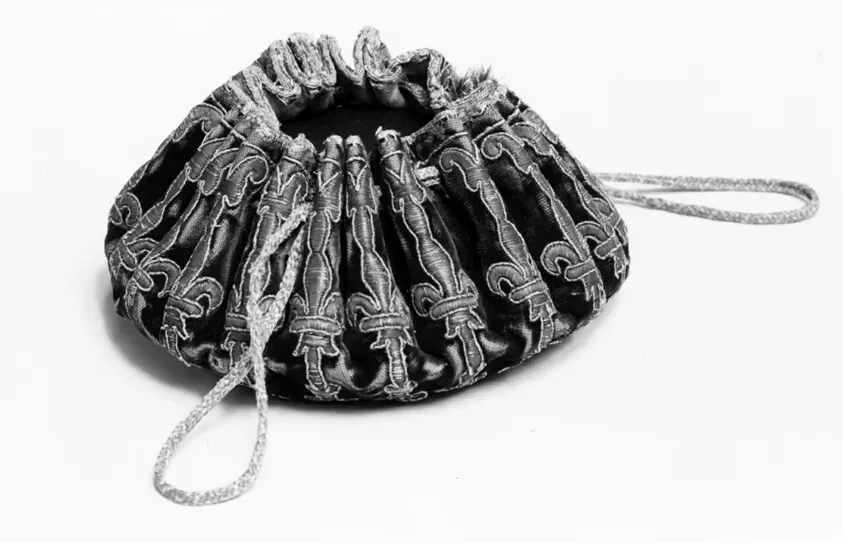
Alright, supplies gathered, mindset adjusted (yes, you can do this). Now for the main event: turning that flat piece of paper into a functional holder for your thoughtful present. Crafting youreasy diy gift bagis less about intricate folds and more about smart measurements and secure seams. Think of it like building a simple box, but with a handle on top. We're going to fold the paper into a tube, seal the side, create a sturdy bottom that can actually hold something without collapsing, and then fold down the top edge for a clean finish. It's a series of measured folds and strategic applications of glue or tape. Get these basic steps right, and you've got a solid foundation for any gift bag you need.
Ready to get folding?
Beyond Plain Paper: Simple Ways to Personalize Your Easy DIY Gift Bag
Beyond Plain Paper: Simple Ways to Personalize Your Easy DIY Gift Bag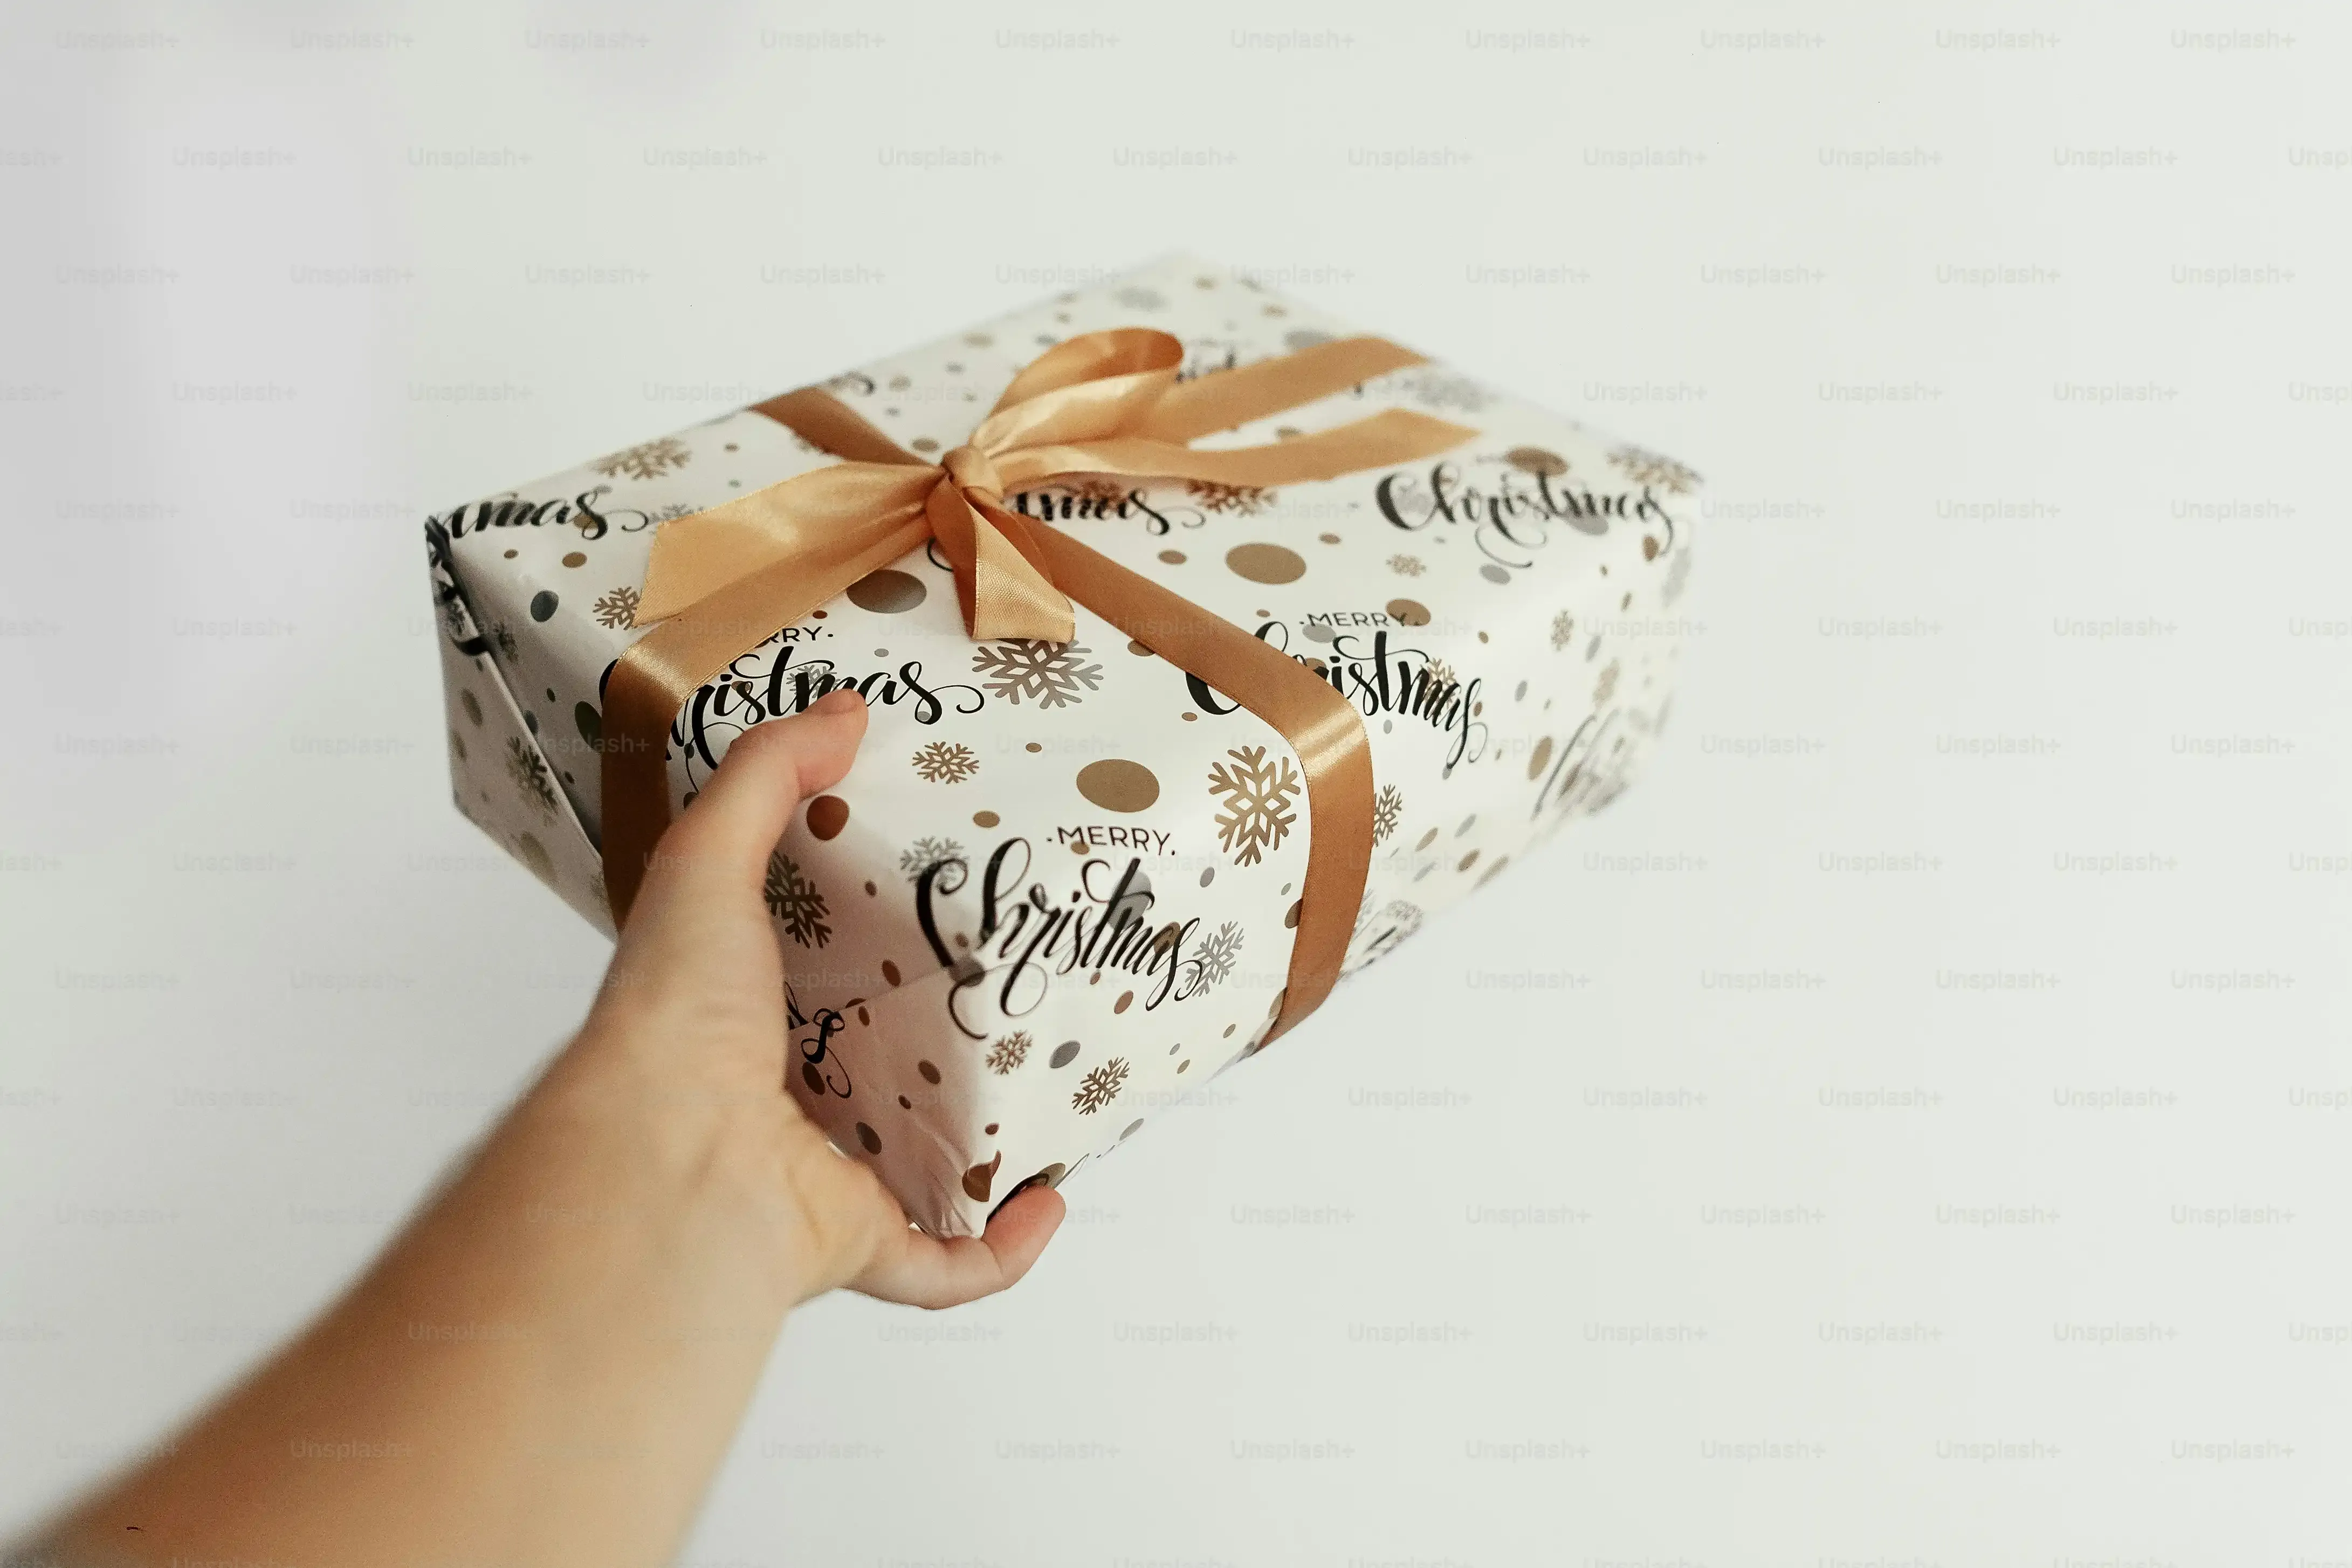
Quick Wins: Adding Color and Pattern
Alright, you've mastered the basic box shape for youreasy diy gift bag. Now, let's make it look less like a functional paper box and more like something you actually *want* to give someone. The simplest way to elevate a plain paper bag is with color and pattern. Got markers? Crayons? Paint? Go wild. Draw stripes, polka dots, or abstract squiggles. Stamp designs using potato halves or bottle caps. Glue on scraps of colorful paper, fabric, or even magazine cutouts to create a collage effect. Think beyond just drawing; layering different textures and materials adds visual interest. It doesn't have to be perfect; often, the slightly messy, handmade look is part of the charm. A plain brown paper bag becomes instantly festive with just a few minutes of doodling or sticking things on.
Leveling Up: Adding Text and Texture
Want to get a bit fancier without pulling out a sewing machine or a screen printer? Add text or texture. Write the recipient's name on the bag in big, bold letters. Use stencils for a cleaner look. Stamp messages like "Happy Birthday" or "Just For You." You can even print out words or images and glue them on. For texture, consider gluing on yarn, twine, glitter (use sparingly, unless you want a glitter bomb), or even dried leaves or small twigs for a natural feel. One trick I've used is crumpling up tissue paper and gluing it in patches for a cool textured effect before painting over it. It's these little details that transform aneasy diy gift bagfrom basic to bespoke.
- Use markers or paint for simple patterns.
- Glue on fabric scraps or colorful paper.
- Stamp designs with household items.
- Write or stencil names and messages.
- Add texture with yarn, twine, or crumpled paper.
- Attach printed images or words.
Don't forget the finishing touches that really tie the package together. Adding handles is a game-changer for functionality, and there are simple ways to do this with ribbon, twine, or even strips of paper glued or stapled inside the top edge. A punch hole near the top edge allows you to thread ribbon or twine through for a drawstring closure or simple handles. And a gift tag? Essential. Make your own from a scrap of cardstock, punch a hole, and tie it on with the same ribbon or twine you used for the handles. Write a short, personal message. These small additions make the bag look complete and show you put in that extra bit of effort, turning a simple paper creation into a polished piece of packaging.
More Easy DIY Gift Bag Ideas for Any Occasion
More Easy DIY Gift Bag Ideas for Any Occasion
Birthday Bags That Don't Scream "Last Minute"
So, you've got the basic structure down for youreasy diy gift bag. Now, let's tailor it. For birthdays, bright colors are your friend. Think about the recipient. Are they into dinosaurs? Slap some cut-out dino pictures on there. Love cats? Draw whiskers and pointy ears. You can use old comics, wrapping paper scraps from previous gifts, or even just construction paper in their favorite color. A simple trick is to use contrasting colors for the bag and the handles. If the bag is blue, use yellow ribbon for the handles. It makes it pop. Don't overthink it; a few well-placed elements are better than a chaotic mess. Remember that time I made a bag for my niece using leftover unicorn wrapping paper and added glitter glue? It was a sticky disaster, but she absolutely loved it because it was *her* bag.
Holiday Bags with Festive Flair
Holidays are prime time for theeasy diy gift bag. Christmas? Use red and green paper, or brown paper with white snowflakes drawn on. Tie it with twine and add a sprig of evergreen. Halloween? Black or orange paper, maybe some bat cutouts or spooky doodles. Easter? Pastel papers work wonders, tie with ribbon and maybe tuck a fake flower under the bow. The key here is leaning into the holiday's color palette and common motifs. You don't need intricate designs; simple shapes and colors instantly convey the theme. Using metallic markers on a plain bag for a touch of sparkle works for almost any festive occasion.
"The beauty of a handmade gift bag is that it carries a piece of the giver's effort, not just the gift."
Beyond the Basics: Using Fabric or Maps
Who says aneasy diy gift baghas to be just paper? Fabric scraps can be glued onto paper bags for texture, or you can even make simple drawstring bags entirely from fabric if you have basic sewing skills (or just fabric glue!). Old maps make incredible gift bags, especially for travelers or history buffs. The patterns are already there, you just need to fold and glue. This works especially well for larger or oddly shaped gifts where a standard paper bag might not cut it. Using unconventional materials adds a layer of thoughtfulness and surprise that a store-bought bag can never replicate. Just make sure the material isn't too flimsy or too bulky to fold neatly.
Your Easy DIY Gift Bag: Mission Accomplished
So there you have it. No last-minute dash to the store, no settling for a sad, crumpled plastic bag. You've taken some basic materials and, with a few simple steps, created aneasy diy gift bagthat's got personality. It might not be perfect, but it's yours, and it holds the gift just as well, maybe even better because it shows you put in a little extra thought. Next time you're short a bag or just want to elevate your gift-giving game without the fuss, remember this. It's proof that sometimes the simplest solutions are the most effective, and a bit of effort goes a long way in making a gift feel special.