Table of Contents
Ever get stuck trying to find the perfect gift? Store-bought options can feel impersonal, and sometimes, your budget just isn't having it. That's where the magic of easy DIY gift baskets comes in! Forget those generic, cellophane-wrapped disappointments. We're diving into how you can craft seriously thoughtful and unique presents without breaking a sweat (or the bank). Ready to ditch the gift-giving stress? This guide will walk you through gathering your supplies, unleashing your inner artist with creative wrapping techniques, and finally, assembling a gift basket that screams "you thought of me!" Get ready to create some seriously impressive, easy DIY gift baskets that your friends and family will absolutely love.
Gathering Supplies for Easy DIY Gift Baskets
Gathering Supplies for Easy DIY Gift Baskets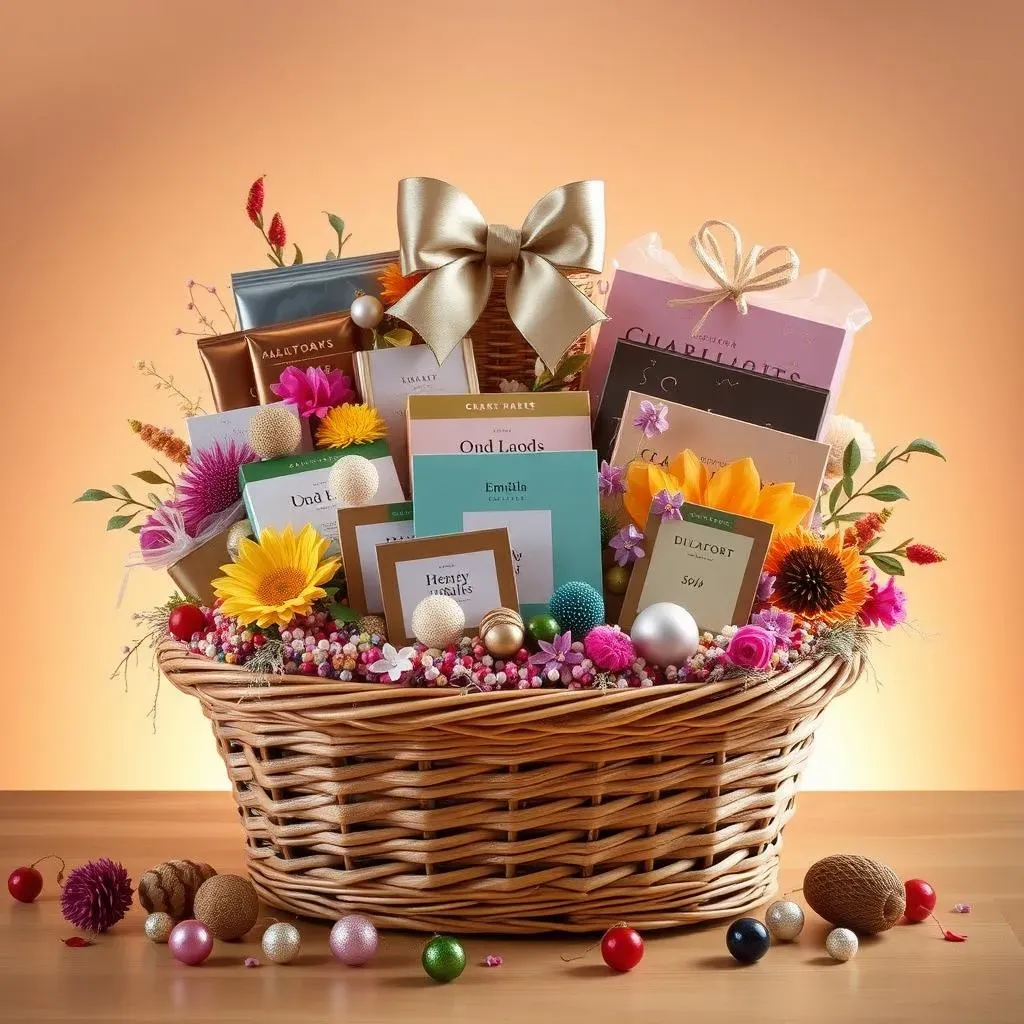
The Basket Itself: Your Foundation
First things first, you'll need something to actually put the gifts in, right? Don't just think "basket." Get creative! Sure, a traditional wicker basket works great, and you can often find them cheap at thrift stores. But how about a cute galvanized bucket for a gardening theme? Or maybe a decorative storage box that the recipient can reuse? Even a pretty serving bowl can be the starting point for a kitchen-themed gift. Think about the person you're making the basket for and what reflects their personality or the theme of your gift. I once used a vintage tackle box for a fishing-themed gift – it was a total hit!
The Fun Stuff: Fillers and Decorative Touches
you've got your base. Now for the inside goodies! This is where you can really inject personality and make your easy DIY gift basket shine. Think about filler. Forget boring crumpled newspaper. Try colorful tissue paper (the crinkled kind adds a fun texture), or maybe some pretty fabric scraps. Small details elevate the look. Ribbon is your friend here. A simple satin ribbon tied around the finished basket adds a touch of elegance. Or try twine for a more rustic feel. Don't forget tags! A handwritten tag adds a personal touch that no store-bought gift can replicate.
Creative Wrapping Ideas for Easy DIY Gift Baskets
Creative Wrapping Ideas for Easy DIY Gift Baskets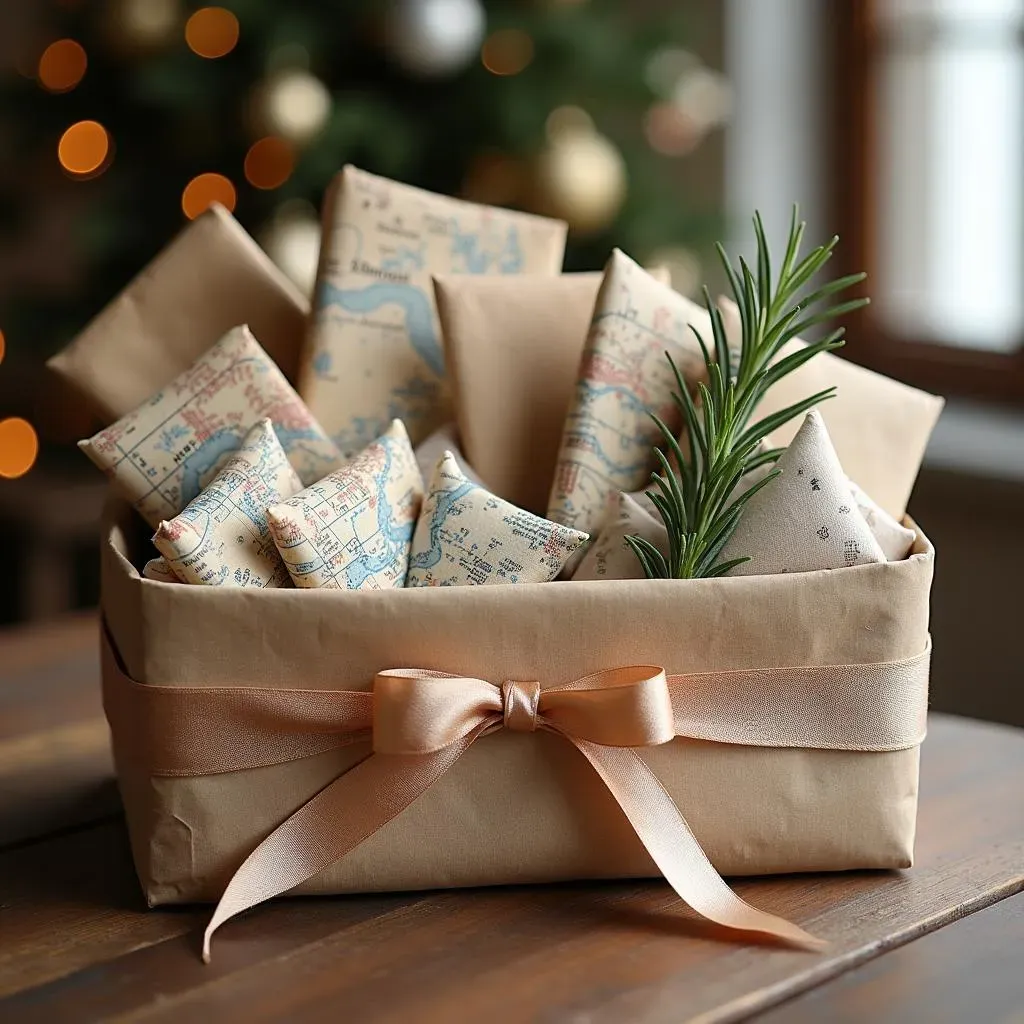
Thinking Outside the Box (Literally!)
so you've got your goodies and a vessel. Now, let's ditch the boring brown box vibe. Creative wrapping can seriously elevate your easy DIY gift baskets from "nice" to "wow!" Think beyond standard wrapping paper. Fabric scraps can add a touch of elegance, especially silk or linen. For a more rustic feel, try brown kraft paper – you can even stamp it with fun designs or write a personal message all over it. Old maps or even sheet music can be super cool for the right person. The key is to consider the recipient's style and the theme of the basket. Don't be afraid to experiment!
Making it Look Pro: Simple Techniques
You don't need to be a professional gift wrapper to make your easy DIY gift baskets look amazing. Simple techniques can make a big difference. Instead of just folding the wrapping paper over, try creating pleats for added texture and visual interest. Tie ribbons in fancy knots or create bows with multiple loops. Sealing your wrapping with decorative washi tape instead of plain old sticky tape adds a pop of color and personality. And don't underestimate the power of layering! Combining different types of paper or fabric can create a really sophisticated look. It's all about those little details that show you put in the extra effort.
Adding Those Extra Touches of Flair
Want to take your creative wrapping to the next level? Think about incorporating natural elements. A sprig of rosemary tied to the ribbon of a food-themed basket? Perfect! A few dried flowers tucked into the wrapping of a spa basket? Lovely! Even something as simple as a cinnamon stick can add a sensory element. And don't forget about personalizing it further. Instead of a generic gift tag, maybe use a photo of you and the recipient, or a small charm that relates to their interests. It's these thoughtful touches that make your easy DIY gift baskets truly special and memorable.
Assembling Your Thoughtful Easy DIY Gift Basket
Assembling Your Thoughtful Easy DIY Gift Basket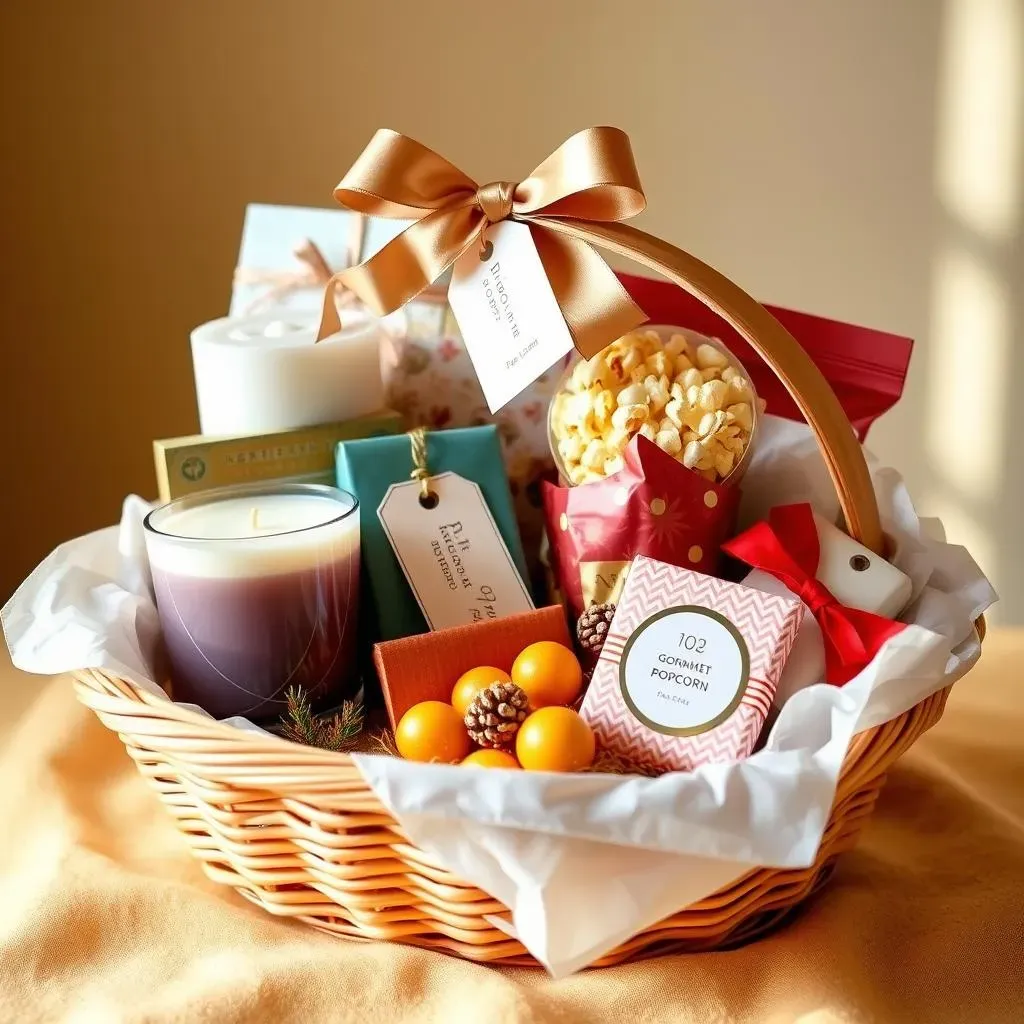
Time to Put It All Together
Alright, you've got your awesome container, your gifts are ready to go, and you've wrapped things up like a pro. Now comes the satisfying part: putting it all together! Think of yourself as an artist arranging elements in a masterpiece. Start by placing the largest or tallest items in the back. This creates a visual anchor and makes sure those key gifts don't get lost in the shuffle. For smaller items, you can use your filler – that tissue paper or fabric – to create little "platforms" so they're visible. Don't just dump everything in! Take a moment to arrange things so they look good from all angles. It's like staging a tiny, delightful scene.
Creating Visual Appeal and Balance
Think about color and texture as you arrange your easy DIY gift basket. Don't clump all the blue items together, for example. Spread them out to create a more visually appealing flow. Mix up the textures too. If you have a smooth candle, place it next to something with a bit more texture, like a crinkled bag of gourmet popcorn. It's all about creating interest for the eye. Also, consider the weight distribution. You don't want your basket to be lopsided! If you have heavier items, try to distribute them evenly so the basket feels balanced when it's picked up. Trust your gut here. If something looks a little off, rearrange it. You've got this!
Tip | Description |
|---|---|
Big Items First | Place larger items in the back as an anchor. |
Elevate Small Items | Use filler to raise smaller gifts for better visibility. |
Distribute Colors | Spread out items of similar colors. |
Mix Textures | Combine smooth and textured items for visual interest. |
The Finishing Flourishes: Making it Extra Special
Almost there! Now for those final touches that really elevate your easy DIY gift basket. Remember that ribbon we talked about? Now's the time to tie it around the whole shebang. A beautiful bow can make a huge difference. And that tag? Don't just write "To: [Name], From: [Your Name]". Add a little personal message! A short inside joke, a heartfelt sentiment – anything that makes it feel more personal. Consider adding a few extra little surprises tucked into nooks and crannies. Maybe a small piece of candy, a funny sticker, or a tiny trinket that fits the theme. These little extras are like the cherry on top of your perfectly crafted gift basket. They show you really went the extra mile.
Wrapping Up Your Easy DIY Gift Basket Journey
So, you've seen how simple and fun it is to create easy DIY gift baskets. From gathering your goodies to adding that personal touch with creative wrapping, you're now equipped to make gifts that truly show you care. Forget the generic store-bought stuff, the best gifts come from the heart (and your own two hands!). Now go forth and spread some joy with your awesome, homemade creations!