Table of Contents
Let's be honest, wrapping gifts can be a chore. You wrestle with paper, tape goes rogue, and half the time it looks like a badger attacked it. Or maybe you just can't find a box that fits that weirdly shaped thing you bought. And those fancy store-bought boxes? They cost more than the gift inside sometimes. It’s enough to make you just shove the present in a grocery bag and call it a day.
Why Bother with an Easy DIY Gift Box?
Why Bother with an Easy DIY Gift Box?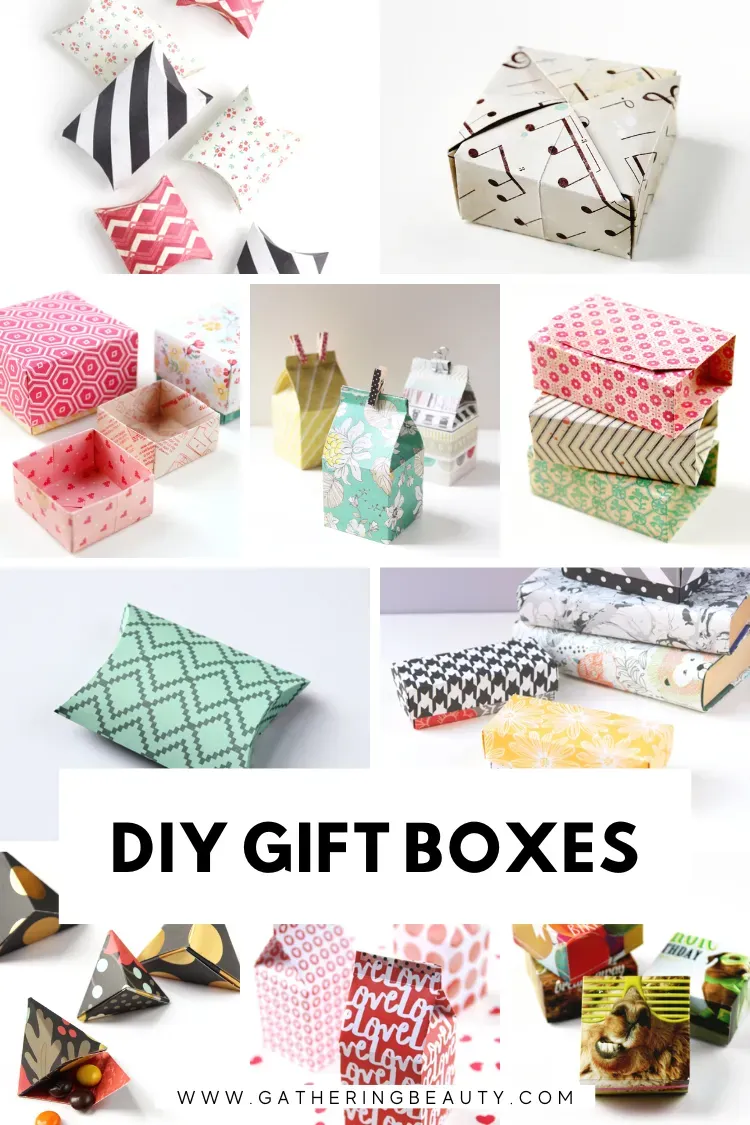
Beyond the Sad, Sagging Gift Bag
Look, we’ve all been there. You find the perfect present, but the only wrapping paper you have looks like it survived a hurricane, or you're staring down a gift bag that's way too big and screams "last minute." Store-bought boxes are often flimsy, overpriced, and frankly, boring. They don't fit half the stuff you buy anyway. Making an easy DIY gift box isn't just about saving a few bucks, though that's a nice perk. It's about control. You get the right size, the right look, and you inject a bit of yourself into the gift before the recipient even sees what's inside.
Skip the Generic and Get Personal
Think about it. You picked out a thoughtful gift, maybe something specific to your friend's weird hobby or a handmade item. Shoving it into a generic box with cartoon characters (unless that's the *point*) feels… anticlimactic. A handmade box, even a simple one, shows you put in that extra bit of effort. It elevates the gift from just an object to a complete package, a little piece of care wrapped up neatly. Plus, let’s be real, it’s way more satisfying to hand over something you crafted yourself than a box you peeled a price tag off of five minutes ago.
- Saves money compared to fancy store boxes.
- Allows for custom sizing – no more awkward fits.
- Adds a personal touch the recipient can feel.
- Reduces waste by using materials you might already have.
- It's surprisingly simple, even for crafting novices.
Gathering Your Simple Supplies for an Easy DIY Gift Box
Gathering Your Simple Supplies for an Easy DIY Gift Box
The Absolute Must-Haves
Alright, let's talk nuts and bolts. You don't need a craft store explosion in your living room to make an easy DIY gift box. The core components are ridiculously simple. You need something flat and foldable – think paper, cardstock, maybe even a thin piece of cardboard from a used box. You'll also need a way to cut it. Scissors are your friend here. A craft knife and cutting mat are great if you have them, but not strictly necessary for a basic box. Finally, you need something to hold it all together. Glue sticks, liquid glue, double-sided tape, or even regular tape will do the job. That's it. Seriously. Paper, something to cut, something to stick. That’s the foundation for your easy DIY gift box masterpiece.
Paper Choices: More Than Just Printer Paper
While regular printer paper *can* work for tiny, lightweight things, you’ll get a much sturdier and nicer-looking easy DIY gift box if you step it up slightly. Cardstock is ideal – it holds its shape better and comes in a million colors and patterns. Construction paper is a decent, cheap alternative, though it can tear more easily. Don't overlook recycling either. Cereal boxes, cracker boxes, even old calendars can be repurposed. Just make sure they aren't too flimsy or covered in grease stains. The point is, look around before you buy anything. You might already have the perfect material hiding in your recycling bin.
- Cardstock (sturdy and colorful)
- Construction paper (budget-friendly)
- Recycled cardboard (cereal boxes, etc.)
- Scrapbook paper (patterns and textures)
- Even wrapping paper (layered for strength)
Optional Extras to Level Up Your Box
Once you have the basics down for your easy DIY gift box, you might want to add a few bits and bobs to make it look extra sharp. A ruler is super helpful for getting straight lines and accurate folds, though you can eyeball it if you’re feeling brave. A scoring tool (or even a dull knife or bone folder) helps make crisp folds, which makes assembly cleaner. For decoration, ribbon, markers, stickers, glitter (use sparingly, please), or small bits of fabric can turn a simple box into something special. These are fun additions, but don't feel pressured. A plain, well-made box is infinitely better than an over-decorated, falling-apart one.
StepbyStep Guide to Making Your Easy DIY Gift Box
StepbyStep Guide to Making Your Easy DIY Gift Box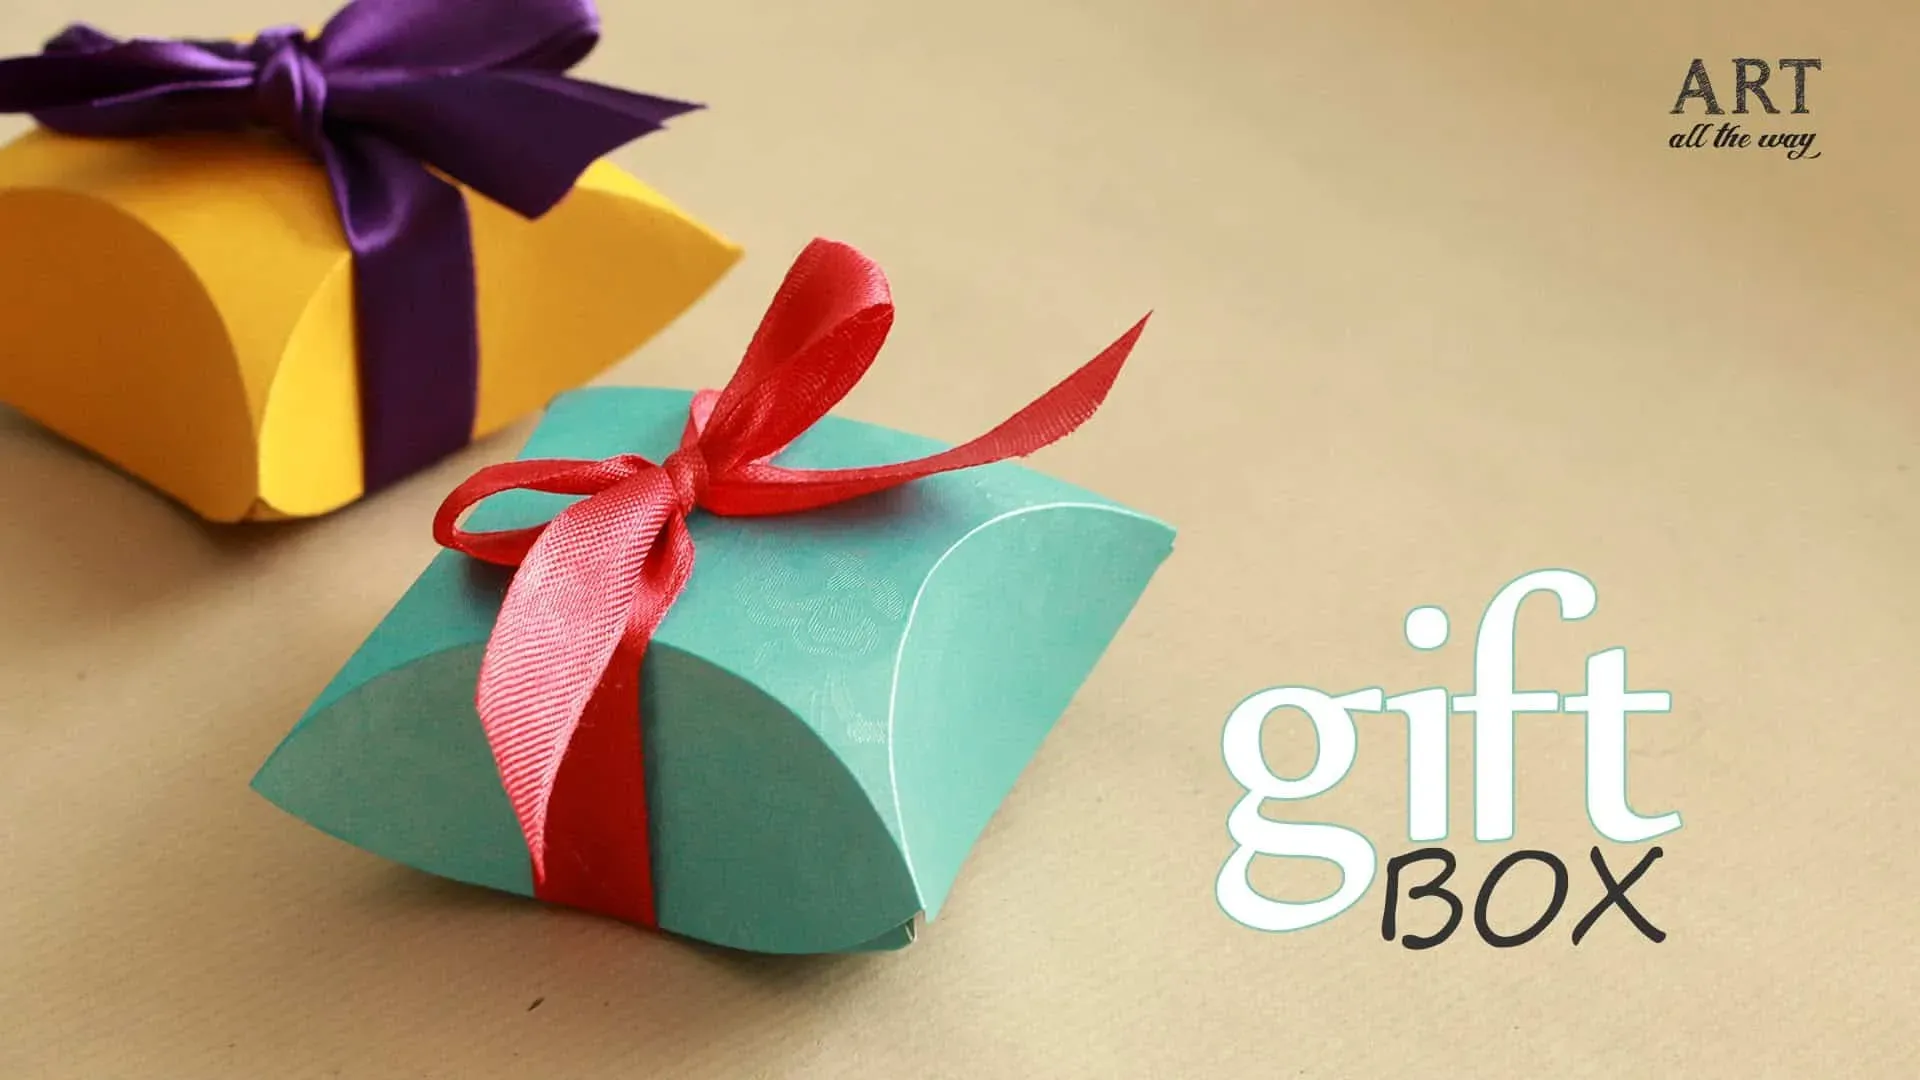
Measure Twice, Cut Once (Unless You Like Wonky Boxes)
Alright, let's get down to the actual construction of your easy DIY gift box. First things first: size. You need to figure out how big your box needs to be to fit the gift. Don't just guess. Grab a ruler. Measure the length, width, and height of the item you're wrapping. Now, you need to add a little extra room for comfort – maybe half an inch or an inch on each dimension. This isn't brain surgery, but getting these measurements right from the start prevents headaches later. Once you have your desired box dimensions, you'll use these to sketch out your box pattern on your paper or cardboard. There are tons of free templates online if drawing isn't your strong suit, but the basic idea is a cross shape: a central rectangle for the base, with four side flaps attached, and then smaller flaps on the ends of those to fold in and create the walls and lid. Draw your lines clearly.
Score, Fold, Repeat: The Crispy Corner Secret
Cutting is next. Follow your lines carefully. Remember that "measure twice, cut once" rule? This is where it pays off. A sharp pair of scissors works fine for most paper and thin card. If you're using thicker stuff like cereal boxes, a craft knife against a cutting mat gives you a cleaner edge. Once your flat pattern is cut out, it's time to score. Scoring means making a crease line without cutting all the way through. This is crucial for getting sharp, professional-looking folds on your easy DIY gift box. Use a scoring tool, the back of a butter knife, or even a depleted ballpoint pen along a ruler on all the lines where the box needs to bend. Then, fold along those scored lines. Fold them both ways a couple of times to really loosen up the fibers and make the final assembly easier.
Why bother scoring? It makes the difference between a crisp, clean corner and a sad, rounded mess.
- Use a ruler for straight lines.
- Score all fold lines before folding.
- Fold both directions to loosen paper/card.
- Take your time – precision matters here.
Glue it Up: Bringing Your Easy DIY Gift Box to Life
Now for the satisfying part: assembly. Your flat, folded shape should clearly show you where the sides meet and where the smaller flaps fold in. These smaller flaps are your tabs – they're what you'll apply adhesive to. Put glue or double-sided tape on these tabs. Don't go crazy with the glue; a thin, even layer is all you need. Too much and you'll have it oozing out the sides, making a sticky mess. Too little and your box will fall apart when someone looks at it funny. Fold the sides up and press the tabs firmly against the inside of the adjacent walls. Hold them for a few seconds to let the adhesive grip. Repeat for all four sides. You'll see your flat pattern magically transform into a 3D easy DIY gift box right before your eyes. Let the glue dry completely before you put anything heavy inside or start decorating. Patience is a virtue, especially when glue is involved.
As my high school shop teacher used to grumble, "If it doesn't stick, you didn't try hard enough, or you used the wrong goo." Wise words, even for paper.
Decorating Your Easy DIY Gift Box to Make it Pop
Decorating Your Easy DIY Gift Box to Make it Pop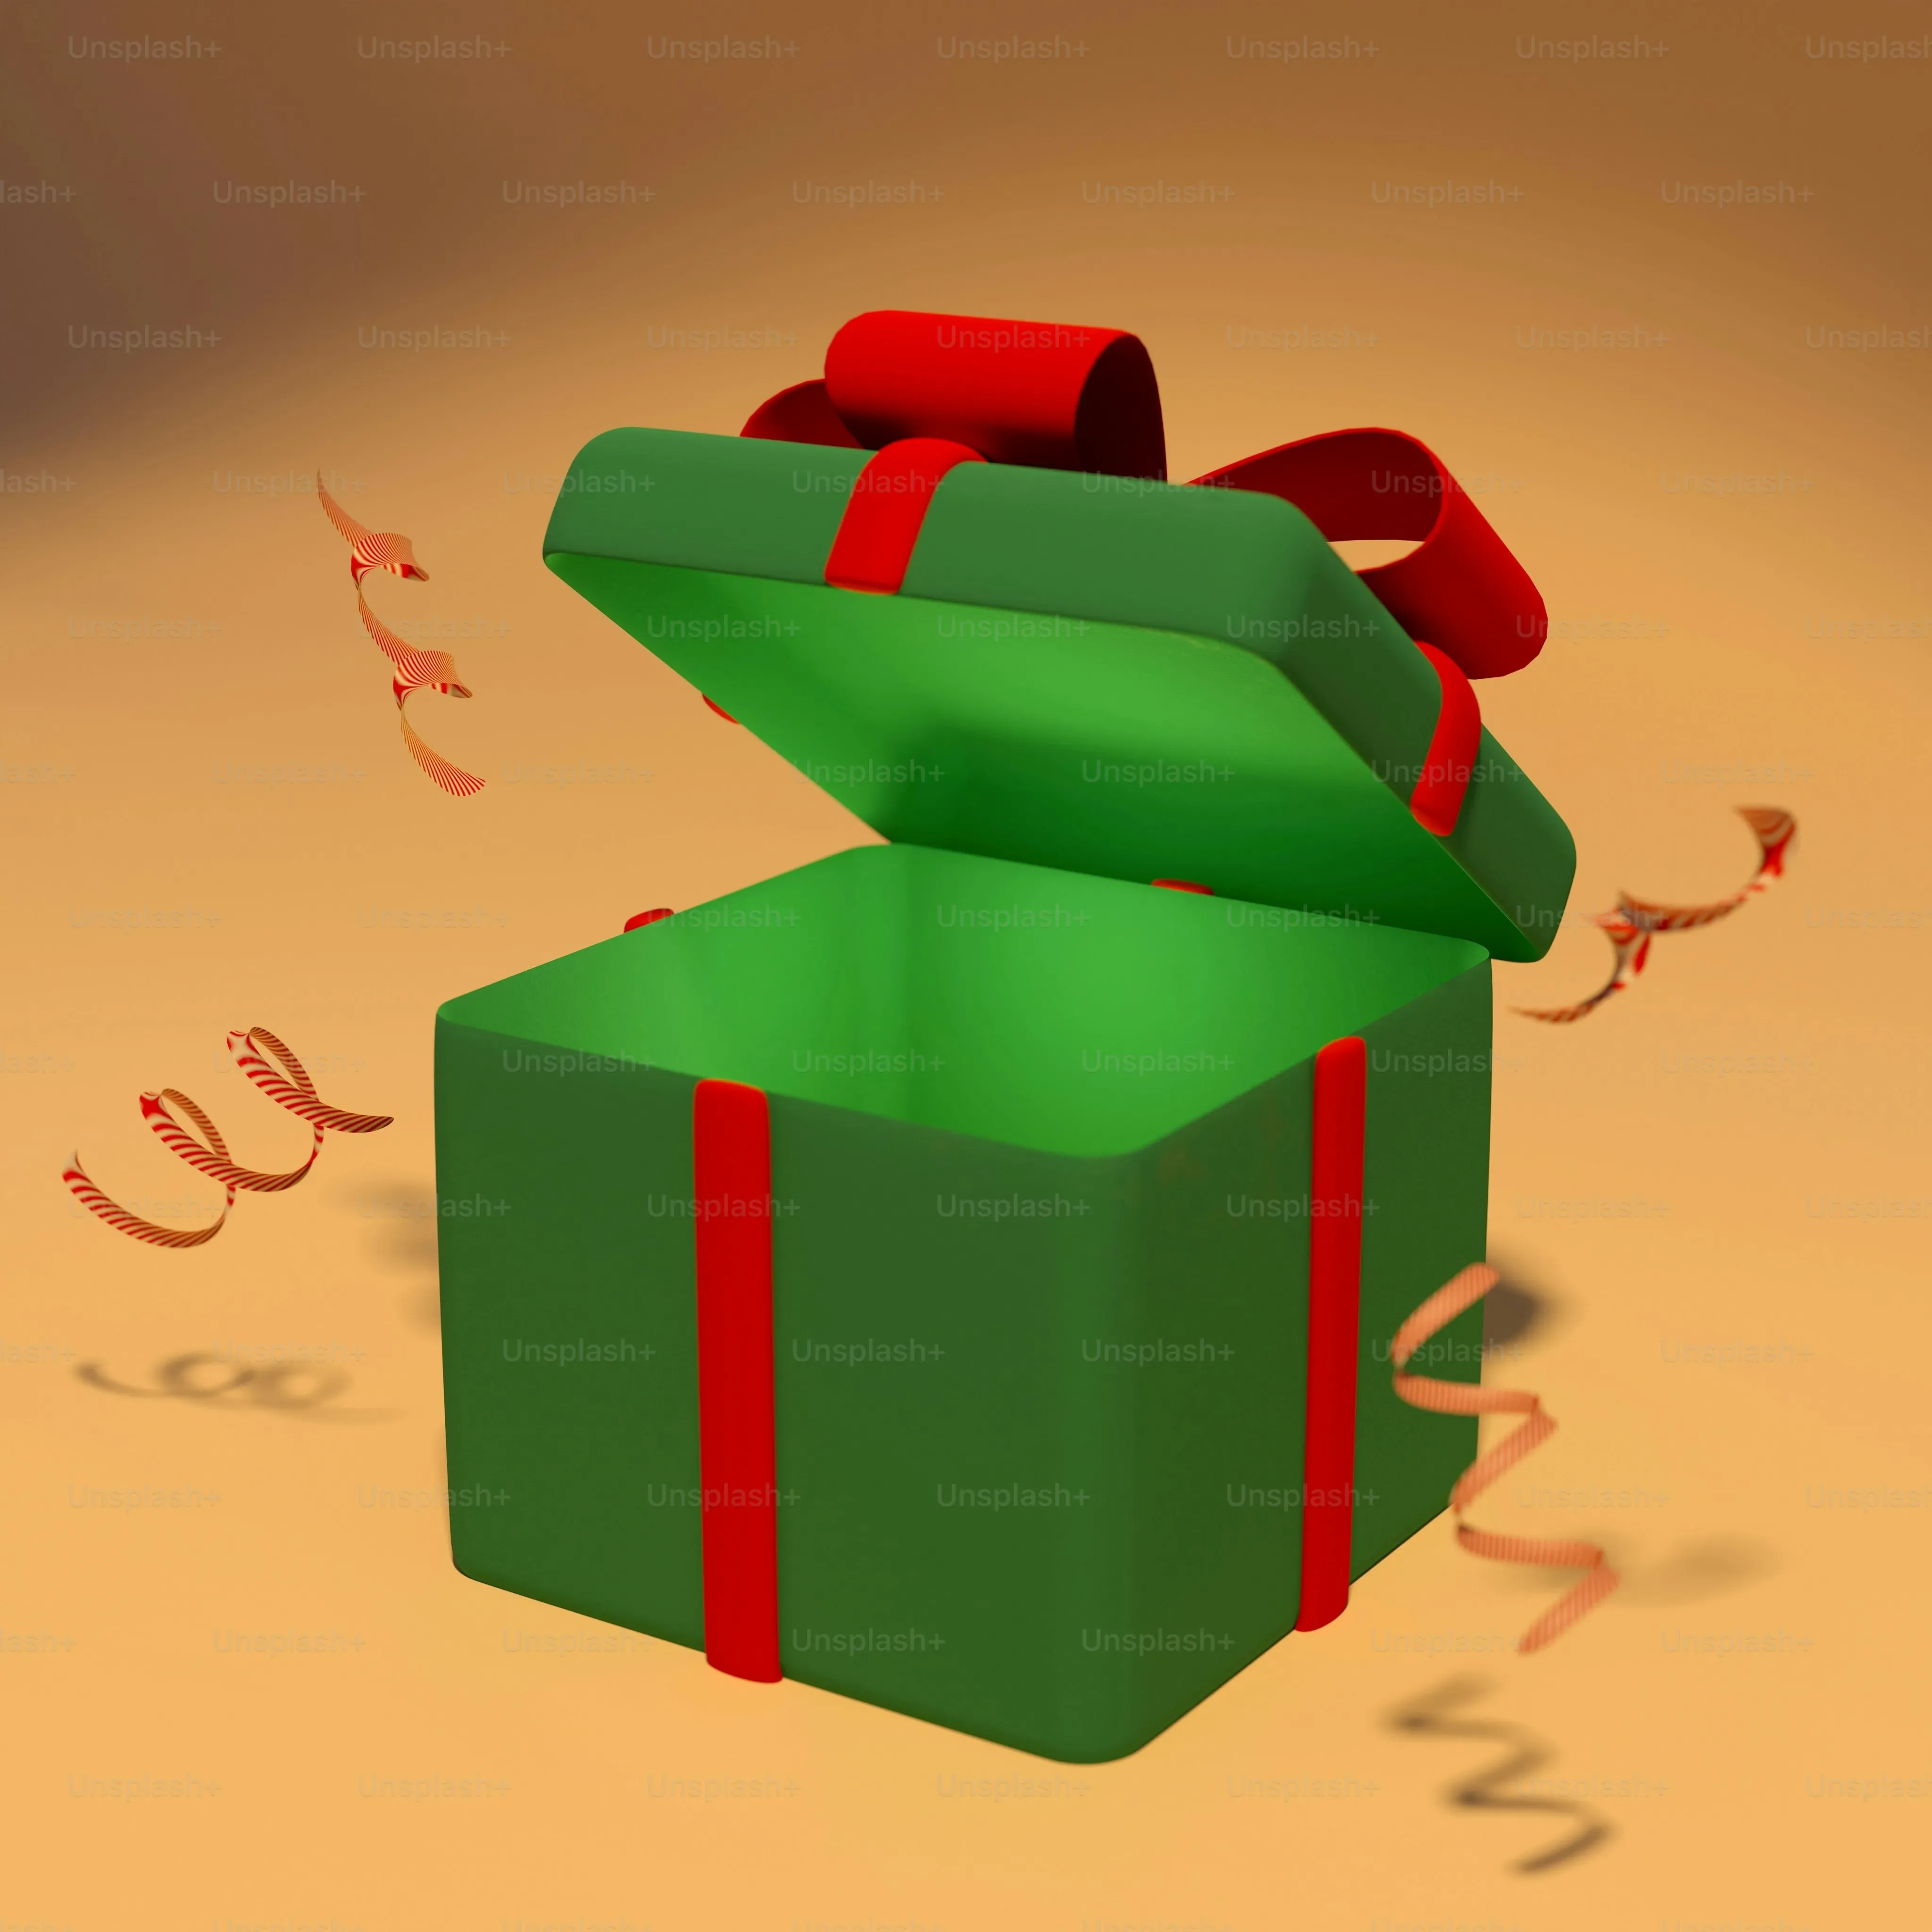
Starting Simple: Paper, Ribbons, and Markers
your easy DIY gift box is built, solid, and ready for its close-up. Now comes the fun part: making it look like you didn't just fold some paper. You don't need to be a fine artist here. The easiest way to add flair is with what you likely already have. Colored paper, maybe a different pattern than the box itself, can be cut into strips or shapes and glued on. Ribbons are classic for a reason – tie one around the box, add a bow, or even use thin ribbons to create stripes. Markers, colored pencils, or crayons are perfect for drawing simple patterns, dots, or even writing a message directly on the box. Think basic geometry, simple doodles, or just coloring blocks of space. It’s about adding visual interest without overcomplicating things. A plain brown paper box looks dramatically different with a bright red ribbon and some simple black marker lines.
Leveling Up: Paint, Stamps, and Fabric Scraps
Feeling a bit more adventurous with your easy DIY gift box? Let's kick it up a notch. Acrylic paints work great on cardstock and cardboard. You can paint the whole box a solid color, try some simple gradients, or even attempt basic designs. Stamps are another fantastic tool – grab some ink pads and rubber stamps (or even make your own simple stamps from potatoes or erasers) to create repeating patterns. Fabric scraps that match the gift or the recipient's style can be glued onto the lid or sides for texture and color. Even old wallpaper samples or pages from magazines can be cut and collaged onto the box. The goal here is to add layers and different textures to make your easy DIY gift box feel more substantial and unique. It's surprising what you can do with a little paint and some odds and ends from your craft bin.
What's the worst that can happen? You mess up, grab another piece of paper, and start over. It's not like you're defusing a bomb.
Simple Ideas | Medium Ideas | Advanced Ideas |
|---|---|---|
Ribbons & Bows | Paint (Solid Color) | Collage with Paper/Fabric |
Marker Drawings | Stamping | Layered Paper Designs |
Colored Paper Cutouts | Simple Stencils | Hand-Painted Illustrations |
Adding the Personal Touch: Names, Themes, and Inside Jokes
This is where your easy DIY gift box truly shines. Instead of just decorating it generically, make it specific to the person or the occasion. Is it for a cat lover? Draw paw prints or glue on some fuzzy yarn. Is it for a baker? Draw cupcakes or glue on some sprinkles (maybe sealed with mod podge so they don't go everywhere). Write their name on the box in fancy lettering. Add a small tag with a handwritten note. If you have an inside joke, see if you can represent it visually on the box. This level of personalization takes your easy DIY gift box from just a container to part of the gift experience itself. It shows you were thinking of them every step of the way, not just when you swiped your card at the store.
More Easy DIY Gift Box Ideas & Quick Tips
More Easy DIY Gift Box Ideas & Quick Tips
Think Outside the Square (Literally)
you've mastered the basic square or rectangle easy DIY gift box. Feeling cocky? Good. Now, let's consider other shapes. A simple pyramid box is surprisingly easy to make from a single piece of paper – just cut a square, find the center, and draw lines to the middle of each side, then add tabs. Cut along the outer lines, score the inner ones, fold up, and glue the tab. Boom, pyramid. Or how about a simple envelope style box? It’s basically a fancy folded envelope that creates a shallow box, perfect for flat items like jewelry or gift cards. Don't limit yourself to the standard cube. A different shape can make your easy DIY gift box even more memorable with only slightly more effort.
Quick Hacks and Unexpected Materials
Sometimes you need an easy DIY gift box *right now*. Maybe you forgot someone's birthday (it happens). Look around. Got a paper towel roll? Cut it down, fold in the ends, and you've got a small tube box perfect for little trinkets. Old Pringles cans? Clean them out, cover them in paper, and you have a sturdy container for cookies or small items. Even sturdy paper plates can be folded and stapled into shallow boxes. The point is, materials for an easy DIY gift box are everywhere if you look past the obvious craft supplies. Necessity is the mother of invention, especially when the card reads "Happy Birthday, Yesterday!"
- Paper towel/toilet paper rolls (small cylindrical boxes)
- Pringles cans (sturdy tubes)
- Paper plates (shallow, quick boxes)
- Old calendars or posters (large, sturdy paper)
- Fabric scraps stiffened with spray starch
Make the Box Part of the Experience
An easy DIY gift box doesn't just hold the present; it can enhance it. Line the inside with tissue paper that matches the gift or the person's favorite color. Add a small handful of confetti or shredded paper filler for a bit of fun when they open it. Tie the ribbon in a unique knot or add a small charm to it. You can even hide a small note or clue inside the box itself, before putting the gift in. These little details elevate your easy DIY gift box from just packaging to part of the overall thoughtful gesture. It’s the difference between just giving a present and creating a moment.
Wrap It Up (Literally)
So there you have it. No more frantic searches for the right-sized box, no more tape battles, and definitely no more shelling out ridiculous amounts of cash for something you're just going to tear open anyway. Making an easy DIY gift box isn't some craft-guru-level challenge; it's just a practical way to handle presents. You've got the steps, you know what you need, and honestly, it's probably less effort than trying to perfectly fold tissue paper. Give it a shot. Worst case, you've got some slightly wonky but handmade boxes. Best case, you've just made gift-giving a little less annoying and a lot more personal.