Table of Contents
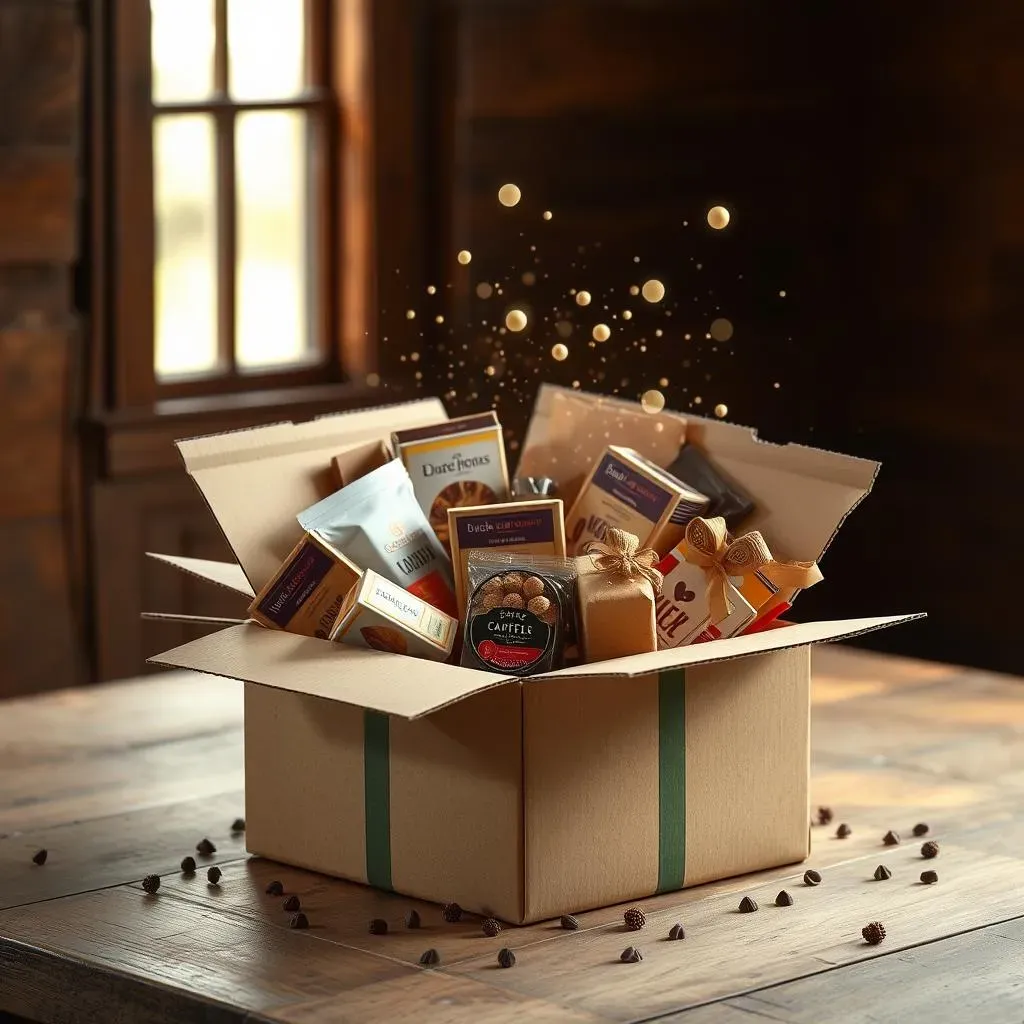
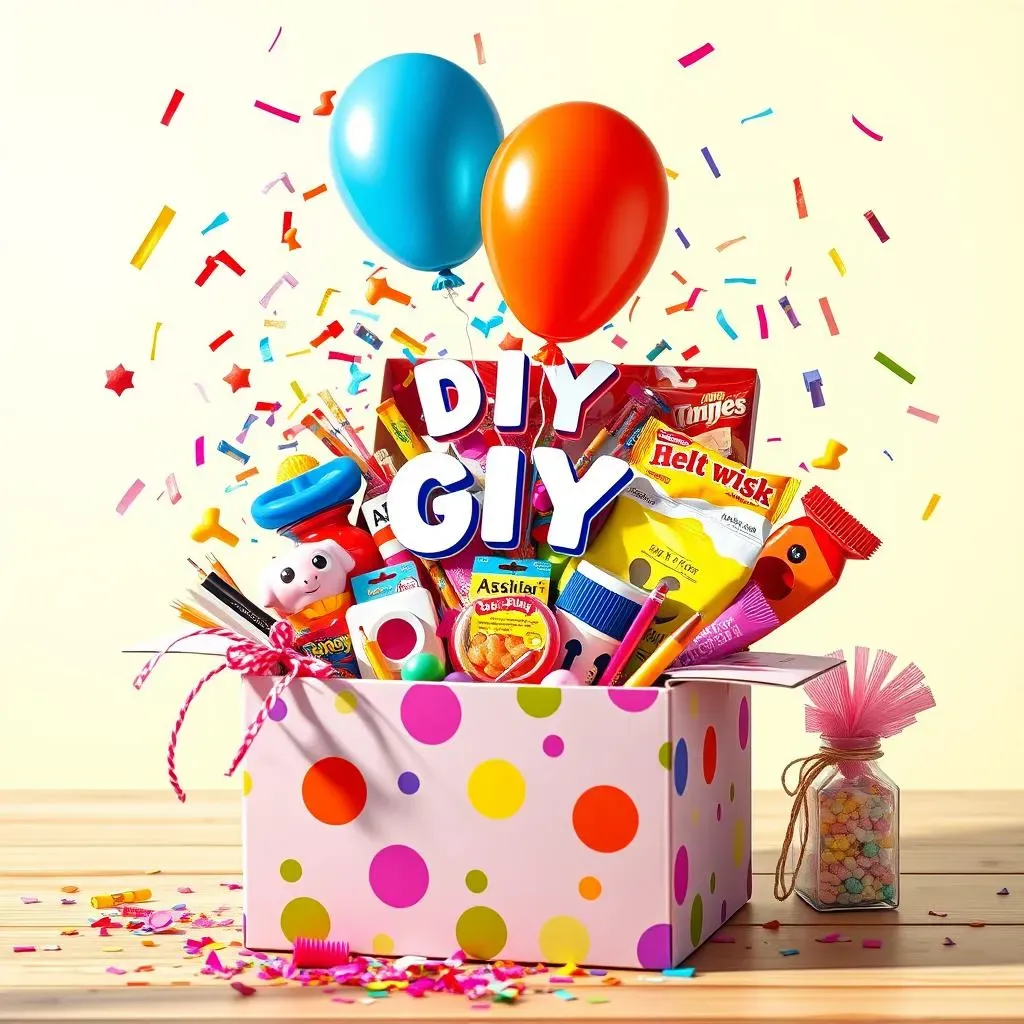
Want to give a gift that’s a little more exciting than just a wrapped box? Ever thought about a gift that bursts with fun the moment it’s opened? That's the magic of an explosion diy gift box! I made one for my son's birthday, and let me tell you, it was a hit. Forget boring presents; this is a surprise wrapped in another surprise. Think of those cool scrapbook explosion boxes, but instead of photos, it's packed with goodies. This isn't just a gift; it's an experience. Ready to make your own? We'll walk through the simple supplies you’ll need, then jump into an easy-peasy guide to building your box. Finally, we'll brainstorm some awesome ideas to fill your explosion diy gift box and make it truly unforgettable.
Gathering Supplies for Your Explosion DIY Gift Box
Gathering Supplies for Your Explosion DIY Gift Box
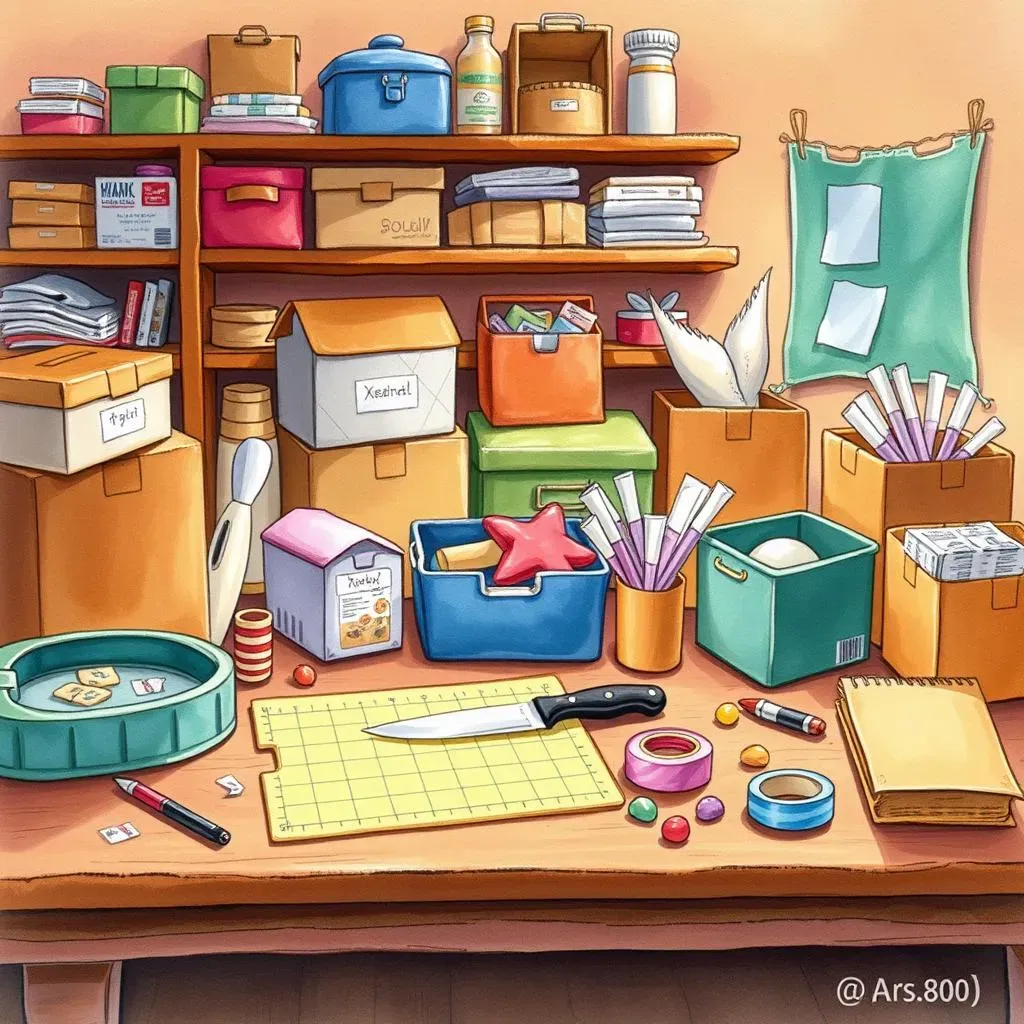
Alright, so you're itching to make an explosion diy gift box? Awesome! First things first, you gotta raid your craft stash (or make a quick trip to the store). You'll need a couple of boxes – think nesting dolls, but for treats. Two or three different sizes should do the trick. Make sure they have lids! Grab a sharp Xacto knife or a box cutter too; this isn't the time for flimsy scissors. A cutting mat is a must unless you want to redecorate your table with slice marks. And don't forget the trusty packing tape – it’s surprisingly important for holding this whole shebang together. Oh, and most importantly, the treats! Don't forget the goodies that will make the box explode with joy.
StepbyStep Guide to Creating Your Explosion DIY Gift Box
StepbyStep Guide to Creating Your Explosion DIY Gift Box
Alright, let's get down to business. Grab your biggest box. This is the foundation of our masterpiece. Now, the slightly scary part: take your Xacto knife and carefully slice down each of the four side corners. Don't go all the way through the bottom! We just want to separate the sides so they can flop down dramatically later. Think of it like performing a delicate surgery, but on cardboard.
Next up, those newly freed side flaps? Tape them down to the base of the box. This creates a stable platform and stops them from just completely detaching. Packing tape is your friend here; don’t be shy with it. Think of it as giving your box a sturdy pair of hinges.
Now, for the fun part. Place your treats inside this first box. Don't just dump them in! Arrange them nicely. Maybe a layer of candy bars on the bottom? Some colorful wrapped sweets on top? Presentation counts, even when it's about to explode (in a good way!).
Got your treats looking snazzy? Good. Now, take your next smaller box and repeat the whole slicing and taping process. Yes, again. This is where the magic starts to happen, layering surprise upon surprise. Once that second box is prepped, pop it right inside the first one, nestling it amongst the treats. Fill this second box with more goodies! Maybe some smaller candies or a gift card?
Feeling ambitious? Got a third box? You guessed it – rinse and repeat! Slice, tape, fill with even more delightful surprises, and nestle it inside the second box. Think of it as a delicious, cardboard Matryoshka doll. Once all your boxes are nested and loaded, carefully close the lid of the biggest box. This is crucial; you don't want a premature explosion of treats.
Here's a quick recap to keep things clear:
- Box 1 (Largest): Slice corners, tape flaps, add treats.
- Box 2 (Medium): Slice corners, tape flaps, add treats, place inside Box 1.
- Box 3 (Smallest): Slice corners, tape flaps, add treats, place inside Box 2.
And that’s the basic structure! Pretty simple, right? The key is taking your time with the slicing – you want clean lines, not jagged tears. Trust me, a neatly sliced box just looks way more impressive when it “explodes.”
Creative Ideas to Fill Your Explosion DIY Gift Box
Creative Ideas to Fill Your Explosion DIY Gift Box
Think Beyond the Candy Aisle
so candy is always a win, but let’s kick things up a notch, shall we? For a teen, think beyond just sweets. How about small gadgets? Earbuds, a cool pop socket for their phone, maybe even a gift card to their favorite online game store? For a college student, you could load it up with instant coffee packets, ramen (a classic!), or even some fun desk supplies like colorful sticky notes or quirky pens. The key is to tailor it to the person. What are their hobbies? Their needs? Think about those little things they always seem to run out of or things that just bring a smile to their face. It’s like a mini-care package disguised as a party in a box!
Personalizing the Pop
Want to make it extra special? Consider adding personal touches. ছোট notes with inside jokes or words of encouragement are always a winner. Printed photos of fun memories can add an unexpected emotional punch when the box “explodes.” For a crafty friend, you could include some miniature art supplies. For a bookworm, maybe a bookmark or a gift certificate to a local bookstore. It’s those little details that show you put real thought into it. Don't underestimate the power of a handwritten note – it’s something they can actually keep and reread.
Recipient | Filling Ideas |
|---|---|
Teenager | Candy, small gadgets, gift cards, fun stationery |
College Student | Snacks, coffee, small toiletries, gift cards |
Crafty Friend | Mini art supplies, colorful tape, stickers |
Wrapping Up Your Explosion DIY Gift Box Adventure
So, there you have it! Creating an explosion diy gift box is not only simple but also a fantastic way to add a unique and exciting touch to your presents. Whether you’re filling it with candy for a sweet tooth, tiny toys for a youngster, or even heartfelt notes for a loved one, this craft project is sure to bring a smile. It's proof that the best gifts aren't always the most expensive, but the ones made with a little creativity and a whole lot of heart. Now go ahead, make someone's day with a gift that really pops!