Table of Contents
Want to add a personal touch to your gifts? Forget store-bought bags! Learning how to make a diy gift bag is simpler than you might think. This guide will walk you through two easy methods. First, we'll show you a super quick way to fold a simple gift bag, perfect for those last-minute presents. Then, we'll tackle a more traditional approach, giving your handmade bags a professional look. Beyond the basics, we'll share fun ideas to decorate your creations and make them truly unique. Ready to ditch the generic and impress with your crafty skills? Let's explore how to make a diy gift bag that’s as special as the gift inside.
How to Make a Simple DIY Gift Bag
How to Make a Simple DIY Gift Bag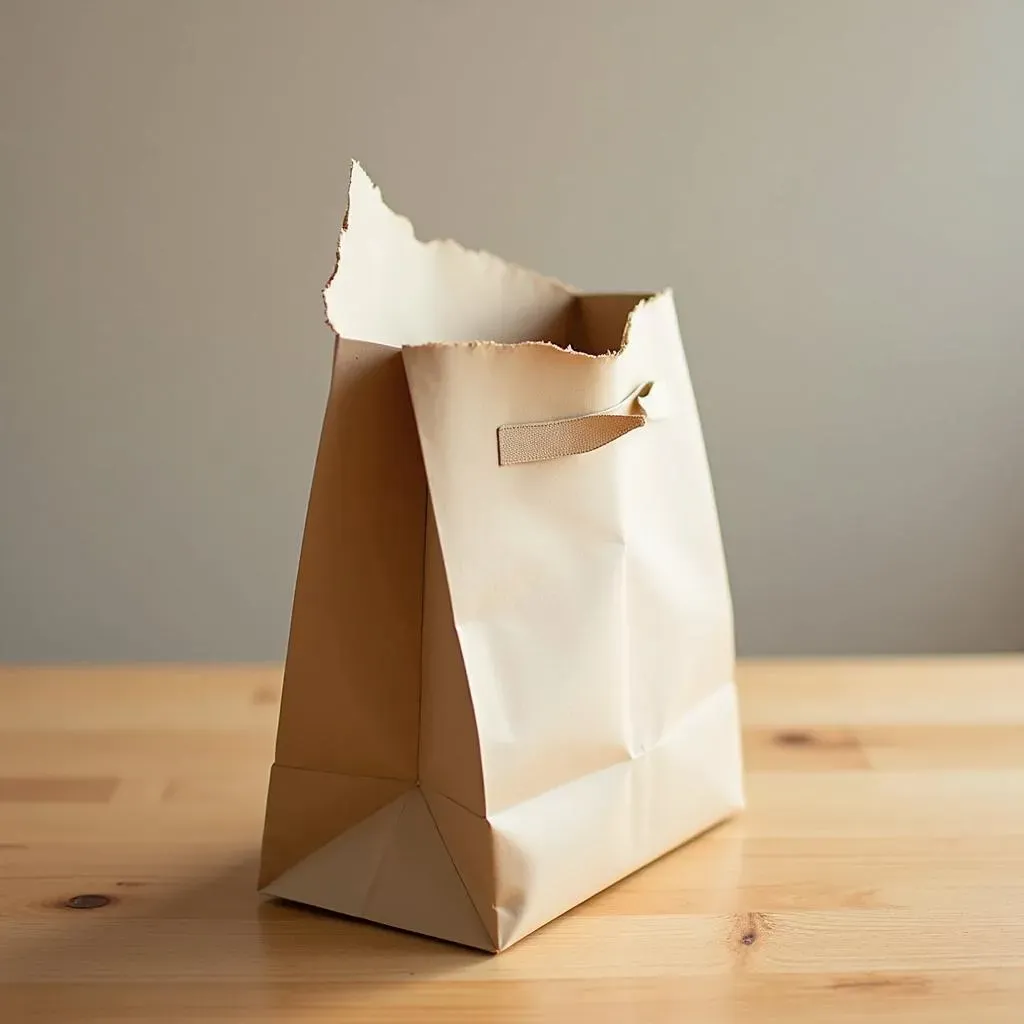
Grab Your Supplies
Okay, so you wanna whip up a gift bag, pronto? Smart move. First things first, gather your gear. You'll need a piece of paper – anything sturdy will do, like wrapping paper or even construction paper if you're feeling bold. Think about the size of your gift to pick the right paper size. Too small, and your present will be doing the splits. Too big, and it'll look like your gift is swimming in a paper ocean. You'll also need some tape or glue – whichever you have handy. Scissors are a must, unless you're going for that rugged, torn-edge look (probably not). And maybe some decorations later, if you're feeling fancy.
The Fold and Stick
Alright, let's get folding. Lay your paper flat, like you're about to draw a masterpiece (or a really bad doodle). Fold one side over, leaving a bit of an overlap – think of it like giving the paper a hug. Tape or glue that edge down to make a tube. Now for the bottom. This is where the magic happens, kinda. Fold up the bottom few inches and crease it well. Open those folded flaps and flatten them to create a diamond shape. Fold the top and bottom points of the diamond to the center and tape them down. Boom! You've got a bottom. It might not be perfect, but hey, you made it yourself. That’s way cooler than anything store-bought.
- Paper (wrapping, construction, etc.)
- Tape or Glue
- Scissors
- Optional: Decorations (stickers, markers, glitter)
Making a Traditional DIY Gift Bag
Making a Traditional DIY Gift Bag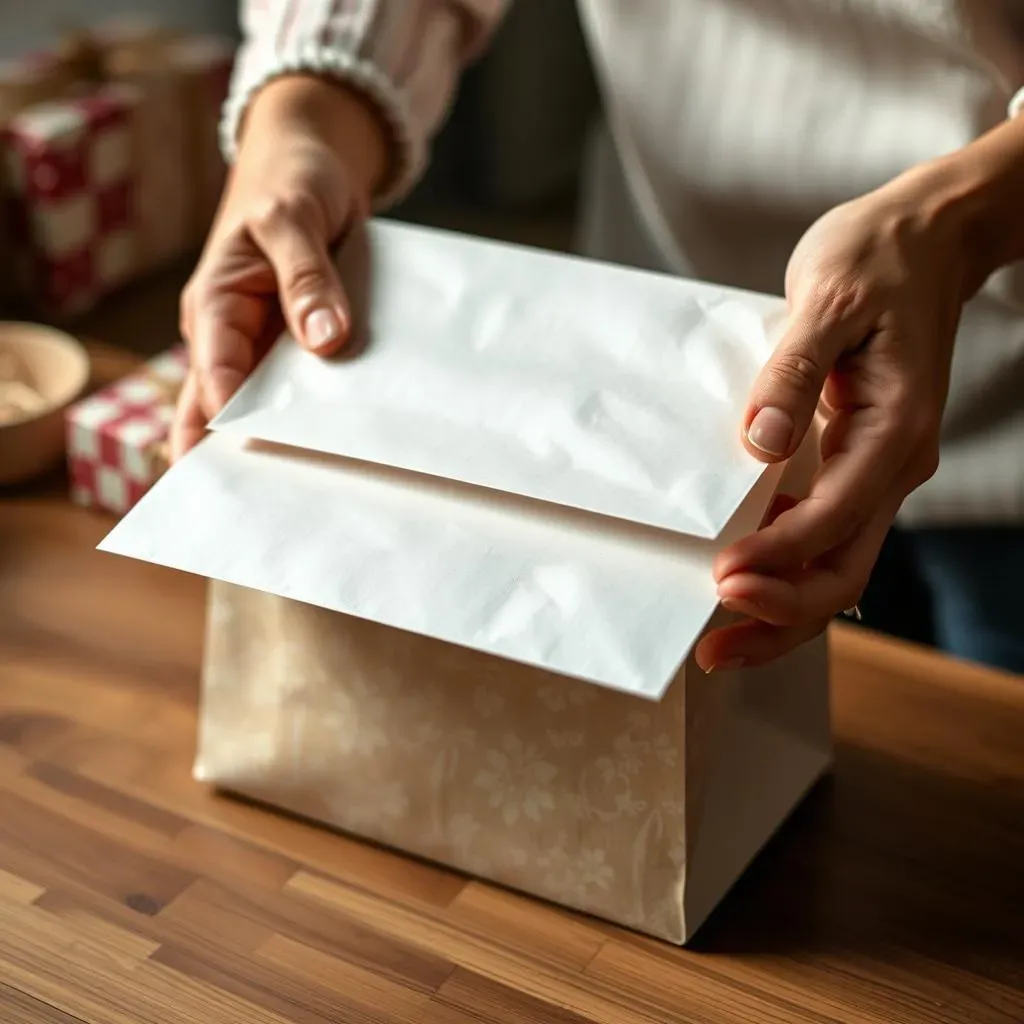
Getting the Base Shape Right
Fancy something a bit more structured? Making a traditional DIY gift bag starts with a bit of planning. Grab a sturdy piece of paper or cardstock – something with a bit of heft will hold its shape better. Think about the gift you're wrapping; a bottle of something nice needs a taller bag than, say, a stack of cookies. A good trick is to use an existing gift bag as a template, if you have one lying around. Just carefully take it apart at the seams. Don't worry, it's for a good cause! This gives you a perfect pattern to trace. If not, no sweat, we can wing it. Imagine unfolding a box – that's kind of what we're aiming for.
Building the Bag's Structure
Once you've got your main piece cut out, it's time to create those crisp folds that give a traditional bag its shape. Score the fold lines lightly before you fold – this makes for much neater edges. You can use a ruler and the back of your scissors for this, just don't actually cut through the paper! Fold along your scored lines to form the sides and bottom of the bag. Think of it like constructing a mini paper house. The bottom part needs special attention. You'll likely have flaps that need to be folded in and glued or taped down to create a solid base. This is crucial – a flimsy bottom is a recipe for a gift-dropping disaster.
Step | Action |
|---|---|
1 | Choose sturdy paper or cardstock. |
2 | Use an existing bag as a template or plan your dimensions. |
Adding Handles and Finishing Touches
No gift bag is complete without a way to carry it, right? Handles are surprisingly easy to add. You can use ribbon, twine, or even strips of the same paper you used for the bag. Punch holes at the top of the bag – make sure they are evenly spaced – and thread your chosen handle material through. Knot the ends securely on the inside of the bag. For extra reinforcement, you can add small pieces of cardstock around the holes on the inside before attaching the handles. This stops the handles from ripping through the paper, especially if the gift is a bit heavy. And there you have it – a traditionally styled DIY gift bag, ready to impress!
Tips to Decorate Your DIY Gift Bag
Tips to Decorate Your DIY Gift Bag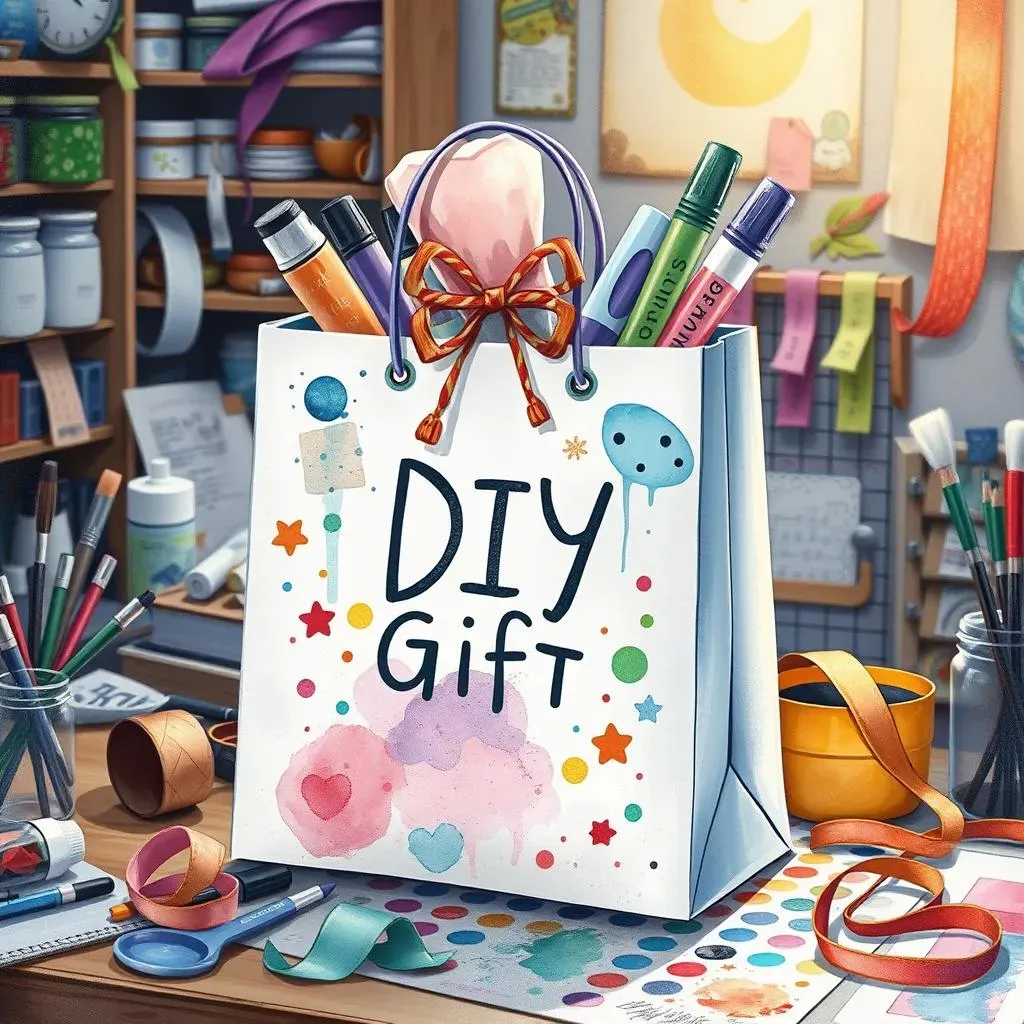
Get Artsy with Paints and Markers
Alright, you've got your bag, now let's make it pop! Grab some paints or markers and unleash your inner artist. Don't worry about being Picasso; even simple doodles or patterns can look awesome. Think polka dots, stripes, or even drawing little pictures that match the gift inside. For instance, if it's a birthday gift, why not draw some balloons or a cake? Acrylic paints work great on most paper types, and you can even use metallic markers for a bit of extra sparkle. Just make sure the paint is dry before you put your gift in, unless you're going for a tie-dye effect on the present itself (probably not the best idea!).
Embrace the Power of Embellishments
Want to kick things up a notch? Embellishments are your secret weapon! Think beyond just paint. Stickers are an easy win, especially fun, themed ones. Glitter? Yes, please! Just be warned, glitter has a way of getting *everywhere*. Ribbons aren't just for handles; you can glue them on in patterns or tie bows onto the bag itself. Little paper cutouts, buttons, even dried flowers can add a unique touch. I once made a gift bag for a friend who loves cats and glued tiny felt cat paws all over it – she loved it! It's all about adding those little details that show you put in the extra effort.
- Use acrylic paints for vibrant colors.
- Try metallic markers for a touch of shine.
- Don't underestimate the power of fun stickers.
- A little glitter can go a long way (or a lot, if you're feeling extra).
Personalize with Photos and Messages
For a truly personal touch, why not incorporate photos or handwritten messages? Print out a small photo of you and the gift recipient and stick it on the front of the bag. Or, cut out letters from magazines to spell out their name or a special message. A simple "Happy Birthday!" written in your own handwriting adds so much warmth. You can even use stamps to create patterns or messages. It's those personal touches that make a DIY gift bag extra special and show the recipient you really care. Plus, it's a great way to use up those random photos you have lying around!
Creative Ways to Use Your DIY Gift Bags
Creative Ways to Use Your DIY Gift Bags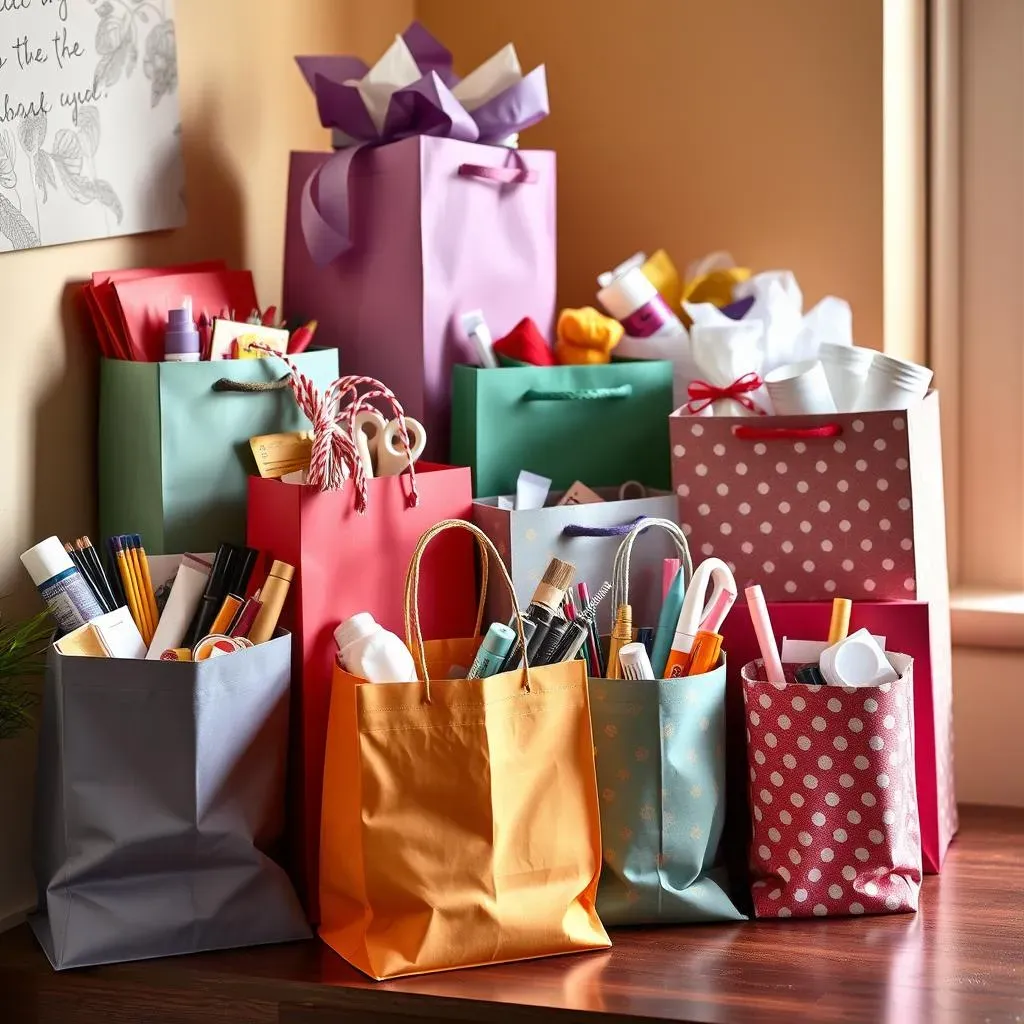
Okay, so you've mastered how to make a DIY gift bag, and they look awesome. But hold on, these aren't just for birthdays and holidays! Get creative! Think beyond the usual gift-giving. These handmade bags are perfect for organizing things around the house. Use smaller ones to tidy up your desk – they're great for holding pens, sticky notes, or even charging cables. Larger bags can corral craft supplies, like yarn or paint tubes, keeping everything neat and accessible. I even use a decorated gift bag in my bathroom to hold makeup brushes. It adds a personal, crafty touch to everyday organization. Don't underestimate the power of a pretty bag to make tidying up a little less of a chore.
Wrapping Up Your DIY Gift Bag Journey
So, you've learned how to make a diy gift bag using two different methods. Whether you opted for the speedy simple fold or the more structured traditional approach, you now have the skills to create personalized packaging for any occasion. Don't be afraid to get creative with decorations and materials. The best part about making your own gift bags is the unique touch you add. Go ahead, impress your friends and family with your handmade flair!