Table of Contents
Ever find yourself with a perfect gift but no decent box? Or maybe you just hate paying ridiculous prices for cardboard? You're not alone. Standard gift wrapping can feel a bit… impersonal. You want to give something special, and the packaging should feel special too.
Why Bother Making Your Own Gift Box?
Why Bother Making Your Own Gift Box?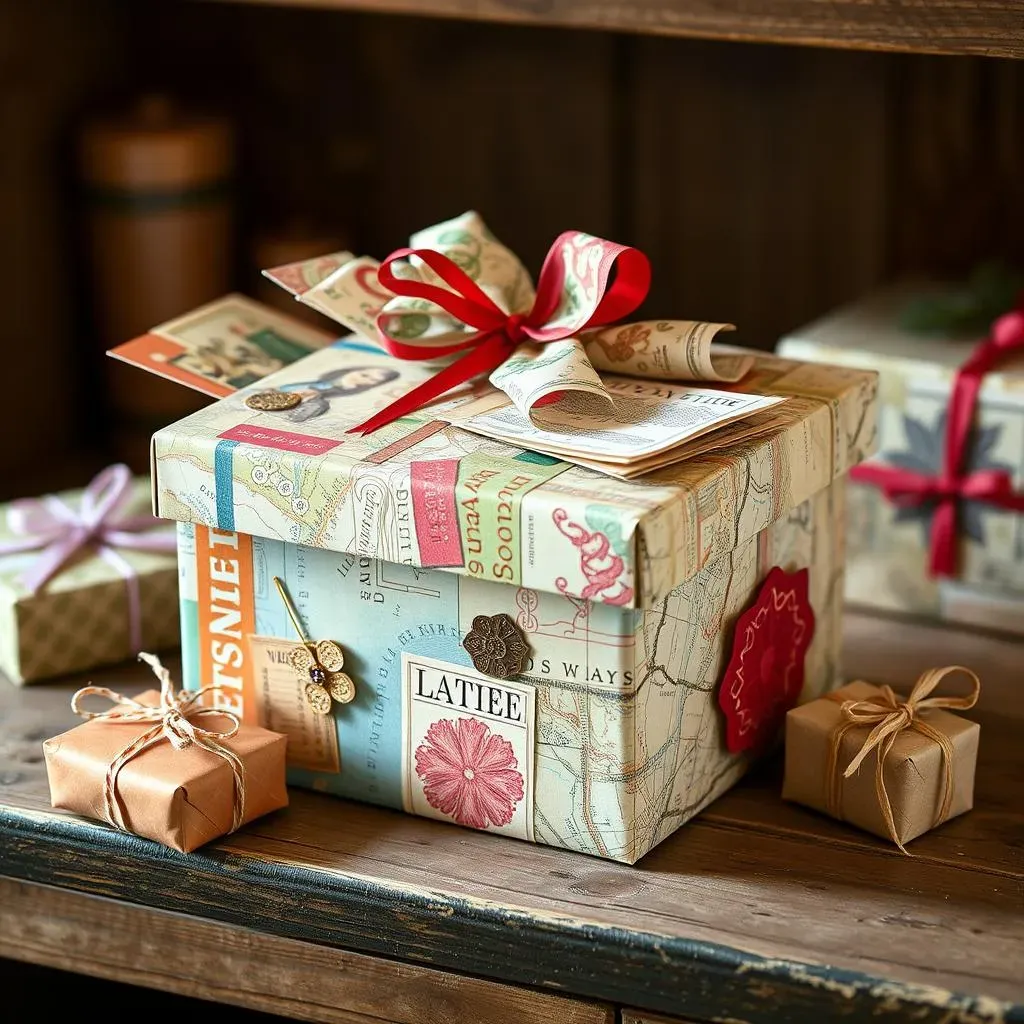
Adding a Personal Touch
Look, store-bought gift boxes are fine if you're in a rush and have zero other options. They serve a purpose, like a beige wall. But when you're giving a gift, especially one you put some thought into, the packaging sets the stage. A generic box screams "I grabbed this off the shelf," while a handmade one whispers, "I actually cared enough to make this part of the gift."
Making a simple DIY gift box lets you match the vibe of the present, the person receiving it, or the occasion itself. Got a friend obsessed with vintage maps? Use map-printed paper. Gifting something delicate? You can make a box that's just the right size, no more swimming in oversized packaging. It’s about showing that extra bit of effort, which, let's be honest, people notice.
Saving Money and Resources
Let's talk budget. Those fancy gift boxes at the store? They add up fast, sometimes costing more than the small gift inside. Why throw cash at something you can make from materials you likely already have? Old greeting cards, leftover scrapbook paper, even clean cereal boxes or cardboard mailers can be repurposed.
Thinking about Why Bother Making Your Own Gift Box? Cost is a big one. It's a practical way to save a few bucks, which you can then spend on, you know, the actual gift. Plus, you're keeping stuff out of the recycling bin a little longer, which is a small win for the planet. It feels less wasteful than buying something new just to rip it open and toss it.
Benefit | How It Helps |
|---|---|
Personalization | Tailor the box to the gift or recipient. |
Cost Savings | Use materials you already own. |
Reduced Waste | Repurpose paper and cardboard. |
Unique Presentation | Stand out from generic packaging. |
The Satisfaction of Handmade
There's a quiet satisfaction that comes with handing over a gift in a box you constructed yourself. It’s not about being Martha Stewart; it's about the tangible result of a few simple steps. It adds a layer of warmth that plastic wrap or a generic bag just can't replicate. People appreciate the effort, even if they don't explicitly say it.
It’s the difference between ordering takeout and cooking a simple meal. Both get the job done, but one feels a bit more intentional, more cared for. That's the feeling a simple DIY gift box gives. It elevates even a small, inexpensive item into something that feels thoughtfully presented. It transforms wrapping from a chore into part of the gifting process.
Essential Supplies for Your Simple DIY Gift Box Project
Essential Supplies for Your Simple DIY Gift Box Project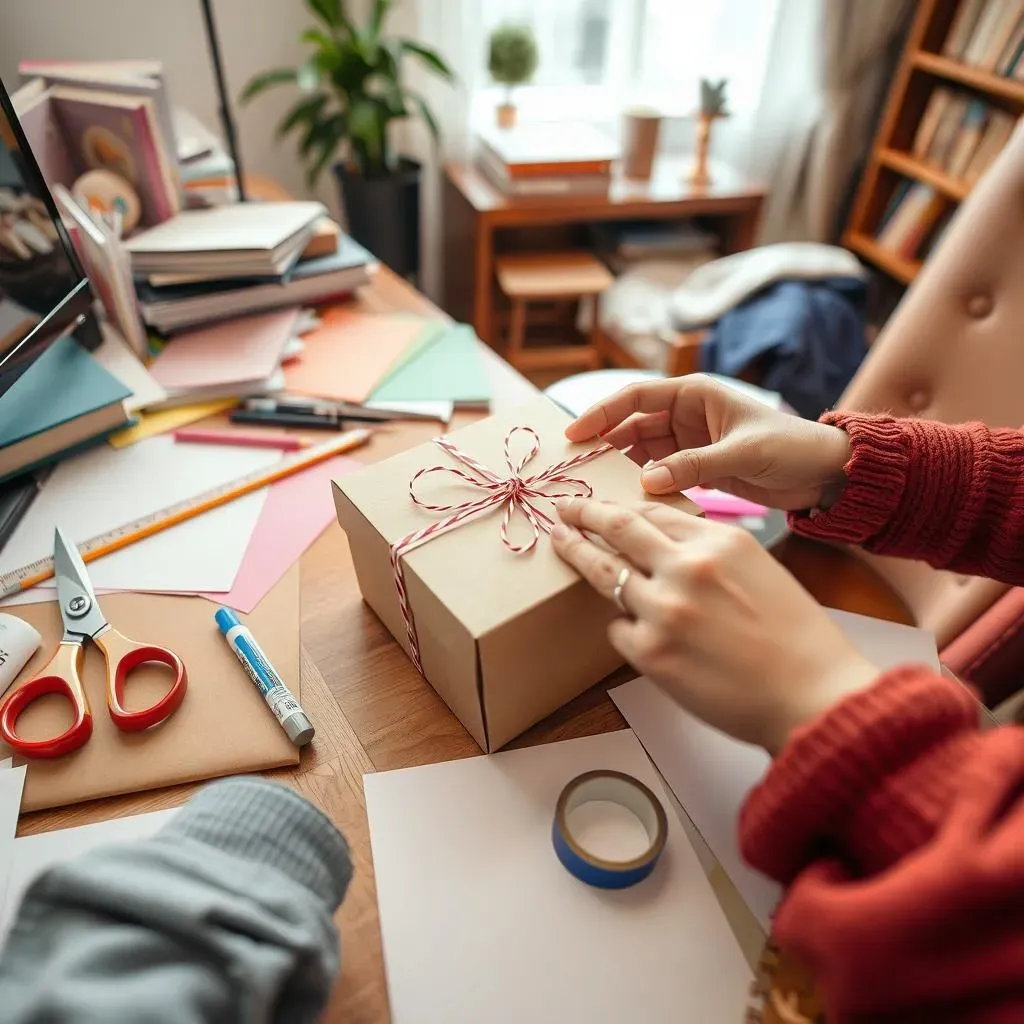
Paper Choices: More Than Just Printer Paper
so you're thinking about tackling this simple DIY gift box thing. First hurdle: paper. You might be tempted to just grab whatever's closest, maybe that ream of printer paper sitting by the computer. Don't. Printer paper is flimsy. It folds like a sad napkin. You need something with a bit more backbone. Cardstock is your best friend here. It comes in tons of colors and patterns, and it holds a crease like it means business. Scrapbook paper works great too, often with fun designs already printed. Dig through your craft stash, or hit up a discount store for single sheets. Honestly, even a sturdy brown paper grocery bag or a clean, unfolded cereal box can work in a pinch if you cover it. The key is weight; think heavier than copier paper, lighter than cardboard that held your new TV.
Tools You Probably Already Own
Good news: you don't need a workshop full of specialized gear for this. Your average kitchen drawer or desk organizer likely has most of the tools required for Essential Supplies for Your Simple DIY Gift Box Project. You'll definitely need scissors. Sharp ones. Trying to cut a straight line with dull blades is a special kind of frustration. A ruler is non-negotiable for measuring and getting those crisp folds. If you plan on making lots of boxes or want super clean creases, a bone folder or even the back of a butter knife can help, but it's not strictly necessary for a *simple* box. A pencil is handy for marking lines you'll fold or cut. See? Nothing exotic so far.
- Sharp Scissors
- Ruler
- Pencil
- Optional: Bone folder or blunt object for scoring
- Your chosen paper/cardstock
Adhesives: Sticky Situations Solved
Now, how do you make this paper creation actually stay together? Glue stick is the easiest, quickest option for making your simple DIY gift box stick. Look for a strong craft glue stick, not the kind meant for kindergarten art projects that barely holds two things together. Double-sided tape is another excellent choice, especially for a cleaner finish; just cut, peel, and press. Regular clear tape works too, but sometimes it shows or can be a bit fiddly to hide. Avoid liquid white glue if you can; it tends to wrinkle the paper and takes forever to dry. For a really sturdy box, a hot glue gun works fast, but be careful – that stuff is hot, and a misplaced blob looks messy. Pick your poison based on what you have and how patient you are.
Two Easy Ways to Create a Simple DIY Gift Box
Two Easy Ways to Create a Simple DIY Gift Box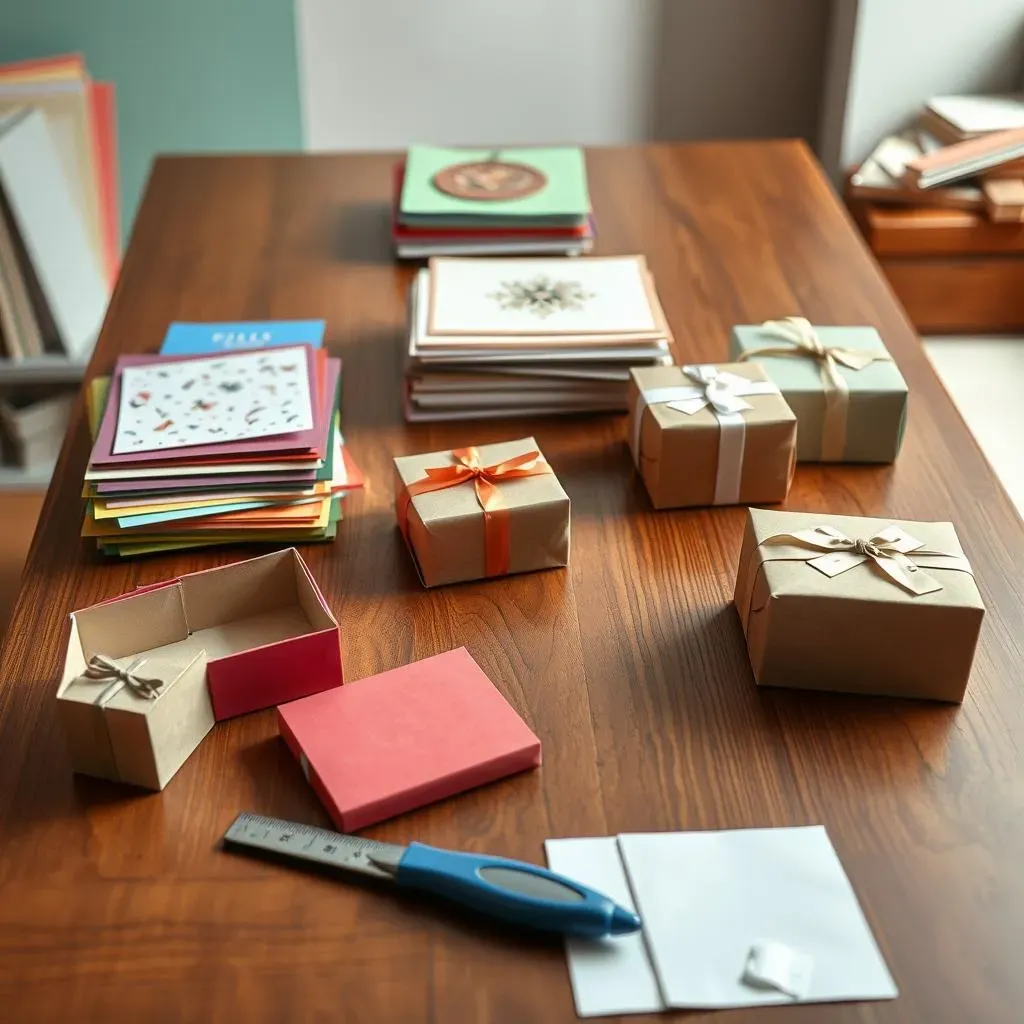
The Score and Fold Method: Just Like Geometry Class (But Funner)
Alright, let's get down to actually making this simple DIY gift box. The first method, and arguably the most versatile, is the score and fold. Think back to school projects where you had to make cubes or pyramids out of paper. It's like that, but for a useful purpose. You start with a flat piece of paper (remember, cardstock is better!). You'll measure out where your folds need to be – this is where the ruler and pencil come in. You mark lines for the bottom of the box and the sides. Then, and this is key, you use something blunt (a bone folder, the back of a spoon, even an empty ballpoint pen that you don't press too hard with) to 'score' those lines. Scoring means you're pressing a groove into the paper without cutting it, which makes folding incredibly crisp and easy. You cut out the corners or tabs, fold along your scored lines, and glue or tape the tabs to the sides. Boom. Basic box structure.
The Template or Origami Method: Less Measuring, More Folding
Method number two for a simple DIY gift box leans either on pre-made patterns or the ancient art of paper folding. For the template route, you print a box shape onto your chosen paper or trace it. The template already has the lines marked for cutting and folding. You just cut along the solid lines and fold along the dashed ones. It's super fast and takes the guesswork out of measuring, perfect if math isn't your favorite subject. Origami box methods, on the other hand, often require no glue at all, just precise folding. You start with a square piece of paper and follow a sequence of folds to create the box base and lid. Some origami boxes are surprisingly sturdy and look really neat because the paper layers interlock. It feels a bit magical when the box takes shape just from folding.
- Score & Fold: Good for custom sizes, requires measuring.
- Template: Easy, just print and cut, size is fixed by template.
- Origami: No glue needed, relies purely on folding technique.
- All three result in a simple DIY gift box.
Picking Your Battle: Which Method Suits You?
So, which of these simple DIY gift box methods should you try first? If you need a box of a specific, perhaps slightly awkward size, the score and fold method gives you total control. You can make it tall and skinny, short and wide, exactly what you need. It requires a bit more precision with measuring, but it's not rocket science. If you want speed and simplicity, especially if you're making a few boxes, grabbing a printable template is probably the way to go. Just find a free template online, print it onto nice cardstock, and you're halfway there. Origami is fantastic if you love the process of folding and want a glue-free option, but the final box size is dictated by your starting paper size, which might not always be ideal for your specific gift. Try one, try both, see which clicks for your simple DIY gift box needs.
Decorating Your Simple DIY Gift Box
Decorating Your Simple DIY Gift Box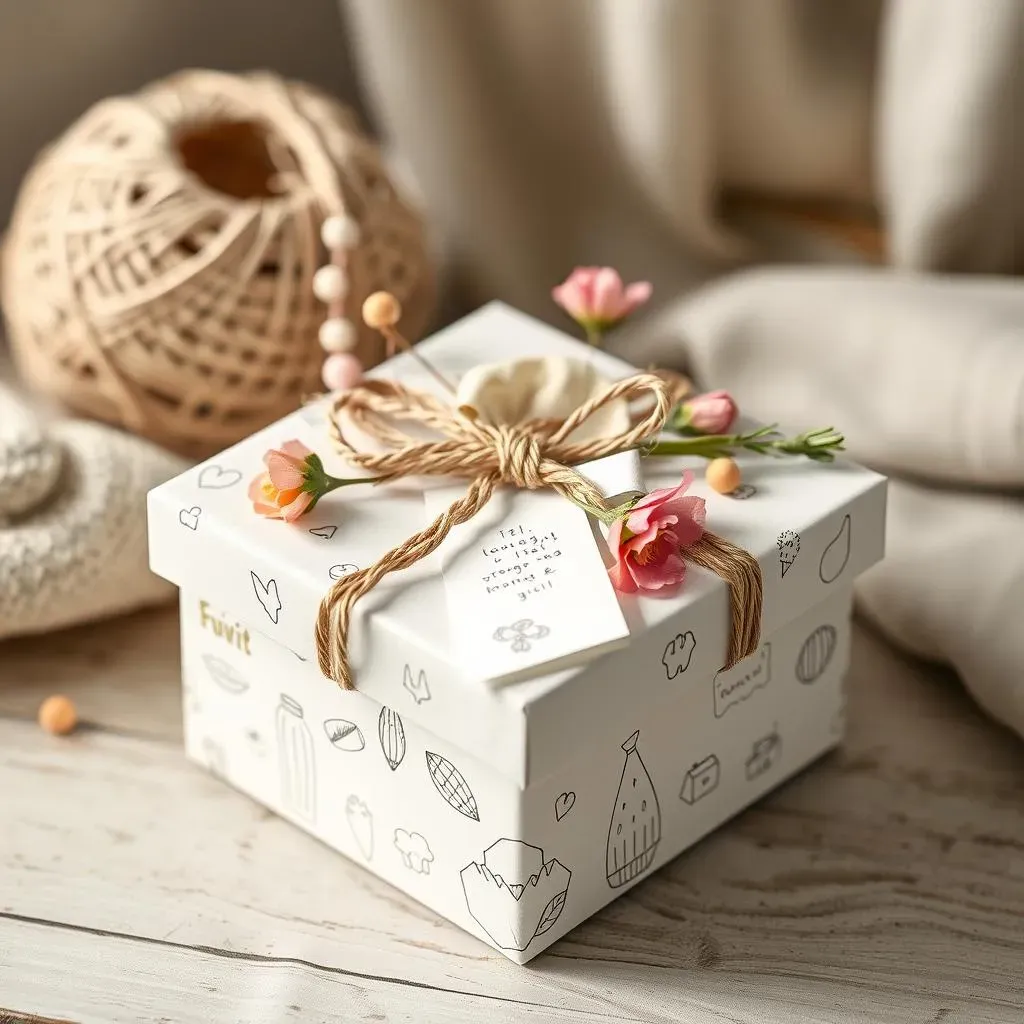
Making Your Box Look Less Like a Cardboard Orphan
you've folded, you've glued, you've got a basic simple DIY gift box structure. It might look a bit plain right now, like a blank canvas or, less charitably, recycled packaging. This is where you make it sing. Decorating Your Simple DIY Gift Box doesn't require a fine arts degree or a room full of glitter (unless that's your jam, no judgment). Simple ribbon can go a long way – tie it around the box, add a bow. A bit of twine gives a rustic feel. Stamps are easy; grab an ink pad and some simple shape stamps. You can even just use a nice pen to draw a simple border or a quick doodle. Stickers work too, especially if they fit the theme. Think about the gift inside or the person getting it. Are they minimalist? A single strip of elegant washi tape might be perfect. Are they more whimsical? Go wild with colorful markers or glued-on buttons. The goal isn't perfection, it's personality. A plain box is just a container; a decorated one is part of the present's story.
Simple DIY Gift Box FAQs
Simple DIY Gift Box FAQs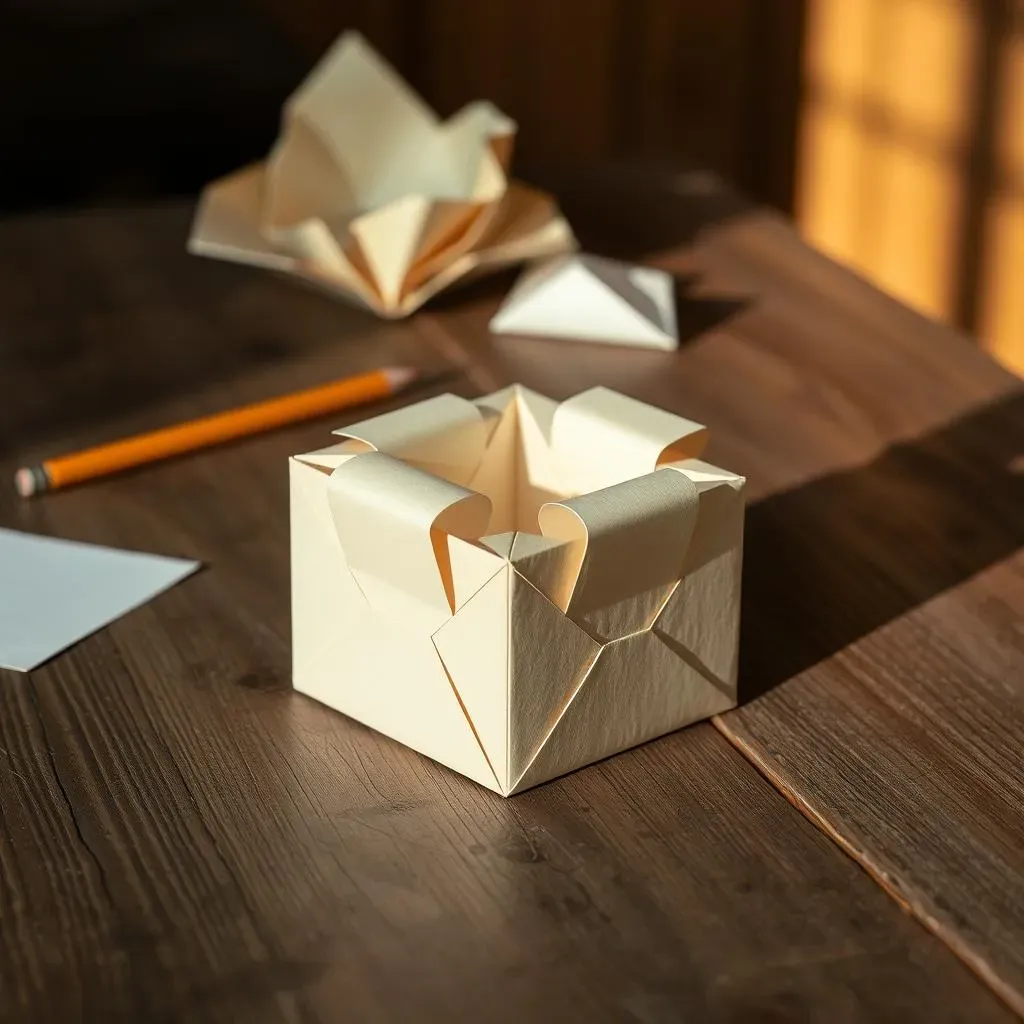
What Kind of Paper is Best for a Simple DIY Gift Box?
you're wondering about paper choices when tackling a simple DIY gift box. Look, while you *can* technically fold a box from printer paper, it's going to feel about as sturdy as a wet tissue. For a box that holds its shape and doesn't look like it survived a hurricane, you really want something with some weight. Cardstock is the go-to champion. It's thick enough to take a crease without tearing and gives the box structure. Scrapbook paper is also excellent; it's usually cardstock weight and comes in a million patterns, saving you a decorating step. Even a sturdy brown paper grocery bag, unfolded and cut, works surprisingly well for a rustic look. Avoid anything too thin or glossy, as it makes clean folds tricky and might not hold glue well. Think about the weight of a business card versus a flyer – aim for the business card end of the spectrum.
Can I Make a Simple DIY Gift Box Without Glue or Tape?
Absolutely. While adhesives make things fast and secure, you can totally make a simple DIY gift box using just clever folding, primarily through origami techniques. Many origami box designs rely on interlocking flaps and folds to stay together. The traditional Masu box is a classic example; you fold the base and the lid separately from square pieces of paper, and they fit snugly together without a drop of glue. These boxes are often quite strong despite their simple construction. It takes a bit more precision in the folding, but the result is clean, elegant, and requires zero drying time. If you're anti-sticky fingers or just want to impress someone with your paper-folding prowess, look up some origami box tutorials. They prove you don't need a craft store's adhesive aisle to create a functional and beautiful simple DIY gift box.
- Cardstock or heavy paper is recommended.
- Origami boxes can be made without glue.
- Look for interlocking designs for tape-free options.
Wrap It Up: The Simple DIY Gift Box Advantage
So there you have it. Making a simple DIY gift box isn't about being a master crafter; it's about adding a personal touch without the hassle. You save a few bucks, use up some paper, and end up with packaging that actually feels like part of the gift, not just an afterthought. It's a small detail, sure, but sometimes those are the ones that make a difference. Give it a shot next time you need to box something up. It's probably easier than finding matching socks.