Table of Contents
Let's be honest, finding the perfect gift can feel like navigating a minefield. Another store-bought gadget? A generic gift card? Doesn't exactly scream "I put thought into this," does it? If you're tired of the same old routine and want to give something that actually means something, maybe it's time to consider a wood DIY gift. Forget those Pinterest fails you've seen; making something with your own hands from wood adds a layer of warmth and personality you just can't buy. It tells the recipient you invested time, effort, and a bit of your soul into their present. This isn't about being a master carpenter; it's about creating something unique and heartfelt. We'll walk you through why a wood DIY gift stands out, offer up some ideas that won't require a full workshop, talk about the basic tools you'll need, and share some straightforward tips to make sure your project goes smoothly. Ready to ditch the generic and create something memorable?
Why Bother Making a Wood DIY Gift?
Why Bother Making a Wood DIY Gift?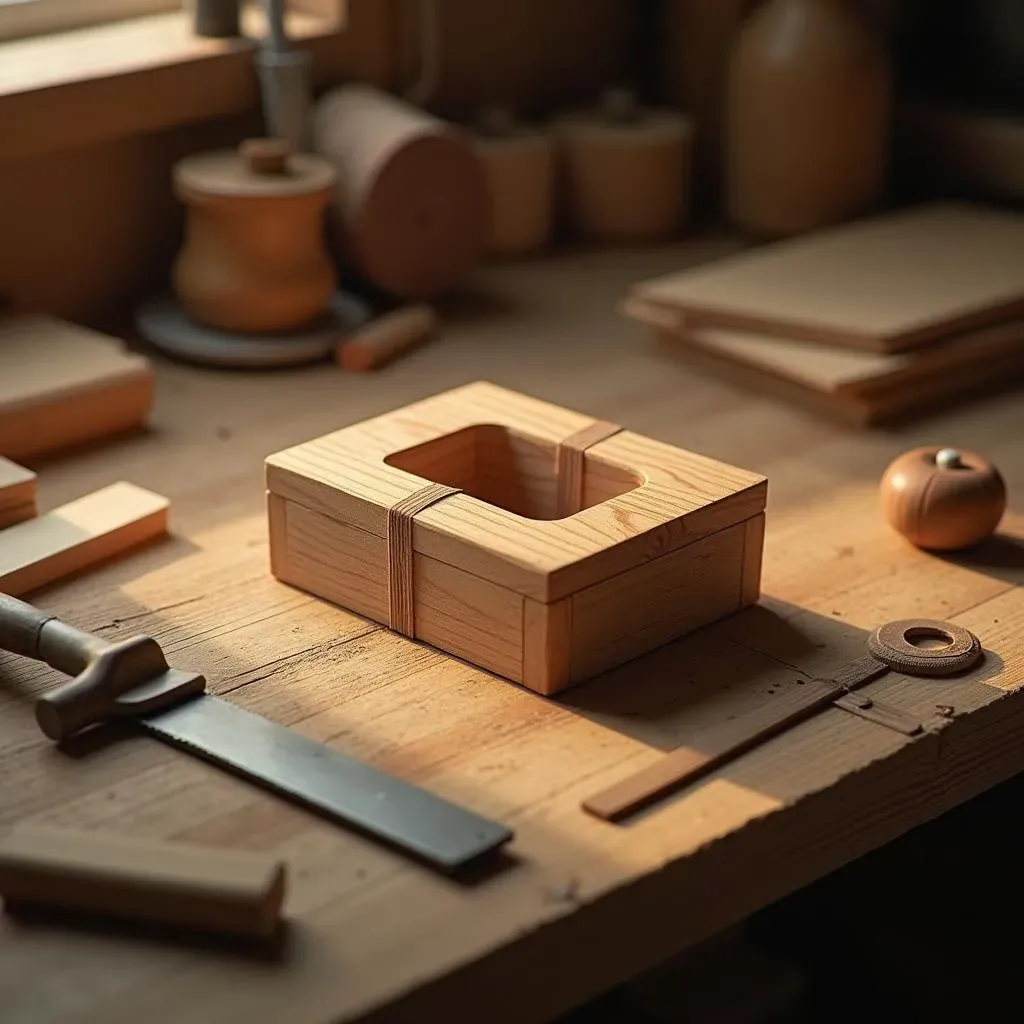
so you could just grab another scented candle or a tie from the department store, right? Easy. But let's talk about Why Bother Making a Wood DIY Gift? Because frankly, it says something entirely different. It says, "Hey, I actually thought about you, and I spent my valuable time and maybe even risked a splinter or two creating this." A handmade wood piece, even a simple one, carries a weight and personal touch that a mass-produced item simply can't replicate. Think about it: when someone gives you something they *made*, don't you feel that extra bit of appreciation? It's the effort, the care, the little imperfections that make it unique – those are the things that elevate a gift from forgettable to cherished. Plus, let's be real, it feels pretty good to step away from screens and actually *build* something tangible for someone you care about.
Simple Wood DIY Gift Ideas You Can Actually Finish
Simple Wood DIY Gift Ideas You Can Actually Finish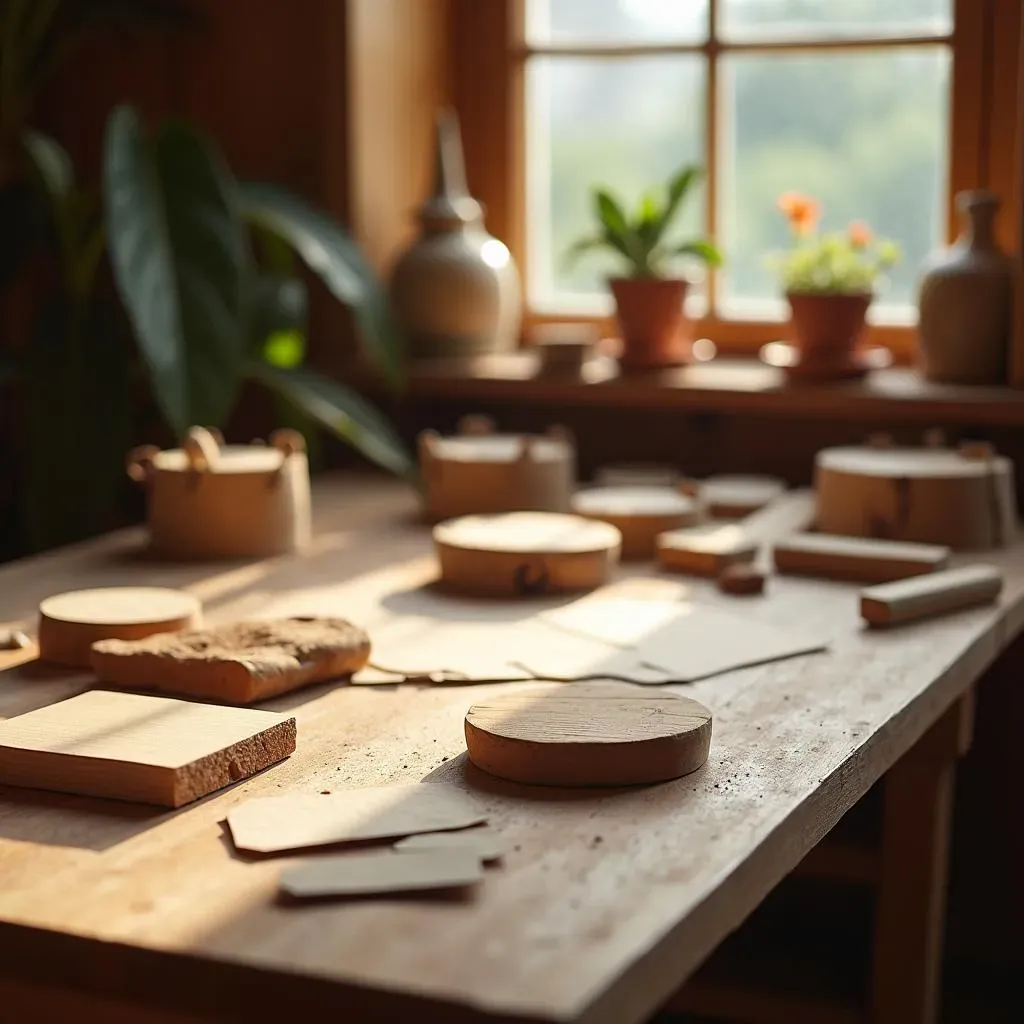
Starting Small: Coasters and Planters
Alright, let's get real. Not everyone has a full woodshop or the patience of a saint. When we talk Simple Wood DIY Gift Ideas You Can Actually Finish, we mean projects you can tackle without losing a finger or your mind. Think small-scale wins. Coasters are a classic for a reason. Grab some scrap wood, cut squares or circles, maybe sand them down smooth, and finish them with a simple sealant. Boom. Done. Practical, thoughtful, and hard to mess up too badly. Another solid bet? Small wooden planters. You can buy pre-cut wood pieces, assemble them with glue and a few nails, and paint or stain them. Add a little succulent, and suddenly you've got a living gift that shows you put in more effort than just grabbing a generic pot.
Beyond the Basics: Simple Serving Boards and Boxes
Ready to step it up just a notch? A simple serving board is surprisingly achievable. Find a nice piece of hardwood, cut it to shape (a simple rectangle or a paddle shape works great), sand it smooth, and finish it with food-safe mineral oil. Add a leather tie or a handle if you're feeling fancy. It looks impressive but doesn't require complex joinery. Small wooden boxes are another excellent option for a Simple Wood DIY Gift Ideas You Can Actually Finish. Think keepsake boxes, jewelry boxes, or even just a small storage box. You can use simple butt joints and glue, maybe reinforce with small nails or screws. The real magic comes in the finishing – staining, painting, or even adding a personalized touch with a wood burner.
- Simple Wood Coasters: Requires basic cutting and sanding.
- Small Wooden Planters: Assembly with glue and nails, easy finishing.
- Basic Serving Boards: Cutting, sanding, and oil finish.
- Small Keepsake Boxes: Simple joinery, allows for creative finishing.
Tools and Techniques for Your Wood DIY Gift
Tools and Techniques for Your Wood DIY Gift
The Absolute Essentials: What You Actually Need
so you've decided to tackle a wood DIY gift. Great choice. Now, don't picture a workshop full of intimidating machinery. For most simple projects, you really don't need much. A decent hand saw or a cheap circular saw will handle cutting lumber. You definitely need sandpaper – a variety of grits, from rough to fine, is key for getting that smooth finish. A tape measure and a pencil are non-negotiable for marking your cuts. For assembly, wood glue is your best friend, maybe supplemented with a hammer and some small nails or a basic drill with screws. That's it. Seriously. You can make a lot of cool stuff with just these basics. Don't let the idea of fancy tools stop you before you even start.
Basic Moves: Cutting, Sanding, and Finishing
Once you have your wood and your basic tools, the process for many wood DIY gifts boils down to a few core techniques. Cutting is the first step, obviously. Measure twice, cut once – it's cliché for a reason. Take your time and aim for straight lines. Sanding is where you turn rough edges into something pleasant to touch. Start with a lower grit (like 80 or 120) to shape and smooth, then move up to higher grits (220 or even 320) for a silky finish. Always sand with the grain of the wood. Finishing is the final touch that protects your piece and makes it look good. This could be a simple stain, paint, or just a protective sealant like polyurethane or food-safe mineral oil for things like cutting boards. Apply thin coats and let them dry properly between applications. It’s not rocket science, just requires a bit of patience.
Essential Steps for Simple Woodworking:
- Measure accurately before cutting.
- Cut slowly and carefully.
- Sand thoroughly, progressing through grits.
- Apply finishes in thin, even coats.
- Allow sufficient drying time between steps.
Mastering Your Next Wood DIY Gift: Tips for Success
Mastering Your Next Wood DIY Gift: Tips for Success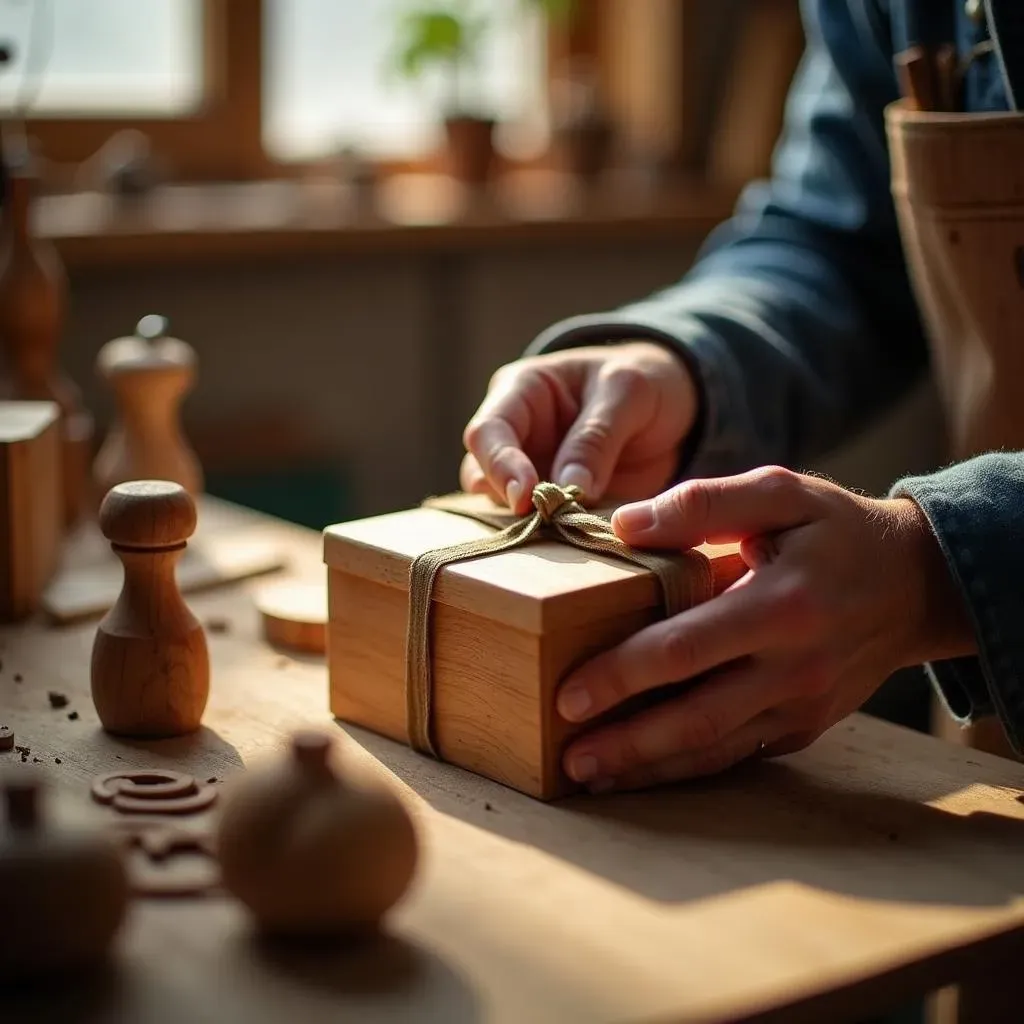
Plan Like You Actually Want to Finish
Look, nobody starts a wood DIY gift project thinking, "Gee, I hope I abandon this halfway through." But it happens. Often. The key to actually finishing is planning. Seriously. Don't just grab a random piece of wood and a saw and hope for the best. Decide exactly what you're making. Find some basic plans or watch a quick tutorial. Figure out the cuts you need to make *before* you make them. Measure twice, cut once isn't just a cute saying; it saves you from wasting material and starting over. Think about the steps involved: cutting, sanding, assembly, finishing. Having a rough roadmap keeps you from getting overwhelmed and makes the process feel less like chaos and more like, well, building something.
Embrace the Imperfect (It's Handmade, Not Machine-Made)
Here’s a secret: your first wood DIY gift probably won't be perfect. And that's completely fine. In fact, those little quirks? That slightly-off corner? That slightly-visible glue line? Those are the hallmarks of something handmade. They tell a story. Trying to achieve factory-level precision on your first go is a fast track to frustration. Learn to accept the minor imperfections. They add character. Focus on getting the fundamental steps right – safe cutting, decent sanding, solid assembly. The rest is just practice. My first attempt at a simple box looked like it had been through a minor earthquake, but the person I gave it to still loved it because I made it *for them*. That's the real value here.
Common Hurdles and How to Handle Them:
- Cuts aren't perfectly straight? Sand them down as much as possible, or embrace the rustic look.
- Glue joint isn't tight? Clamp it properly and wipe away excess glue immediately.
- Splinters? Wear gloves and sand thoroughly.
- Finish is uneven? Apply thinner coats and sand lightly between them.
Finish Strong and Make it Personal
The last mile on your wood DIY gift is the finish and presentation. Don't rush this part; it can make or break the final look. Sand until it feels smooth under your hand, then sand some more. Choose a finish that suits the piece and its intended use – mineral oil for serving boards, poly for coasters, paint for decorative boxes. Apply it neatly. Once the finish is dry, think about the little things. A small wood-burned initial, a simple leather pull, or even just tying a nice ribbon around it elevates the whole thing. It shows you cared right up to the end. This final touch is what truly transforms a piece of wood you made into a thoughtful, completed wood DIY gift.
Your Handmade Finale
So, there you have it. Turning a simple piece of wood into a thoughtful gift isn't some mystical art reserved for bearded lumberjacks. It's about taking a bit of time, getting your hands dirty (maybe literally), and creating something that carries a story. A wood DIY gift isn't just an object; it's proof you cared enough to make it happen. Sure, you might mess up a cut or two – that's part of the charm, right? Those little imperfections just make it more yours, and more theirs. Stop staring at endless online catalogs and give it a shot. Worst case, you learn something new. Best case, you give a gift that actually gets remembered, not just re-gifted next year.